

Paper Weight For Marker And Watercolor Use
Choose 160–200 gsm cardstock for pages colored with washable markers or watercolor pencils, since thin printer paper buckles under moisture. Standard US Letter cardstock gives broad cones and sundaes enough room for bold outlines without wasting a sheet. A smooth surface keeps crayons moving evenly and stops marker tips from catching on rough fibers. For watercolor pencils, 200 gsm paper holds a small amount of water with fewer ripples. Acid-free cardstock helps finished pages keep their color during storage. Place a spare sheet beneath the page when markers bleed through, especially around dark waffle grids or filled backgrounds. For crayons, standard copy paper works well and keeps coloring light and easy to manage. Older children using colored pencils often prefer a smoother, heavier sheet. Glossy sheets create trouble because crayons slide across the coating and markers stay wet, so matte printer paper offers steadier control. A test print checks whether cone grids, scoop divisions, and small sprinkle marks appear clearly without cropping at the page edges.
Flavor Color Choices For Dessert Play
Use one color family for each scoop so children recognize vanilla, strawberry, chocolate, and mint without losing the dessert’s clear shape. Soft pink, pale yellow, light brown, and green give familiar flavor cues, while purple or blue invites playful new combinations. Separate curved scoop lines need their own color boundaries, especially where two rounded scoops overlap. Colored pencils suit older children who want gentle shading around cherries, sprinkles, and soft-serve swirls, while crayons fill broad sections with less pressure. Encourage unusual flavors through small toppings rather than muddying every scoop with multiple dark layers. A bright red cherry or wafer cone adds contrast near the focal dessert. Keep faces and napkins in lighter shades so they do not compete with the ice cream. Warm browns suit waffle cones, while pale blue or soft green keeps the background distinct from chocolate and mint flavors. Washable crayons provide broad pastel or bright fills without demanding careful hand control. Planning palettes early ensures smoother sessions with ice cream coloring pages throughout the week. Group complementary shades before sitting down; this simple prep step saves time later.
1. Classic Waffle Cone Scoop Stack With Bold Outlines
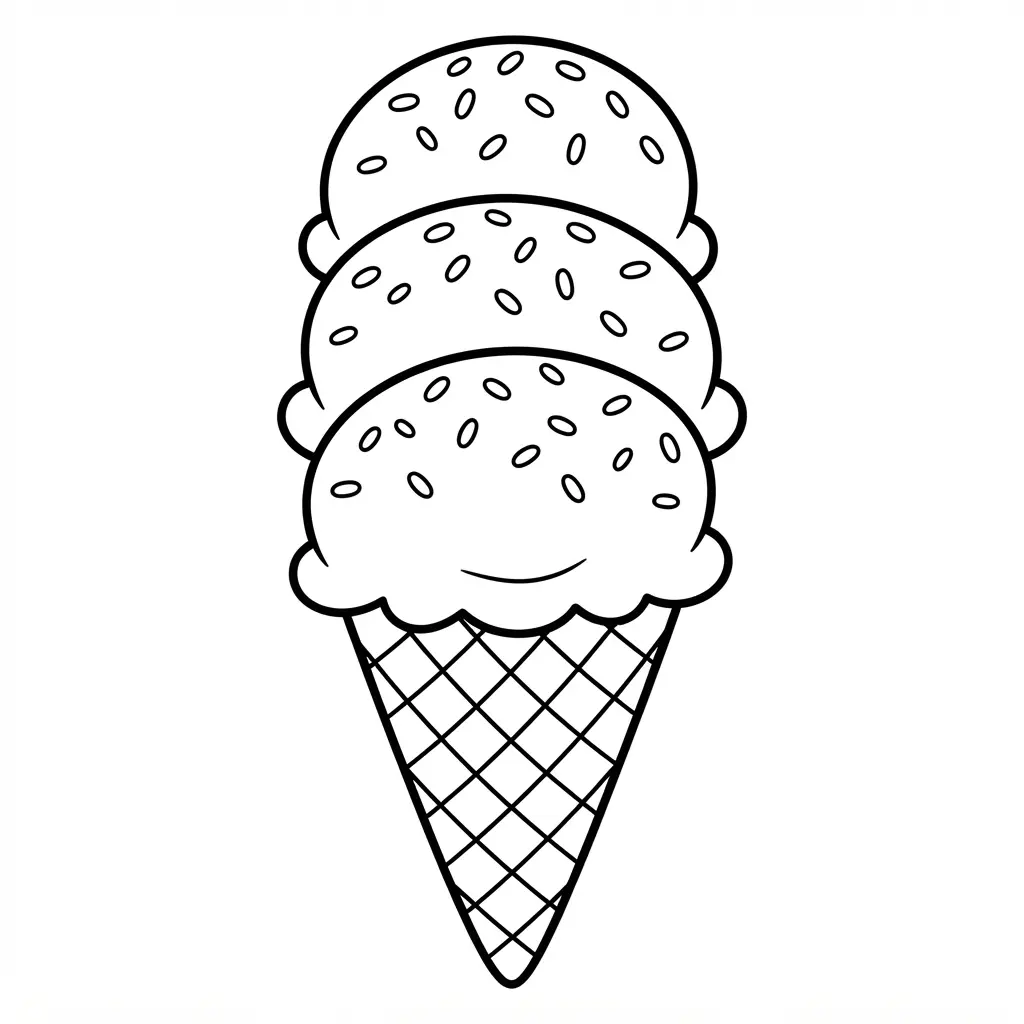
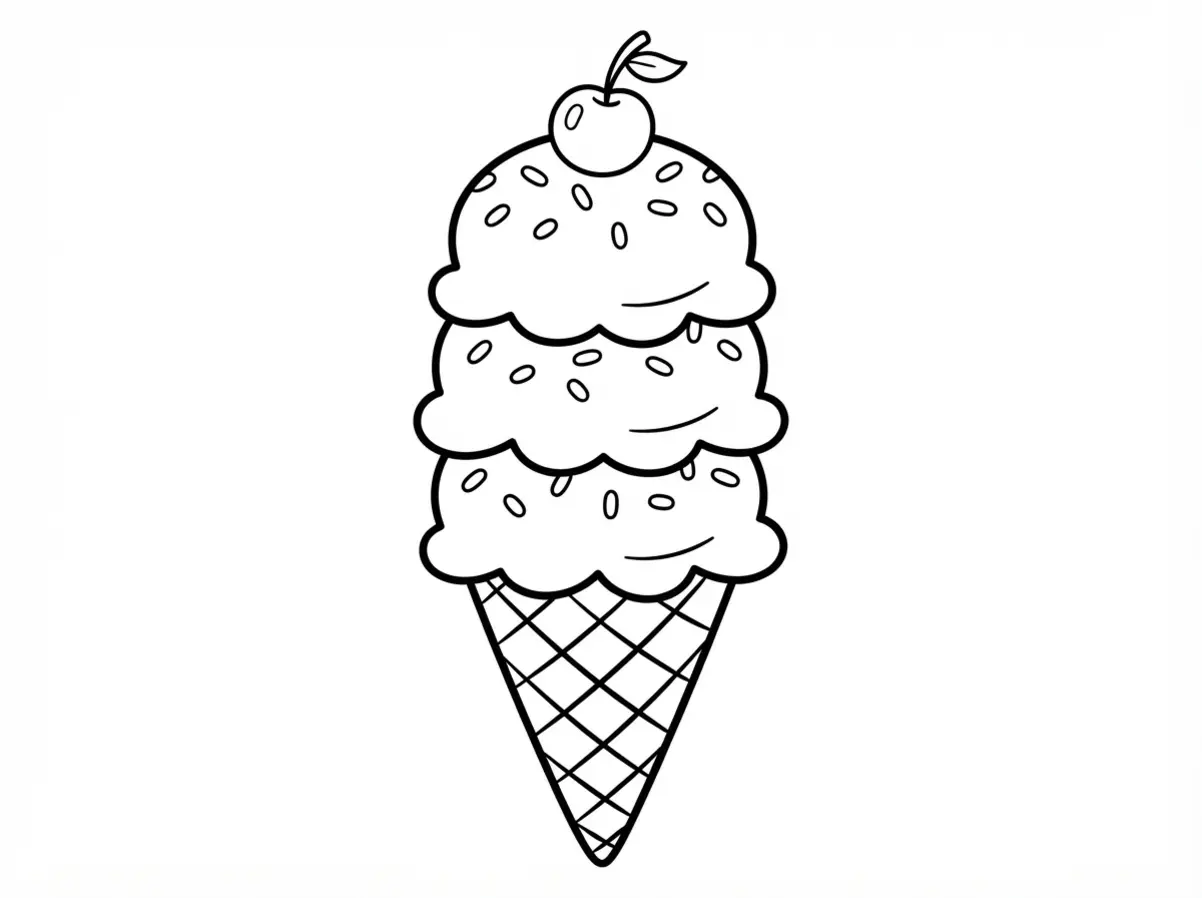
Ever tried building a three-scoop stack for ice cream coloring pages? Start with three rounded scoops, placing strawberry pink, vanilla cream, and chocolate brown flavors one above the next. Keep each scoop close enough to read as one balanced dessert, then add a crisp golden waffle cone below. I love how the three colors make the flavors easy to tell apart.
Use thick black outlines around every edge, including the cone rim and scoop curves. Add a few small highlights, but keep shading light so the page stays clean, playful, and sticker-like. A centered layout on white or transparent space gives the stack a clear silhouette and keeps attention on the dessert. Weak lines, heavy shadows, or a busy background take away from the cheerful retro look. This approach works perfectly for ice cream coloring pages in classroom settings.
2. Kawaii Smiling Sundae Bowl With Playful Details
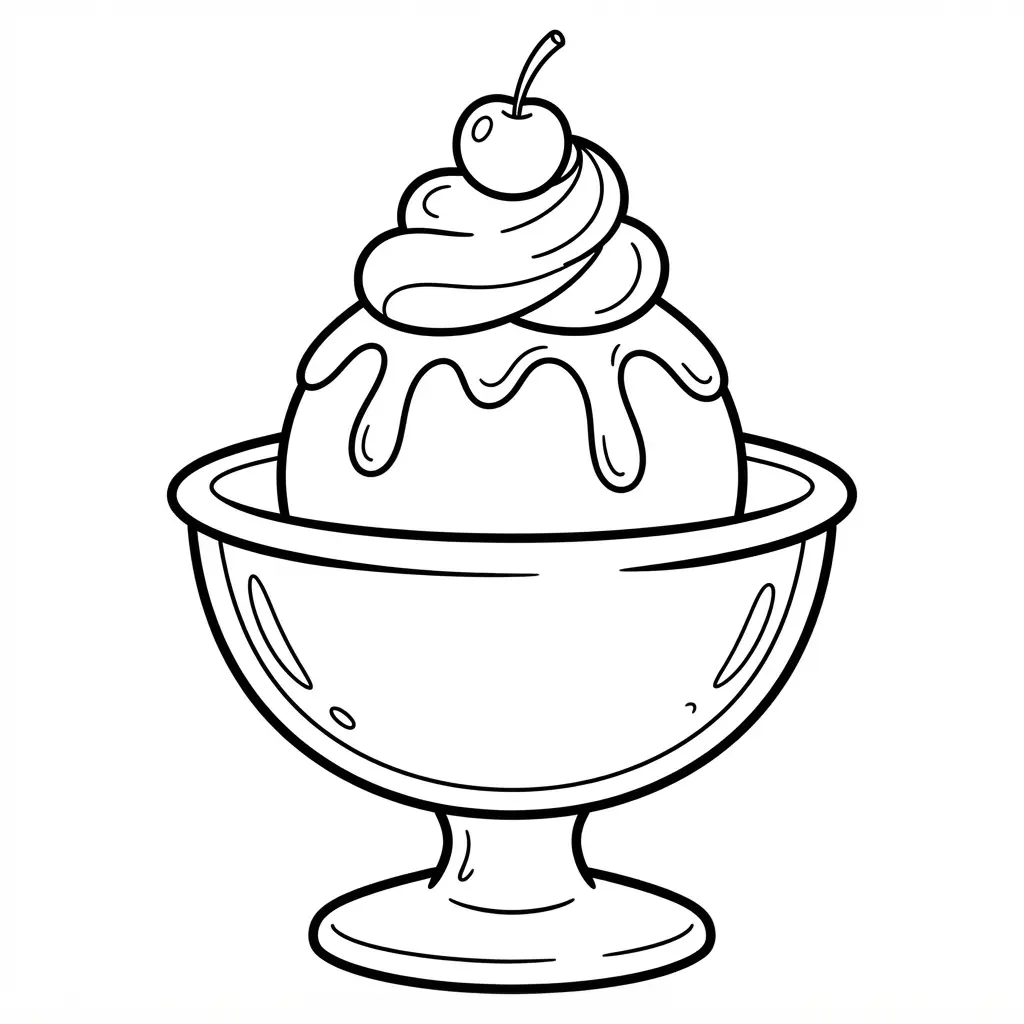
This sundae bowl brings instant personality to ice cream coloring pages, with sparkling eyes, rosy cheeks, and a tiny smile beneath the scoops. Start with a rounded bowl outline, then fill it with three soft scoops, whipped cream, sprinkles, a cherry, and a little spoon. Add miniature arms around the bowl, leaving hearts and stars spaced around the dessert.
Sound complicated? It is not, especially with broad shapes and clean outlines. I love pink, mint, lavender, cream, and baby blue for a gentle pastel finish. Keep small white spots on the cherry, scoops, and bowl for glossy highlights, then add dark-gray lines only where the features need definition.
Washable crayons suit younger artists, while colored pencils create smooth shading on larger areas. The friendly face makes every color choice feel playful, and each sprinkle adds a satisfying detail. Trust me on this one: a little spacing keeps the page cheerful and easy to color. Children often return to ice cream coloring pages because the expressions guide their shading choices.
3. Fruity Popsicle Duo Design For Summer Coloring
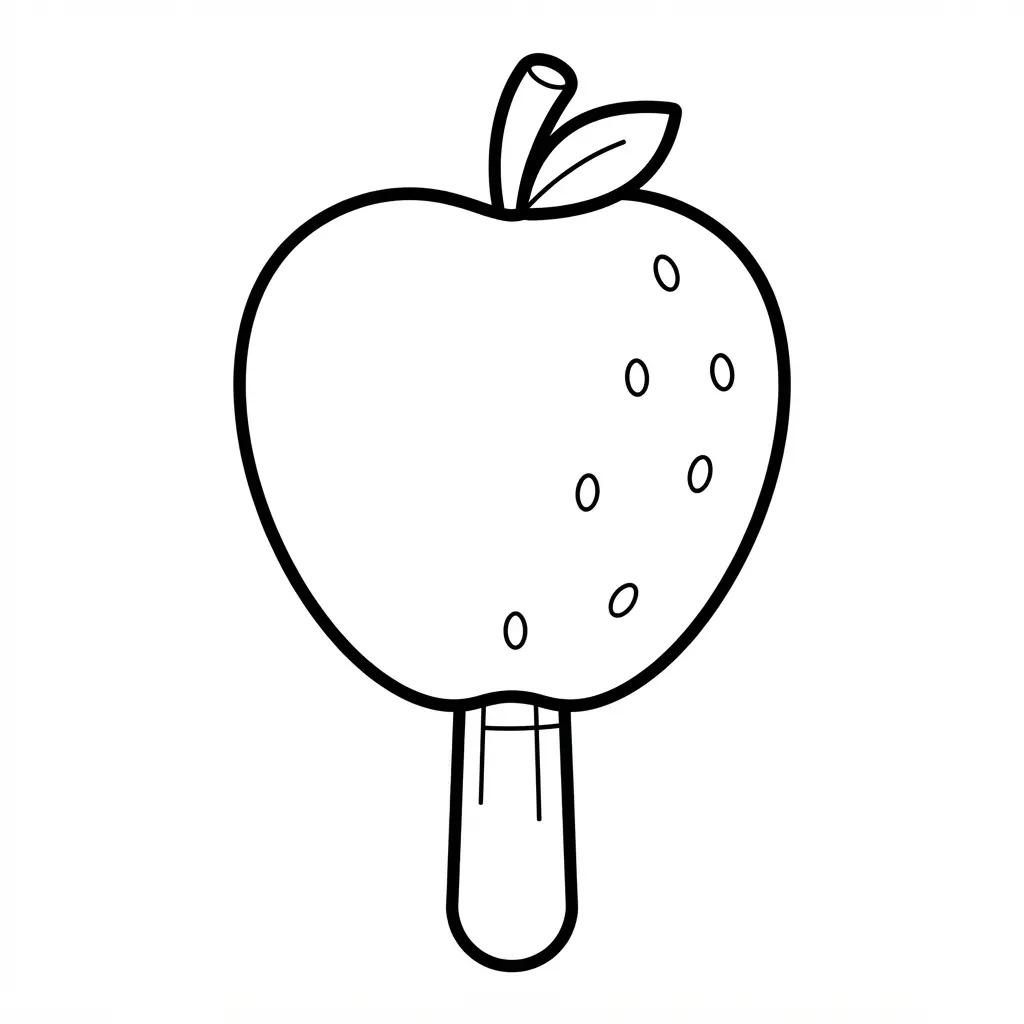
This one is a favorite because two cheerful popsicles make the page feel ready for sunny days. Start with bold outer outlines, placing the watermelon pop beside the pineapple pop so both shapes stand out clearly. Give the watermelon pop curved stripes and several seed shapes, then add leafy points to the pineapple pop for an easy fruit cue. Scatter citrus slices, berries, sparkles, and a few melting droplets around the pair, keeping the background light. I love how these recognizable details make the picture playful without crowding the printable black-and-white line art.
Sound complicated? It is not. The open coloring spaces suit crayons, colored pencils, and markers, while clean lines help younger artists stay inside each shape. Keep shading and gray fill away, then enjoy the fresh summer feeling in every color. Summer parties pair beautifully with ice cream coloring pages printed in advance.
4. Melting Ice Cream Character Face With Friendly Features
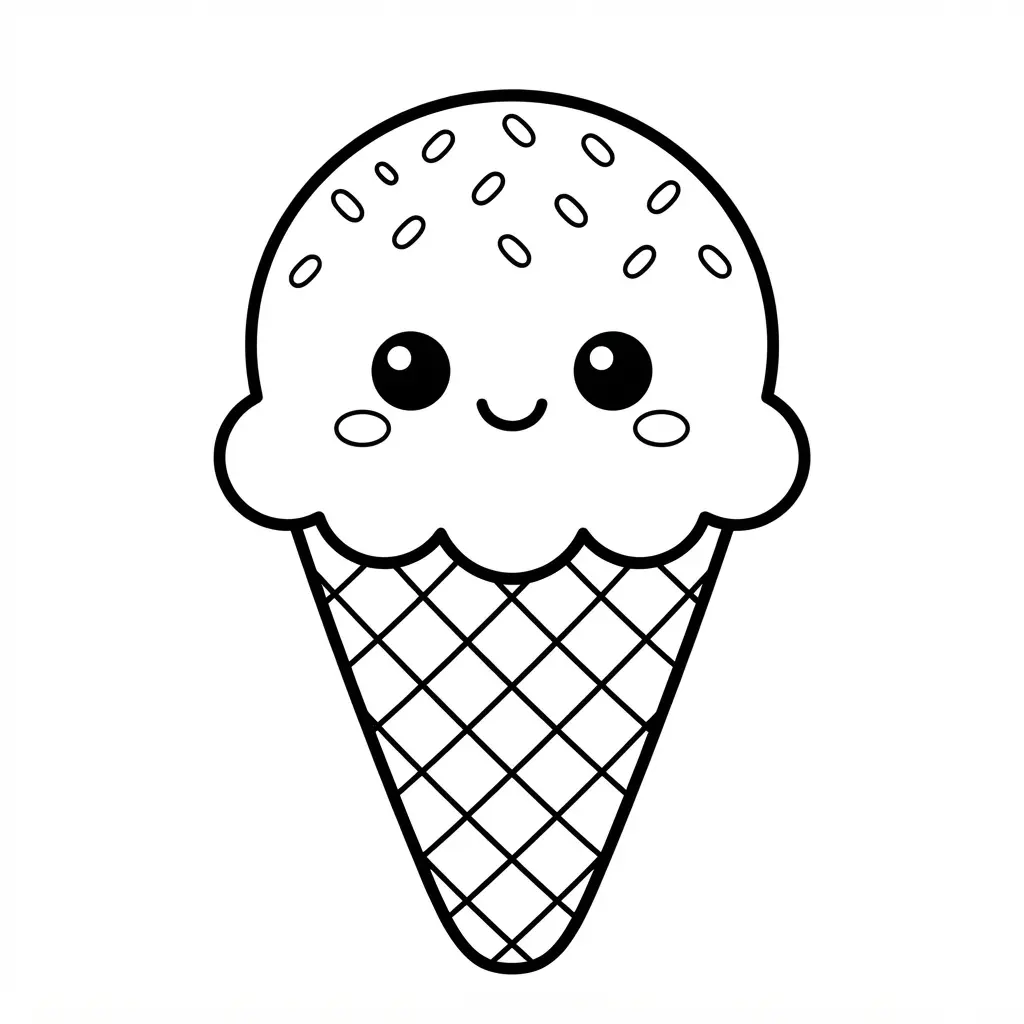
The finished character looks soft and sweet, with glossy eyes, pink cheeks, and slow, rounded drips sliding from each side. Isn’t it satisfying when a scoop seems to smile back at you? Start with a rounded scoop outline, keeping the face large and open for easy coloring. Add a warm mouth, then place the scoop over a colorful waffle cone with a simple crisscross pattern.
Scatter sprinkles around the top, then fill the background with a light pastel shade so the face stays easy to see. Keep the eyes and smile larger than the extra details. I love this one because smooth curves make the character feel gentle, while the melting edges give it a lively pose. Use smooth drip curves instead of rigid points, and leave plenty of space around each cheek.
Your coloring page will feel cheerful and welcoming from the first glance. Many parents save ice cream coloring pages like this one for rainy afternoon routines. The gentle lines prevent frustration for small hands.
5. Sprinkle Covered Soft Serve Swirl For Kids
Many kids think every sprinkle needs a perfect pattern, but loose dots look more playful. Start with a smooth cone and a rounded soft-serve swirl, then add short curved lines to show the creamy shape. Use a light pencil first, so small hands have room to adjust the top and cone. Does the swirl look tricky? Break it into three wide curves, keeping each line gently smaller as it rises.
I love adding sprinkles last. Place tiny ovals, dots, and short dashes across the frosting, leaving gaps so the topping stays easy to color. Bright pink, sunny yellow, and mint green give the page a cheerful finish, while a brown cone adds contrast. Keep sprinkles inside the swirl, and use bold crayon colors for a fun payoff. Kids will feel proud when their soft serve looks ready for a pretend lick.
Practicing gentle curves builds fine motor control while using ice cream coloring pages. I suggest starting with light strokes and layering gradually. This method prevents heavy wax buildup.
6. Ice Cream Truck Summer Scene With Simple Background
Place the pastel ice cream truck in the center, then add rounded wheels, a serving window, a striped awning, and a vintage cone sign above the roof. Does your scene feel ready for a summer story? Draw a smiling vendor handing an ice cream cone to a happy child beside the window, keeping both figures large enough for easy coloring.
Fill the upper space with a sunny blue sky and soft clouds, then add green grass, a few flowers, and a beach ball near the bottom edge. I love how the open background keeps every cheerful detail clear without crowding the page. Use bright colors for the awning and accents, gentle pastel shades for the truck, and clean outlines for a friendly storybook finish.
Large background areas make ice cream coloring pages ideal for group sharing sessions. Children naturally divide sections and trade markers during this activity. The open layout prevents accidental smudging.
7. Unicorn Horn Ice Cream Cone With Star Details
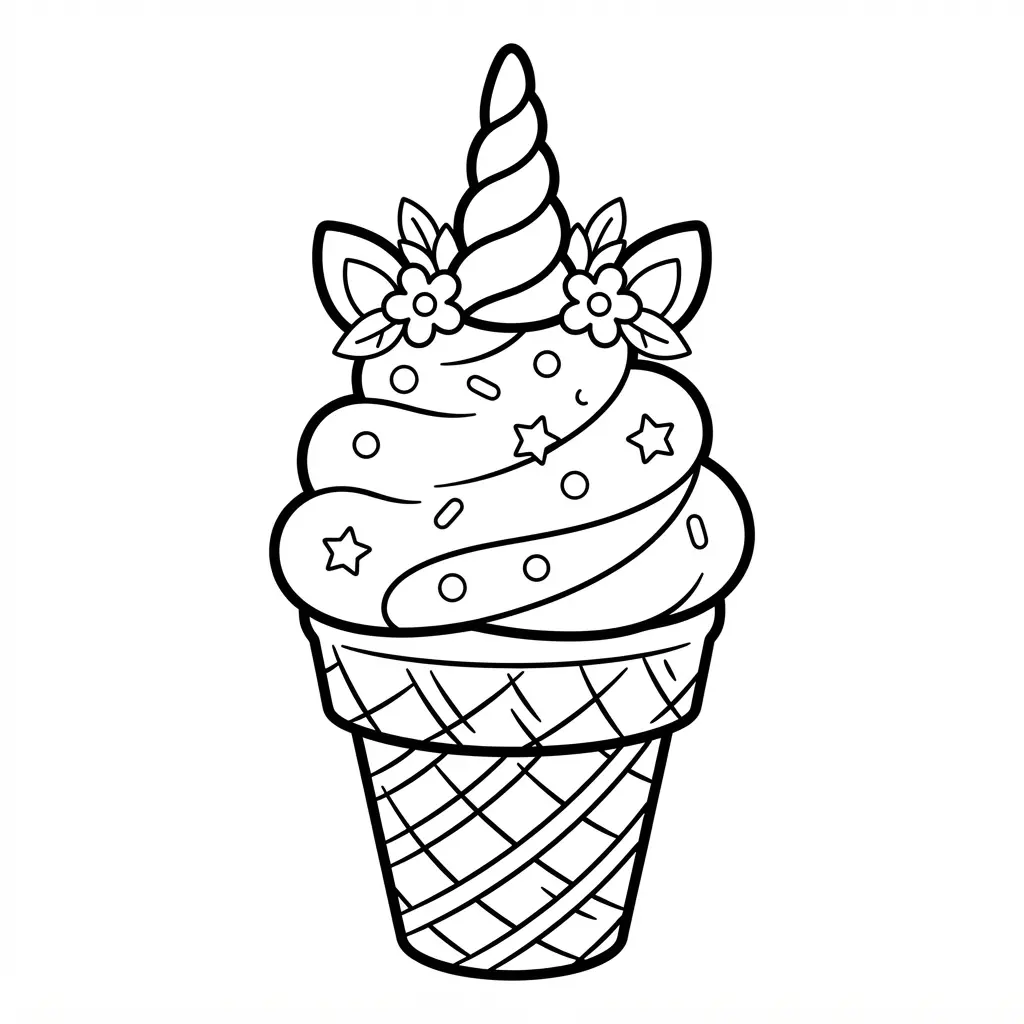
Who wouldn’t smile at a cone topped with a unicorn horn and tiny stars? Start with a horn-shaped wafer, then outline a tall swirl of lavender and pink ice cream above it. Add miniature fondant stars, pearl sprinkles, shimmering sugar crystals, and a little edible glitter, leaving each decoration clear for easy coloring. Soft rainbow colors give the picture a gentle fairytale feel, while the star details keep the design lively.
I love this one because every section offers a small, satisfying color choice without crowding the page. Tip: use pale pencils for the ice cream, then add a deeper shade along each swirl to make the scoops stand out. This technique highlights ice cream coloring pages with subtle depth and clean edges.
8. Chocolate Drizzle Banana Split With Fruit Toppings
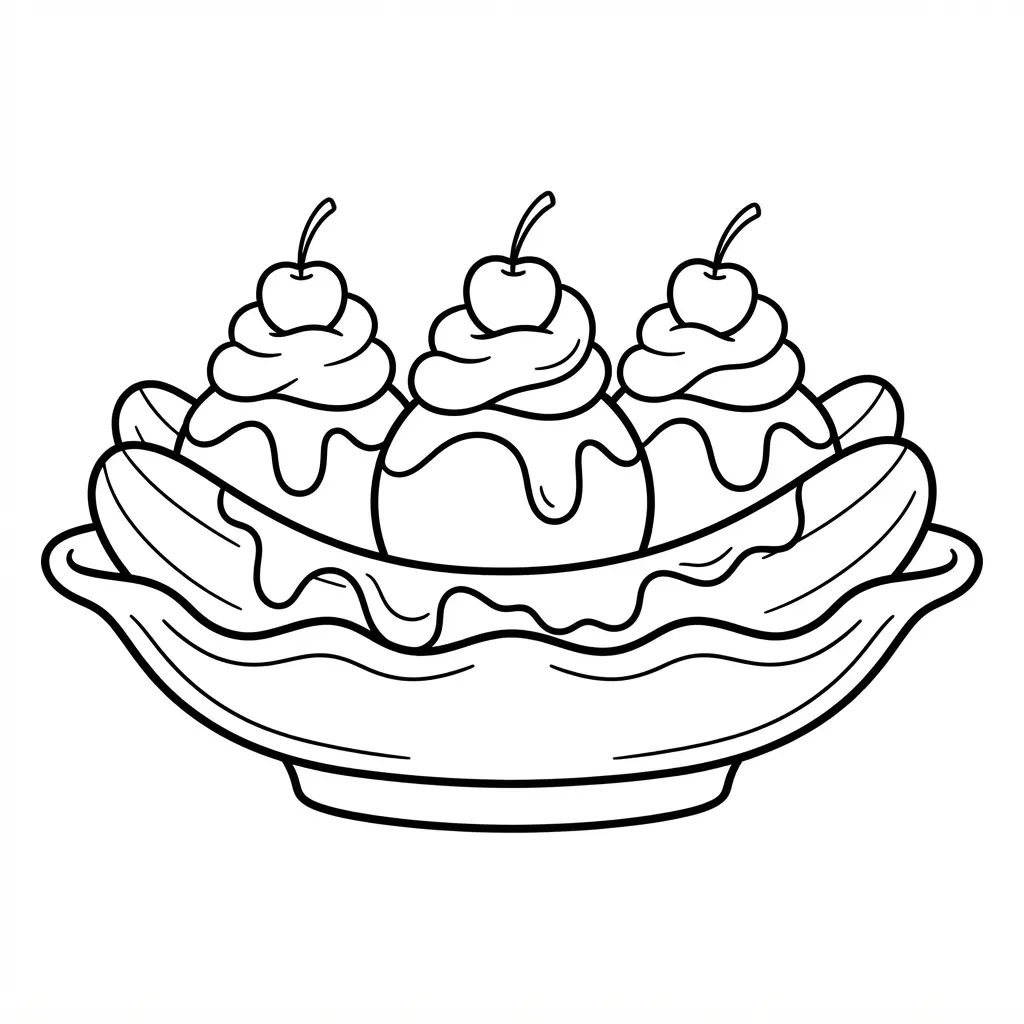
This banana split brings a cheerful mix of big scoops and tiny fruit details to ice cream coloring pages. Start with a long dessert dish, then place two lengthwise banana halves around two or three rounded scoops. Add sliced strawberries, blueberries, and pineapple chunks, keeping each topping separate for clean coloring spaces.
Isn’t the chocolate drizzle the fun part? Use curved chocolate syrup lines across the scoops and fruit, then add whipped cream, chopped nuts, and a cherry for extra detail. I love using pale yellow bananas, red strawberries, blue berries, and golden pineapple, while each scoop gets its own flavor shade.
The clear arrangement keeps the page satisfying without crowding it, so grab your favorite colors and enjoy the finished dessert. Children appreciate ice cream coloring pages that separate each topping into distinct zones. This layout reduces frustration during long sessions.
9. Mermaid Tail Ice Cream Sundae With Ocean Accents
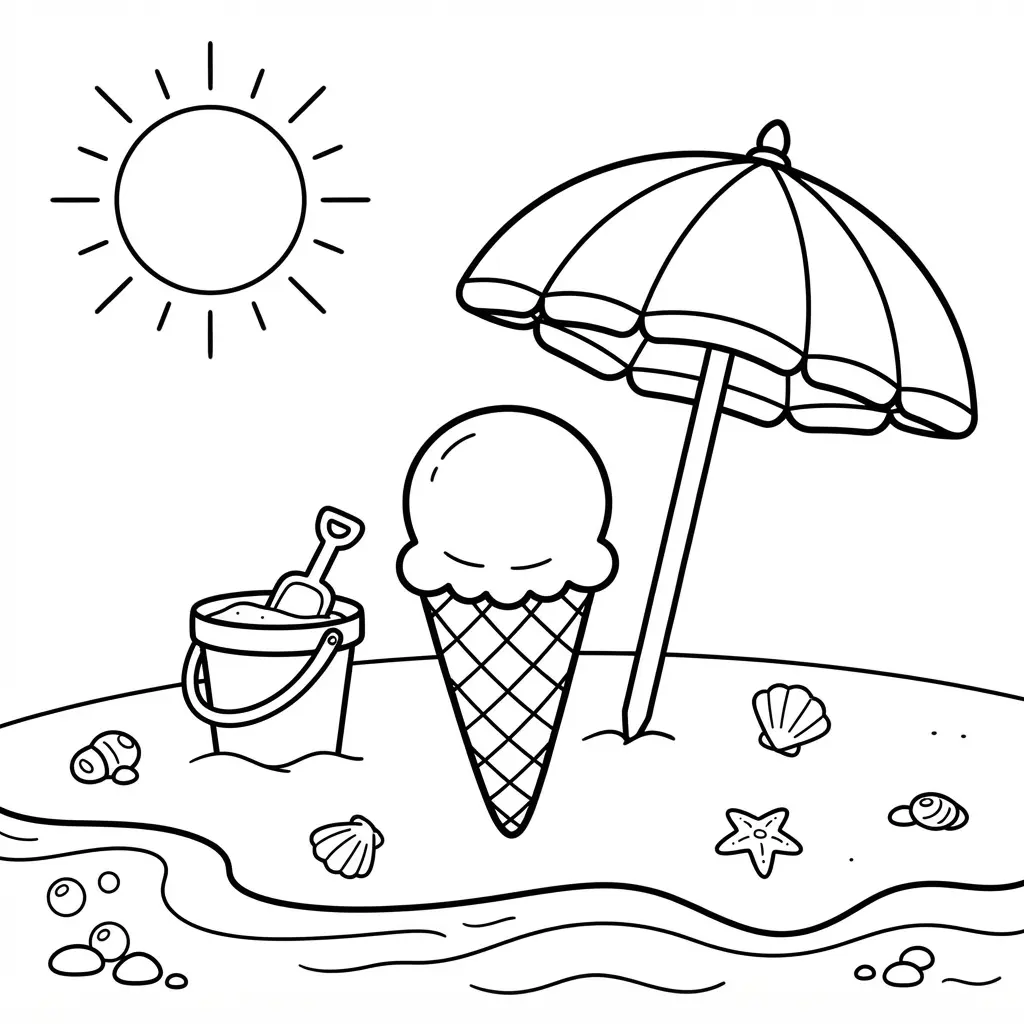
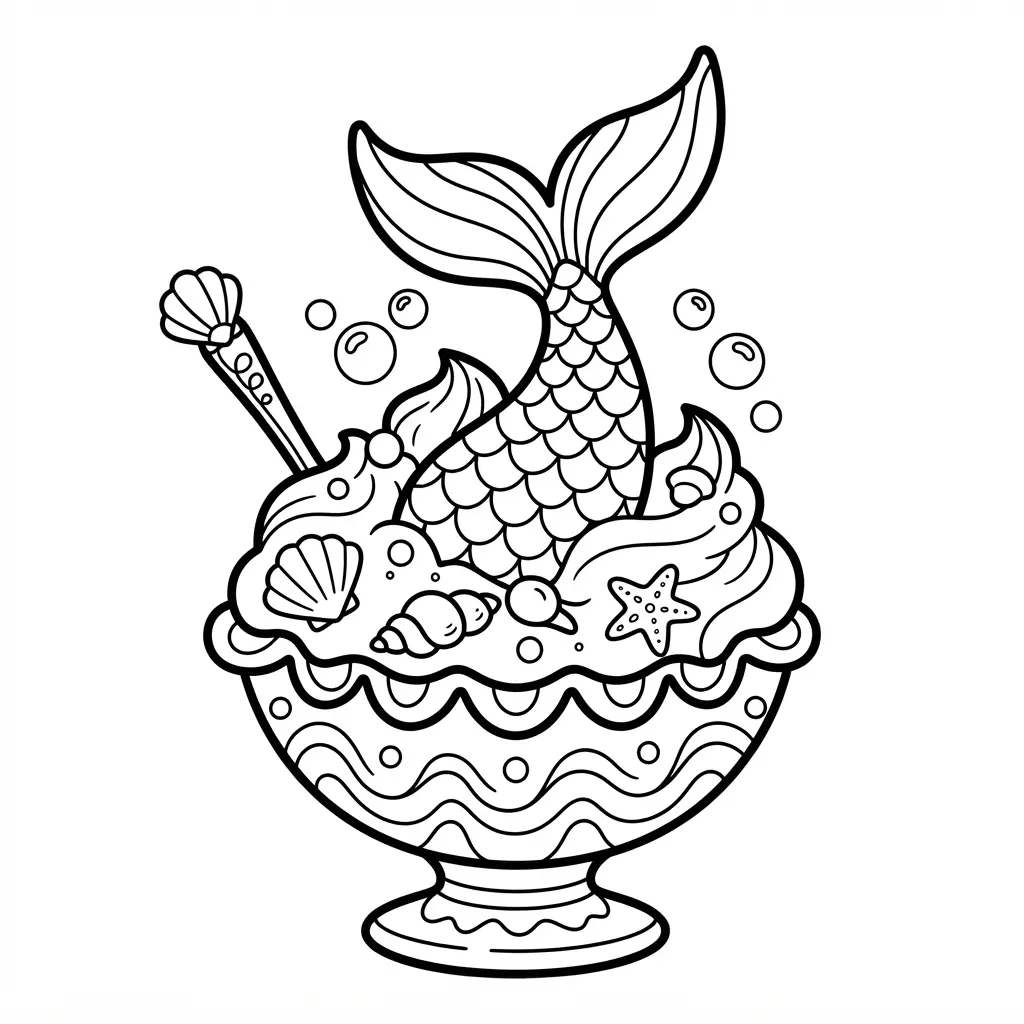
This is one of my favorite ice cream coloring pages because the mermaid tail turns a sweet treat into a playful underwater scene. Sound complicated? It isn’t. Start with a clear sundae glass so every pastel layer stays visible. Stack blue vanilla, cotton candy, and strawberry scoops, then place crushed graham crackers at the base for a sandy ocean floor. Add whipped cream, pearl sprinkles, blue sugar crystals, candy coral, and gummy sea creatures.
A turquoise drizzle and chocolate tail give your picture clear focal points. I love adding tiny bubbles and scalloped coral shapes around the glass, since these details make each coloring space feel purposeful. Keep pastel pink and blue beside warm sandy brown, then save silver or white for the edible glitter.
Smooth scoops beside crunchy toppings create a satisfying mix of shapes and textures. Trust me, finish with small sparkle marks around the tail and feel proud of your cheerful scene. Blending aquatic themes into ice cream coloring pages encourages imaginative storytelling.
10. Dinosaur Themed Ice Cream Party With Treats
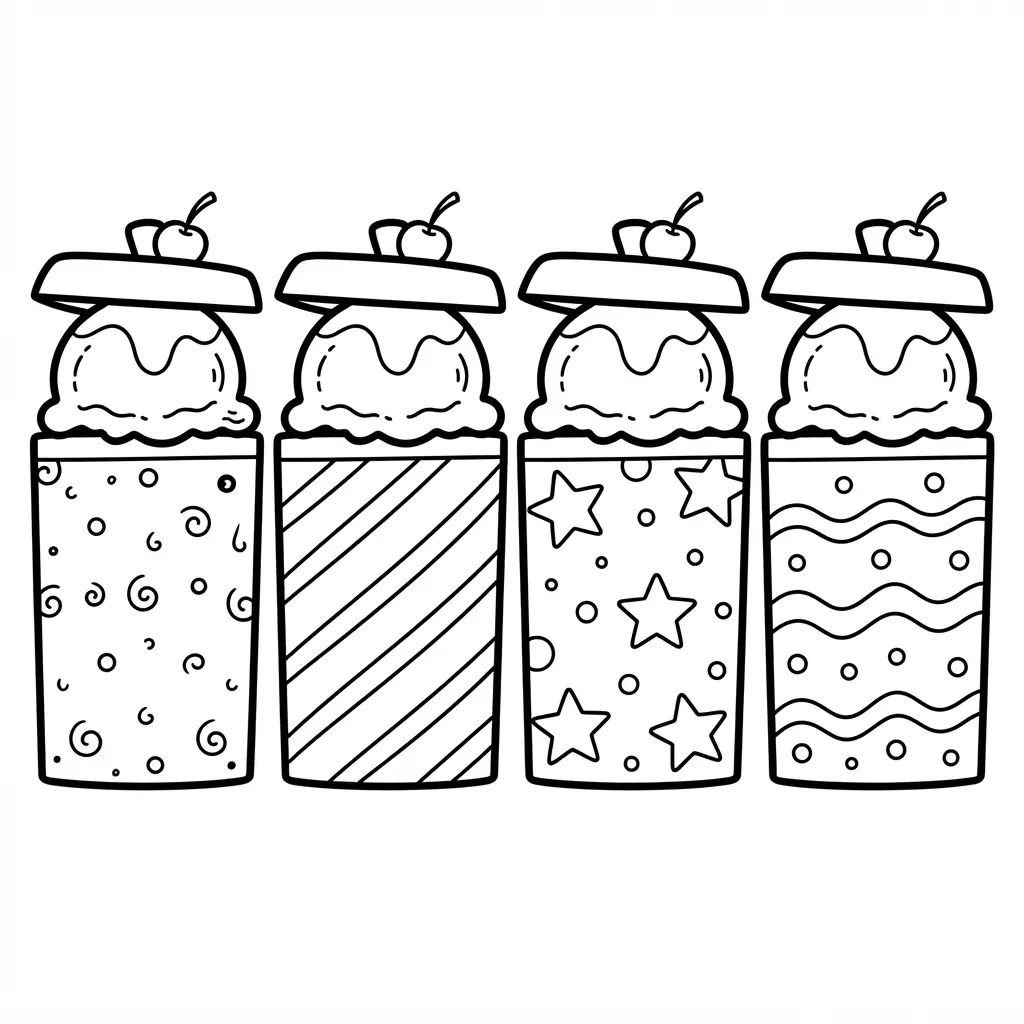
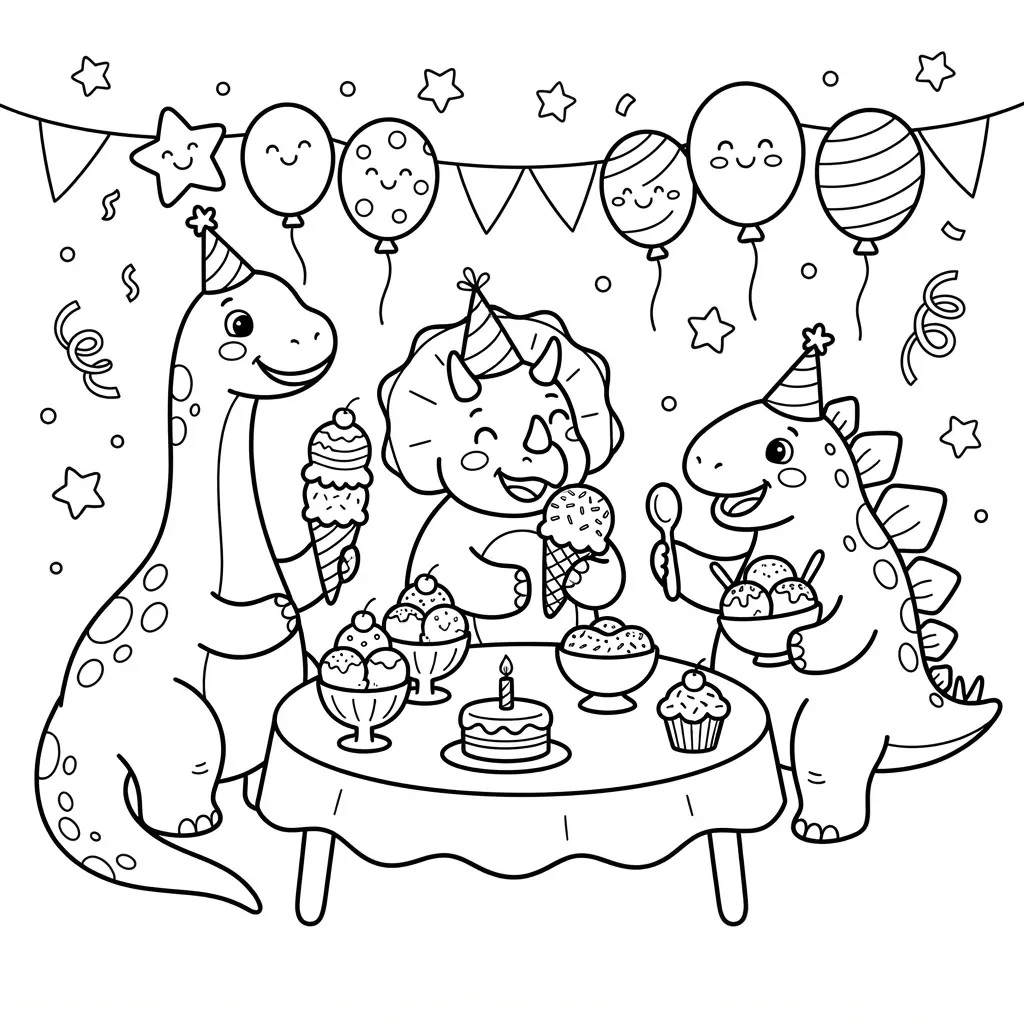
Green sherbet scoops, chocolate sprinkles, and gummy worms fill a cheerful prehistoric party scene, while tiny footprints lead toward a table of treats. Start with a large friendly dinosaur beside an ice cream bar, then add jungle leaves, balloons, toy dinosaurs, and a “Roar-some Ice Cream Party!” sign. Use earthy greens and browns for dinosaurs and fossils, then bring in orange, yellow, red, and pink for cones, sundaes, cupcakes, and candy eggs.
Sound complicated? It isn’t. I love adding a volcano brownie, fossil cookies, and an excavation tray with toy fossils because each detail gives children a fun shape to color. Keep the main dinosaur and dessert area open, so the page feels playful instead of crowded. Themed gatherings benefit from ice cream coloring pages that match specific party decor.
11. Cute Puppy Holding Popsicle With Summer Charm
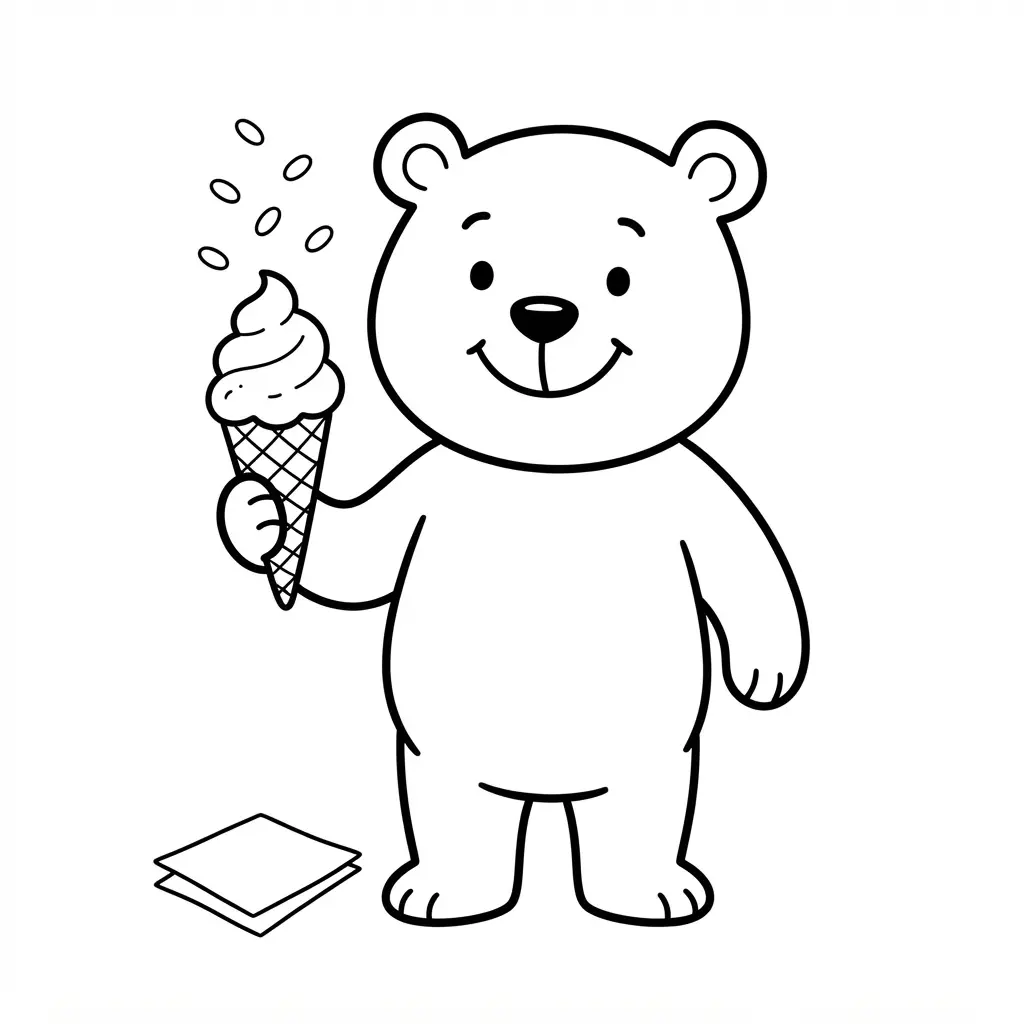
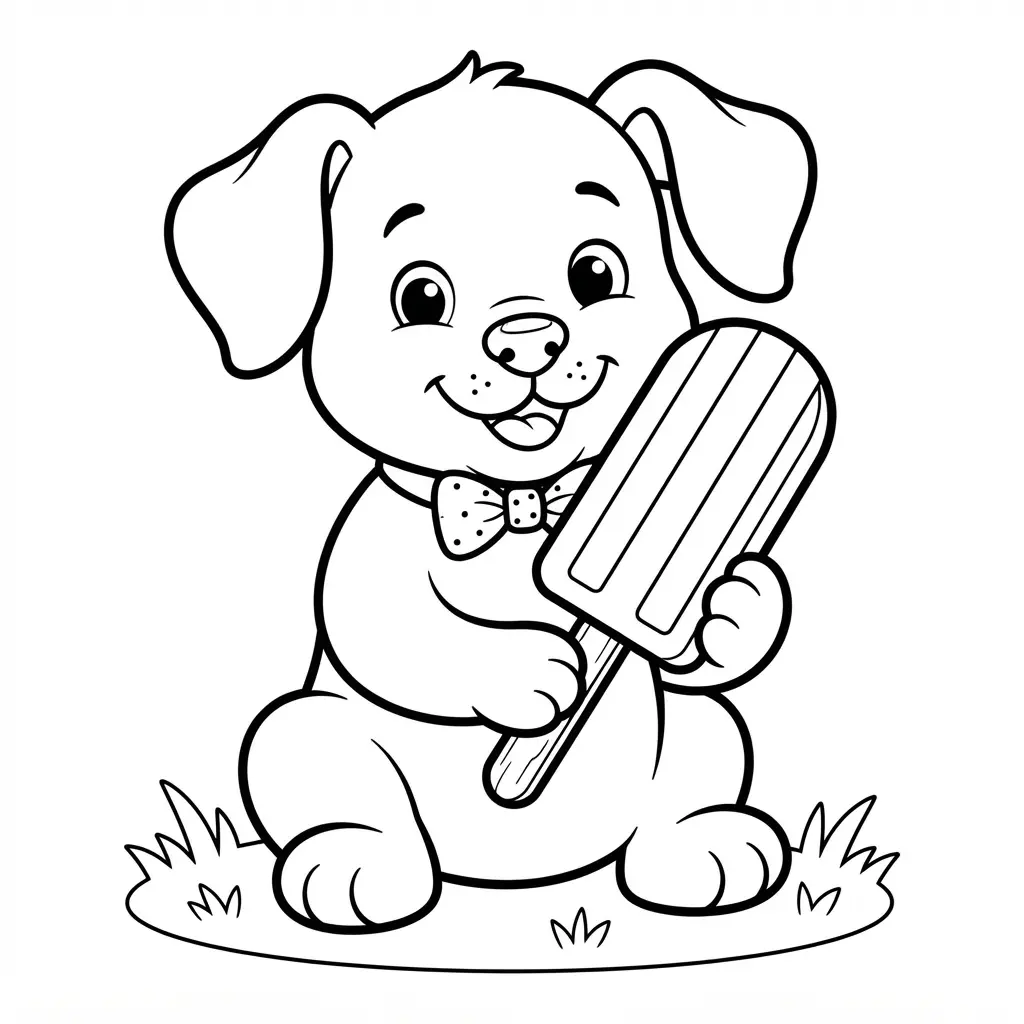
A common mistake is making the popsicle tiny, so the puppy loses its sunny star role. Start with a fluffy golden puppy, giving its happy face wide eyes and a lifted smile. Place a melting popsicle between its paws, with rounded edges and a few drips for instant summer appeal. Add tiny sunglasses and a floral bandana, keeping each outline open for easy coloring.
Is there anything sweeter than this friendly summer scene? Frame the puppy with sunflowers, beach towels, and sparkling sunshine, while keeping these details smaller than the main character. I love using warm pastel shades for the fur and towel, then adding bright accents to the treat and flowers. Pro tip: leave small white spaces around the drips so the popsicle stays clear. Your finished page will feel cheerful, playful, and ready for a sunny coloring session.
Animal companions naturally increase engagement with ice cream coloring pages. Children enjoy adding their own pet details alongside the provided outlines. Keep pressure light for the fur texture.
12. Outer Space Planet Ice Cream With Starry Details
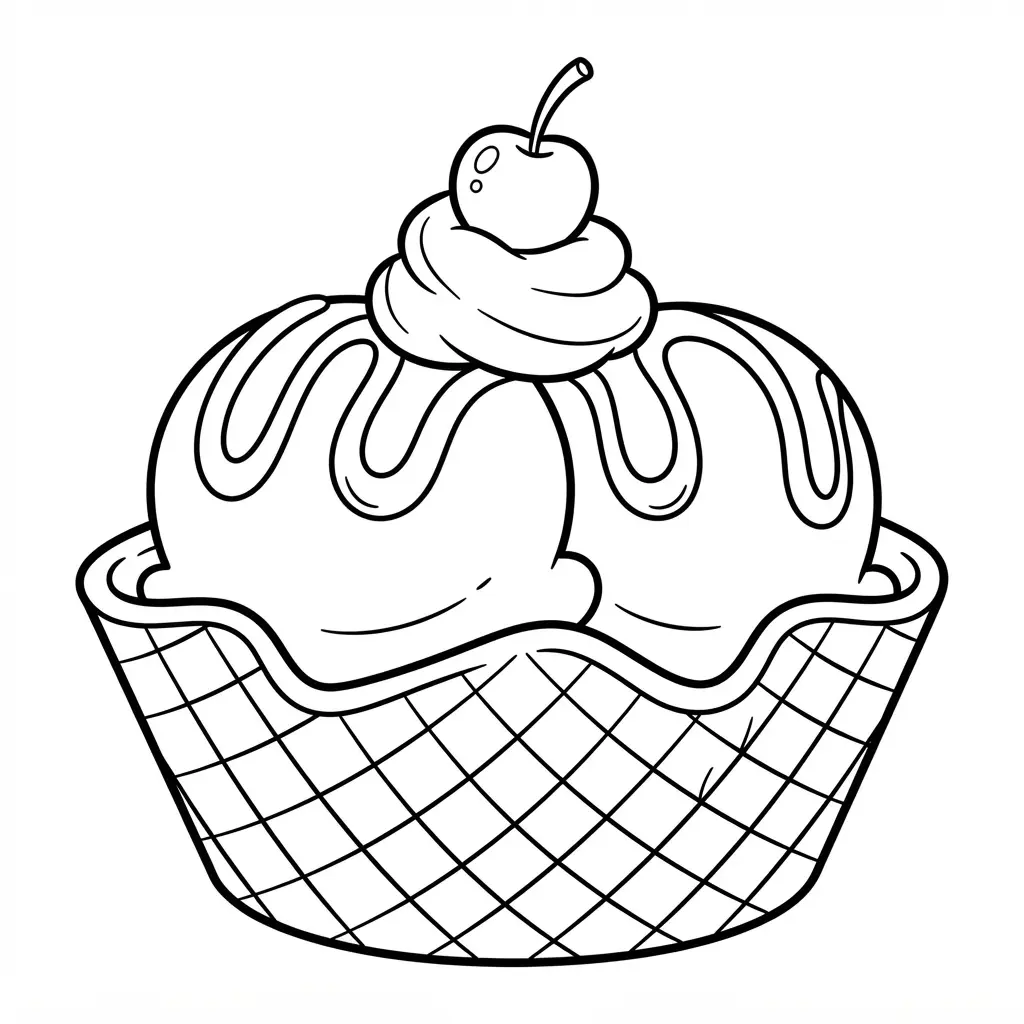
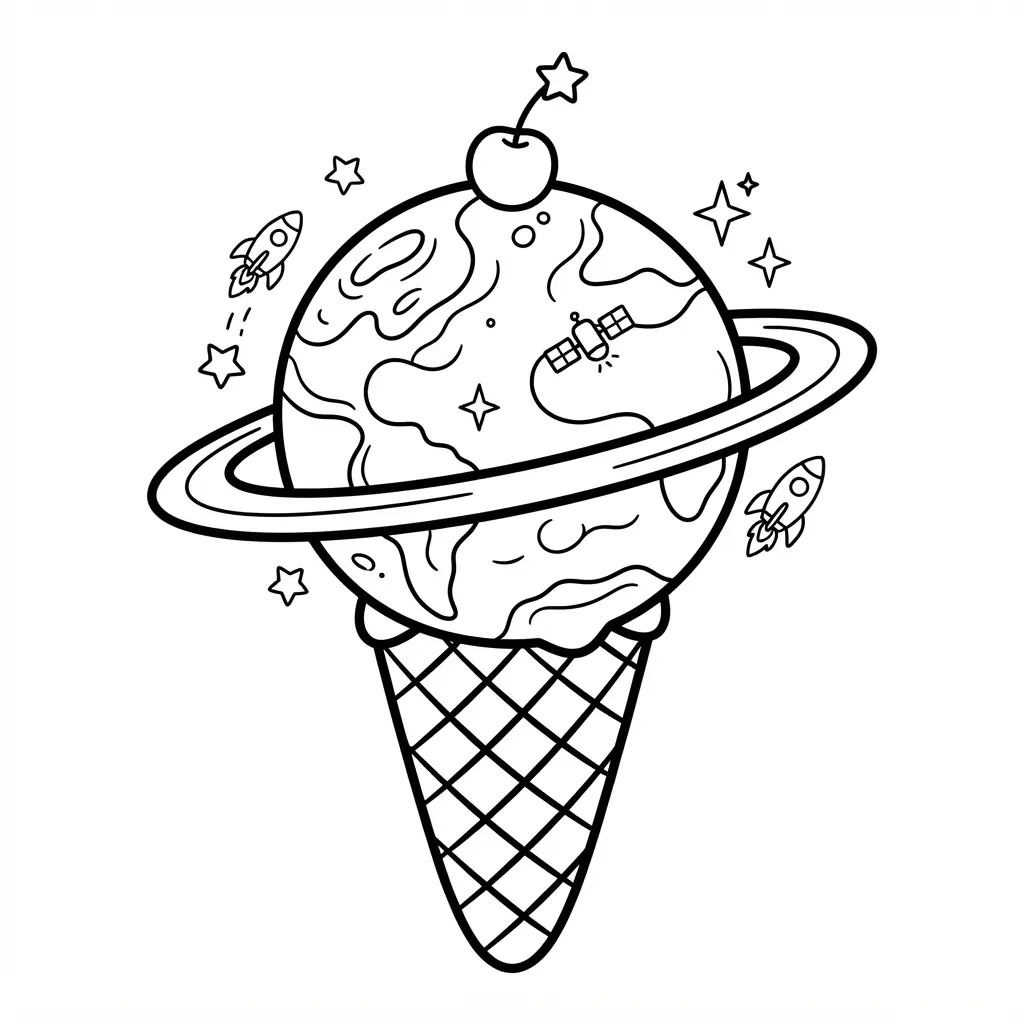
Start by outlining the sundae with a round, planet-like scoop, then add curling bands across its surface. Use a deep navy background behind it so the purple, blue, and pink swirls stand out. Sound complicated? It is not, and your page will soon feel full of motion. Fill the scoop with smooth color changes, leaving small gaps for sparkling sugar crystals.
Dot star-shaped sprinkles around the curves, then place tiny candy planets near the edges and a miniature chocolate rocket beside the dessert. I love how each small detail gives your eyes another spot to visit. Finish with twinkling stars, soft nebula clouds, and pale cosmic light around the dessert. Keep the rocket clear, and vary the star sizes so the scene feels open rather than crowded. For smoother blends, layer light strokes over darker colors, then add white highlights last. Try colored pencils for gentle transitions, and feel proud when your space dessert scene comes together.
Cosmic layouts expand creative boundaries for ice cream coloring pages. Dark backgrounds make vibrant toppings pop without extra effort. Leave ample drying time for layered markers.
13. Ice Cream Sandwich Snack Pattern With Repeating Shapes
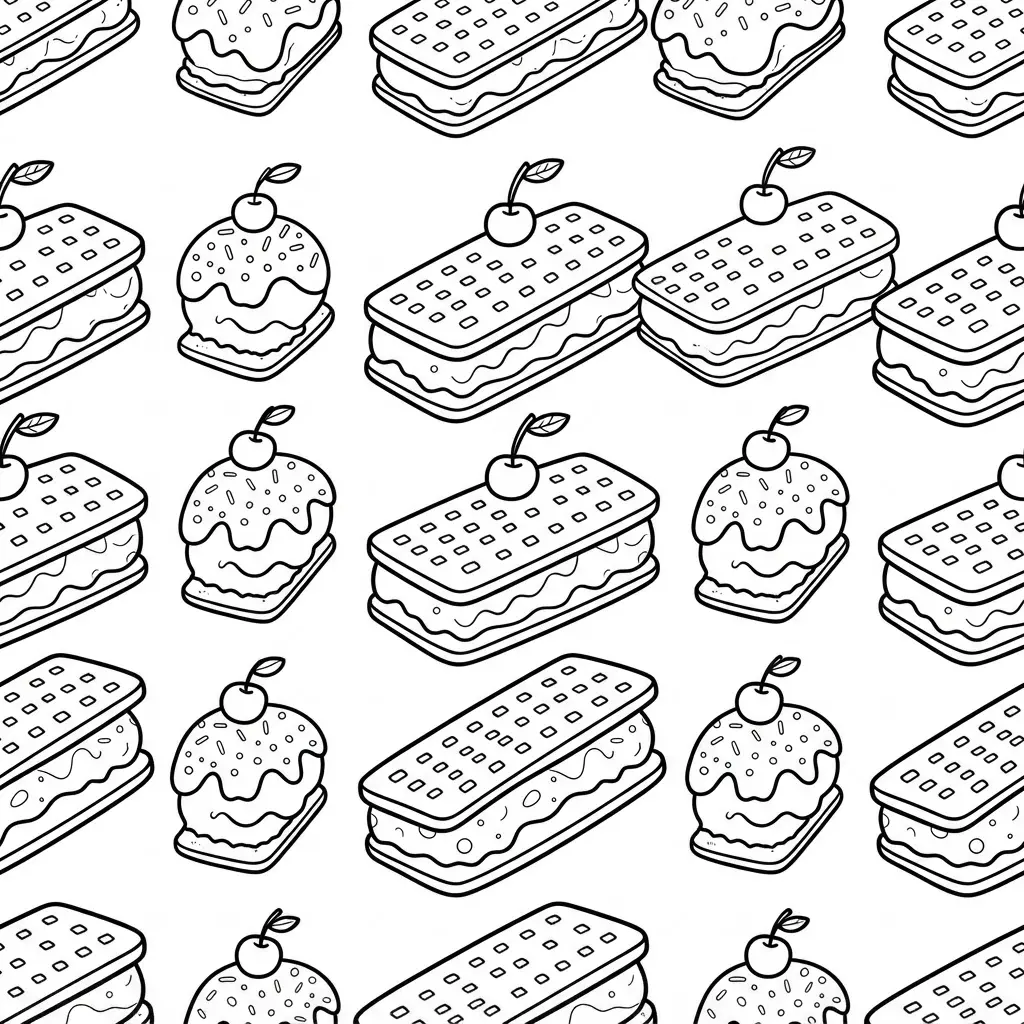
Ever wondered how a repeating ice cream sandwich pattern is meant to flow? The supplied reference does not show the sequence, so the exact shapes, order, colors, and spacing aren’t available to describe. Find a pattern reference image before choosing coloring tools, then follow each repeated section from left to right without guessing.
This approach keeps your coloring activity accurate while leaving room for your own palette once the layout is confirmed. I love patterns like this because familiar snack forms and steady repeats often feel calm and satisfying, but the visual reference must come first. Keep the page flat, use light pressure, and pause whenever a shape becomes unclear. Trust me, careful observation will give your finished page a cleaner rhythm.
Pattern recognition improves hand-eye coordination through ice cream coloring pages. I suggest tracing the repeating unit lightly before adding color. Consistent spacing creates a polished result.
14. Princess Crown Topped Sundae With Royal Details
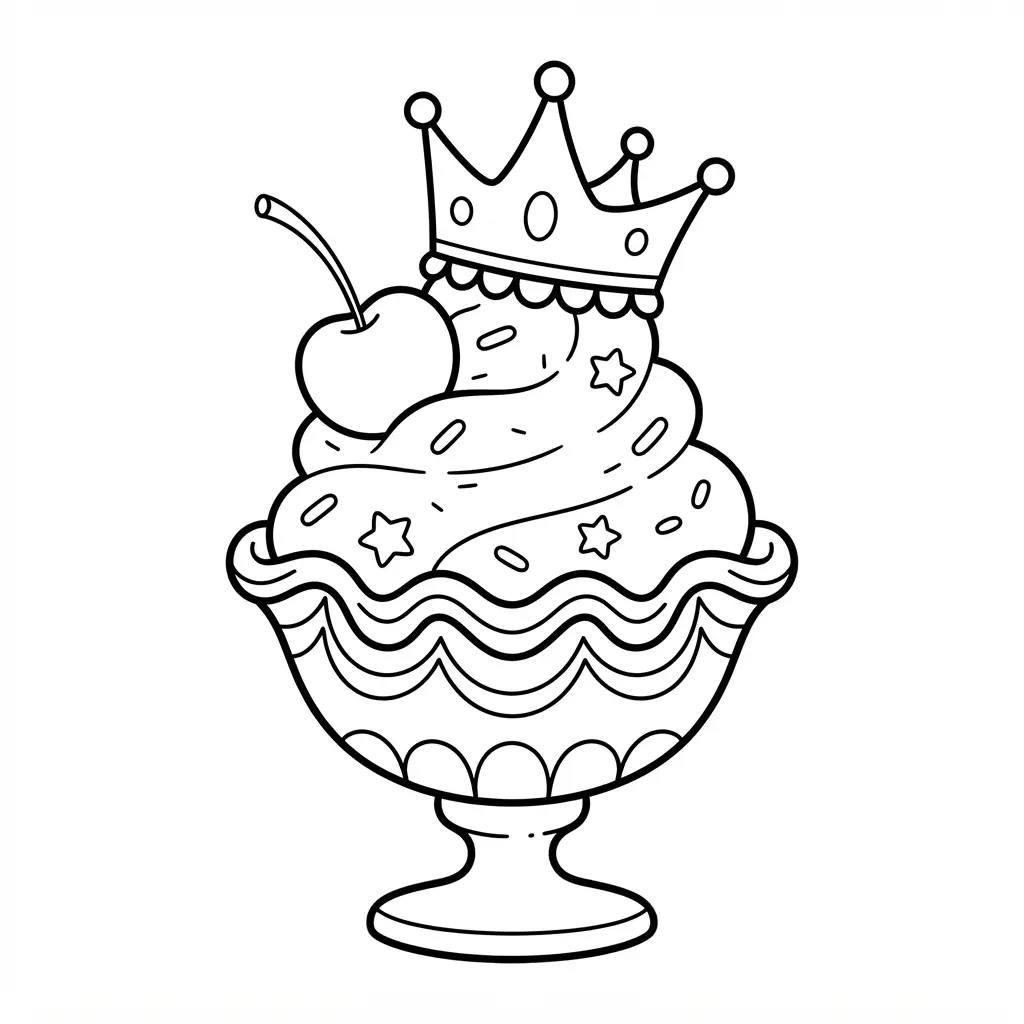
This sundae feels like a tiny royal treat, and I love how friendly it is for beginners. Start with a clear sundae glass, then outline vanilla scoops, chocolate fudge, and strawberry sauce in separate bands. Place a pointed crown topper above the whipped cream, leaving plenty of space around its points. Add round sugar pearls, short sprinkles, and thin gold syrup lines, keeping each shape open for easy coloring.
Sound fancy? It is much easier once the crown becomes your main focal point. Use pink or red for the strawberry drizzle, brown for fudge, and soft gold for royal accents. This layout works because familiar dessert layers pair with playful princess details. Trust me, leaving clean gaps around the pearls keeps the page neat and makes every color pop.
Themed accessories elevate the appeal of ice cream coloring pages for young audiences. Metallic gel pens highlight crown edges beautifully. Keep strokes light near delicate pearls.
15. Rainbow Layered Gelato Cup With Clear Sections
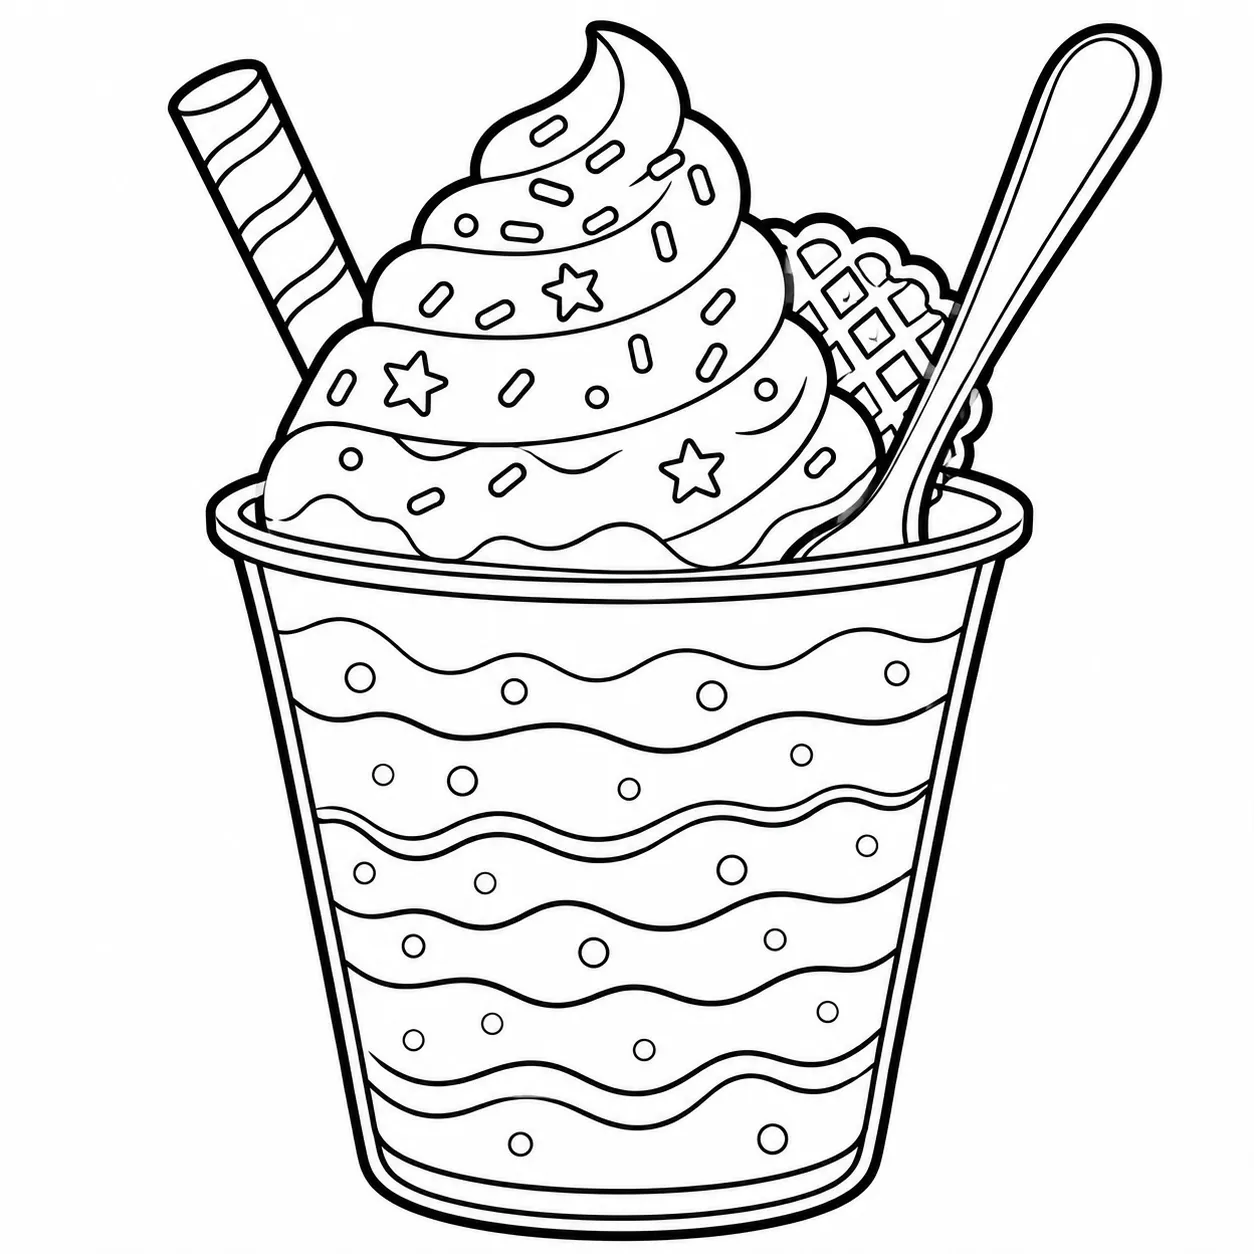
This one is my favorite because the finished cup looks cheerful before you add a single color. Start with stacked gelato layers, keeping each scoop or band separate from the next. Choose a rainbow order, then give every section its own shade, from pink and orange to green, blue, and purple.
Outline the cup with clear section lines so the gelato stays visible through the sides instead of looking like one solid shape. Sound complicated? It is not, since each open area has one simple job. I love how this layout turns ice cream coloring pages into an easy color experiment. Pro tip: leave small white spaces along the cup edges for a glass effect, then enjoy the neat rainbow finish.
16. Forest Animal Ice Cream Picnic With Simple Scenery
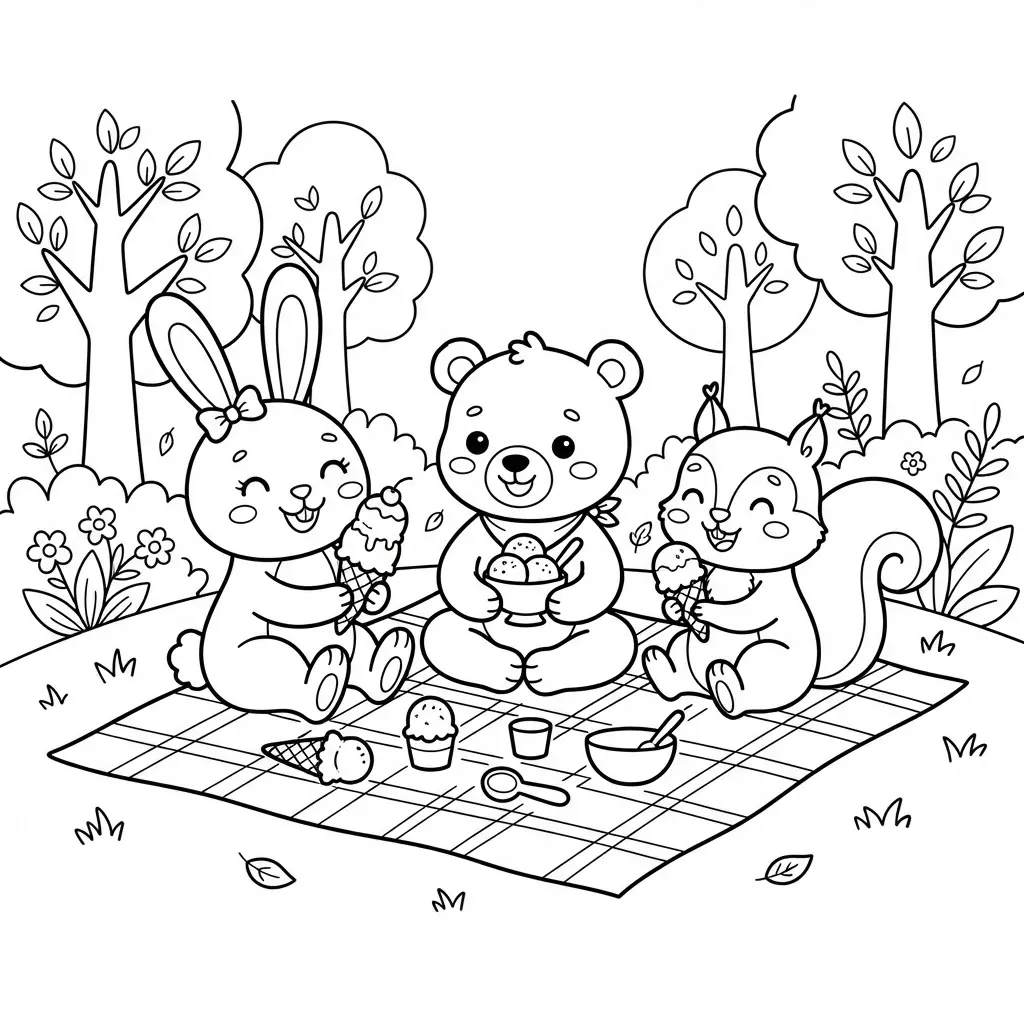
Pink scoops, leafy trees, and happy animal faces fill this forest picnic scene with a cheerful storybook feel. Ever tried giving each character a different treat? Place the bear, fox, rabbit, and raccoon around a picnic blanket, then add cones, cups, and a small basket of treats nearby. I love how the group arrangement gives children a little story to follow while they color.
Keep the scenery light with a few trees, bushes, flowers, and clouds, leaving the animals and desserts as the main focus. Use bold, clean outlines with minimal interior marks so every shape stays easy to recognize. Large open areas make color choices feel relaxed, while the basket and blanket clearly signal a picnic. Trust me, skipping dense textures keeps this page playful and easy to finish.
Nature backgrounds provide calm contrast for ice cream coloring pages. Earthy greens balance vibrant dessert tones effectively. Allow ink to set before handling.
17. Under Sea Marine Life Popsicles With Ocean Shapes
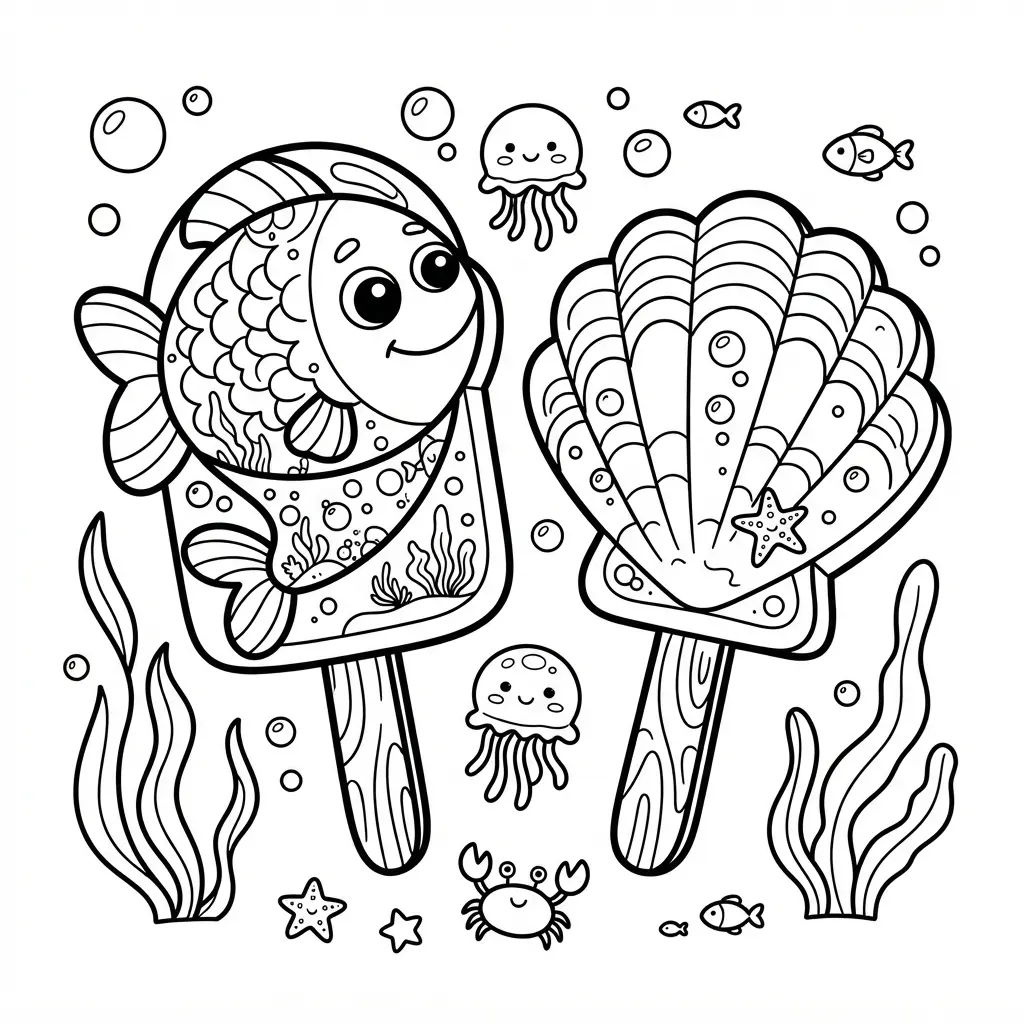
Using only blue often makes marine popsicles look flat, so bring in coral, yellow, purple, and green too. Start with a fish, whale, dolphin, seahorse, shell, octopus, or sea turtle shape, then add underwater details such as bubbles, wave lines, and seaweed. Ever tried giving each frozen treat a different animal face? I love how small smiling creatures turn a simple outline into a cheerful scene.
Keep the main shapes clear, coloring the ocean forms with blue or turquoise before adding bright accents around fins, shells, and tails. A starfish popsicle suits yellow or coral, while a purple octopus adds a fun contrast. These varied shapes give children more areas for creative choices, and the bubbles make every picture feel connected. Trust me on this one: the finished page feels playful, fresh, and full of personality.
Aquatic motifs encourage vibrant palettes for ice cream coloring pages. Layer transparent washes before adding opaque details. Clean brush tips maintain crisp edges.
18. Large Bold Alphabet Ice Cream Letters For Practice
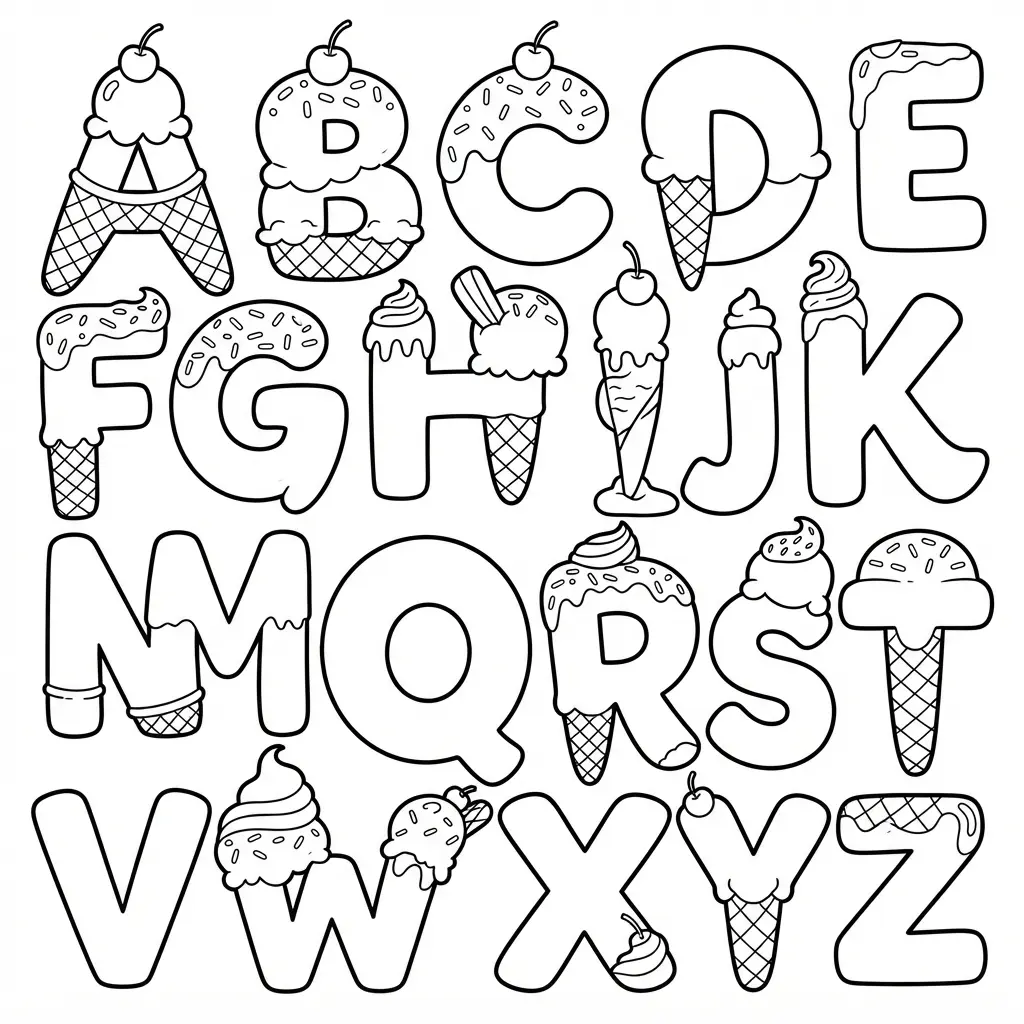
Set out a printable practice sheet, a pencil or crayon, and a flat writing surface. Begin with the bold uppercase alphabet in two rows, A–M and N–Z, then move to lowercase a–m and n–z. Sound complicated? It is not, since the clean layout keeps every section easy to follow and gives the alphabet a cheerful ice-cream theme.
Read each repeated model before writing, then copy every uppercase letter five times, such as A A A A A, on the row provided. Use the blank line after each sequence for independent handwriting, keeping each letter resting neatly on the guide. I love how this routine builds recognition and pencil control without taking the fun out of coloring pages. Work through all 26 letters, then celebrate each neat row with a smile.
Educational integration boosts retention through ice cream coloring pages. Trace letter shapes before coloring inside them. Consistent practice improves grip strength naturally.
19. Candy Covered Waffle Cone Bowl With Toppings
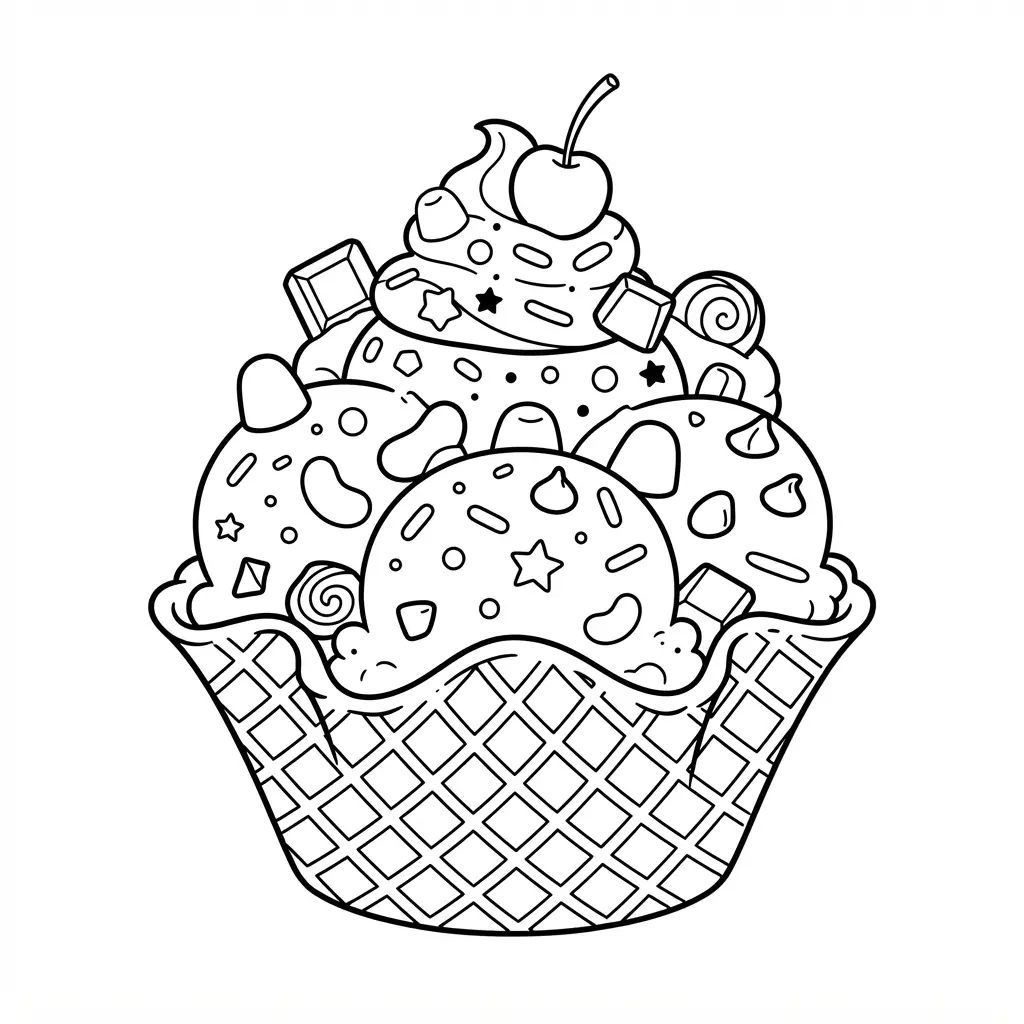
Isn’t a candy-coated rim the perfect way to make ice cream coloring pages feel extra festive? Start with a wide waffle cone bowl, using crossed lines to show its crisp pattern. Add scoops of ice cream or frozen yogurt inside, leaving room for a tall swirl of cream. Brush the edge with chocolate or candy coating, then fill the soft surface with sprinkles, crushed cookies, mini candies, and chopped nuts.
Keep each topping as a separate shape so you have plenty of small sections to color. Give the coating about 10 to 15 minutes to harden before filling the bowl. Finish with syrup, candy pieces, a cherry, and a generous curl of whipped cream. I love choosing a different shade for every topping because the finished picture feels cheerful and full. Pro tip: use repeating marks along the rim for a neat, tasty-looking border.
20. Birthday Celebration Ice Cream Feast With Party Decor
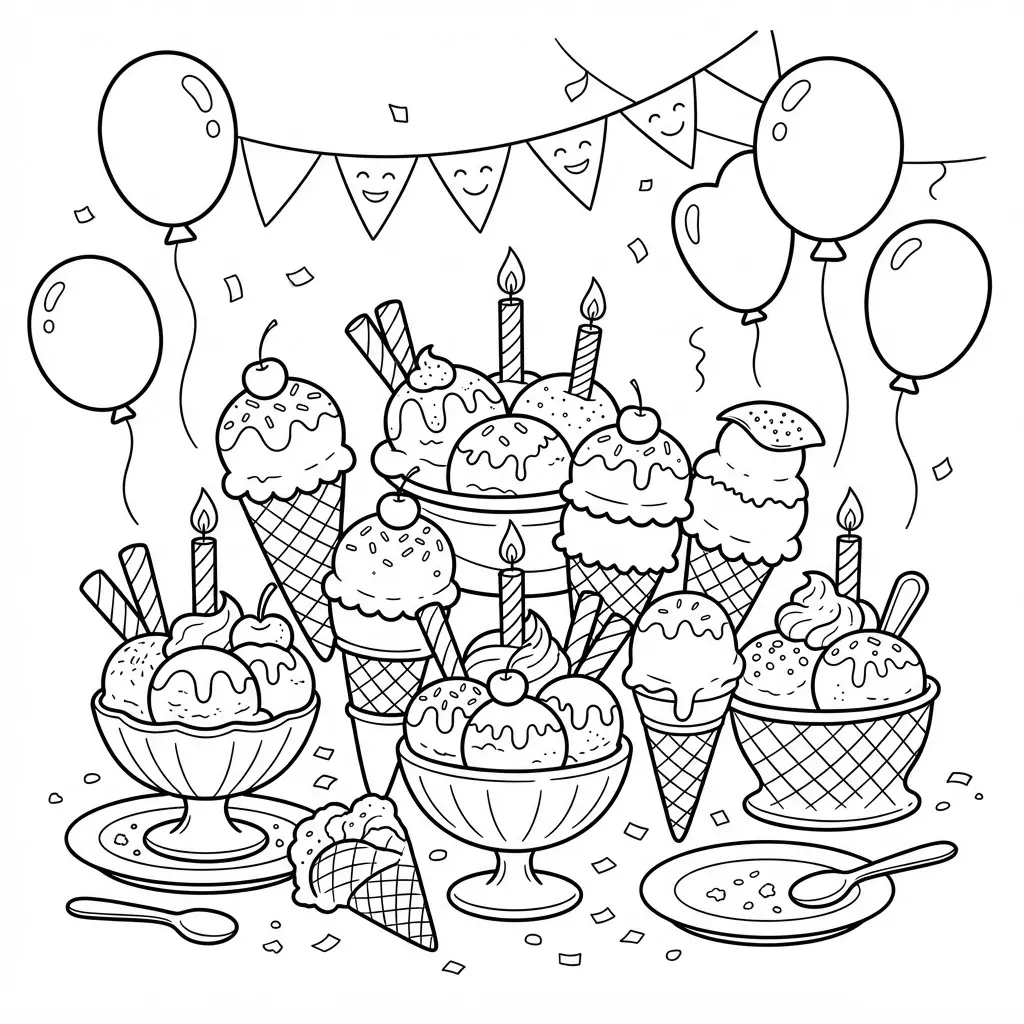
This birthday scene feels cheerful from the first scoop. Set up a sundae bar with several flavors, waffle and sugar cones, bowls, spoons, sauces, whipped cream, cherries, and topping bowls. Give each dessert a different finish for a feast ready for guests.
Surround the table with a Happy Birthday banner, pastel balloons, hanging cone cutouts, striped straws, and sprinkle-filled centerpieces. Add a sign reading “Scoop, Sprinkle, Celebrate!” Is your page feeling busy? Leave open spaces around each object, keeping every detail easy to color. I love how party decor completes the scene. Finish with a photo booth featuring cherry, cone, and sprinkle props. Vary bowls with chocolate chips, crushed cookies, fruit, coconut, cereal, and gummy candies.
Add an ice cream flavor bingo card nearby, then give each dessert its own topping mix. Your page will feel playful and personal. Celebration themes transform ice cream coloring pages into memorable keepsakes. Coordinate marker sets with party colors for cohesive results.
21. Waffle Cone Triple Scoop Stack With Bold Outlines
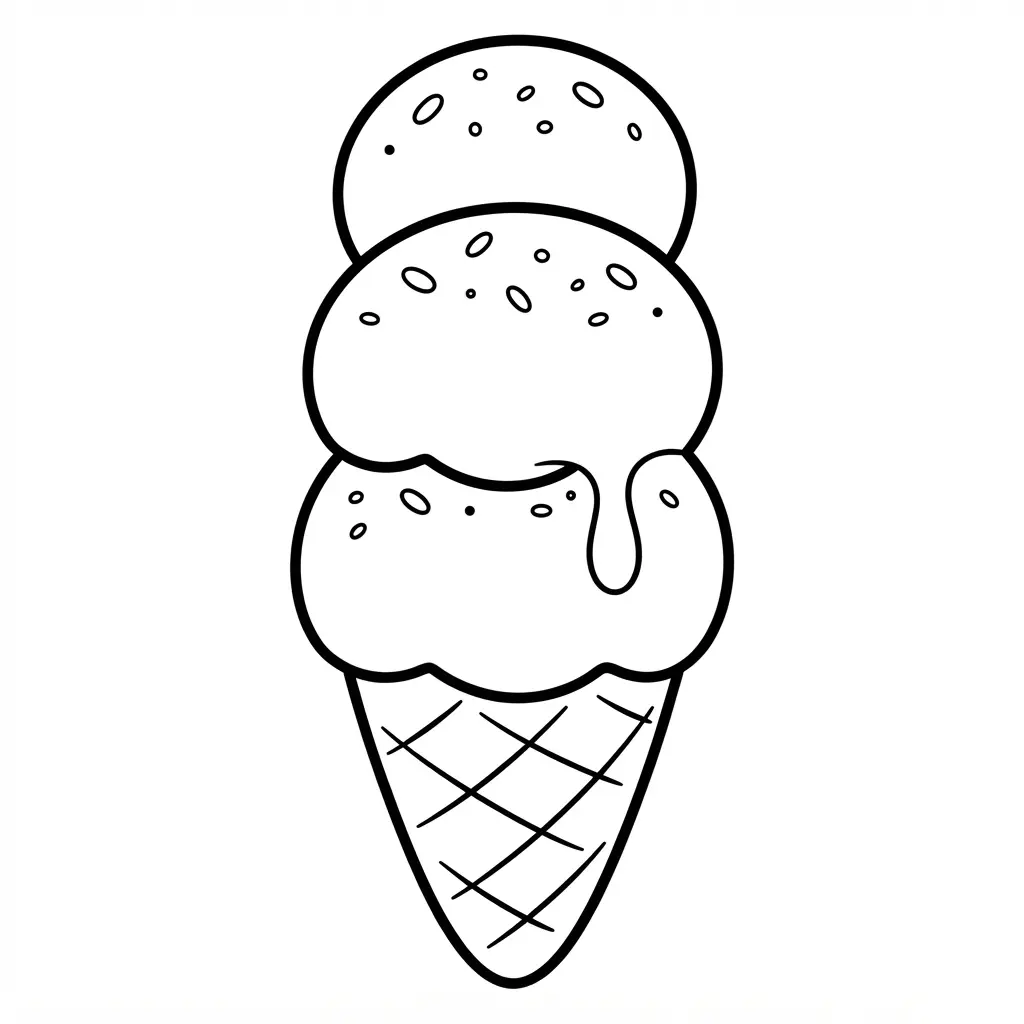
Ever tried stacking three scoops into one cheerful cone, a classic choice for ice cream coloring pages? Begin with a tapered waffle cone, then add the lowest scoop so its rounded edge overlaps the rim. Place two more cloud-like scoops above it, keeping each contour clear and easy to follow. I love how this layout gives every section its own coloring space.
Trace the picture with thick black outlines so the scoops, cone, and small sprinkles stand apart. Keep the background white, leaving plenty of open space around the dessert. This is one of my favorite designs because each large section invites a different color choice.
Finish the cone with diagonal crosshatching, spacing the lines wide enough for comfortable coloring. Add a few sprinkle marks, not a crowded collection of tiny shapes. Your finished stack will look neat, cheerful, and ready for a delicious color session.
22. Sundae Bowl With Cherry Topping: Sweet Dessert Focus
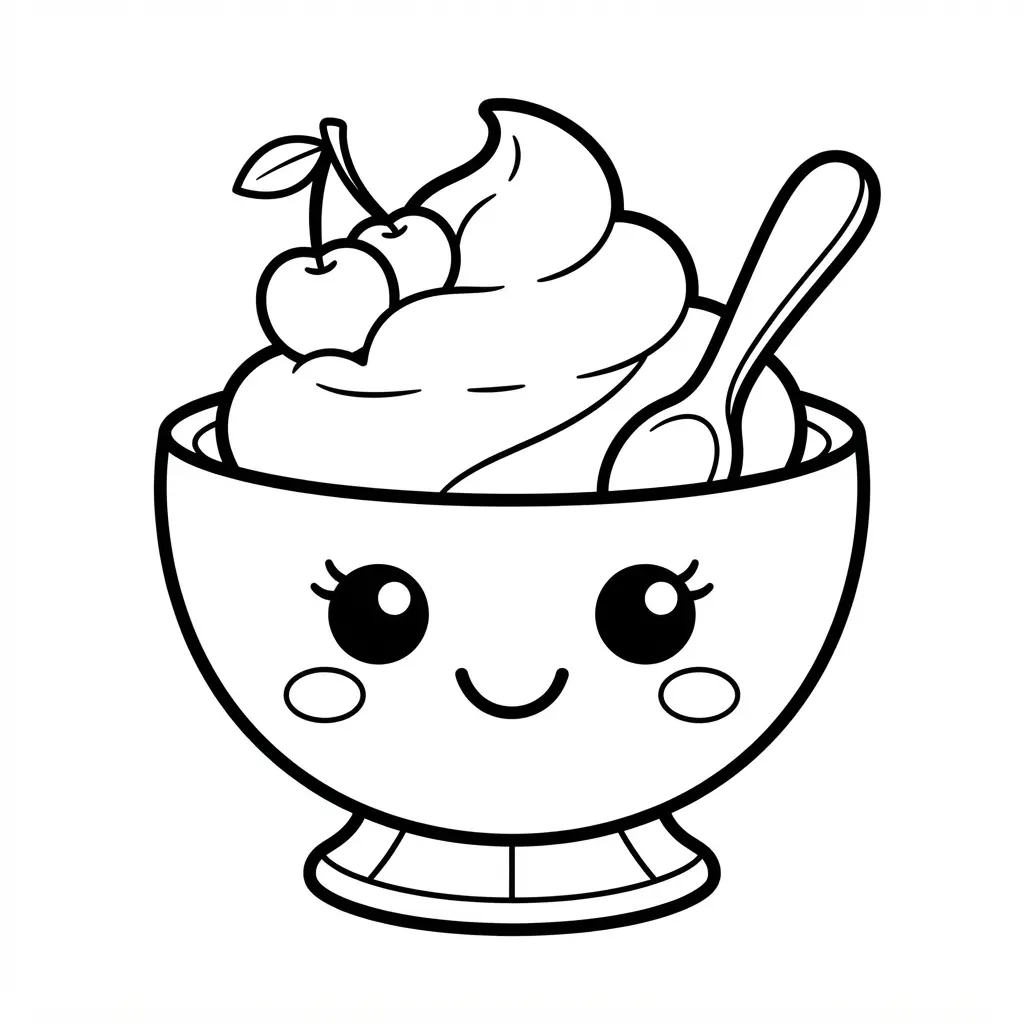
This close-up sundae is a sweet, friendly project with broad shapes and plenty of room for color, which makes ice cream coloring pages easy for beginners. Start with a rounded glass bowl, giving it a clear rim and curved sides, then add three soft scoops inside. Use flowing syrup lines across the pale ice cream, leaving open spaces so each scoop stays easy to follow.
Top the stack with uneven whipped cream and a round cherry with a short stem. Sound complicated? It is not. I love how the cherry becomes the focal point while brown, cream, red, and soft pastel shades keep every section clear. Keep the background clean, and add tiny shine marks on the bowl for a glossy finish. Your sundae will look cheerful and ready to color.
23. Fruit Pop on Wooden Stick With Fresh Details
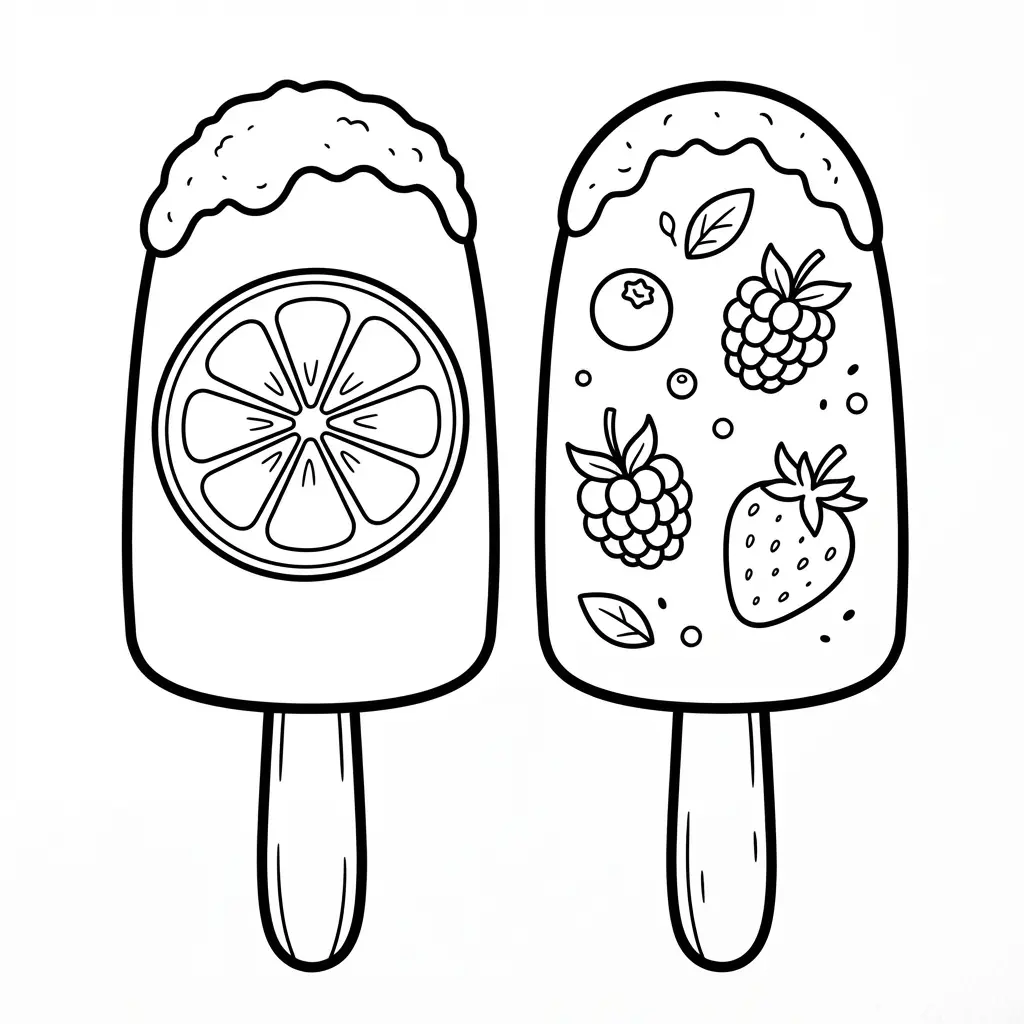
This fruit pop is one of my favorites because its rounded shape feels simple, while each section adds a cheerful splash of color. Start with a rounded popsicle outline around a centered wooden stick, then separate strawberry, mango, kiwi, and blueberry layers with clean lines. Add small fruit pieces inside each section so every flavor stands apart. Wouldn’t glossy highlights and tiny droplets make it look wonderfully cold?
Use clear outlines for the condensation droplets, stick, highlights, and soft shadow beneath the treat. You can give the stick warm tan shades, then fill the fruit areas with pink, golden yellow, green, and blue. I love this design because children get plenty of small details without facing a difficult shape. Keep the background pale and open, then enjoy the fresh summer feeling as your page comes together.
24. Kawaii Ice Cream With Face: Friendly Coloring Fun
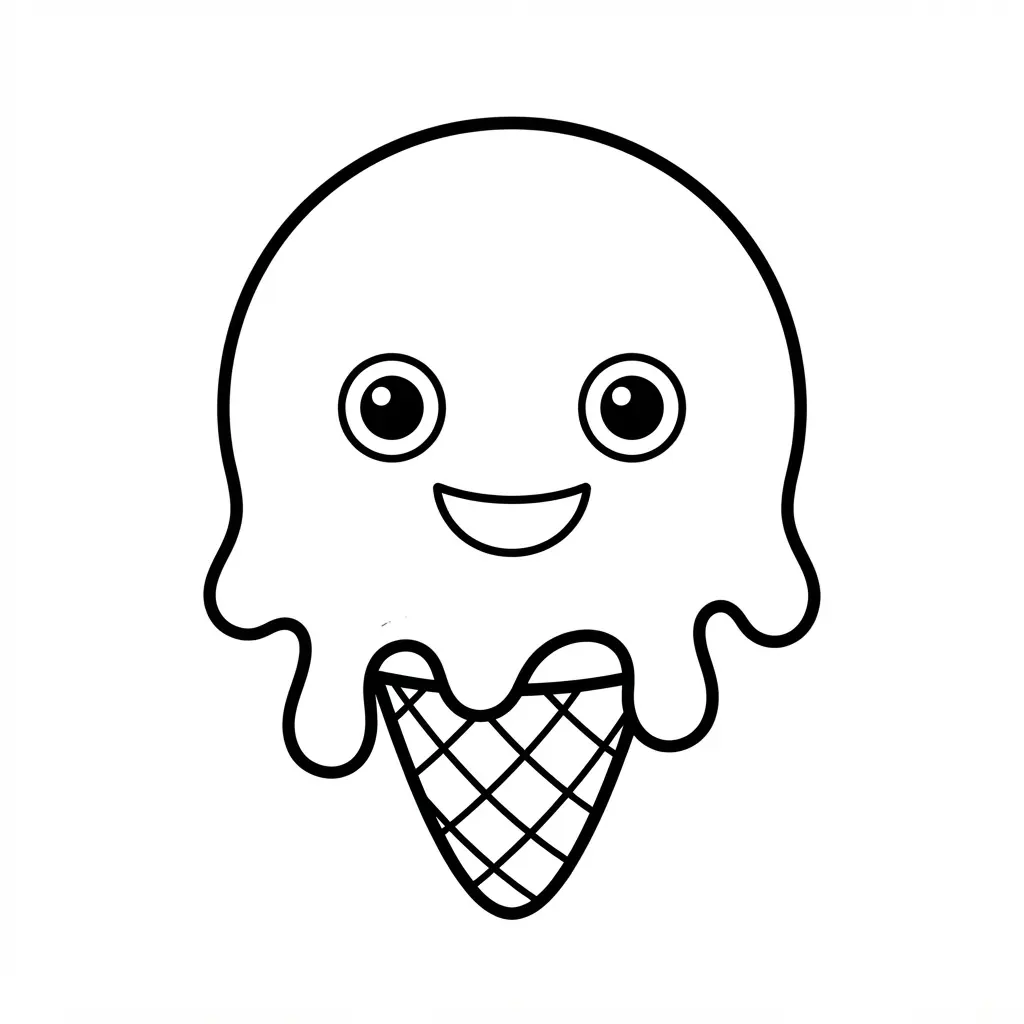
Glossy scoops, sparkling round eyes, rosy cheeks, and a tiny waving hand give this character instant charm. Ever tried coloring a smiling cone before? Start with bold clean outlines around the scoop, cone, face, hand, cherry, and a few stars or hearts. Keep the shapes broad and open, so crayons or markers move smoothly without squeezing into tiny spaces.
Add simple sprinkles across the ice cream, then choose cheerful colors for the cheeks and cherry while leaving the face easy to read. The friendly expression works because large eyes and a wide smile make the cone feel welcoming. I love this one for younger artists, since each section feels clear and easy to finish. Skip busy scenery, and let the waving hand and happy face stay in focus.
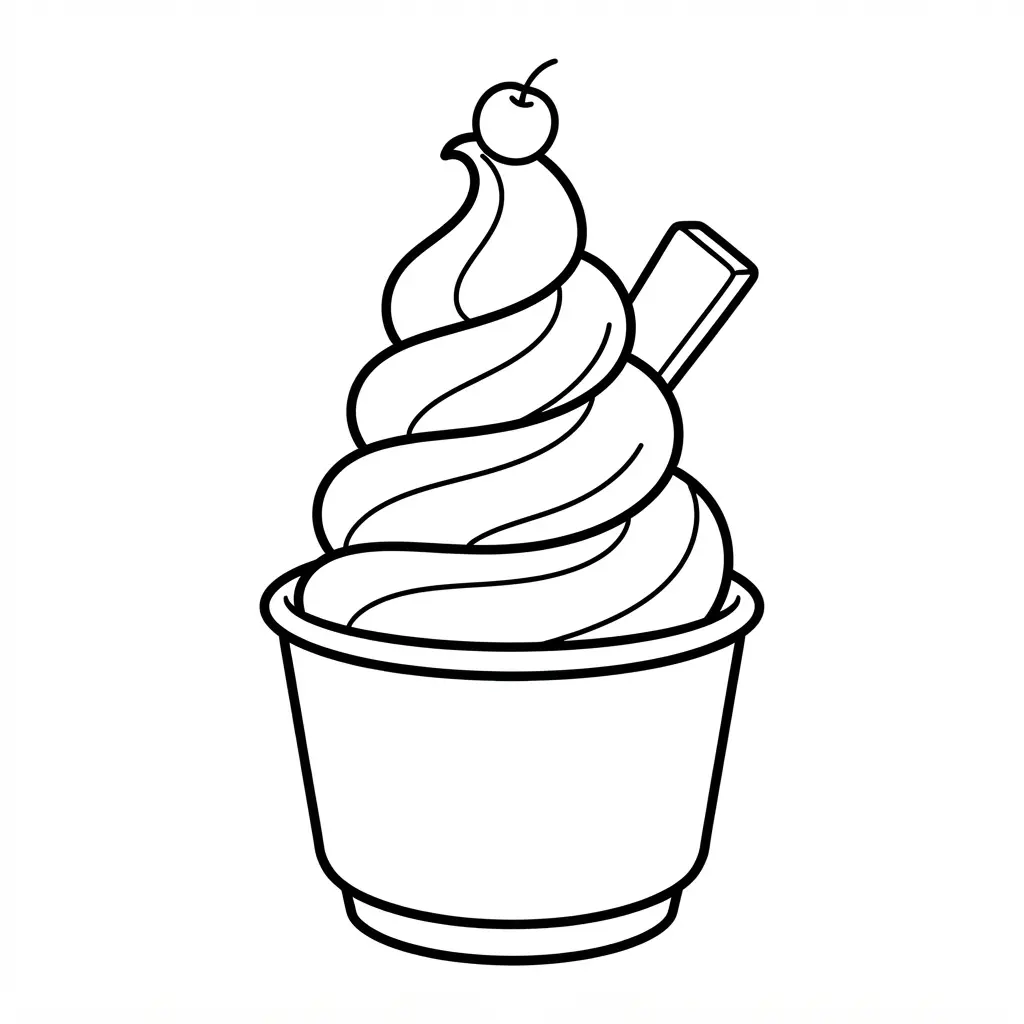
25. Soft Serve Twist in Cup With Curving Lines
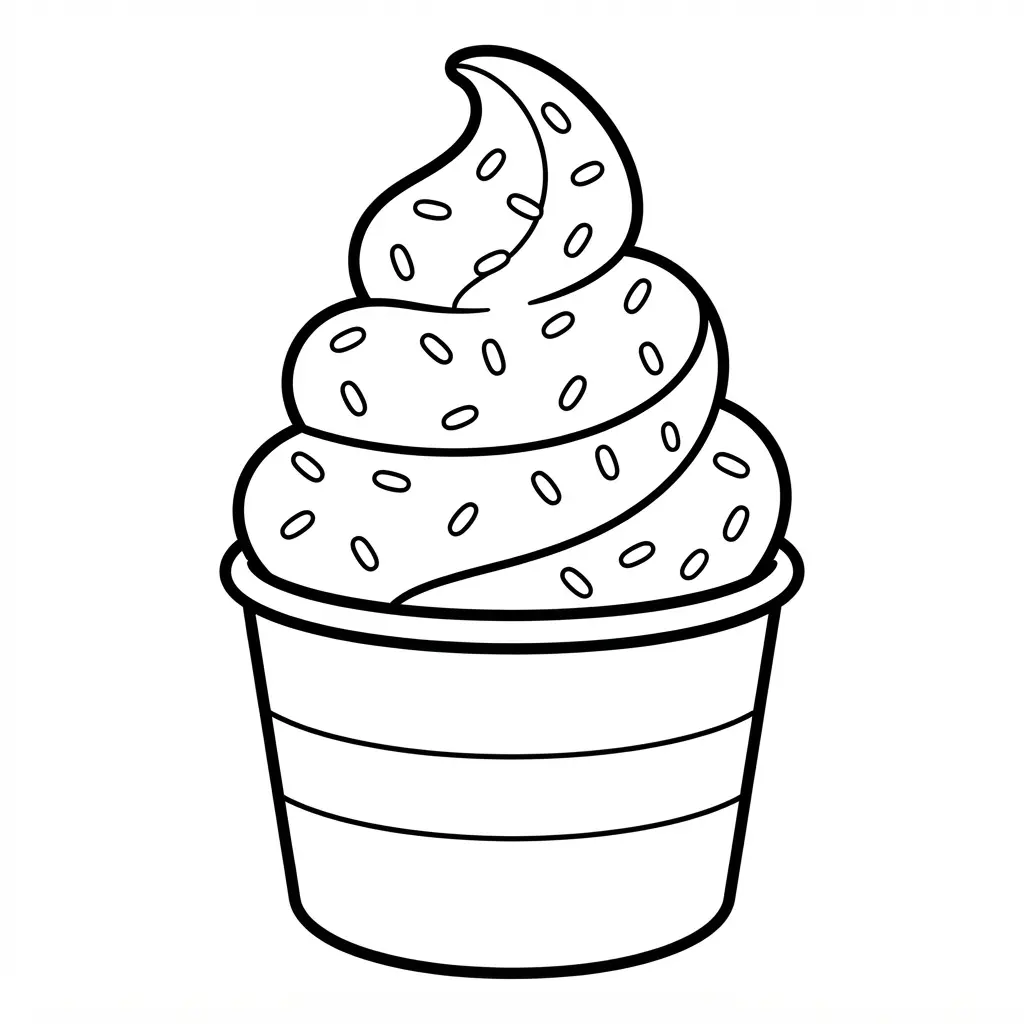
Straight lines often make soft serve look stiff, but rounded curves give it a creamy feel. Start with a small serving cup, then build the swirl above it with three or four smooth, looping contours. Keep the cup smaller than the topping, and leave open spaces between each curve. Sound complicated? It’s not, and I love how quickly this simple outline starts to look like a cheerful treat.
Add a few flowing motion lines beside the swirl, keeping them separate from the main outline. These marks suggest softness without filling the page with clutter. Use a clean black line for easy coloring, then try pale pink, mint, or chocolate brown inside the open shapes. Pro tip: slow your hand around each curve for a neat finish. Your page will feel playful and fresh.
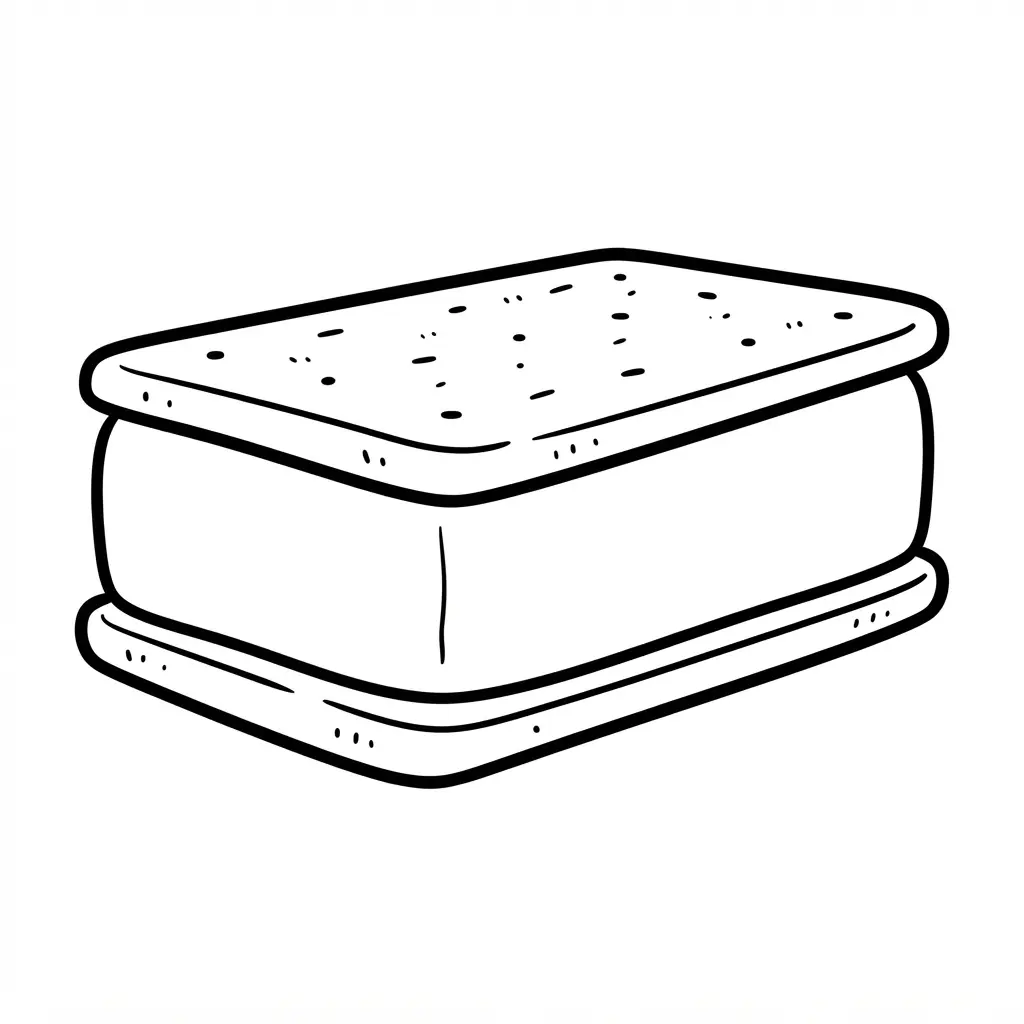
26. Ice Cream Sandwich Rectangular Treat With Crumb Texture
Draw a long rectangle, then add three clear horizontal layers: two thin chocolate wafer sections with a pale vanilla center between them. Keep the top and bottom edges slightly soft rather than perfectly sharp, giving the treat its familiar crumbly look. Is a plain rectangle enough? Not quite, since the lighter middle and separated wafer surfaces make the dessert easy to recognize.
Scatter small crumb-like marks across both wafer layers, using dots, short curves, and tiny uneven spots. Color the wafers warm brown, then leave the center white or pale yellow for a tasty contrast. I love this design because each section gives you a tidy space for a different shade. Add a few crumbs near the edges, and feel proud when your frozen treat looks ready to enjoy.
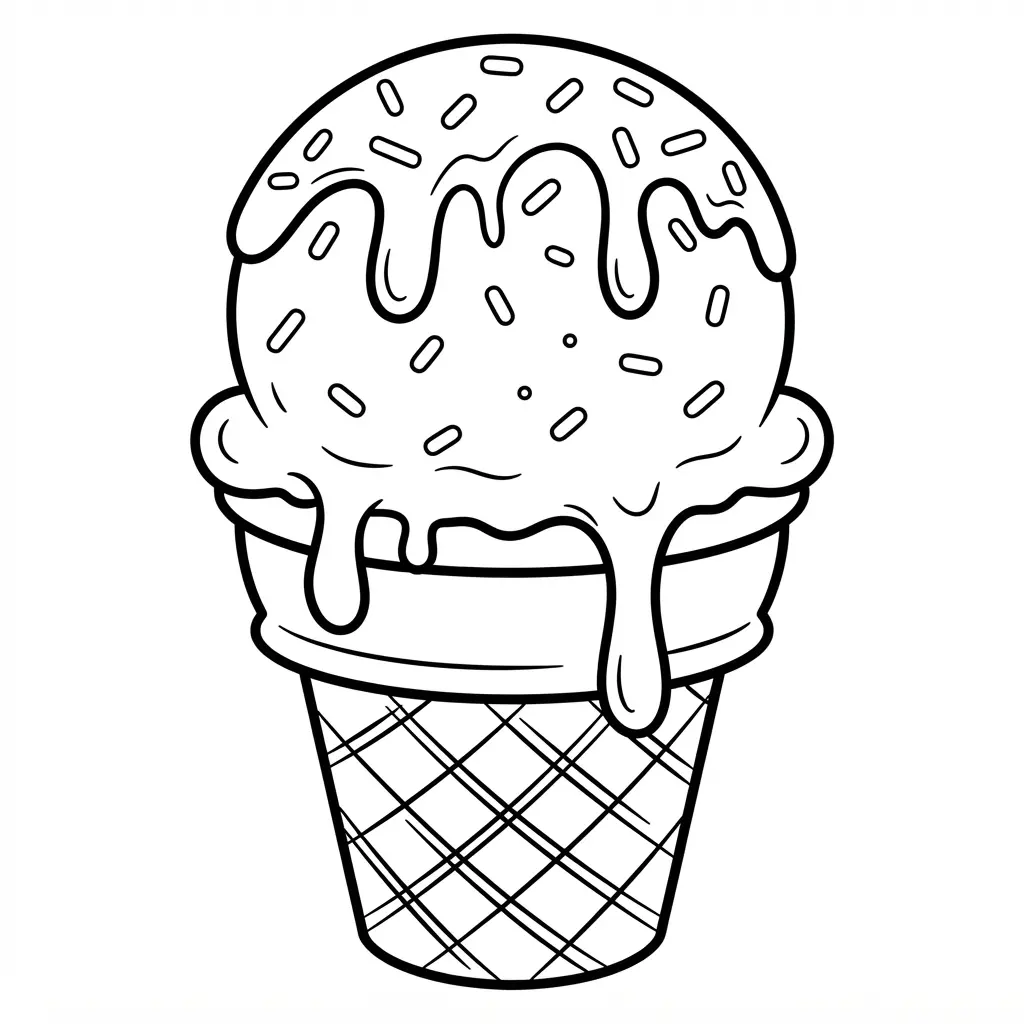
27. Dripping Cone With Sprinkles Galore: Playful Details
Ever tried making an ice cream cone look deliciously messy? Start with a rounded scoop above the cone, then extend soft, glossy edges over its sides. Let each drip connect to the scoop before it trails toward the cone, keeping the melt looking natural instead of scattered. Rounded melting edges give the outline its playful movement.
I love filling the surface with sprinkles, candy pieces, sugar pearls, chocolate chips, and rainbow confetti. Vary each shape and direction, then use short colorful sprinkles across the cone and scoops so the topping mix feels cheerful rather than tidy. Your finished picture will have plenty of small spaces to color, with a wonderfully indulgent look.
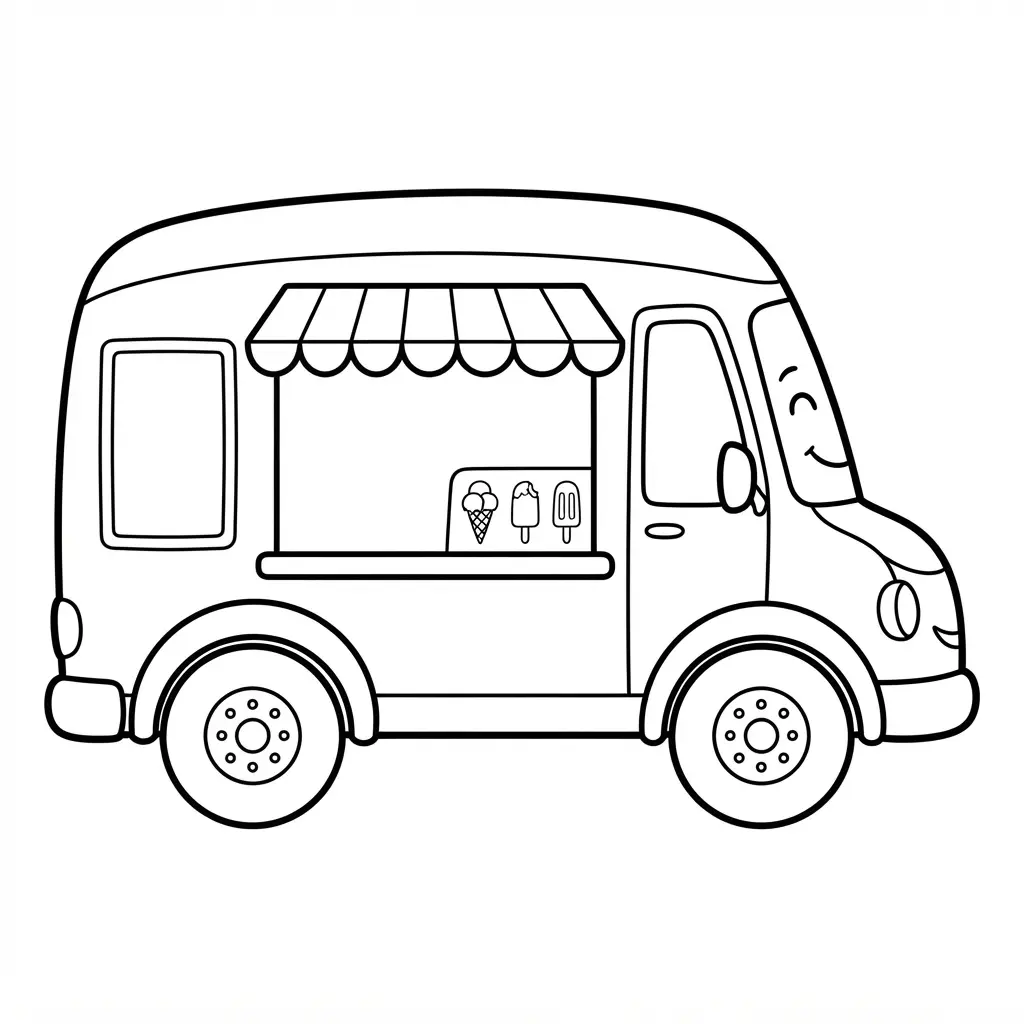
28. Truck Serving Frozen Dessert Treats With Sunny Signage
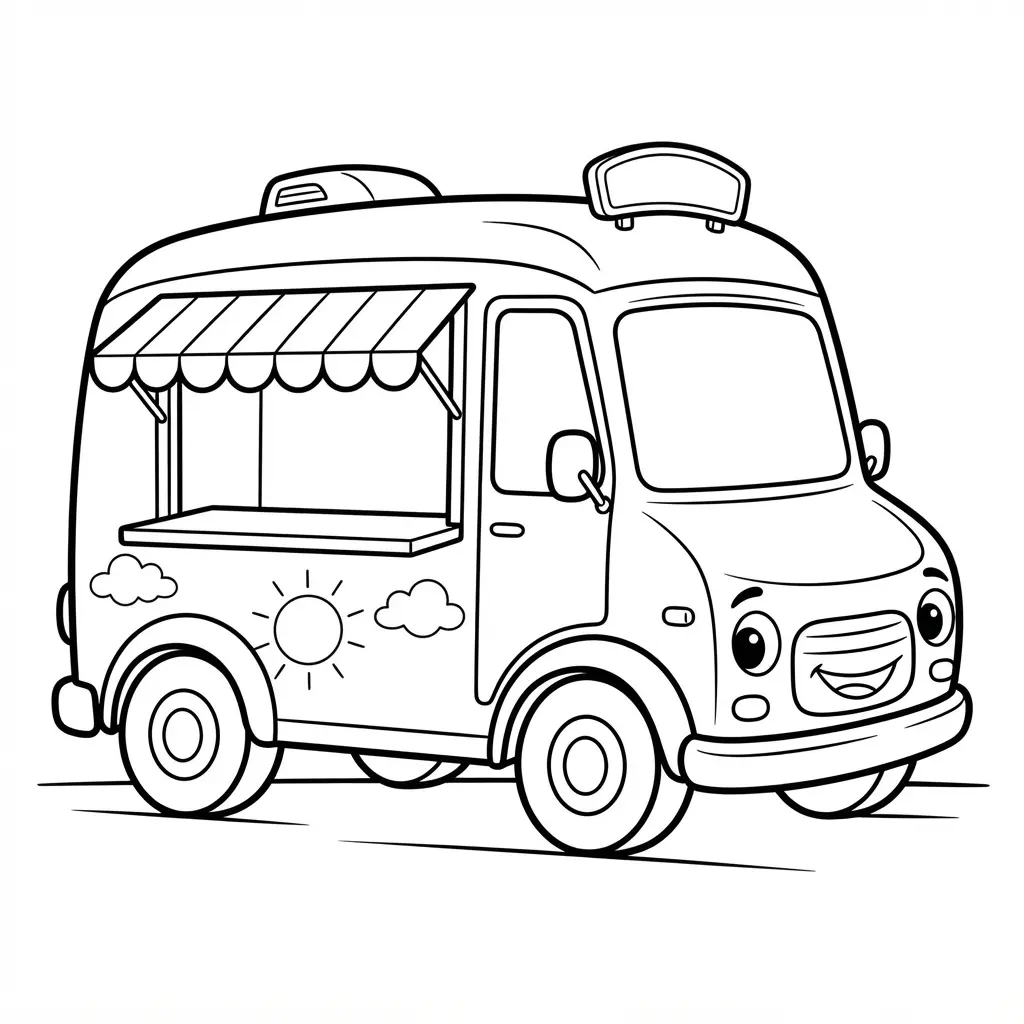
This ice cream truck scene feels cheerful from the first glance, with a rounded body, serving window, and wide wheels ready for color. Start with the truck outline, keeping each section open and easy to fill.
Give the sunny sign a smiling sun, short rays, and bold letters above the window, then add cones, popsicles, and small dessert symbols around it. Sound complicated? It is not, since clear shapes keep the picture friendly for crayons and broad markers. I love using warm yellow for the sign, then choosing two or three cool shades for the truck so the bright details stand out. Leave the wheels dark and add small highlights for a neat finish.
29. Summer Beach Day Ice Cream Scene With Clear Shapes
I love this beach scene because it feels cheerful without making the page busy. Does a large yellow sun above a soft blue sky sound hard? Not at all. Start with layered background shapes, then add turquoise waves, golden sand, and rounded umbrellas across the middle area, leaving clear gaps between objects.
Small towels, a striped umbrella, a beach ball, seashells, sunglasses, and footprints add summer detail without crowding the view. Place three distinct cones in front, with pink strawberry, cream vanilla, and brown chocolate scoops outlined with smooth, crisp lines. Keep textures light and shapes rounded, so each section stays easy to see and color. I love how this layout gives every scoop its own space while keeping the whole summer picture playful.
30. Multiple Flavors in Paper Cartons for Color Practice
Rows of tidy paper cartons sit side by side, each topped with a different scoop and framed by clean, cheerful lines. Doesn’t the shelf look ready for a shop window? Start with one flavor per carton, giving each container its own color family while leaving the labels easy to read.
Use soft pink for strawberry, pale brown for vanilla, and deeper brown for chocolate, then add small accents without covering the carton folds. I love using colored pencils here because light layers help you compare shades and keep every carton distinct. Work from light to dark, pressing harder near edges and beneath the scoops. This setup works because repeated shapes let your eye focus on color changes. Keep a scrap sheet nearby for testing blends, and enjoy the neat little row when it feels complete.
31. Animal Character Holding Ice Cream With Cute Features
A common mistake is hiding the cone behind the animal’s paws, but keeping it clear makes the whole picture easier to read. Start with a bear, bunny, or puppy using rounded body shapes, then give it sparkling eyes, rosy cheeks, a tiny smile, and a playful stance. Doesn’t a happy face make every coloring project feel friendlier?
Place both tiny paws around the cone so it looks secure and easy to recognize. Add a scoop with soft melting edges, a few sprinkles, and a cheerful background with open spaces. Clean outlines help young artists follow each feature without losing the sweet expression.
I love this idea because the animal and treat create instant joy without needing complicated details. Pro tip: use pastel shades for the character, then choose a brighter color for the scoop and cone. Your finished page will feel warm, playful, and full of personality.
32. Waffle Bowl With Syrupy Drizzle: Topping Details
Sketch the crisp waffle bowl first, using curved edges and a repeated diamond grid. Tuck in two rounded scoops, leaving open gaps around each one for toppings.
Trace thin syrup ribbons over the scoops, letting a few uneven lines slide downward toward the bowl. Add strawberry halves, blueberries, banana slices, and small nut pieces, then finish with whipped cream and a cherry.
The mix of smooth curves, ridged lines, and tiny topping shapes gives your page plenty of pleasing variety. Wouldn’t a caramel drizzle or berry sauce make your color choices feel extra fun?
I love using dark brown for fudge and warm gold for the baked bowl. Pro tip: keep the syrup lines thin and slightly wavy, while leaving open spaces so children color without crowding.
33. Set of Various Popsicle Shapes With Fun Patterns
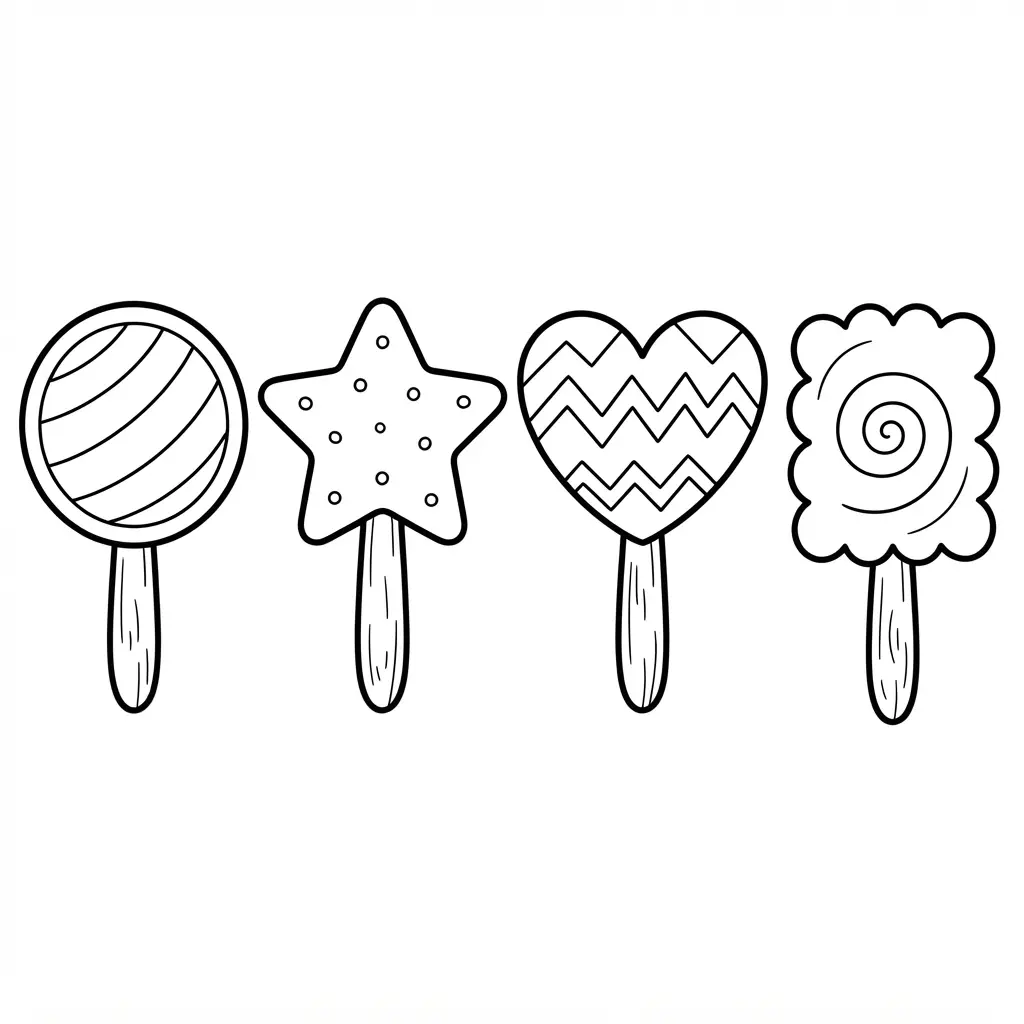
Ever wondered how much personality a single page of popsicles will hold? This set brings together rounded bars, narrow treats, twin-stick shapes, and playful wavy edges, giving every outline its own look. I love starting with the largest shape and giving it a sunny color before filling the smaller designs with fresh combinations.
Inside each treat, you’ll find room for stripes, dots, checks, swirls, and tiny hearts. Use a color-matching plan to repeat one shade across several patterns, then add a new color for each shape’s main area. Keep the outlines dark and the pattern marks light, so every detail stays easy to see.
The mix works because no two popsicles compete for attention. Try colored pencils for gentle layers, and feel proud when the whole collection comes together.
34. Melting Cone on Sunny Day With Warm Details
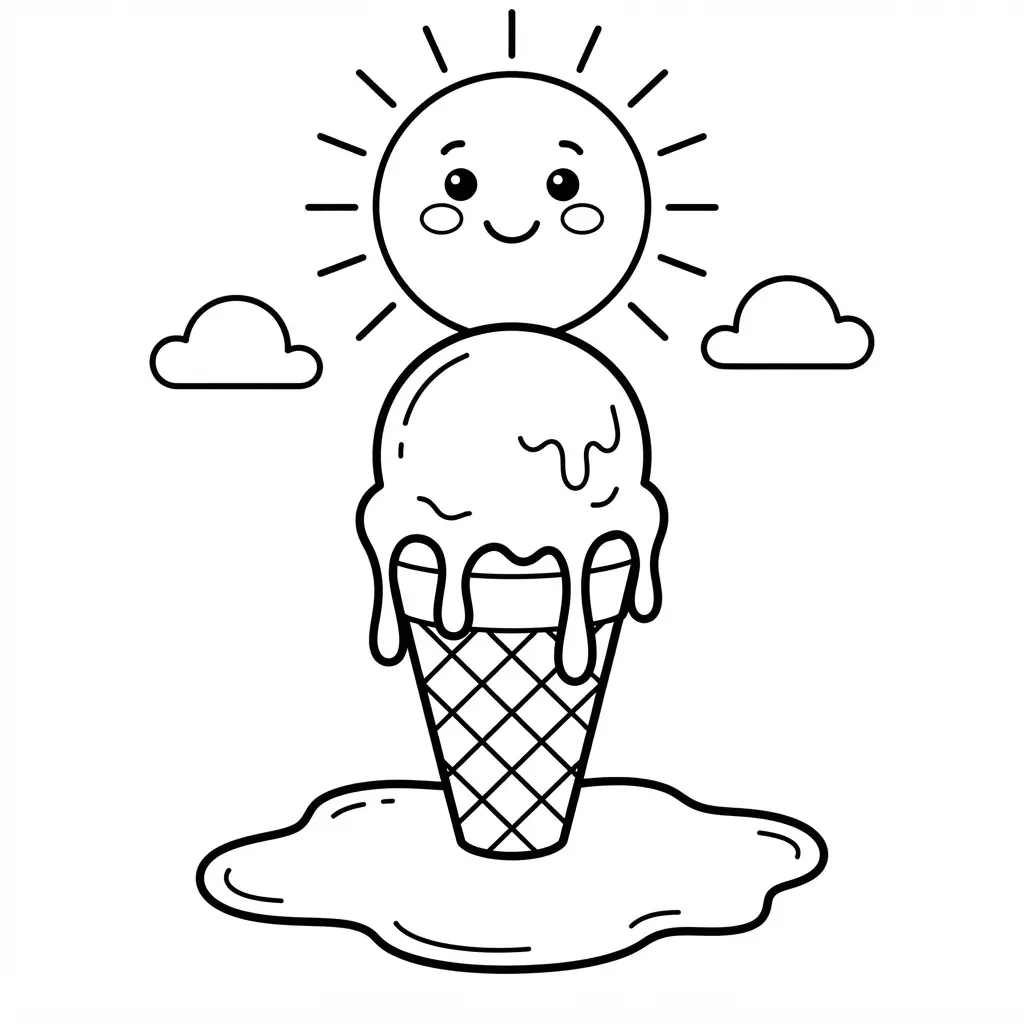
This sunny cone brings a cheerful summer feeling to the page. Start with a golden waffle cone, filling its crisscross pattern with golden-brown and deeper amber tones. Add creamy vanilla and pink strawberry scoops, then draw rounded drips with uneven lengths so the melt looks natural.
Use pale yellow highlights on the sunny side, gentle brown shadows beneath the scoops, and a bright blue sky with blurred green foliage behind it. Sound tricky? This one isn’t, and I love adding condensation beads as tiny dots and short white marks on the cold ice cream. This warm-cool mix gives the page a playful picnic mood while keeping the cone in focus.
35. Ice Cream Shop Display Window With Treat Variety
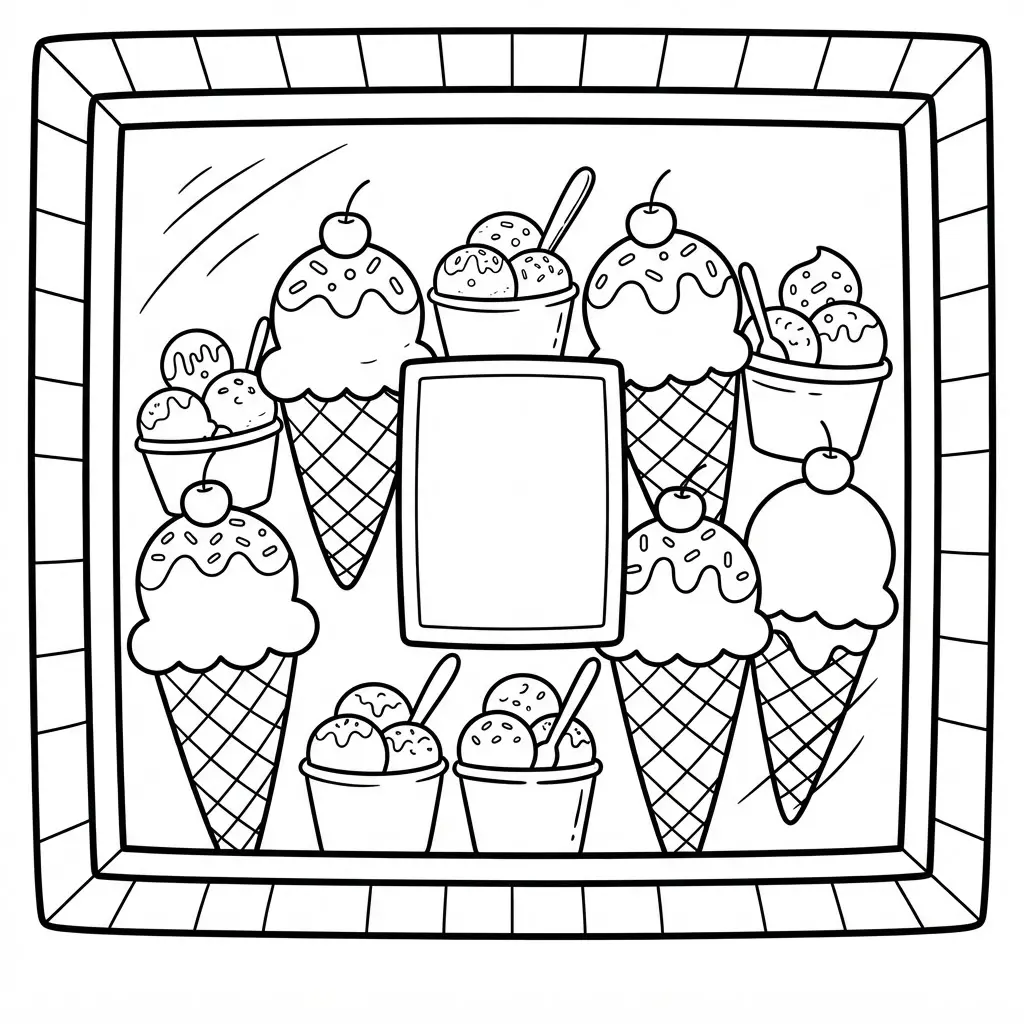
This one is my favorite because a shop window turns one page into a cheerful dessert scene. Ever tried coloring a whole display at once? Start with the shop-window frame and cheerful sign, then add neat rows of pastel tubs behind larger treats. Place waffle cones, chocolate-dipped popsicles, sundaes with whipped cream and cherries, plus tall milkshakes, in clear spaces across the front.
I love how each shape offers a fresh color choice, while macarons, cupcakes, and freshly baked cookies fill small gaps without making the scene crowded. Use clear outlines around every dessert, keeping waffle marks, sprinkles, and cookie texture simple for easy coloring. Warm rays around the frame suggest inviting shop lighting and a playful summer mood. Feel proud when your display looks ready for a sunny treat break.
36. Cupcake Topped With Ice Cream for Sweet Contrast
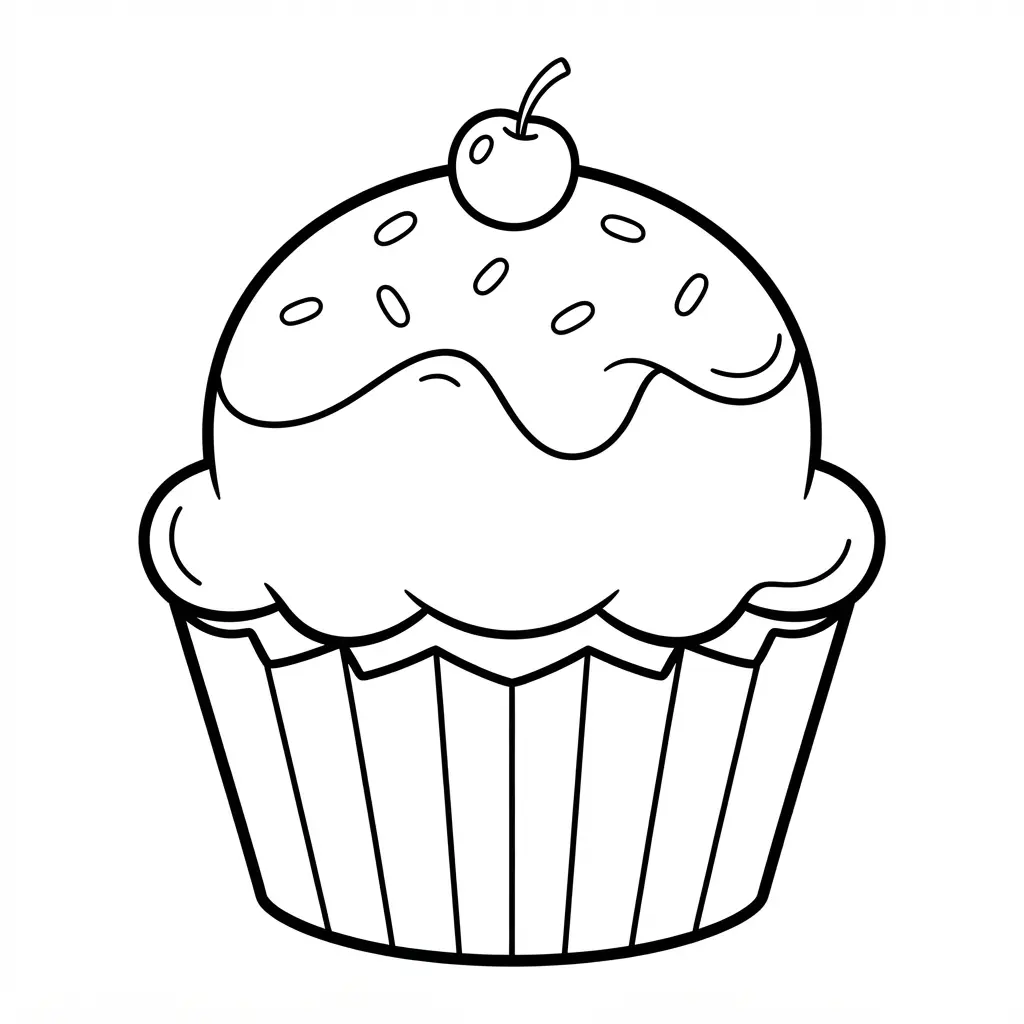
The finished picture looks deliciously playful: a soft cupcake base sits beneath a tall scoop of ice cream, with frosting lines and a cherry-sized detail drawing the eye upward. I love how the sturdy cake shape gives the fluffy scoop a clear contrast. Start with a clean outline, then keep the cupcake wrapper simple so the topping gets most of your attention.
Use warm shades for the cake and wrapper, then choose a cool pastel for the scoop, such as pale mint or lavender. Add tiny sprinkles with a fine-tip marker, leaving some white space so the page stays fresh rather than crowded. Sound complicated? It is not. This pairing feels satisfying because two familiar treats become one cheerful design. Try a darker shade beneath the scoop to suggest a small shadow, and enjoy the sweet contrast.
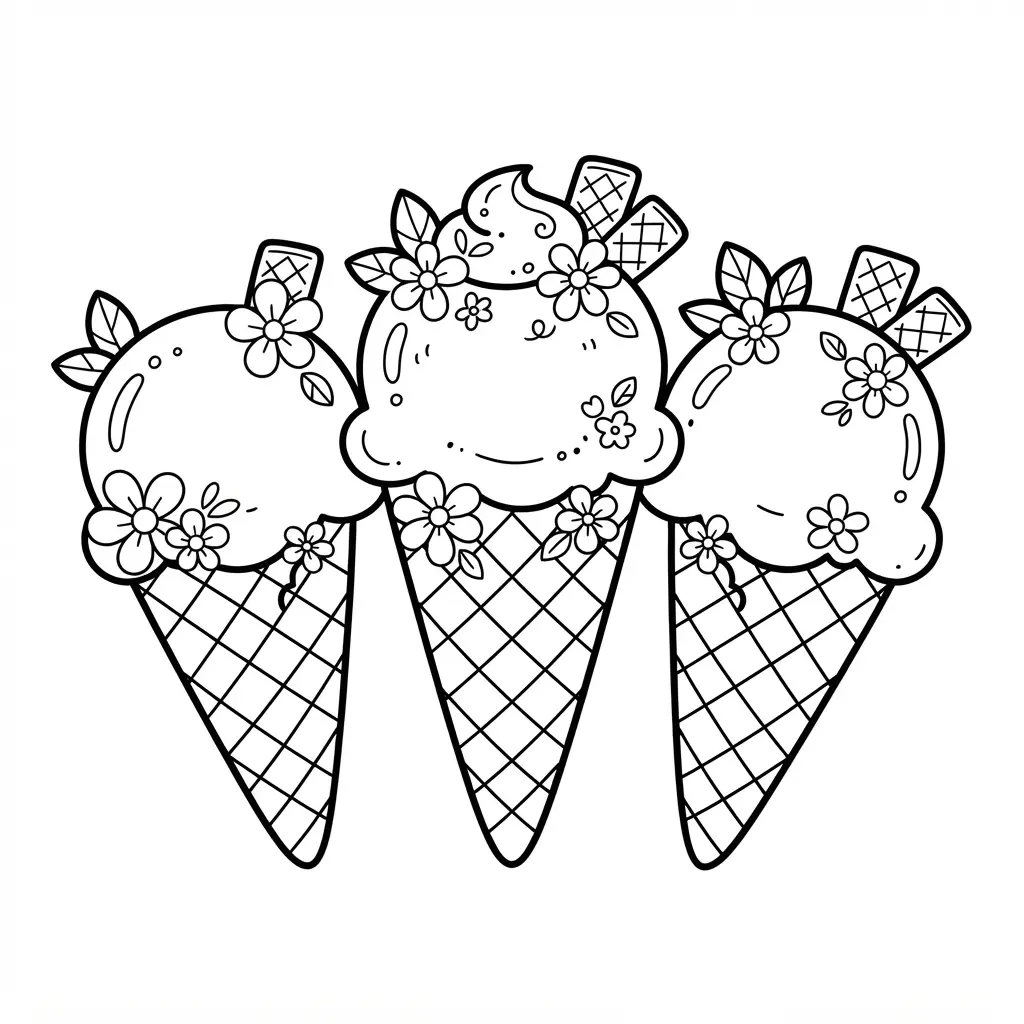
37. Decorative Cones With Edible Flowers and Fine Details
Too many tiny flowers often make a cone look messy, not elegant, so leave clear space around each group. Start with pastel frosting, white chocolate, or fondant, then add piped borders and small dots for texture. Place blossoms and leaves in gentle clusters, or repeat them in a balanced pattern for a formal garden-party style. Add pearl accents, gold leaf, and fine sugar lines as small finishing marks. Sound complicated? It is not. I love how this idea gives children plenty of sections to fill with soft pinks, greens, lavender, and metallic shades while keeping every detail easy to see. Keep flowers slightly different in size and shape, and avoid overly tiny spaces. Your finished cone will feel special and polished.
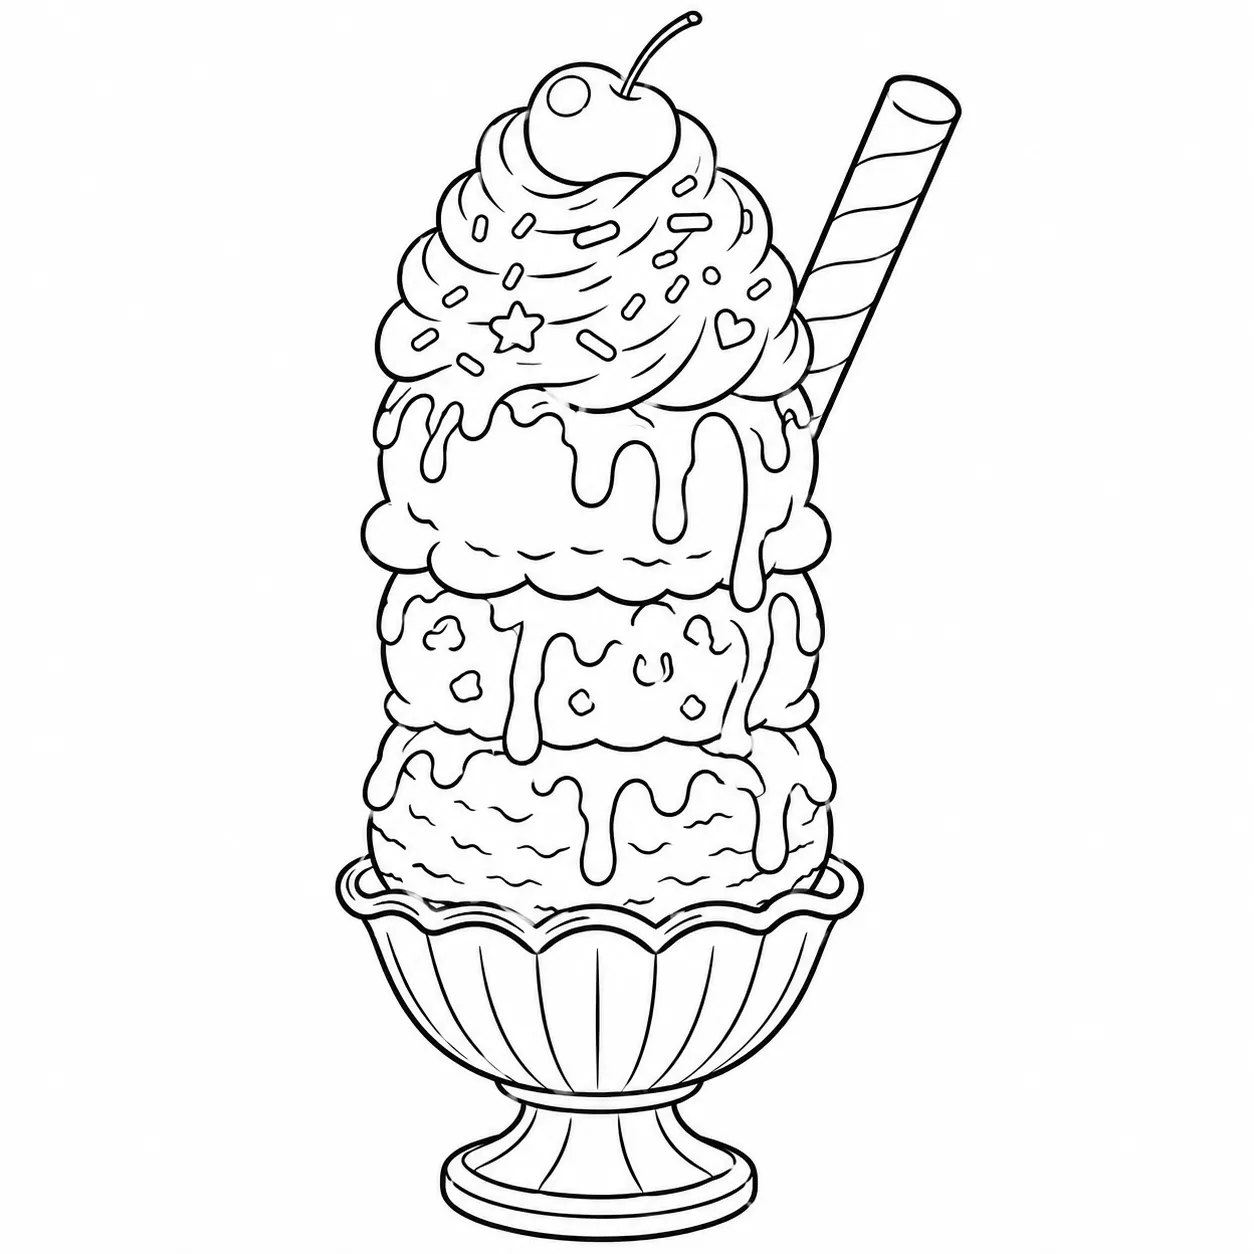
38. Scoop Tower With Whipped Cream: Tall Dessert Design
Stack three or four round scoops on a chilled plate, keeping each layer slightly narrower than the one below. Start with vanilla, then add strawberry, chocolate, and pistachio for clear color changes. Finish the tower with a generous whipped-cream swirl, thin chocolate drizzle, sprinkles, a cherry, and a wafer stick rising above the top. Doesn’t the tall shape make your page feel extra festive? I love this one because every scoop gives you a fresh section to shade, while the tapered outline keeps the dessert steady and easy to recognize. Keep toppings apart with bold lines, and leave small gaps between scoops so young artists enjoy each detail.
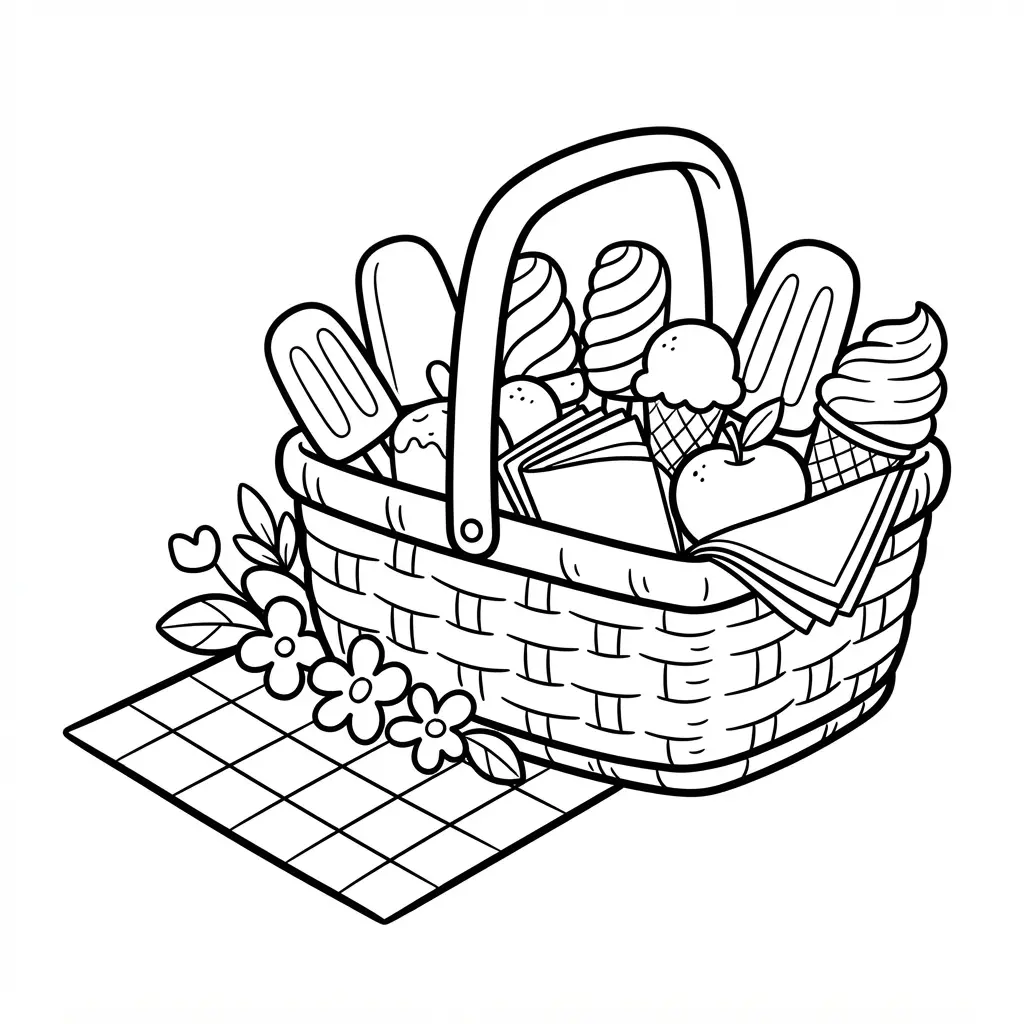
39. Cold Treats in Picnic Basket With Outdoor Details
Doesn’t this picnic scene make you want to reach for a bright crayon? Place the woven picnic basket near the lower center, then fill it with clear shapes for popsicles, ice cream bars, fruit cups, and lemonade. Add a checkered picnic blanket beneath it, with grass, wildflowers, leafy branches, a thermos, and folded paper napkins around the edges. I love how soft sunlight filtering through the trees leaves open areas for pale yellow rays while bright colors separate every treat and basket weave. Keep the props spaced out so the basket stays easy to read, and give each dessert a distinct outline. Your page will feel cheerful, complete, and ready for a sunny coloring session.
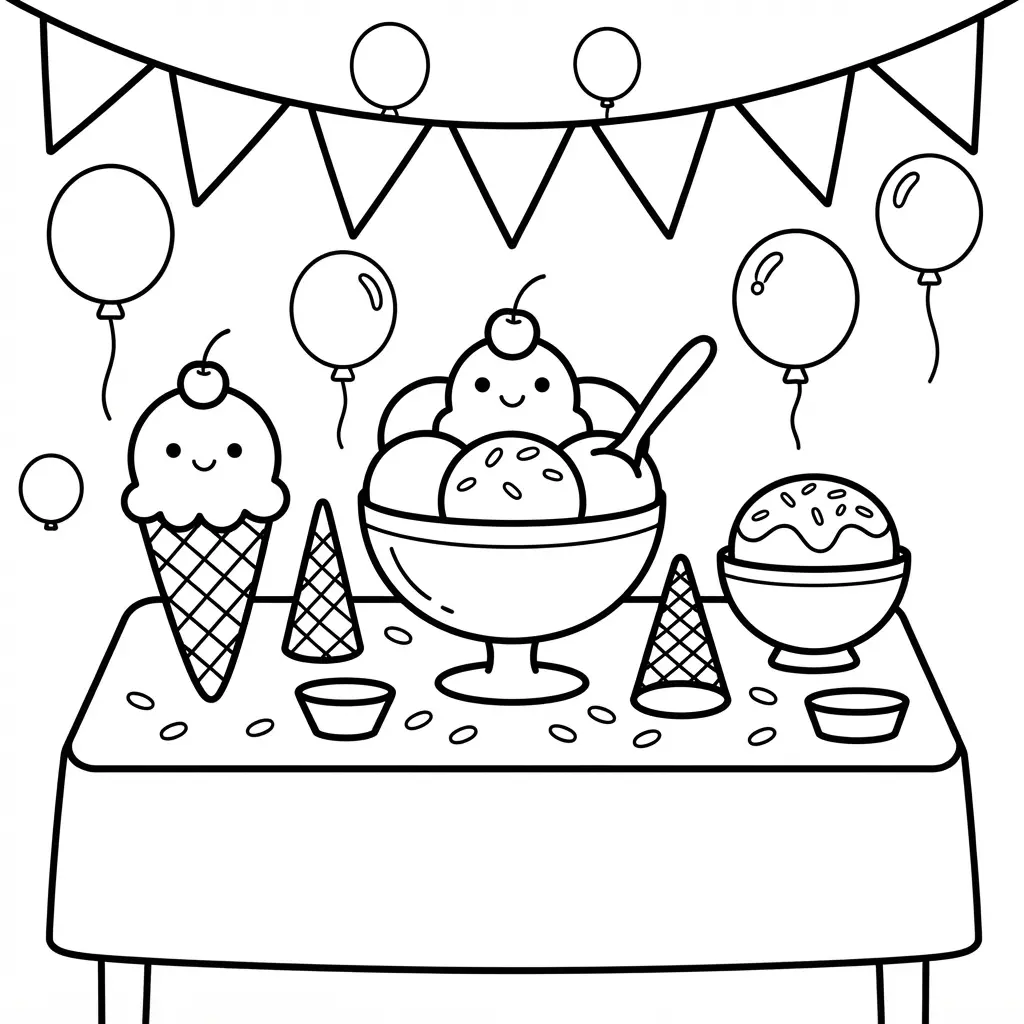
40. Creative Ice Cream Party Scene With Cheerful Decorations
This party scene feels like a celebration from the first line. Start with a central dessert table, then fill it with bowls of strawberry, chocolate, vanilla, mint, and blueberry scoops. Add waffle cones, cherries, whipped cream, sprinkles, chocolate chips, and syrup bottles, leaving clear outlines around each item.
Surround the table with pastel balloons, striped bunting, paper fans, flower garlands, and an ice cream cart, then place happy children in party hats as they build oversized sundaes. Sound complicated? It is not. I love adding smiling popsicle decorations and a rainbow tablecloth because these details give the art a warm, playful mood. Keep confetti small and spaced out so every shape stays easy to color, then enjoy the cheerful finished scene.
Turning Finished Pages Into Dessert Crafts
An acid-free glue stick keeps cut paper pieces secure without soaking thin coloring pages or leaving oily marks. Finished cones, popsicles, and sundae bowls hold their shape better when children cut around the outer silhouette and leave narrow tabs on folded edges. Cardstock supports accordion folds, hanging loops, and table decorations, while copy paper suits flat cards and simple layered scenes. A blunt-tip pair of child-safe scissors helps preserve rounded scoops and prevents accidental cuts through cherries or sticks. Let glued pieces rest under a clean book for several minutes so edges lie flat. Add folded napkins, paper spoons, or star shapes as separate layers, keeping details large enough to recognize. Display finished pieces away from damp areas, since moisture softens paper and loosens joins. Clear contact paper protects both sides from fingerprints and small splashes near food, while keeping the colors visible. Punching holes through the reinforced border creates space for ribbon or yarn without tearing the artwork. Larger pages suit individual signs, while several smaller designs form a repeating banner across a doorway. Keep finished decorations away from direct sunlight, which fades bright marker colors over time.
FAQs
Q: What paper works best for printable ice cream coloring pages?
A: Standard letter-sized printer paper works well for crayons and colored pencils. Choose thicker paper for washable markers to limit ink showing through.
Q: Which coloring tools suit younger children?
A: Crayons suit younger children because they create broad, bright marks and fit small hands well. Washable markers also work with adult supervision and suitable paper.
Q: Are simple cone pages suitable for preschoolers?
A: Yes, bold outlines and open sections suit preschool practice. Adult help with printing and tool choice keeps the activity comfortable.
Q: How do I print clear dessert coloring sheets?
A: Select a high-quality or best printing setting and check the preview before printing. Keep the page at its original size so cones, scoops, and small details stay clear.
Q: Which ice cream designs suit older kids?
A: Older kids often enjoy crowded party scenes, shop windows, flower-topped cones, and baskets with several treats. These pages include more small sections for shading and pattern work.