


Essential Tools for Your Sunlight Study
Before learning how to draw a sun, gather a pencil, an eraser, and some white drawing paper. A standard HB pencil works well for sketching light guide lines. An optional ruler helps with straight guides, and a black pen is great for final inking. Grab some colored pencils or markers if you want to add color. Do not worry, you do not need fancy supplies. You likely have everything you need right at your desk.
Mastering the Perfect Circle Foundation
Figuring out how to draw a sun means starting with a simple circle as its heart. Draw it lightly with your pencil and do not press hard. This circle acts as your guide and you will erase parts of it later. If your circle looks wobbly, that is okay because we will refine it. Think of it as setting the stage for all the bright rays.
1. The Starting Point: A Light Center Circle
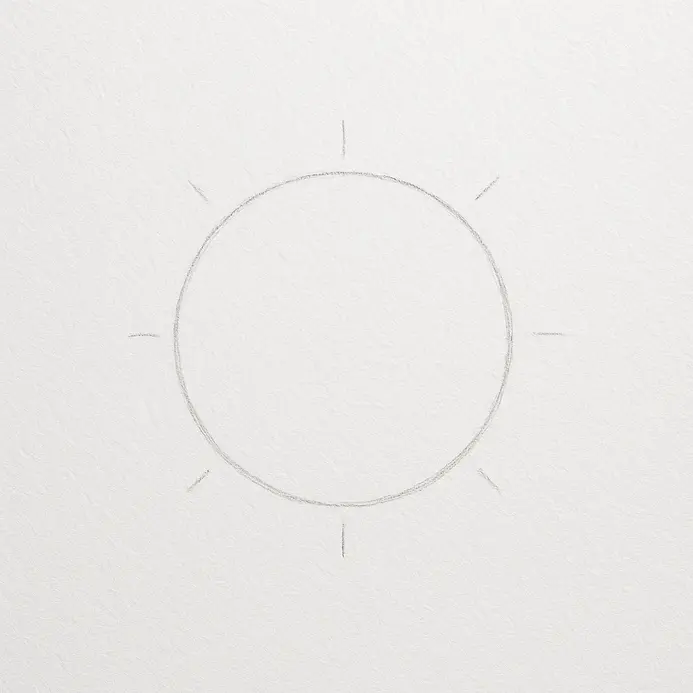
This first step creates the basic shape you need when learning how to draw a sun. It becomes the sun’s cheerful face. Grab your hard pencil, like an H or 2H, to keep lines faint and adjustable. Find the middle of your paper and draw a circle there. Press lightly so the line stays clear, then move your whole arm for a smooth shape. You are doing great work already in your sun drawing. Try rotating your paper as you draw to master how to draw a sun with smoother curves. It helps your hand follow a natural arc without straining. You should also check out these easy drawing ideas for beginners for extra practice.
2. Refine Your Circle into a Clean Form
This step builds the round foundation that supports your entire piece while showing you how to draw a sun properly. You are doing great work! Look at the sketch you already made and use your eraser to gently clean wobbly parts. Pick up your pencil and hold it lightly, then draw short strokes to practice how to draw a sun with steady lines. Connect the strokes for a smooth curve and relax your hand to enhance your design. You can fix spots anytime, so keep the process of your sun drawing enjoyable. Rotate the page as you follow the edge when figuring out how to draw a sun cleanly. For another fun sky shape, visit this guide on how to draw a star.
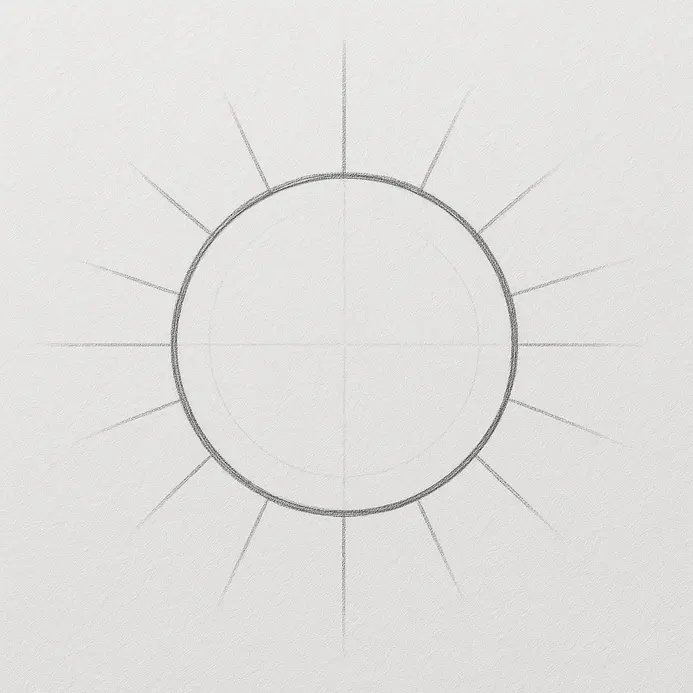
3. Sketch the Foundation for the Sun’s Rays
This step establishes the radiating guides that give your artwork life when practicing how to draw a sun. You will do great in your artistic journey! Grab your light pencil and place a circle in the center of the page. Draw straight lines extending outward from that center to see how to draw a sun with balanced spacing. Keep the gaps between each line roughly equal like clock hours and avoid heavy pressure. Add those guides lightly so you can erase them later, or place them near a drawing a colorful rainbow. Turn your page slowly for each new line to ensure you know how to draw the sun with smooth edges. This simple trick prevents wobbles and improves accuracy.
4. Remove the Inner Guide Lines

Clearing away the early marks reveals your main structure while teaching you how to draw a sun with a polished look. You will erase those faint helpers now. Use a kneaded eraser and press it gently over one of the helper marks. Lift those graphite traces with a small rolling motion while remembering how to draw a sun without smudging. Brush the crumbs away and leave only the dark outlines visible on the page. Your piece looks finished and neat when you follow this order. Do not stress over missing marks when learning how to draw a sun from scratch. Simply redraw the spot lightly instead of rubbing the paper too hard. Explore easy drawing ideas for beginners to continue learning.
5. Ink the Smooth Outline of Your Sun
Creating permanent outlines locks your sketch in place and shows exactly how to draw the sun with bold lines. Pick up your fineliner pen and trace the central circle in one slow pass. Move steadily to trace the outer tips without hesitation. Try to draw the whole circular shape in one smooth, slow line to master how to draw a sun with confidence. Rotate the sheet if needed, then follow each ray outward toward its tip, experimenting with different ways to draw. Accept minor wobbles as completely normal and wait patiently for the ink to dry before erasing the graphite. You will love the sharp final appearance once everything settles. Keep your working hand clear of wet marks when practicing how to draw a sun to prevent smears. For your next session, explore this tutorial on how to draw a sunset.
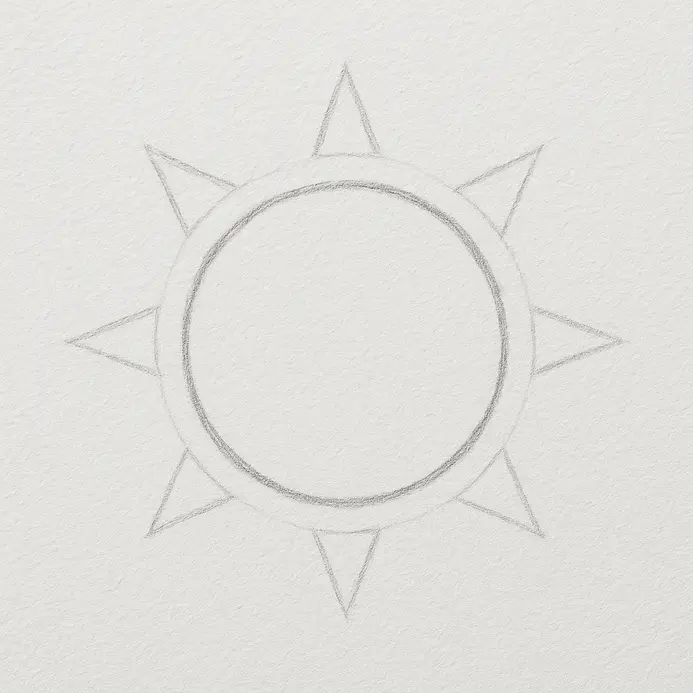
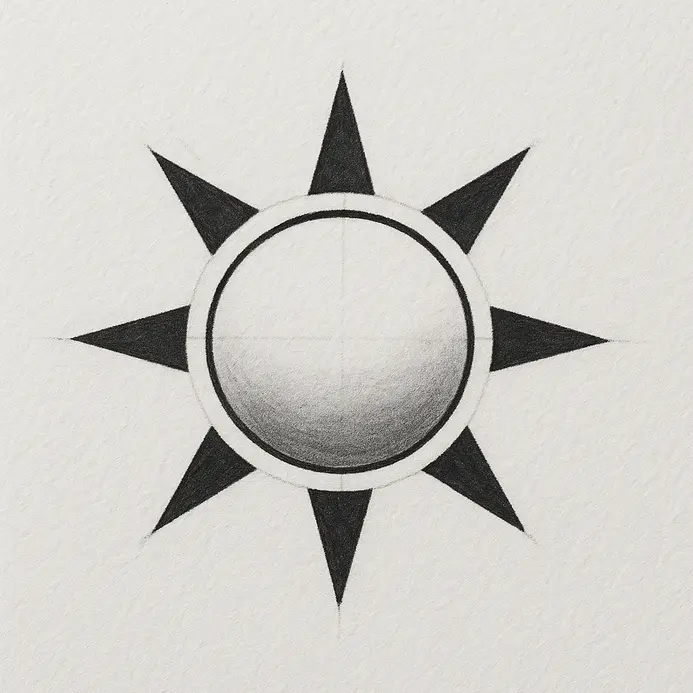
6. Ink the Final Shapes of the Shining Rays
Finalizing those outer beams turns soft guides into bright highlights while demonstrating how to draw a sun with impact. This step makes your piece permanent. Trace your strongest beams with a fine-liner pen to complete the process of learning how to draw the sun. Press firmly for solid black marks and vary the lengths for a playful look. Stop overlapping strokes cleanly and celebrate your progress. Moving your shoulder instead of your wrist keeps those long edges straight. For more ideas on where to put your sun, try this guide on easy landscape drawing tutorials.
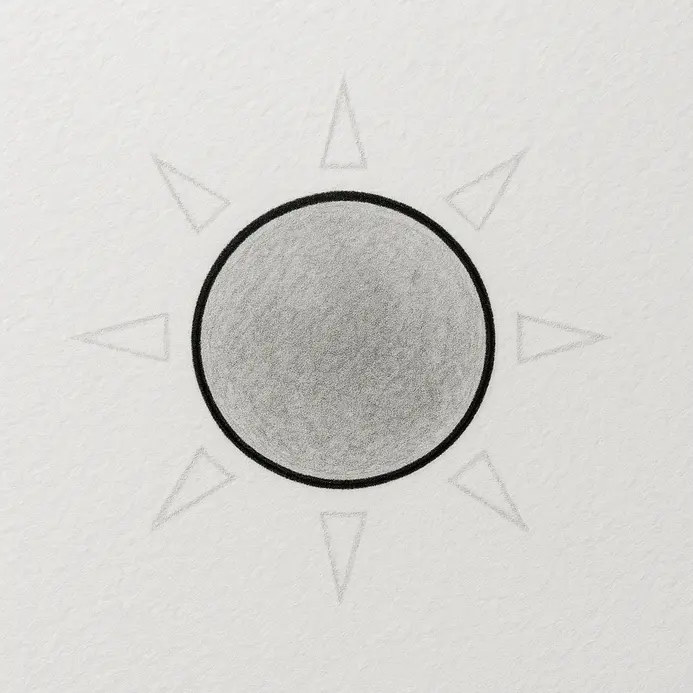
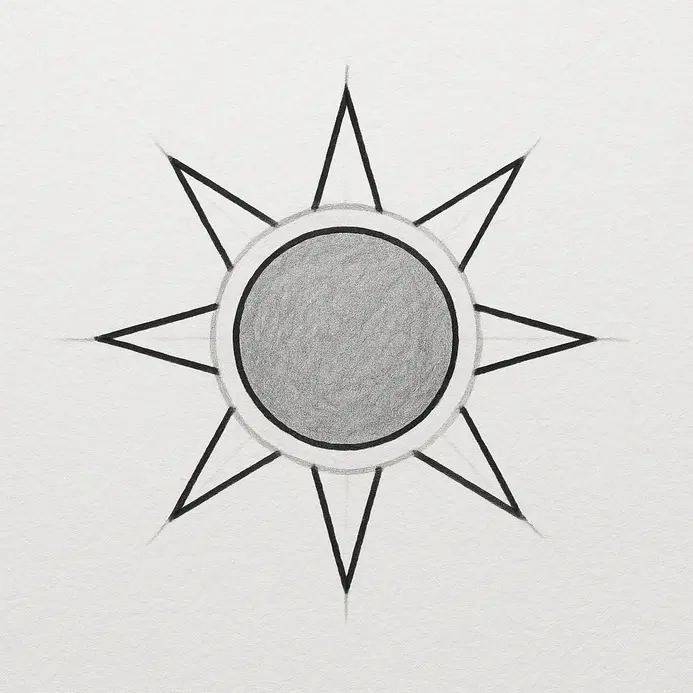
7. Add Soft Shading for a Glowing Effect
This is the first coloring phase where you add a soft halo to see how to draw a sun that looks warm. You will blend colors around the edges now. Pick up a simple sun sketch to get started. yellow pencil for coloring your sun drawing. and press lightly. Draw a circle around your finished shape, making it about a finger’s width larger than the center. Color gently inside that new ring, pressing a bit harder near the original edge. Rub the color outward with your fingertip to blend everything smoothly. Do not worry if the halo looks too strong at first; there are different styles to explore. Use a kneaded tool to lift excess layers or build more yellow gradually. Start with light pressure to see how to draw a sun with an even glow. For more practice, try this guide on simple drawings for practice.
8. Bring Your Sun to Life with Warm Color
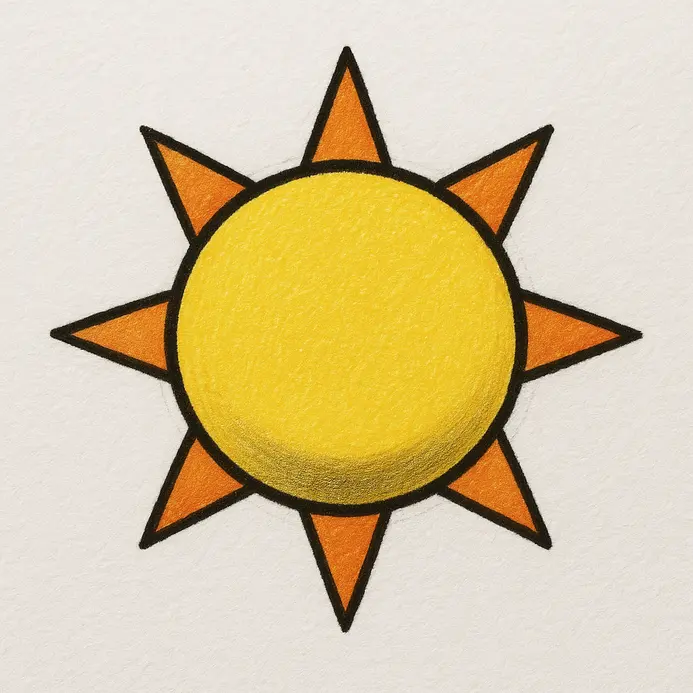
Adding vibrant tones makes your illustration pop and shows exactly how to draw a sun that feels cheerful. Pick up a yellow pencil and color the entire center with small overlapping circles. Grab an orange stick next and press slightly harder near the outer edge, leaving bright yellow visible in the middle for your artistic sun drawing. Add a touch of red over those orange zones for extra depth. Blend the three tones together with a gentle fingertip rub. Start with light pressure and build up slowly for a professional finish. You will see how to draw a sun with depth by layering gradually. For more color practice, visit this guide on easy flower drawings for beginners.
Beyond the Basics: Improving Your Solar Illustrations
Now that you have drawn your first piece, try recreating it from memory to solidify how to draw a sun quickly. Play with different sizes or add a simple sky behind the main shape. You could also practice shading the circle to make it look rounder and glowing. Each repetition improves your speed and confidence. Your first attempt is just the beginning of a bright creative journey.
Conclusion
You completed your piece and now clearly understand how to draw a sun from scratch. Take a moment to celebrate your artwork. You started with a simple circle, added guide shapes for the rays, and built your final lines on top. That is a fantastic skill you can apply to so many other projects. Practice your new technique by drawing the scene again from memory or make a full sky with different sizes. Your next project could be a simple cloud or a smiling star using this exact step-by-step method. I would love to see your results, so display your sunny masterpiece proudly!
FAQs
Q: What are simple steps to draw a sun for beginners?
A: Start with step 1: draw a circle to form the sphere of the sun using a circle as your guide. Step 2: add simple sun rays by sketching alternating long and short lines around the circle. Step 4: erase overlapping lines and refine edges. Step 5: color with vibrant hues or a gradient from yellow to orange to give radiance. These step-by-step instructions make a simple sun drawing and a sun drawing easy to master the art in a few simple steps.
Q: Can I get a free printable or template to practice a sun drawing?
A: Yes—many websites offer a free printable sun template and coloring pages that provide step-by-step tutorial guidance. A printable outline helps beginners try drawing different sun shapes, from a basic cartoon sun to a more intricate design with texture or solar flares.
Q: How do I stylize a cartoon sun with personality?
A: To stylize a cartoon sun, start by exaggerating features: big eyes, a radiant smile, or playful sun rays in triangle or wavy shapes. Use vibrant hues and contrast to emphasize warmth, and add simple texture or a subtle gradient to the cheeks. Cartoon techniques let you master the art of expression while keeping the sun drawing easy and fun.
Q: What techniques help when I try drawing a realistic or real sun?
A: For a real sun, focus on light, gradient, and texture. Use watercolor washes or digital gradient tools to achieve a glowing sphere and add layers for radiance. Introduce hints of solar flares with wispy strokes and soft edges, and blend colors to mimic heat and warmth. Reference photos help capture intricate details and the sun’s radiant effect.
Q: How can I use different shapes like triangles and circles to create varied sun designs?
A: Combining shapes creates interesting suns: use a circle as the core, place triangles for pointed rays, or alternate wavy lines for a softer look. Mixing geometric shapes and organic forms produces different ideas for suns—from graphic design inspired icons to decorative, ornate suns with intricate details.


