


So, let’s take a minute or two from our busy schedules and indulge in the sections placed below. They state about the easiest of flower designs that won’t be a hassle for beginners to draw. This guide will provide step-by-step instructions for drawing a variety of simple flowers. All up for some joyful sessions? So, grab the necessities you would require, set your painter mode on, and take the plunge. All you really need is a piece of paper and a pencil to start.
Beautiful and Easy Flower Drawings for Beginners: A Step-by-Step Guide
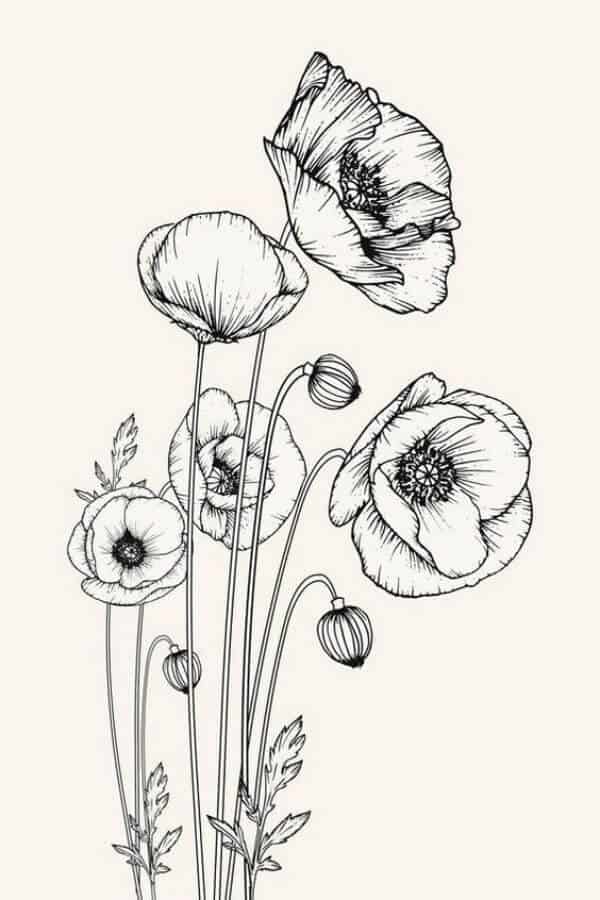
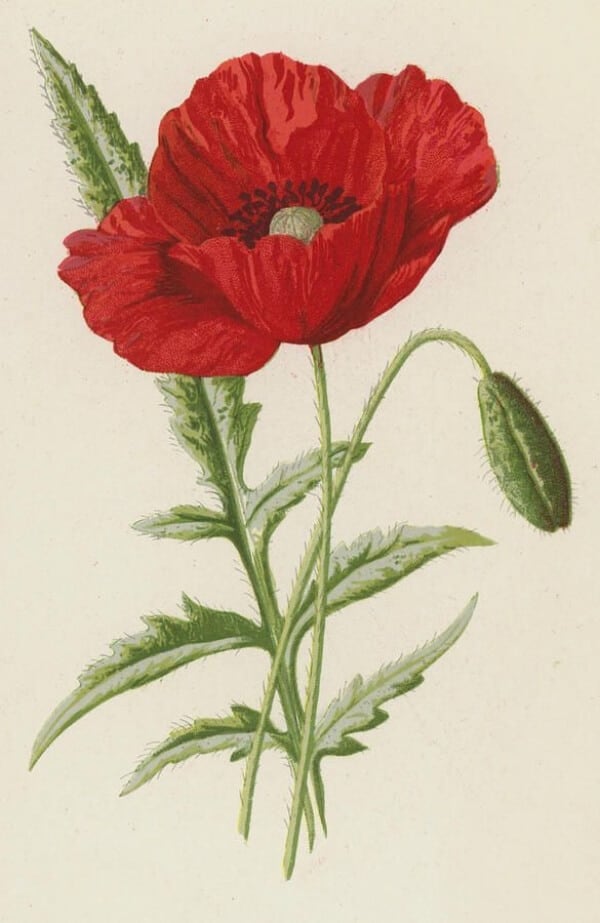
Poppy Flower Drawing: An Easy Flower to Start With
As kids, drawing a poppy flower was the basic homework that we all had to complete once in a while, often leading to a creative smudge on the page. Today, while learning it in a new, we would start with its large petals all around. Being done with that, the stem, leaves, and shoots would require a bit more concentration to make the flower look alive on the paper. This step-by-step flower drawing is perfect for a beginner. We won’t let the flower go without filling in the proper colors. Red for the petals, green for the leaves and stem. Feeling good about your creation? Time to flaunt it well.
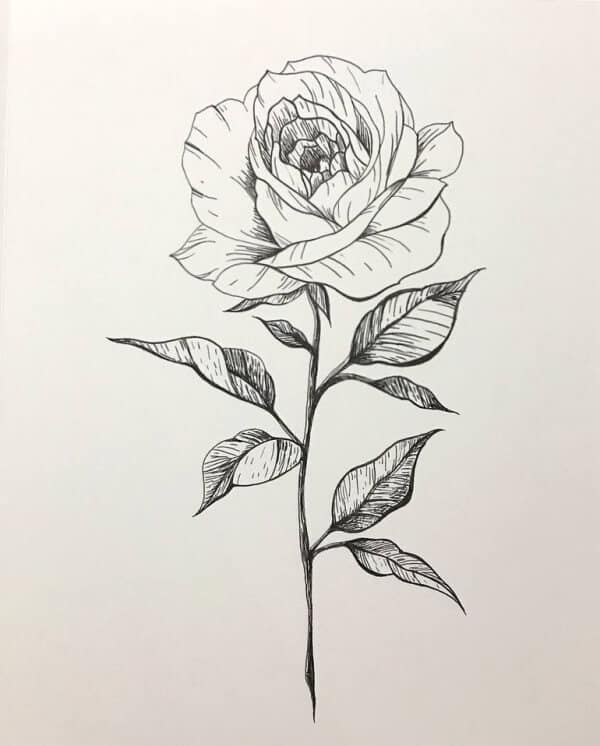
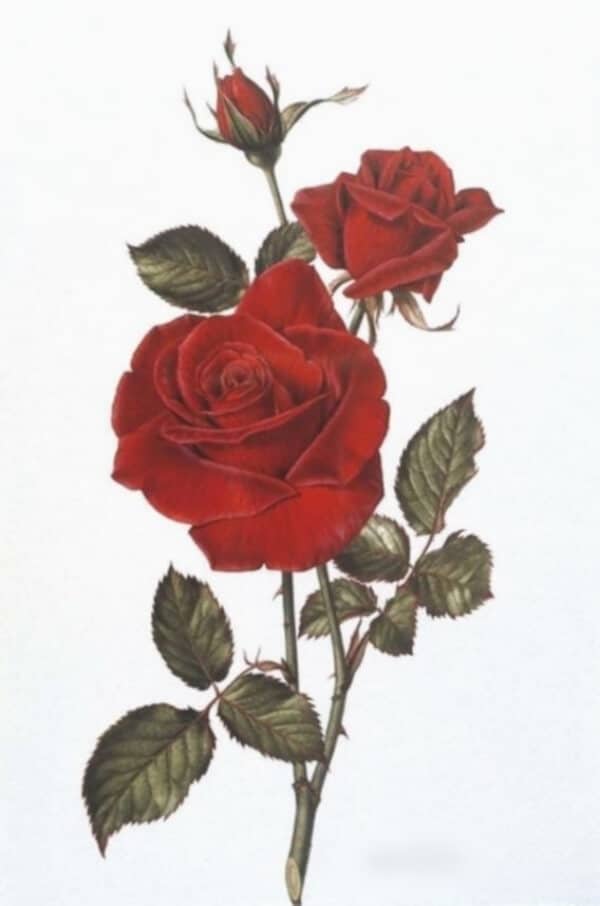
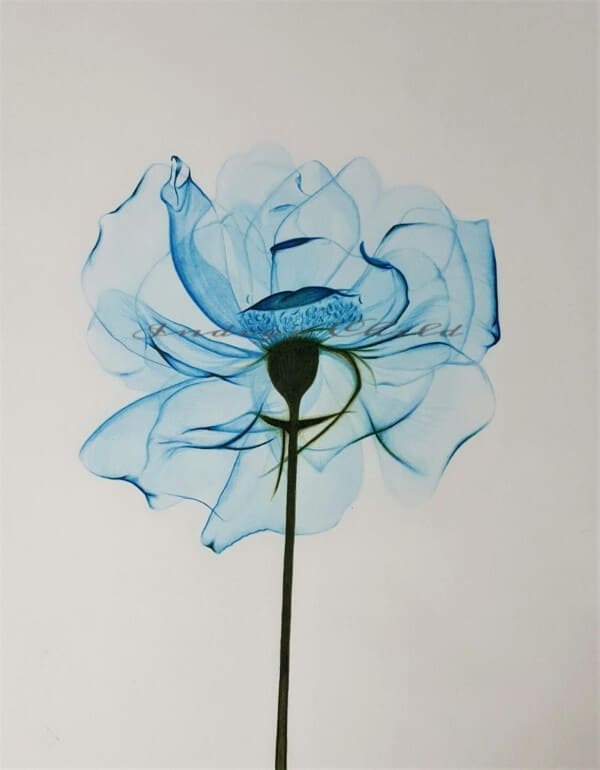
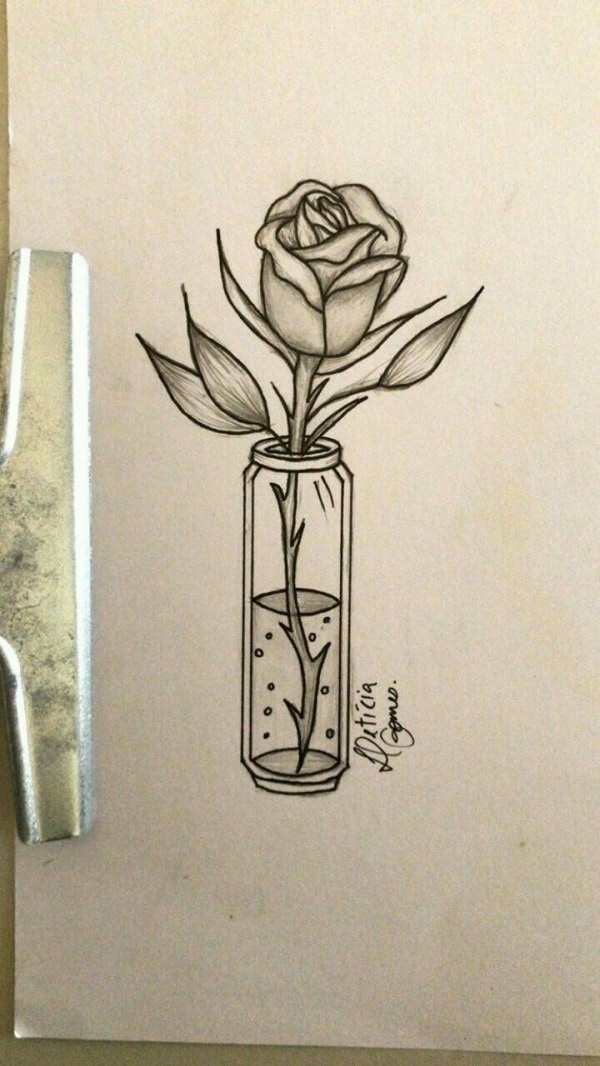
Easy Rose Drawing: A Step-by-Step Tutorial
All you need to draw roses are a few simple strokes and shapes. Roses are one of the gorgeous, and nicest smelling flowers. This simple tutorial will show you how to draw a rose with ease. So, start with a simple step by drawing an oval on the paper, giving it the shape of a heart. Then start with the curves and sepals that join at the base, using a pen for precision. Start with the stem, leaves, and roots right after the sepals’ end. Join the curves well to give the flower a complete shape. Don’t be afraid to experiment with the shape of each petal. Done with all, paint it red, and feel amazed.
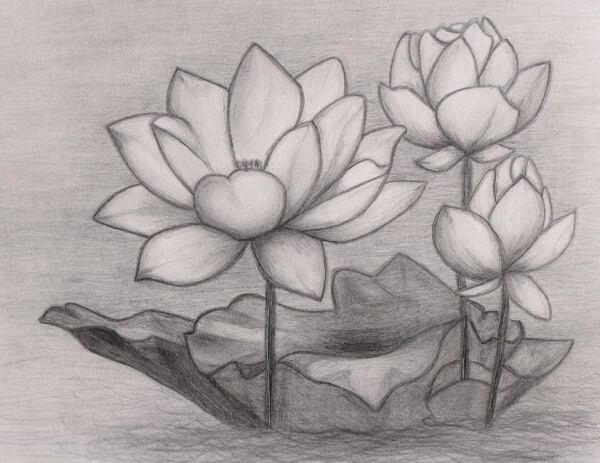
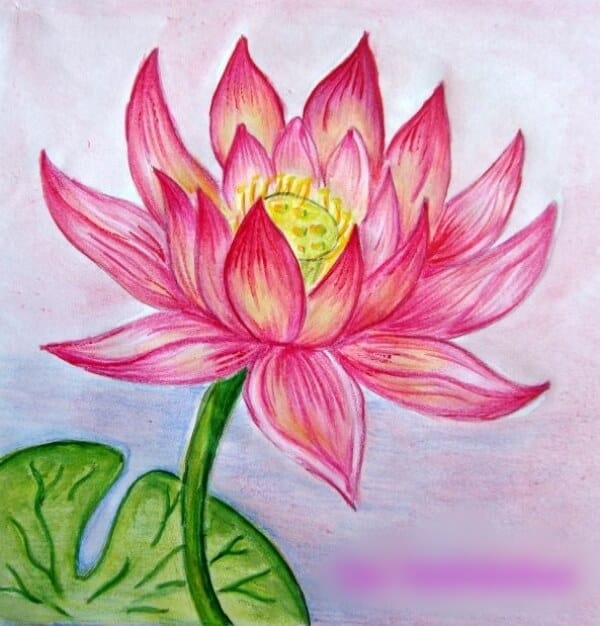
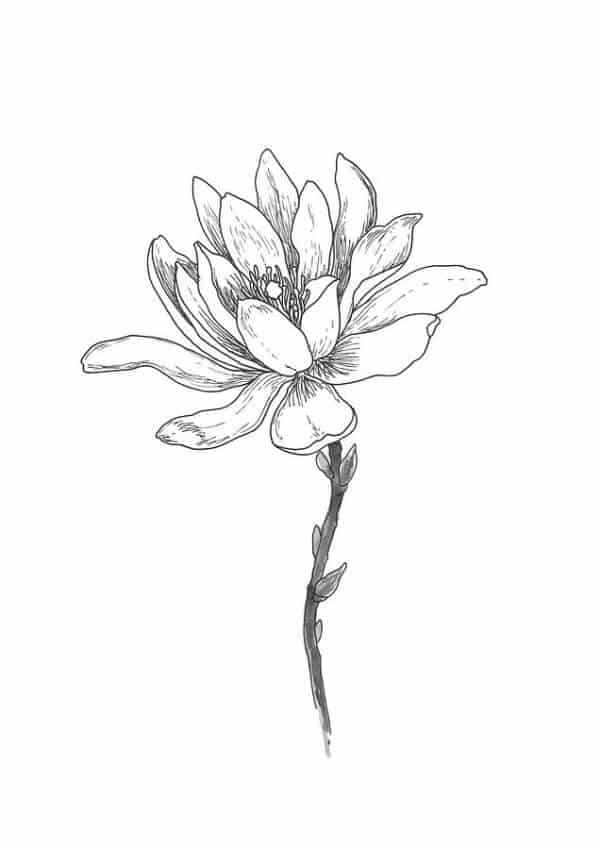
Lotus Flower Drawing: Step by Step
The entire activity of drawing a lotus flower is based on the simple drawing of several oval shapes on white paper. Perhaps this one takes the least difficulty to draw while searching for the easy flower drawings for beginners. Begin the drawing by joining two curve lines on the paper, where they meet at a sharp point at the top. This would be the main petal of the flower, and the bottom should be flattened like a teardrop. This is how you draw petals on either side of the main teardrop and the two additional ones at the back. Try drawing petals that overlap to create dimension. Draw the pollen-like structure and color the entire thing in pink, and green.
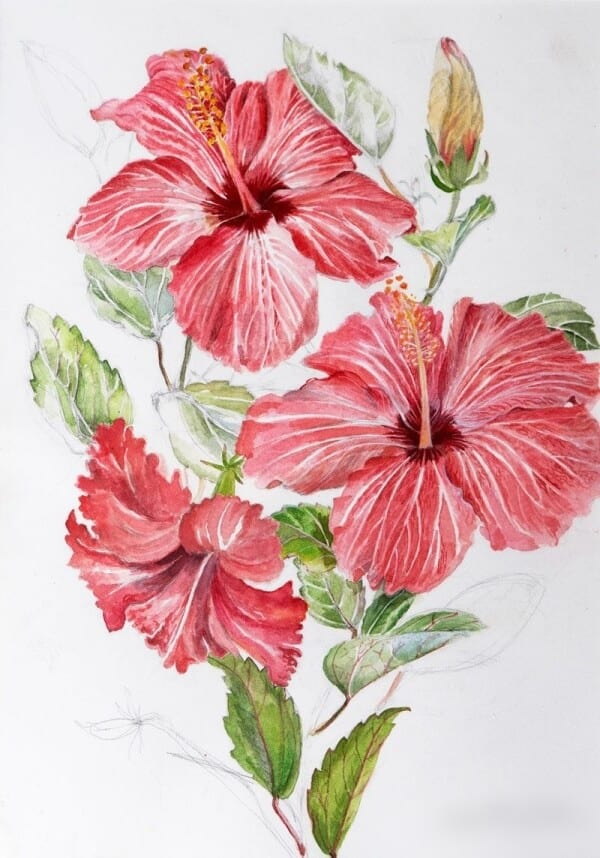
Hibiscus Flower Drawing with Simple Steps
The drawing of the main base is the crucial point in drawing a hibiscus flower, and it’s a great tip to follow step by step. Then draw the shape placed in the center, and the central lines of the petals to draw them with ease. Add the stamens, shape the petals well again, check the entire contour of the flower. Double the thickness, and darkness of the lines, and add the details like the grasses around the flower. In the end, remove every reference line you sketched in pencil. This flower drawing can be a beautiful addition to your sketchbook.

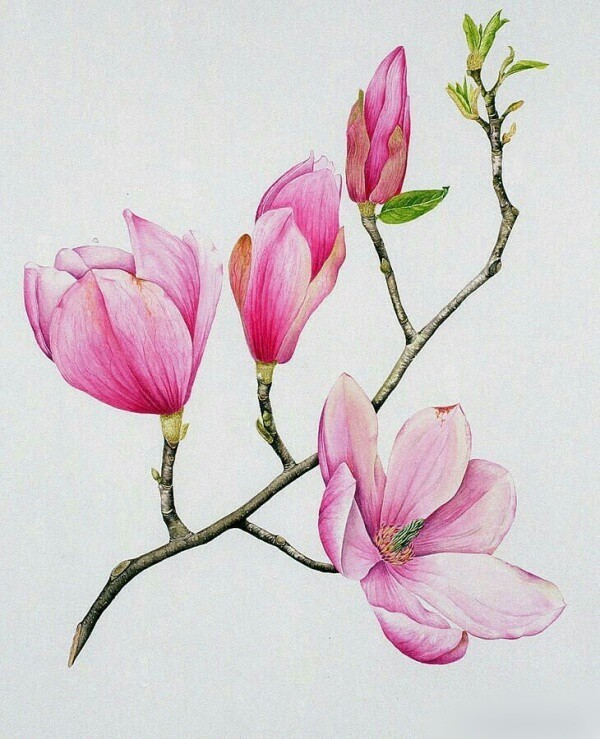
Magnolia Flower Drawing
The drawing of a magnolia flower has stepped in common with the drawing of a lotus flower. Start by drawing a diamond on the center of the white page, and then start with the petals. Emphasize the petal placed at the back, and how is it longer than the previous one. Fill in the spaces by completing the petals, make the edges sharp, and draw a semi-circle at the base. This is where the petals get attached to the stem. Draw the stem longer, add two or more leaves, and you are all done. The large blossom of the magnolia is a joy to draw.
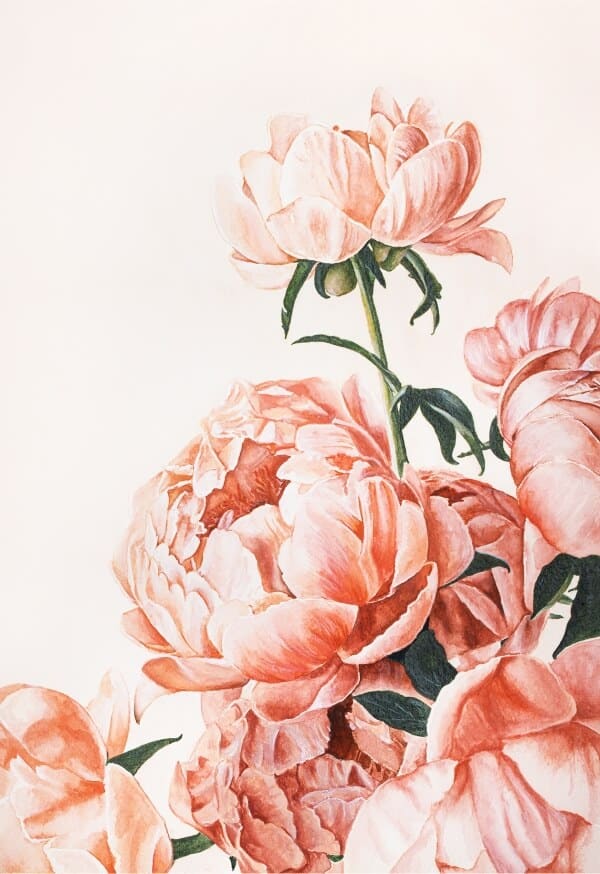
Peony Flower Drawing
Many people won’t attempt to draw peonies at the first attempt. But these are the pretty flowers that have made it to the list of easy flower drawings for beginners. Start with the center as the base. Then start drawing the large petals on either side of the base, and let the shoots come out. Also, don’t forget the leaves. The key is to create layers of ruffled petals. To make it real, draw vein-like lines within the petals, and on the leaves. In the end, paint it well and see the flower bloom.

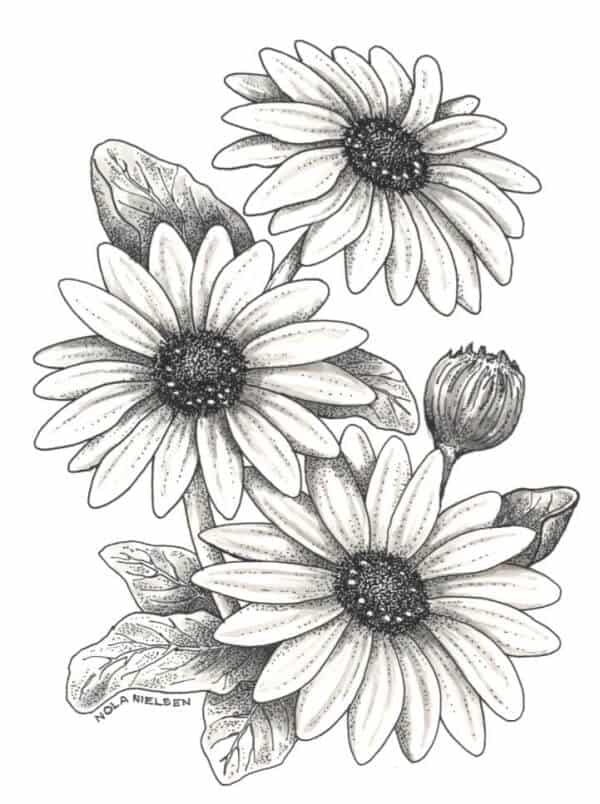
Daisy Flower Drawing: A Classic for Beginners
A great-looking daisy flower is easy to draw. Start by drawing the center of the flower, which is a simple circle, and enough space for the petals to bloom all around it, and the stem below it. Sketch a long, curvy line below as the roots, and place equal shaped petals on either side of the center. The petals should be ring-shaped, after which there should be another round of rings, overlapping the previous ones. Make the stem thick and long so that it would reach the end. The daisy is one of the most simple flowers to master.

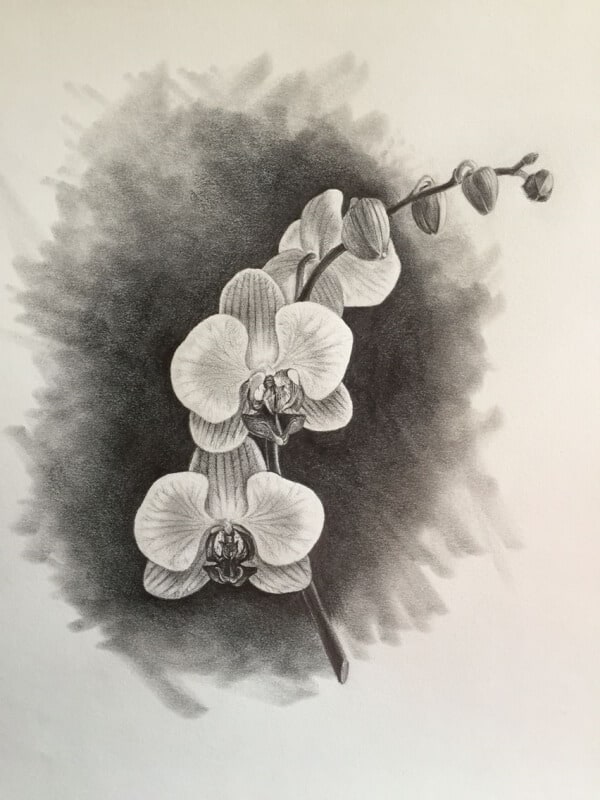
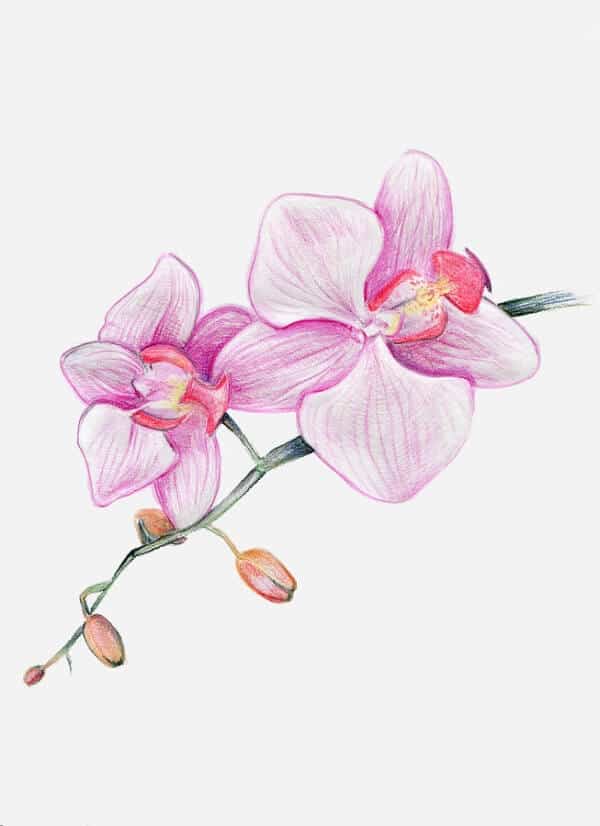
Orchid Flower Drawing
Orchids get us reminded of the weddings, so we feel the happy vibes all around. The isolated orchids feel the prettiest. There is an isolated branch that is well placed in the white paper. Start with the leaves first, as they might feel the complicated ones to draw. Move on to the petals later. The petals are large and broadened that makes the orchids look wide. So, your drawing would cover a major part of the white paper. Paint it in lilac-blue, or violet to make it realistic. Practice drawing this beautiful flower can be very rewarding.
Hydrangea Flower Drawing
Drawing a hydrangea might seem complex, but it’s really just a collection of simple flowers. Start by drawing a large, loose circle to outline the overall shape of the blossom. Then, begin filling this circle with small, four-petaled flowers. Don’t worry about making each one perfect; the beauty of a hydrangea is in the mass of blooms. Try drawing petals that overlap to create a sense of fullness. Once you have filled the main shape, you can add a sturdy stem and a few large leaves. This is a great way to practice drawing clusters of flowers.
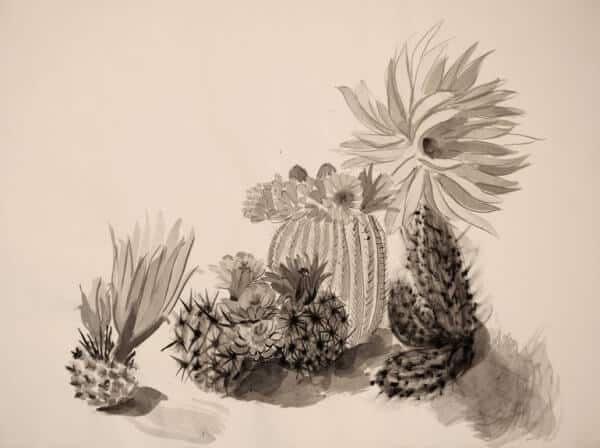
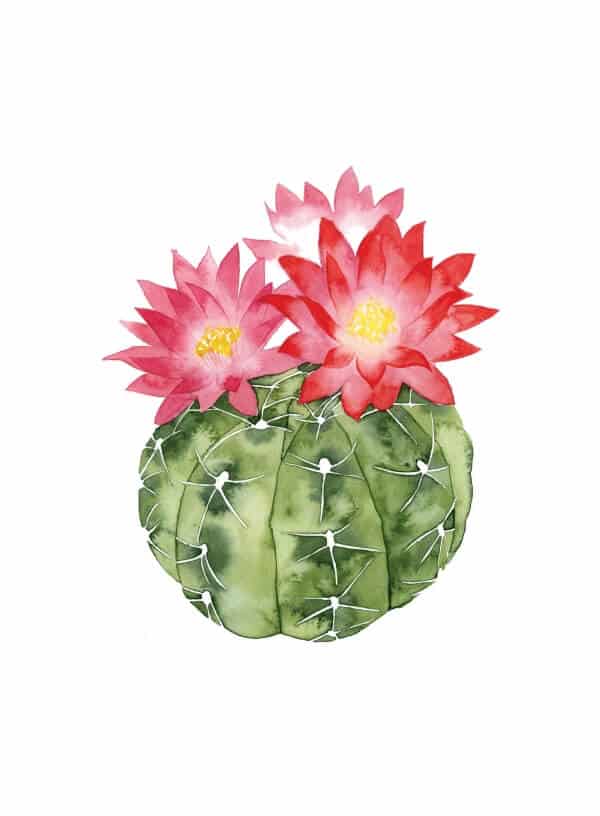
Cactus Flower Drawing
As a child, I was fascinated by the cactus plant. This name in the list of easy flower drawings for beginners doesn’t have any fixed rule for drawing. Draw the cactus flower in whichever way suits you the best. Just don’t forget to place the flower pot beneath and paint it brown. For best results, and to make the drawing realistic, sketch it well rather than placing the paints. Keep in mind the intricacies like the thorns, the flowers, and the shadows. The contrast between the prickly stem and the delicate bloom is beautiful.
Teal Flower Drawing
This was a comparatively new name on the list. Teal flowers are mostly known for their turquoise blue shade, which makes the watercolor painting look exquisitely beautiful. Start on a proper symmetry that would make the petals appear to look big. For best results, draw a circle as a reference that would help to keep the drawing in shape. Remember to use the shades of acrylic painting, or spray painting, and see the effect yourself. For a pro-tip, instead of blue, the other popular color remains purple, green, and mauve. Adding color is a fun step in any flower doodle.
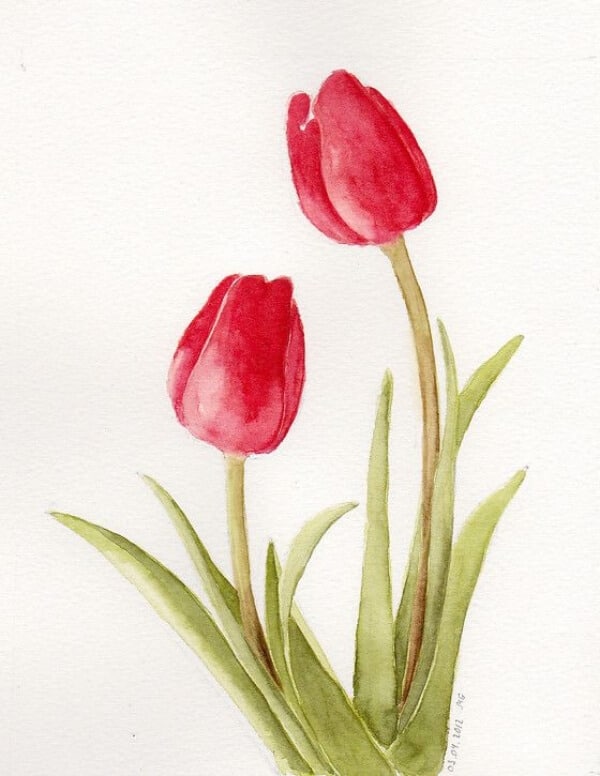
Tulip Flower Drawing: A Simple Flower Sketch
The drawing of a tulip flower starts with a curved U on the paper, and then a curved line from the other side. Join it with the other curved side. This simple way to draw is perfect for a beginner. Once done with the base, draw the stems by stretching two straight lines from top to bottom. Complete your tulip by adding a leaf or two, and consider creating a wreath of flowers for added inspiration. To enhance the beauty, color it well with pink, green, and brown. Feel the freshness reflected in the paper.

Daffodil and Calla Lily Drawing
The daffodil and calla lily are elegant flowers that are surprisingly easy to draw. For a daffodil, start with a small circle for the center trumpet, then draw a wavy line around its edge. From there, draw six pointed petals radiating outwards. For a calla lily, the process is even simpler. Draw a long, elegant stem, and at the top, create a cone shape that gracefully wraps around a central spike (the spadix). Both of these simple flowers are fantastic for practicing different shapes and forms. Once you master these, you can move on to more complex subjects.
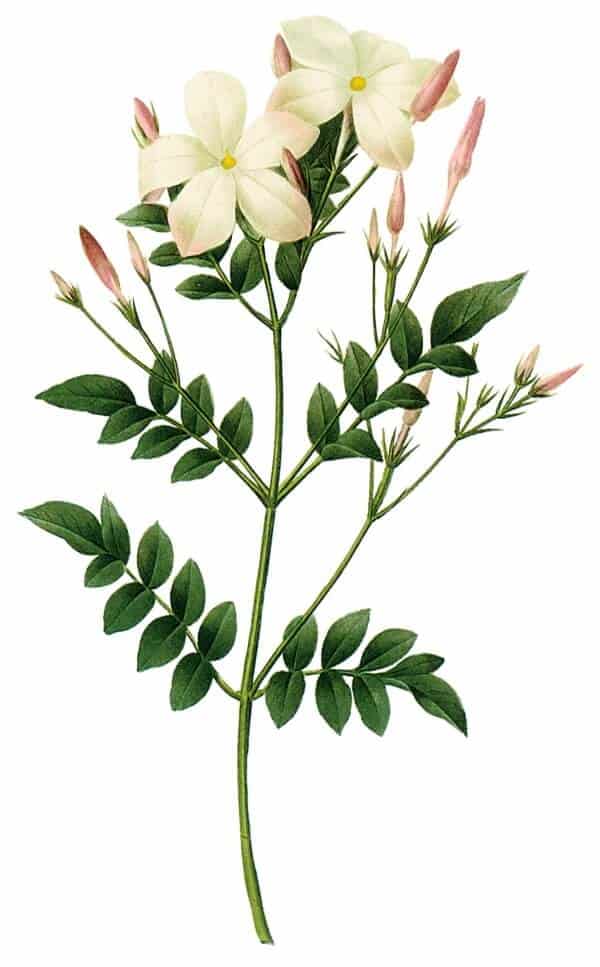
Jasmine Flower Drawing
Again, a beautiful thing to look out for from the list of easy flower drawings for beginners. They look inexplicably beautiful but can be a bit complicated to draw. So, start with the petals first. Here, again draw a circle for reference before starting on the creation of the art. The petals refer to the two curves meeting at the end. Then start with the leaves. Here, the leaves are almost the size of the petals so that makes it easy to draw. Following these instructions for drawing will help you succeed. Do give it a try.
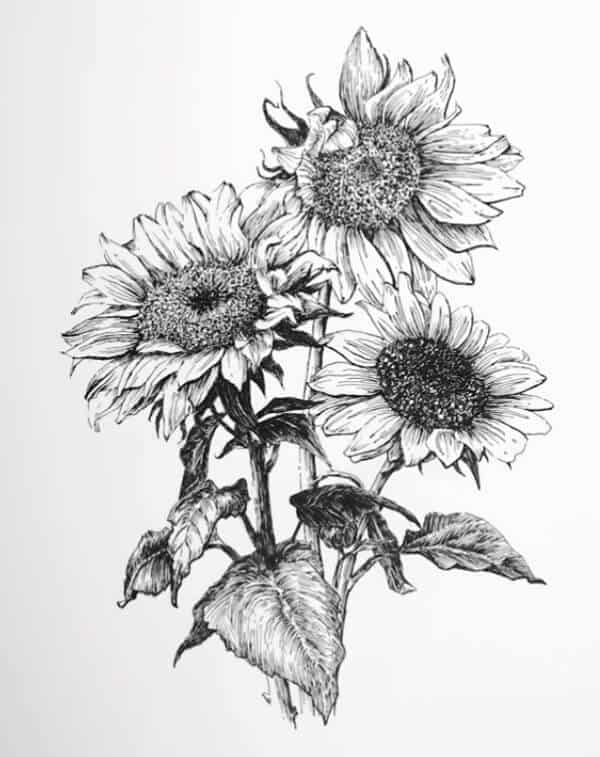
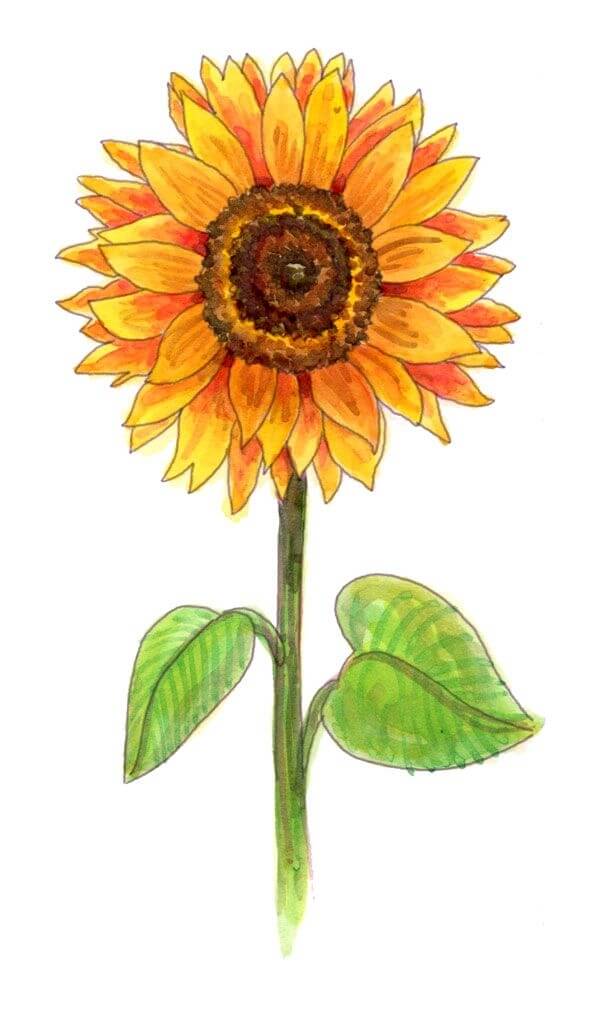
Sunflower Drawing: A Bright and Easy Flower Doodle
The thought of sunflower cheers up the mind at an instant, making it a perfect subject for a doodle. The biggest trick remains drawing the center circle before the petals. That’s the biggest one, which would involve drawing the remaining petals. Just like the previous name, the petals refer to the joining of two curves at the end. But, here the leaves the large, that needs to be painted in hues of bright yellow or golden mustard color. That would enhance the effect, making it prominent than before. Use a marker to create a bold outline once your sketch is complete.
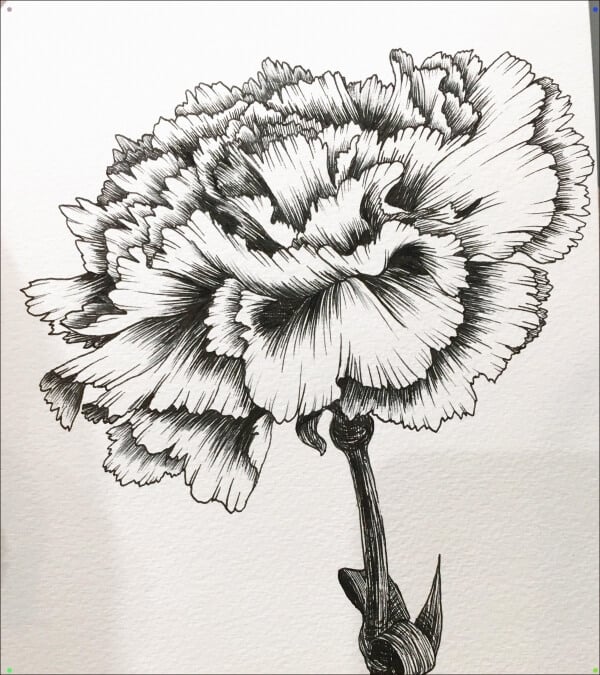
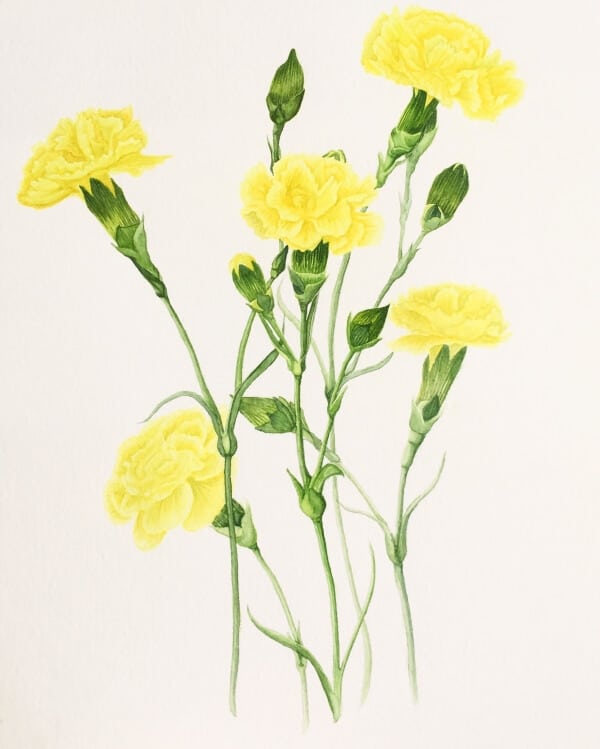
Carnation Flower Drawing
Would you ever imagine a bouquet minus the carnations? Of course, not. Similarly, this list also needs its mention. Start with the petals as the main petal is disproportionate in shape. The key to drawing a carnation is creating its signature ruffled edges. Done with that, make a place for the other petals in equal shape. Make sure to place a wavy line for each of the petals. Done with one, draw all the other additional petals. Join them all.
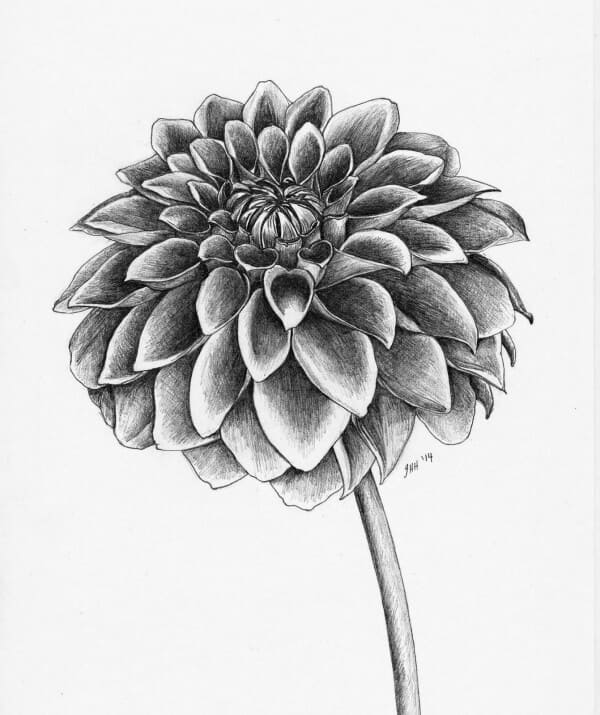
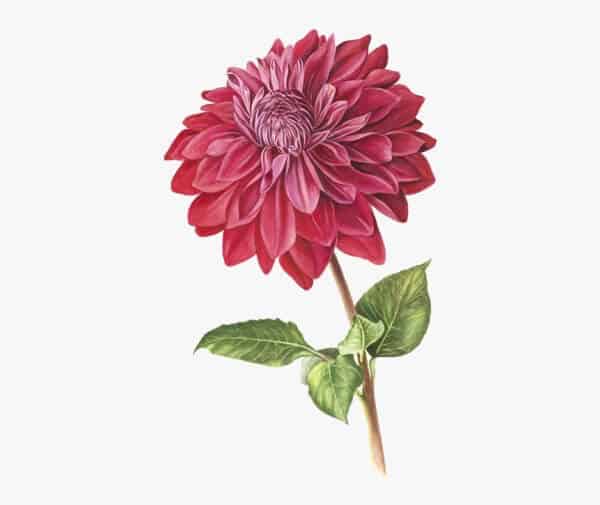
Dahlia Flower Drawing
The center petal should be large enough to form the base for all the other petals. Keep lines and circles for references. Start creating the petals at an equal length. The name might be included in the list of easy flower drawings for beginners, but needs minute attention before doing it well. The dahlia’s beauty comes from its many layers of petals. Start with a bang and end with the perfect finesse.
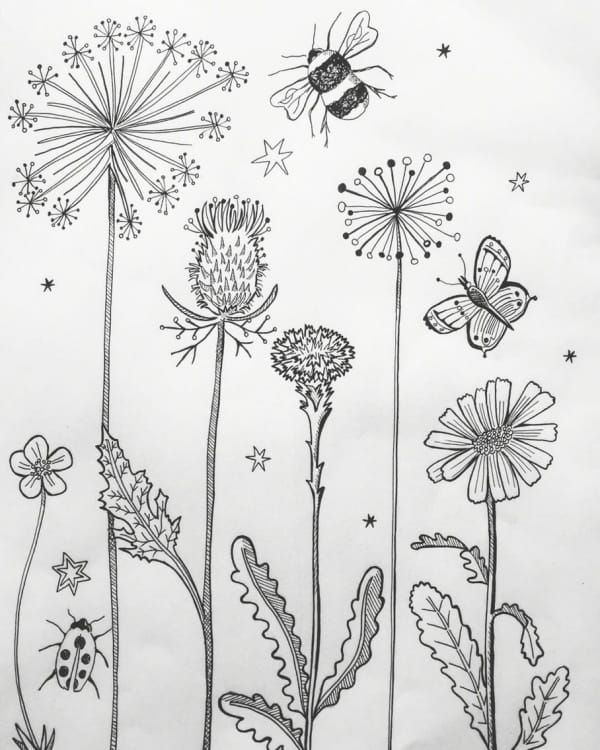
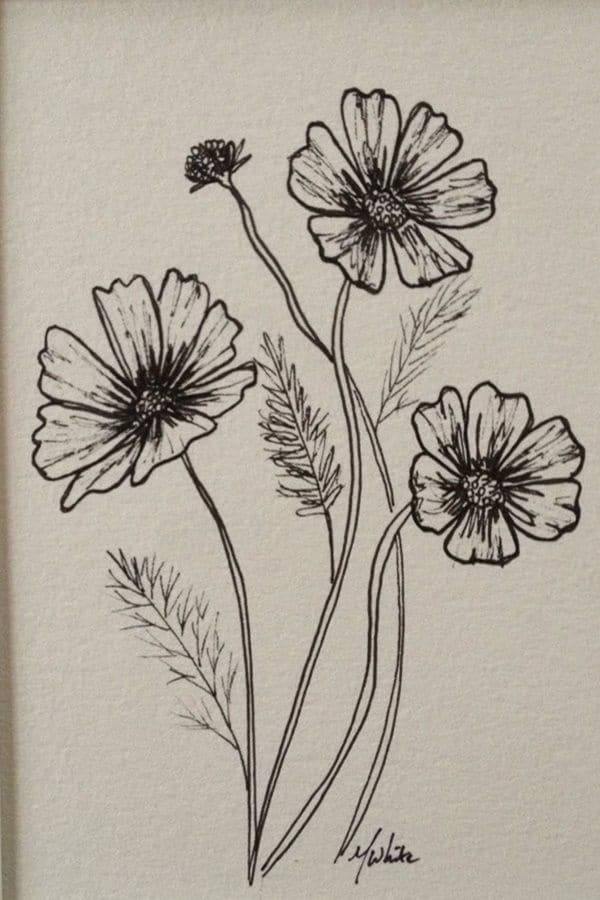
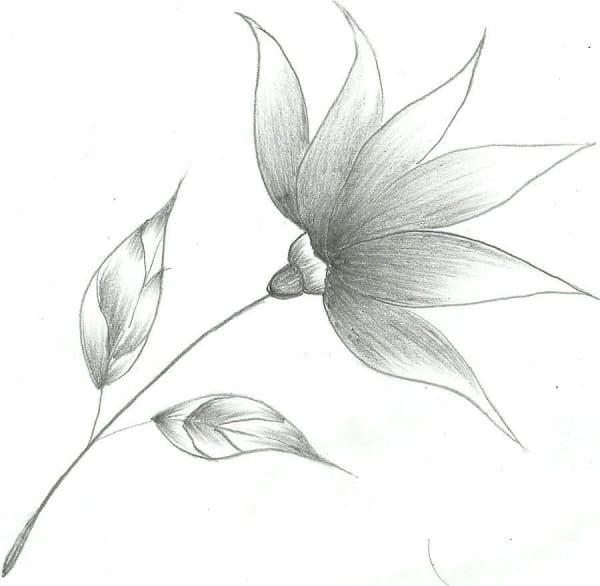
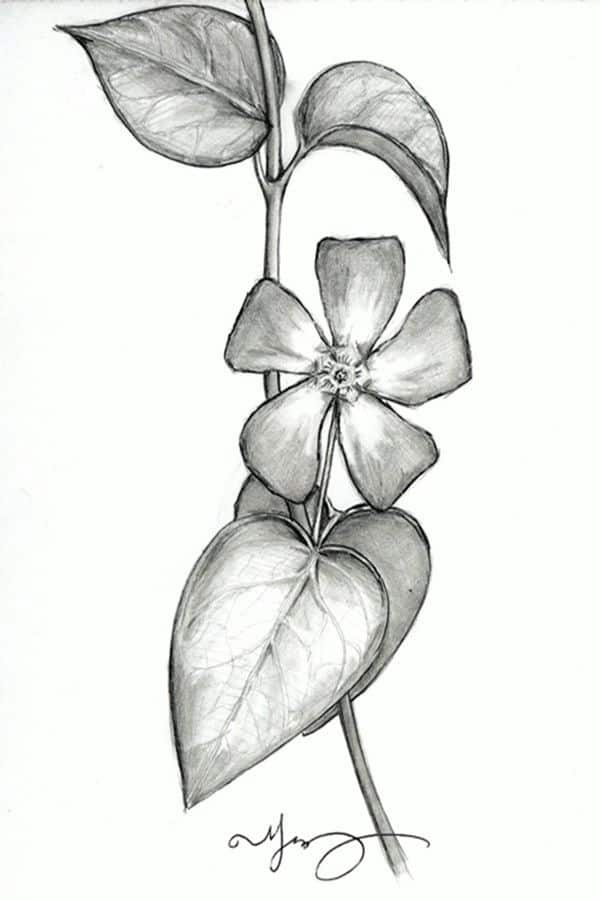
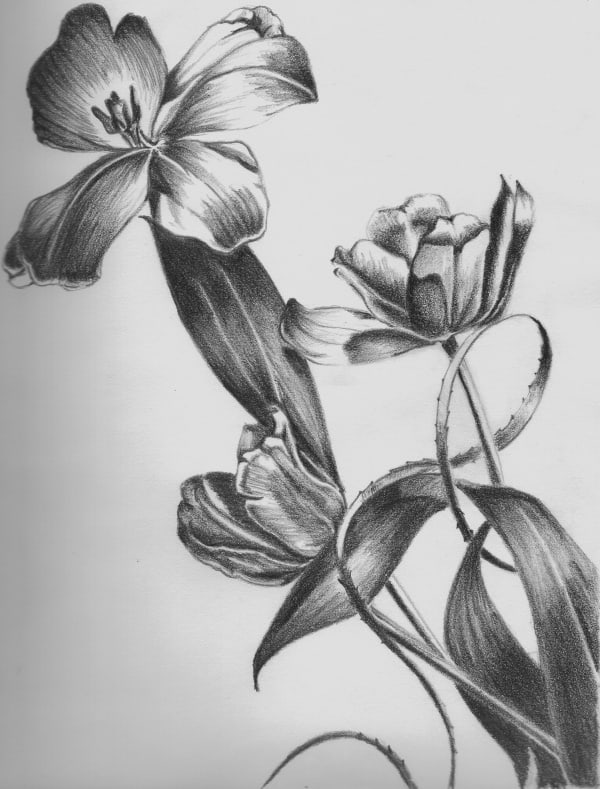
More Easy Flower Drawings for Beginners Gallery


Conclusion
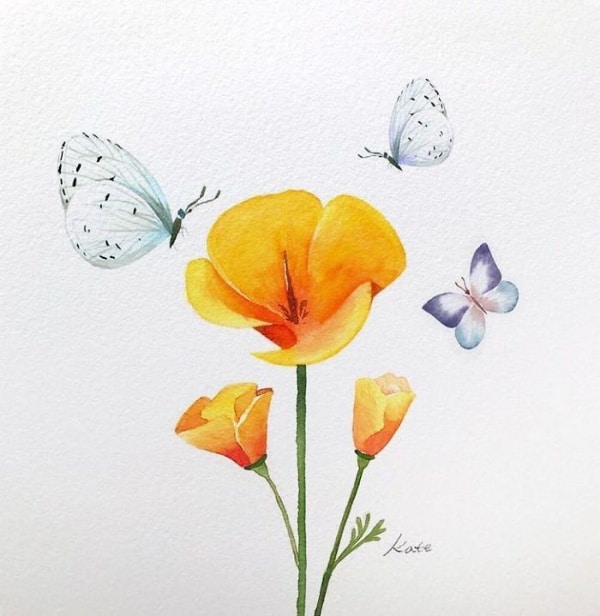
That’s how we conclude the list of easy flower drawings for beginners. So, how was your revival trip? Did nostalgia hit hard? Well, I am sure you are all set to scribble again. So, clean your color palette, brush the dust off your canvas, sharpen your pencils, and be back with a bang. Paint to your heart’s content, and feel good about it. Let your imaginations run wild, and splash your thoughts with the dash of colors. For further inspiration, you can look up artists like Kate Kyehyun Park who specialize in beautiful flower drawings. Was the thought exciting? So, you know what to do. Pick your best from the list above, and get on the bandwagon right away.
FAQs
Q: What supplies do I need for drawing simple flowers?
A: To get started with drawing simple flowers, you’ll need basic supplies such as a mechanical pencil for precise lines, an eraser for corrections, and a smooth surface to work on. You may also consider colored pencils or watercolor paints to add different shades to your flowers.
Q: How can I draw beautiful flowers like a rose or a sunflower?
A: To draw beautiful flowers, begin by observing real flowers or images on platforms like Instagram for inspiration. Use a step-by-step approach: start with basic shapes, then add details such as petals, stems, and leaves. Remember to incorporate the colors of the flower you wish to depict.
Q: What is the best way to draw a poppy flower?
A: The best way to draw a poppy flower is to start with a simple outline of the petals, then gradually add details such as the central bud and the stem and leaves. Use a graphite pencil to sketch lightly and then build up darker lines for definition.
Q: Can I erase parts of my flower drawing if I make a mistake?
A: Yes, you can erase parts of your flower drawing if you make a mistake. Using a good quality eraser will help you remove unwanted lines without damaging the paper. This allows you to refine your drawing and achieve the desired look.
Q: How do I incorporate different shades in my flower drawings?
A: To incorporate different shades in your flower drawings, start by observing how light interacts with flowers in nature. Use lighter tones for highlights and darker tones for shadows. Blending colored pencils or watercolors can help create a smooth transition between shades.


