


Essential Drawing Supplies for Organic Illustration
When figuring out how to draw a jellyfish, collect a standard pencil, a clean eraser, and plain sheet paper. The HB grade works perfectly for light construction marks. You might also want a black pen for inking later alongside colored pencils for a soft blue or pink tint. Do not worry if your collection looks small, because every beginner has everything required to begin today.
Preparing Your Canvas for Fluid Geometry
To master how to draw a jellyfish, start with a light touch and sketch your initial lines gently across the page. These marks serve only as temporary guides that you will erase later. The process builds step by step, so follow the instructions in order to watch your artwork gain detail with each stage. Remember that slight irregularities in early lines feel completely normal and remain part of the enjoyable creative journey.
1. Your Starting Point: The Center Guide Line
This first step shows how to draw a jellyfish by establishing a main guide line that your entire illustration will anchor to. It acts as your friendly helper to maintain balanced proportions! Pick up your hard pencil, preferably an H or 2H, and press lightly so you barely notice the mark on the surface. Draw one straight path down the middle of your sheet, extending it to match your desired final height.
If alignment feels tricky, simply rotate your workspace to make marking easier. Holding the tool closer to the tail assists you in keeping pressure minimal, which proves highly useful when learning how to draw a jellyfish without leaving heavy residual marks on your paper.
2. Shape the Jellyfish’s Flattened Dome

Now that your workspace sits ready, focusing on how to draw a jellyfish begins with shaping the main bell structure. This curved outline establishes the foundation for every additional detail. Pick up your pencil and hold it loosely, pressing gently as you sketch a wide, shallow arc near the top of the page.
Picture a gentle smile flipped upside down to form a broad hill rather than a steep mountain. Keep this stroke smooth and continuous without stressing over perfection during your first attempt. For anyone exploring how to draw a jellyfish successfully, the most frequent mistake involves making this section too tall instead of keeping it wider than high.
Once you approve the general proportions, retrace it once with a slightly firmer touch. Practice these sweeping curves by visiting this guide on how to draw a seashell for additional smooth line training.
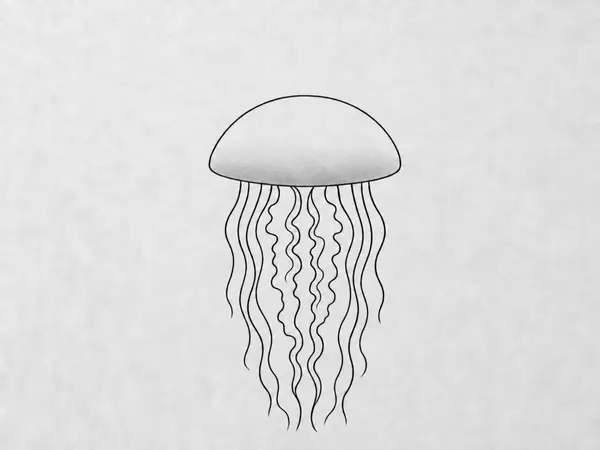
3. Sketch the Flowing Oral Arms and Tentacles
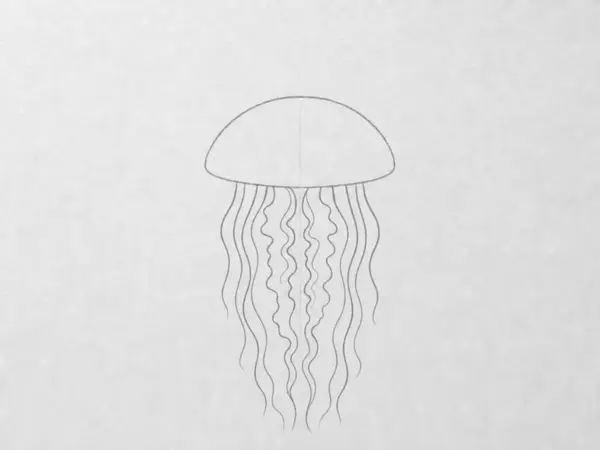
Understanding how to draw a jellyfish requires adding soft, undulating oral arms directly beneath the main bell. These hanging strokes grant your sea creature its signature dreamy, floating aesthetic. Position your tool under the outline, press lightly, and sketch several long, winding paths using your pencil.
Allow your marks to drift downward like hanging ribbons instead of forcing rigid geometric lines. Add extra flowing paths next to your initial set, varying lengths so occasional strands overlap each other naturally. When lines appear too rigid while you study how to draw a jellyfish correctly, try sketching each strand quickly in one continuous motion to capture effortless flow.
For additional training with flowing organic forms, explore drawing clouds for beginners next.
4. Clean Up Your Sketch by Erasing Guides

Knowing how to draw a jellyfish cleanly requires removing your initial construction marks so the finished illustration appears sharp. Grab your kneaded eraser, press it gently onto a guide stroke you no longer need, and lift straight upward without smearing.
The graphite fades completely, proving that careful cleanup remains essential to how to draw a jellyfish properly. Repeat this lifting motion across every visible guide mark, then switch to a standard rubber block to clear any stray dust around your page. Pro tip: Avoid rubbing aggressively with your eraser because gentle tapping preserves paper fibers while lifting unwanted marks.
5. Ink Your Final Lines for a Crisp Outline
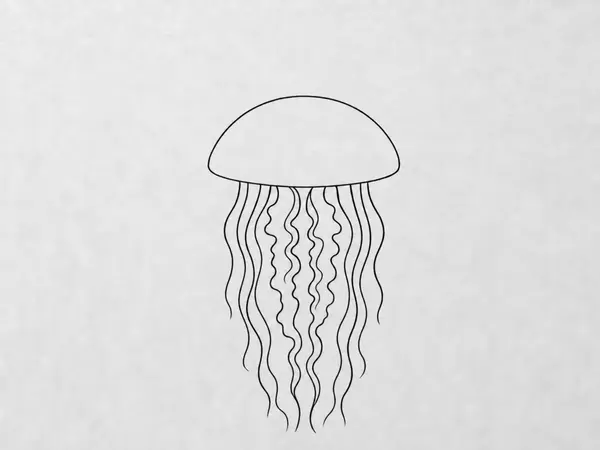
A vital step in knowing how to draw a jellyfish permanently involves tracing your pencil framework with liquid medium to create crisp edges. Pick up your fine-liner pen and begin following the main outline of the top dome. Move your instrument slowly and steadily, placing ink directly over your graphite guides.
Maintain even pressure throughout before carefully tracing all hanging tentacles below. Allow the wet medium to dry completely before shifting your hands or applying color, matching the technique used in this tutorial on simple drawings to practice. Pro tip: When working with permanent ink, originate longer strokes from your elbow instead of your wrist to prevent shaky execution and reinforce how to draw a jellyfish with confident lines.
6. Add Gentle Shading for Depth and Volume
If you already know how to draw a jellyfish outlines, applying soft shading instantly makes the body appear three-dimensional. Pick up a soft 2B pencil and hold it sideways to utilize the broad lead surface. Press lightly and rub the wide area back and forth across the page.
Begin at the lowest rim of the dome to form a gentle gray patch that gradually fades upward. This layered approach creates the illusion of a curved underside without demanding flawless technique. Pro tip: When learning how to draw a jellyfish with dimensional volume, soften harsh shadow edges using a clean tissue to maintain a soft floating aesthetic while exploring these tips to improve drawing skills.
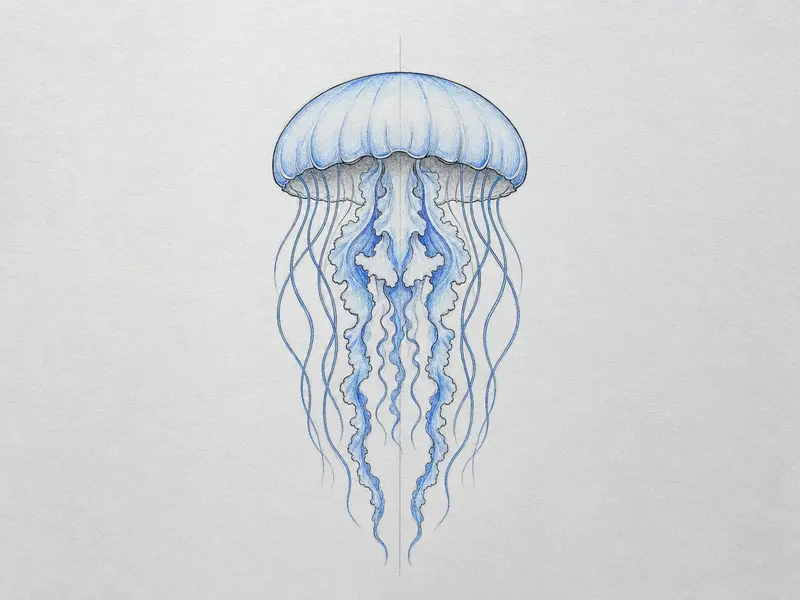
7. Apply a Soft, Translucent Color Wash
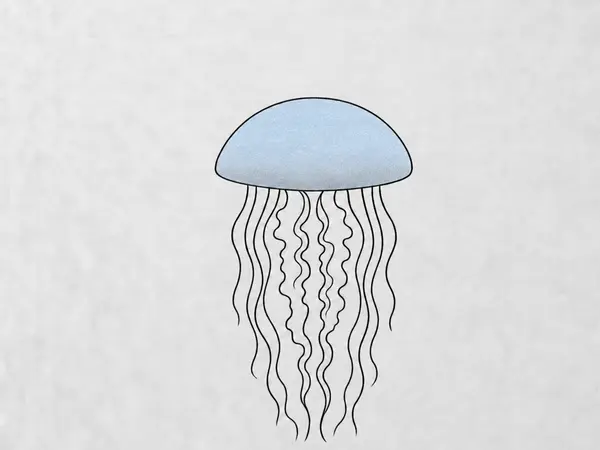
Applying a translucent wash demonstrates exactly how to draw a jellyfish that radiates with light, ethereal color. First, prepare your watercolor paints and choose one pale hue you enjoy. Load your brush with clean water and a small pigment drop before touching the brush to paper, allowing moisture to spread naturally across the upper bell region.
Create a subtle gradient by pooling extra pigment near the lower rim, then repeat the diluted mixture on the hanging tentacles so edges blend organically. Pro tip: When figuring out how to draw a jellyfish using wet media, lift heavy spots rapidly with a dry paper towel to maintain transparency, then explore easy whimsical drawing ideas for similar projects.
8. Final Touches: Layer Deeper Color Details

You now hold the complete workflow for how to draw a jellyfish as you add deep color layers to make the artwork pop. Select your main colored pencils and apply a single light shade to coat the entire dome evenly. Switch to a darker tone of the identical hue and press slightly harder along the lower rim and inner folds to establish roundness.
Run short, soft strokes down each tentacle to embed texture without overwhelming the piece. Try keeping beginner pieces simple while reinforcing how to draw a jellyfish correctly, then branch out toward easy flower drawings for beginners for additional practice.
Tips for Refining Your Jellyfish Illustration and Texture
Sketch the entire composition again from memory to reinforce how to draw a jellyfish without reference sheets, since retention improves drastically with repetition. Practice tentacle curves on scrap pages until movement feels instinctive, then alter scale to observe proportion shifts across sizes. Finally, layer a simple aquatic background or blend soft edges outward to produce a stunning bioluminescent glow.
Conclusion
You did it! Look at that beautiful sea creature you just finished. You started with a basic center line, constructed a clean dome, and attached graceful wandering tentacles. You’ve learned a reliable construction method for how to draw a jellyfish: beginning light, refining forms, and locking everything in with permanent ink and layered color.
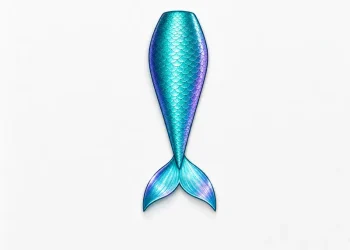
To maintain progress, recreate the piece from memory or paint an entire colony in varying dimensions and tints. Your next project might involve sketching another marine animal like a streamlined tropical fish or a textured spiral shell. Find a bright place to display your artwork and celebrate the skills you developed today!
FAQs
Q: What pencil should I use for this tutorial?
A: A standard HB unit works perfectly for initial sketching because it deposits faint, easily removable graphite lines.
Q: Do I need to ink my outline?
A: The piece looks gorgeous as a plain graphite study, but applying permanent ink simply strengthens edge definition.
Q: How do I draw the tentacles so they look natural?
A: Guide your strokes in irregular downward waves and allow multiple strands to cross over to eliminate rigid spacing.
Q: How long does it take to finish this project?
A: Beginners typically complete the full sequence within 20 to 30 minutes by following the structured stages.
Q: How do I add shading to my jellyfish drawing?
A: Apply gentle graphite layers along the lower dome curve with a soft tool to manufacture realistic roundness.


