


Essential Drafting Tools for Complex Floral Forms
You don’t need a lot to start. Grab a pencil, an eraser, and some paper. A standard HB pencil works best when figuring out how to draw a lilac with light guide lines. You might want a ruler for a straight stem guide and a fine-liner pen for inking your final lines later. If you have them, colored pencils or markers are a fun way to add a soft violet hue. That’s it. You have everything you need to create something lovely.
Understanding the Lilac Growth Pattern Before You Begin
Let’s think about how a lilac grows. It isn’t one big flower. It’s a huge cluster of hundreds of tiny four-petaled blossoms, all packed together in a cone shape. They sprout from a central stem. The florets are densest in the middle and get looser toward the edges. Keeping this natural pattern in mind will help your drawing feel real when you follow how to draw a lilac techniques.
1. Establish the Main Flower Cluster Shape
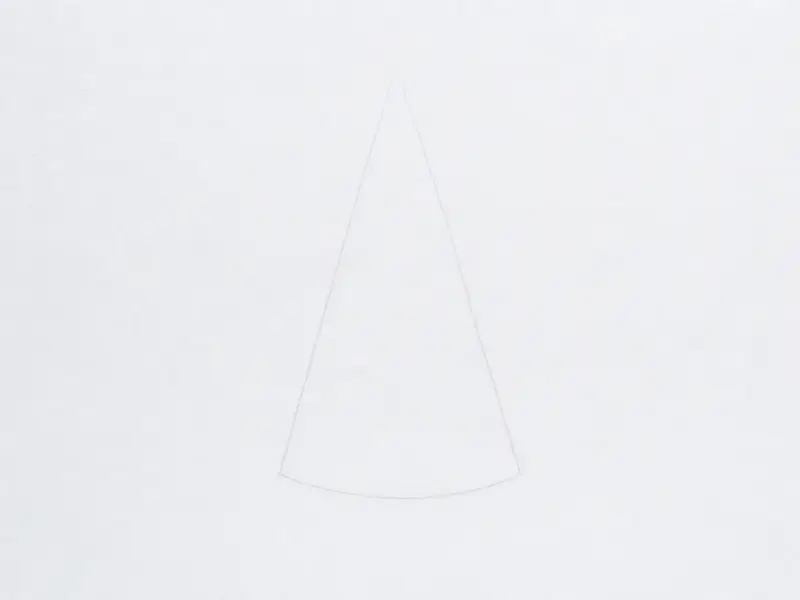
This first step creates the big, fluffy flower cluster shape that teaches you how to draw a lilac foundations. It’s the foundation for your whole drawing.
Grab your pencil. Press lightly so your lines are easy to change. Draw a big, loose oval shape in the middle of your paper. Tilt it a little to the side so it looks natural. Don’t worry about making it perfect or smooth. A bumpy, soft oval looks more like a real lilac! For extra confidence, more easy flower drawings before you start practicing how to draw a lilac.
Pro tip: If your oval looks too stiff, try drawing it with a few quick, overlapping circles instead of one slow, careful line.
2. Add the Central Stem for Structure

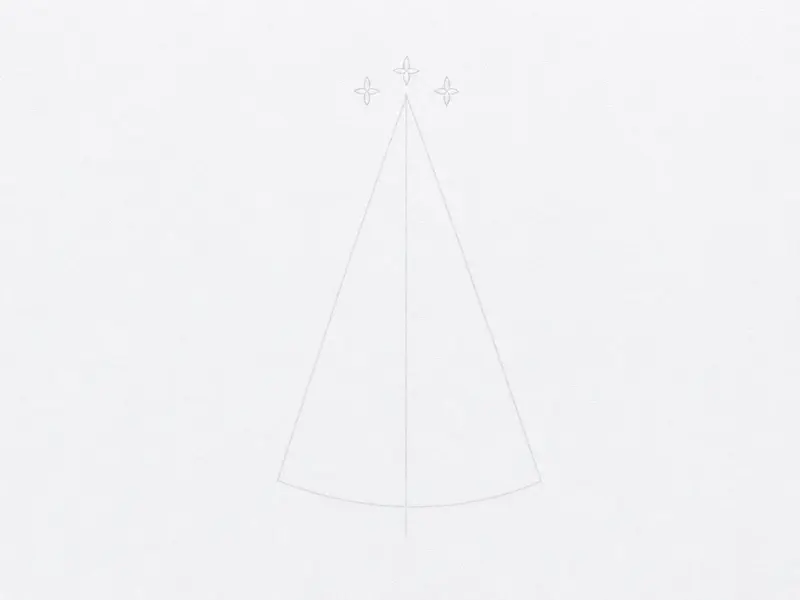
Now that you’ve drawn your first lilac shape, this step adds a strong stem to show you exactly how to draw a lilac structure. It will give your drawing a solid base.
Find the center bottom of your lilac shape. From that point, draw a straight line down with your pencil. Make this line about twice as long as the lilac shape itself. Press firmly so the line is dark and clear. Don’t worry about making it perfectly straight. A slight curve is okay and looks natural when you master how to draw a lilac basics.
Pro tip: If your lilac feels wobbly, it’s a great idea to review a general flower drawing tutorial first. It will help you feel more confident about placing stems and petals.
3. Sketch the First Florets at the Top
Now that you have the basic shape, let’s start drawing the little flowers at the top. This is where your light pencil touch makes how to draw a lilac florets look real.
Use your pencil lightly for this part. Draw a few small, loose circles or ovals right at the top of your shape. Don’t try to make them perfect. Make some a bit bigger and some a bit smaller. Just let your hand make soft, wiggly marks. You’re doing great. This is all about getting the feel of a fluffy cluster. That’s totally normal when figuring out how to draw a lilac.
Pro tip: If you’re new to drawing from scratch, getting comfortable with easy drawing ideas for beginners first can help you relax your hand for steps like this while learning how to draw a lilac.
4. Fill Out the Rest of the Flower Cluster

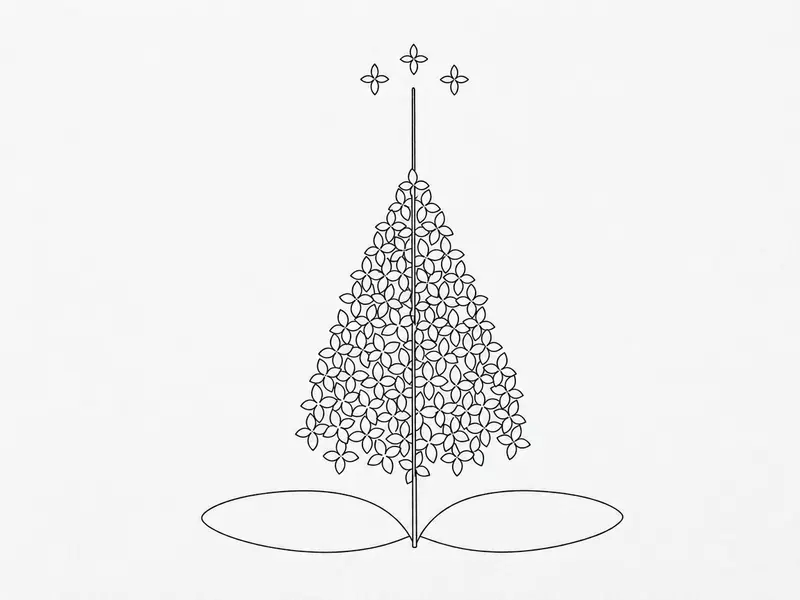
You’ve got the main shape of your lilac cluster from the last step. Now let’s fill it in with lots of tiny flowers and leaves to make it look full and fluffy as you see how to draw a lilac details emerge.
Pick up your HB pencil and draw small, light circles all over the inside of your cluster shape. Don’t make them all the same size or put them in neat rows. Let some circles touch and overlap. Around each circle, add four tiny, curved lines to make simple petals. Next, draw a few simple leaf shapes poking out from the bottom and sides of the flower cluster. Press a little harder to define the outlines of the flowers and leaves you like the most while practicing how to draw a lilac.
Pro tip: If your cluster starts to look too flat, remember to overlap your shapes. Let some flowers look like they’re in front of others, and have a few leaves peek out from behind. It’s a great first detailed drawing, but read up on simple drawings to practice so you have the right fundamentals in place for how to draw a lilac.
5. Draw the Stem and Simple Leaf Outlines

Now that you have your lilac flower shape, this step adds the stem and leaves to show you how to draw a lilac anatomy completely. It’s easier than it looks!
From the bottom of your lilac shape, draw a long, straight line down. Press firmly so you can see it clearly. About halfway down this line, draw a short, slanted line to the left. This is the start of a leaf. Connect the end of that slanted line back to the main stem with a slightly curved line. You just made a simple leaf shape! Now do the same thing on the right side of the stem. Use a sharp pencil for these clean lines. You’re doing great!
Pro tip: If your leaves look too small or pointy, try making them a little wider and rounder at the ends.
6. Erase Your Light Guide Lines

Now that you’ve drawn all your lilac flower clusters and leaves, this step cleans up your drawing by removing the light guide lines you started with while mastering how to draw a lilac.
Pick up your kneaded eraser. Press it gently on one of your light guide lines. Dab it up and down to lift the graphite off the paper. Work slowly around your drawing. Erase all the light circles and lines you used to plan the shapes. Be careful not to rub the dark lines you want to keep. This makes your lilac look clean and finished. You’re doing great.
Pro tip: Press lightly with your eraser. If you push too hard, you can damage the paper and make it hard to draw over later.
7. Ink Your Final Lines for a Crisp Outline
You’ve got a beautiful lilac sketch on your paper! Now you’ll trace over your favorite lines with a fineliner pen to make them pop. This final tracing step proves how to draw a lilac outlines clearly. Nice work!
Start by tracing the main stem of the lilac. Use one smooth line and press gently. Then, carefully trace around the outside edges of your flower clusters. Go slowly and follow your pencil lines. Don’t worry about tracing every tiny detail inside the flower. You’re only going for the main shape. Your drawing is starting to look crisp.
Pro tip: If you make a little wobble with the ink, don’t panic. Just keep your line moving. A confident, slightly wobbly line always looks better than a shaky, hesitant one.
8. Add Soft Shading for Depth and Volume
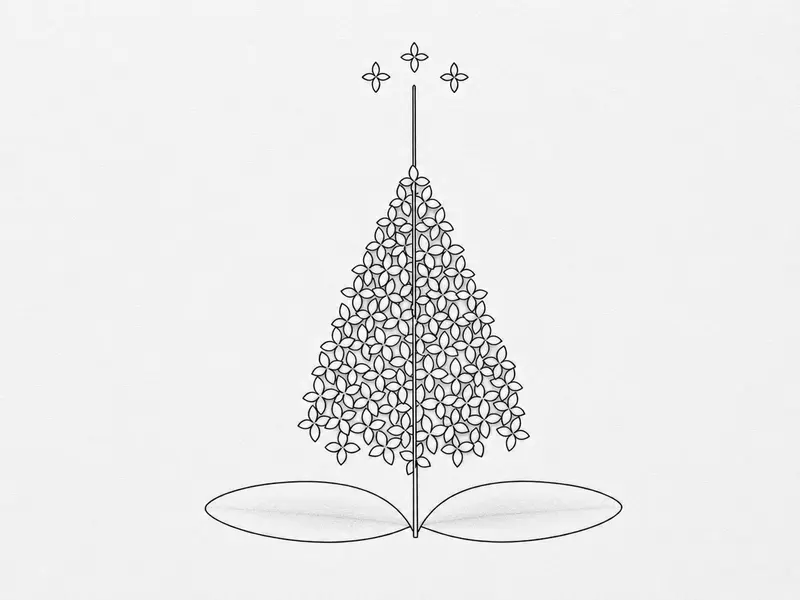
Now that you have the lilac’s main shape, this step adds soft shadows to make it look round. You’re doing great and advancing your skills with how to draw a lilac.
Hold your pencil on its side. Use the side of the lead, not the point. Press lightly and shade the bottom edge of each flower cluster. Make a soft, gray shadow underneath. Also shade the side of the lilac that faces away from the light. This makes it look like it has depth. Don’t worry if it’s not perfect. Nice work getting this far.
Pro tip: For smooth shading, blend your marks with a tissue or your finger. It helps the shadows look soft.
9. Bring Your Drawing to Life with Color

Now that you have your lilac outline ready, this step makes it look soft and real by adding color. It’s the fun part where your drawing pops while learning how to draw a lilac.
Let’s start with the leaves. Use a green colored pencil and press lightly. Fill in each leaf shape with smooth, even color. Next, pick up a violet colored pencil for the flower clusters. Draw lots of tiny dots and short, curvy lines in each cluster to look like little petals. You don’t need to color the whole area solid. Leave some tiny white spots between your marks to keep it looking light and airy as you finish your work.
Pro tip: If your colors look too pale, go over the same spots again with a little more pressure. Layering the color makes it richer without looking messy.
Practical Tips for Improving Floral Texture and Realism
Try drawing your lilac a second time right after you finish. You’ll be surprised how much cleaner it looks. Practice drawing those little four-petaled florets on a spare piece of paper until the motion feels natural. You can also experiment with making your drawing bigger or smaller to see how the proportions change. Adding a simple background wash of color can make your artwork shine once you understand how to draw a lilac composition.
Conclusion
You did it. You’ve drawn a beautiful flower. Look at what you created from a few simple shapes. You learned how to start with guide lines, build up the structure, and finish with clean lines and color. That’s a great skill you can use for so many other blooms. If you want to practice, try drawing your lilac again from memory or make it bigger on the page. A rose or a hydrangea would be a wonderful next project using similar steps. You should be proud of your work. Find a nice spot to display your new drawing, and remember that knowing how to draw a lilac opens up endless creative paths.
FAQs
Q: What pencil should I use for this tutorial?
A: A standard HB pencil is perfect for the sketching steps. It’s dark enough to see but light enough to erase easily.
Q: Can I skip the inking step?
A: Yes, you absolutely can skip it. Your drawing will look lovely as a pencil sketch. Inking simply makes the lines permanent and crisp before you add color or shading.
Q: How do I draw the tiny florets without crowding them?
A: Start at the very top and work outwards. Leave little gaps between some florets; they don’t need to touch. This creates a more natural, airy look.
Q: How long does it take to draw a lilac?
A: This guide takes about 30 to 45 minutes for a beginner. Take your time and don’t rush the small flower shapes.
Q: How do I add shading to my lilac drawing?
A: Use light, circular pencil strokes in the spaces between your inked petals. Shade more heavily on one side to suggest where the light is coming from.


