


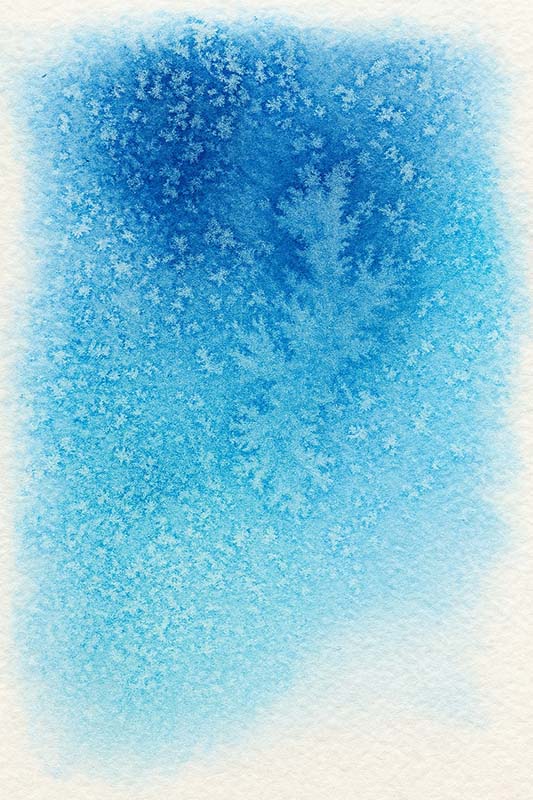
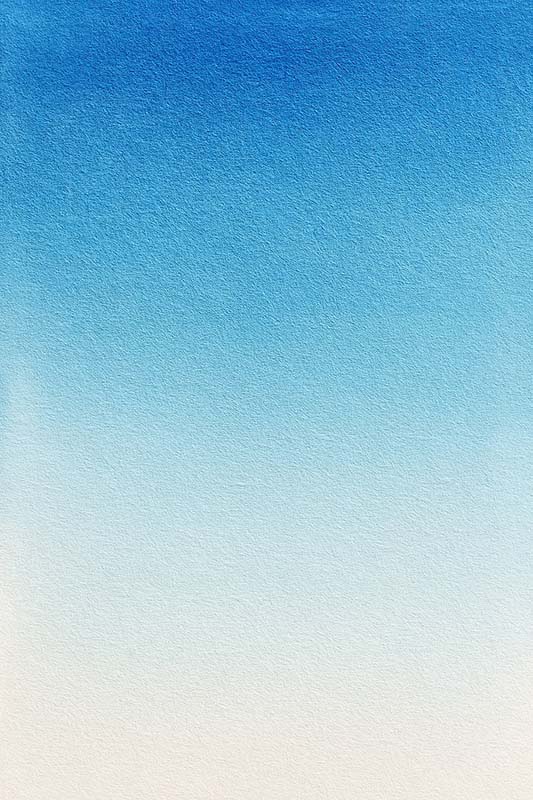
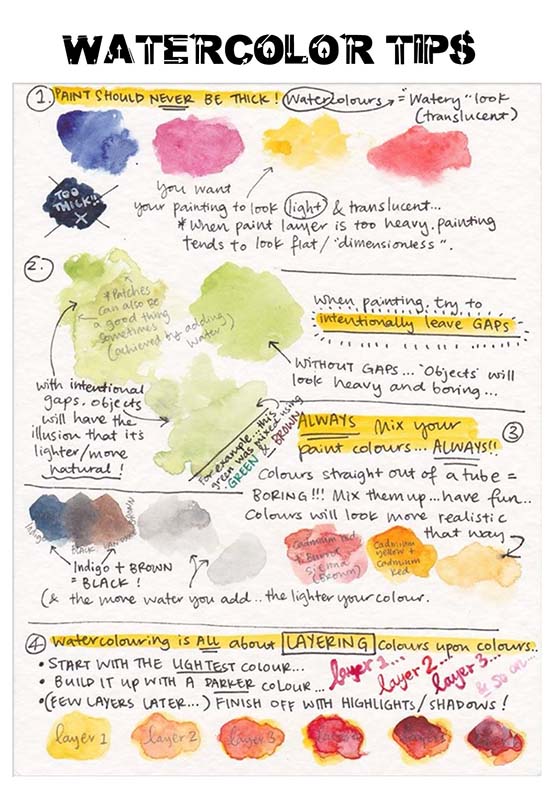
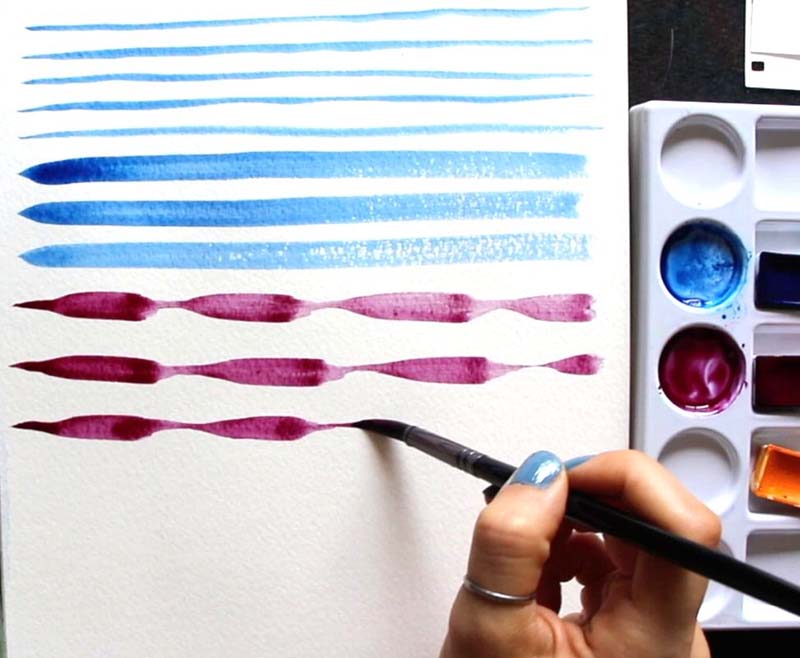
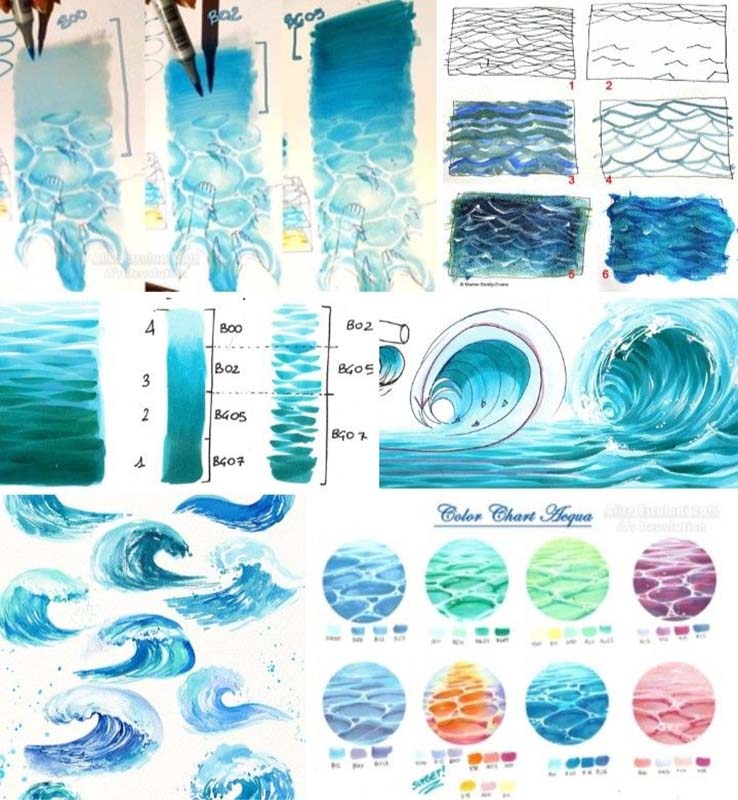
1. Wet-on-Wet Technique
When you put wet paint on a wet surface, the paint spreads and creates very smooth, blended edges that look free, fluid, and organic. This is the essence of the wet on wet technique. First, wet the paper in two sections and allow them to meet. When using watercolor, the paint naturally flows to where the water meets, making for beautiful seamless transitions. Even smooth gradients that are hard to get are easier when the water holding capacity of each side of the gradient is similar. Getting your water and pigment ratio is really key to getting the best results. If you want to work with wet-on-wet, make sure to experiment with how wet the paper is. When the watercolor paper feels damp, like satin, instead of drenched, you gain more control over how the colors bloom.

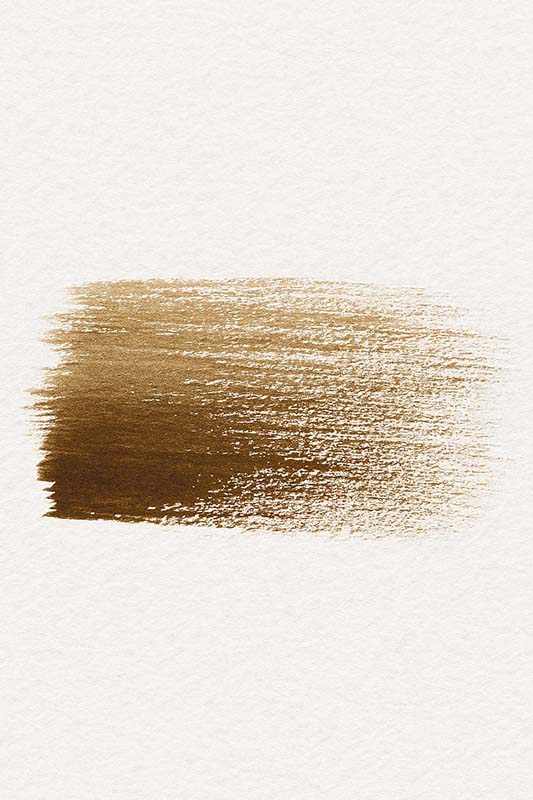
2. Dry Brush Technique
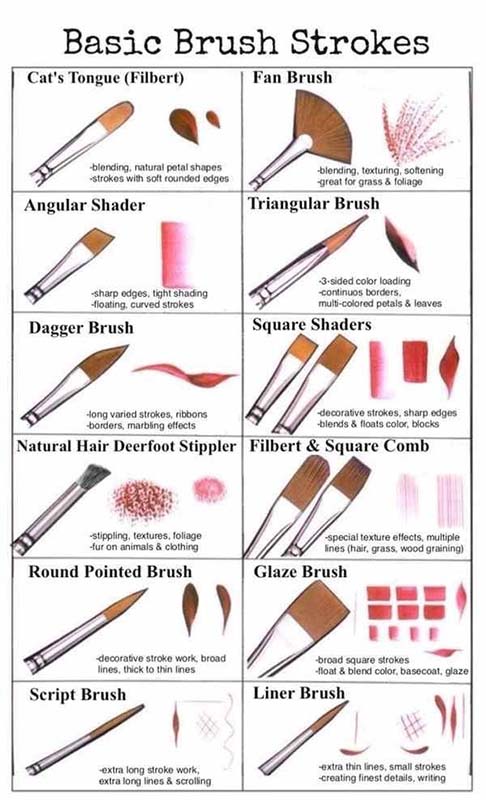
Use a dry or slightly dampish brush to execute the dry brush technique. This produces a highly textured, ragged stroke that makes it ideal for adding complex details such as grass, fur, and wood grain. It is essentially painting with a dry brush on dry paper. First, dip your brush into the paint, then blot it out on a cloth or paper towel to remove excess moisture. Painting on dry paper is the key to achieving clean, sharp strokes. This technique is great for adding texture over a dry wash. It works lovely with wet on wet or wet on dry techniques, bringing lots of layers and dimensions to it.
3. Salt Texture Effect
When you sprinkle salt onto wet paint, it creates beautiful, crystalline patterns that add an earthy, textured feel to your work. Where the magic happens is that salt absorbs water and pushes the pigment away, creating dynamic textures. Granulating colors such as Ultramarine are particularly effective. Using different salts yields different textures. Regular table salt tends to yield very fine, lacy patterns, whereas sea salt gets much more pronounced, chunkier effects. Generally speaking, always allow the paint dries completely before you brush off the salt. This technique is great for adding visual interest to backgrounds.
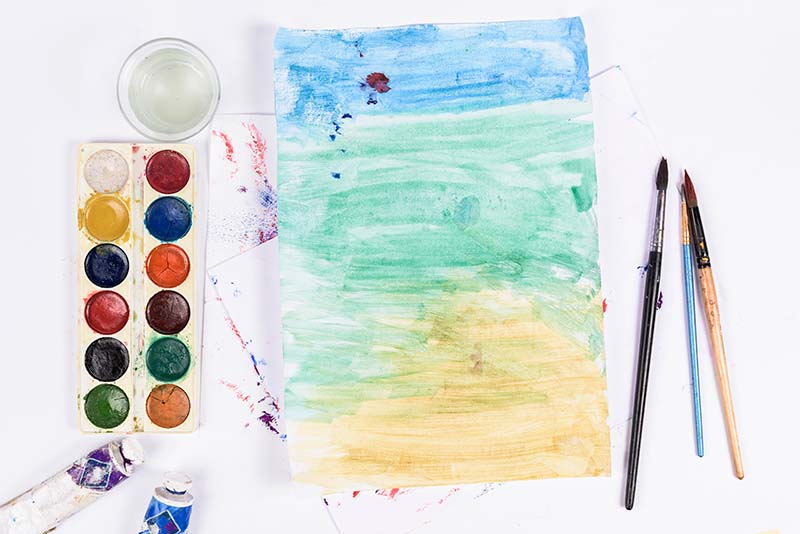
4. Gradient and Flat Wash
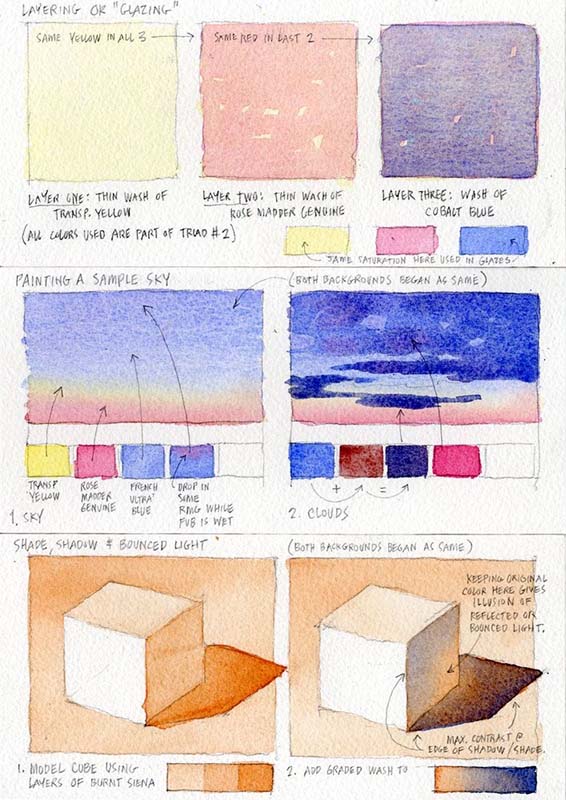
A graded wash starts with a saturated tone on one side of the paper. Along, you go gradually lightening the color by adding more water. This makes for a gorgeous transition, often used for skies in watercolor painting. A flat wash allows you to apply an even coat of color, which is key when creating a uniform background. To execute the flat wash technique, use a large brush and consistent water and pigment mixture. It’s one of the three basic washes, along with graded and variegated, and is essential for any watercolor artist exploring different watercolor painting techniques.
5. Lifting Color Method
Lifting color allows you to remove paint from watercolor paper, making this technique excellent for correcting mistakes and creating highlights. A clean, damp brush or a paper towel is great for lifting wet paint. To lift dry paint, gently scrub the area with a wet brush and dab with a tissue. Cotton paper holds up more during the lifting process than wood-based paper. Try not to work the same area more than 2-3 times to prevent tearing. This method is crucial for reclaiming the white of the paper in your arsenal of watercolor painting techniques.
6. Masking Fluid Application
Masking fluid is ideal for reserving areas of your painting to remain white. To use masking fluid, you can apply it with a small brush, an applicator, or a toothpick. This allows you to make clean lines or shapes precisely, preserving the white paper. Allow the masking fluid to dry fully before applying a wash over it. Once the paint dries, simply rub the masking fluid off with your finger or a specialized eraser to reveal the crisp white underneath. It is a favorite among watercolor artists for creating sparkling water or intricate highlights.

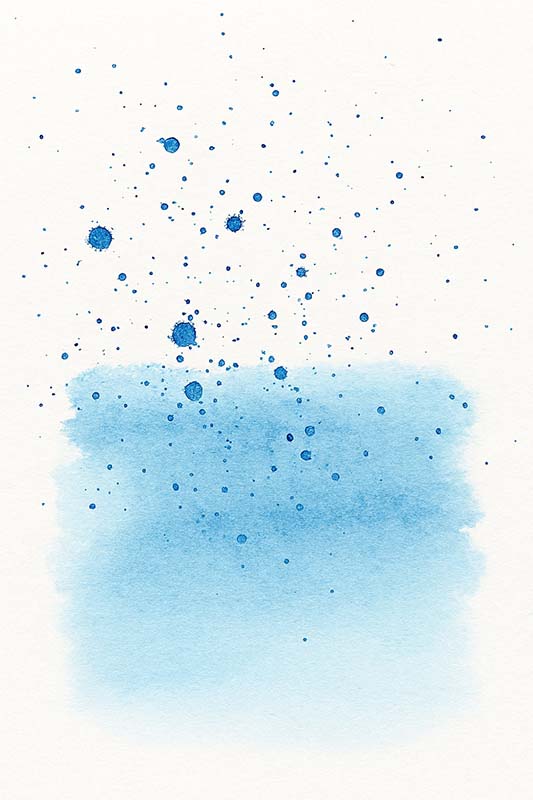
7. Splatter Technique
An addition to any watercolor artist’s repertoire, the splatter technique injects spirited, kinetic energy. Using a flicking motion, load a wet brush full of paint and tap it against another brush or your finger to send droplets onto the paper. Use this technique to create stars, snow, or texture on sand. Shield spaces you’d like to keep clean with masking tape or scrap paper. This fun watercolor method keeps creativity spontaneous and adds a dynamic element to your painting with watercolour.
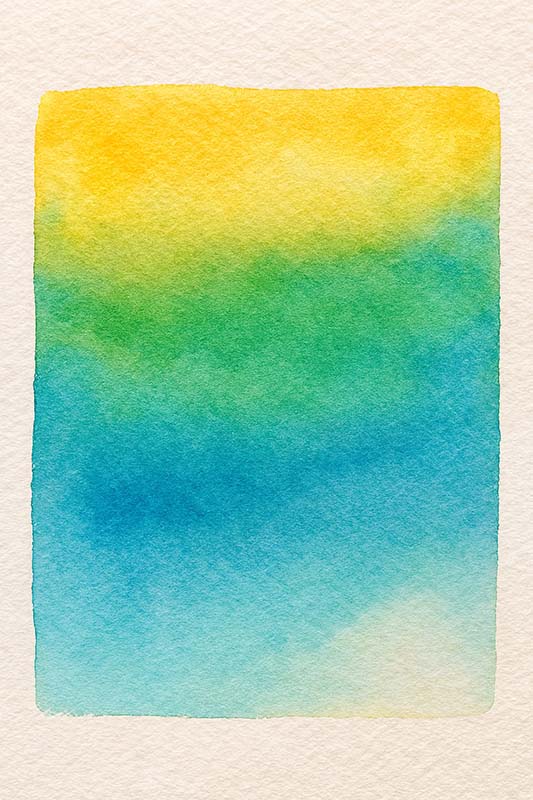
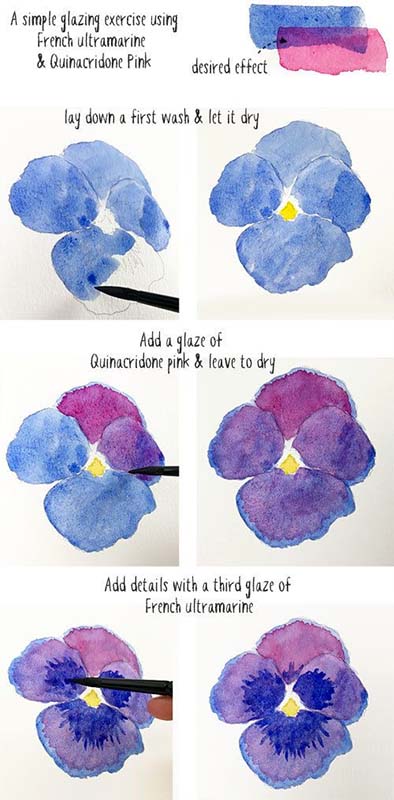
8. Glazing for Depth
Glazing is the technique of layering thin, transparent washes of color over dry paint to enhance depth and luminosity. This technique is stunningly effective because watercolor’s transparency lets the light through. Layering a medium blue over a dried yellow will create an unexpected and luminous green. It is very important to allow every layer of paint to dry thoroughly before applying the next glaze. This helps avoid muddy colors and keeps your watercolor painting looking sharp. Overlapping colors assist in producing rare shades that enhance character.
9. Sgraffito Technique
Sgraffito adds crisp, clear textures by carving into fresh paint. You can use a pointed tool, like a palette knife or a credit card edge. With it, you can scratch away to reveal the paper or underlying layers while the paint is still wet. It’s great for delicate detail work, such as the veining on a leaf or bark on a tree. Experimentation is where it’s at—use tools such as combs to scratch through to make wavy designs, enhancing the texture of your watercolor washes.
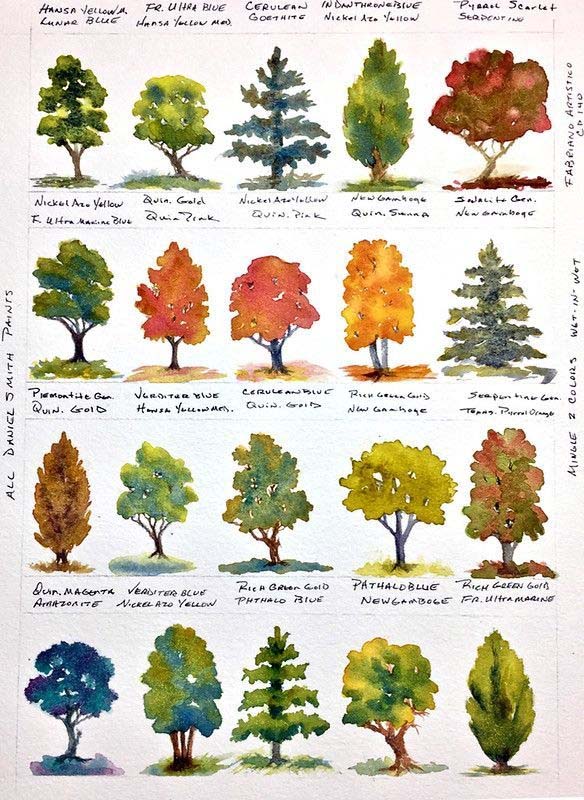
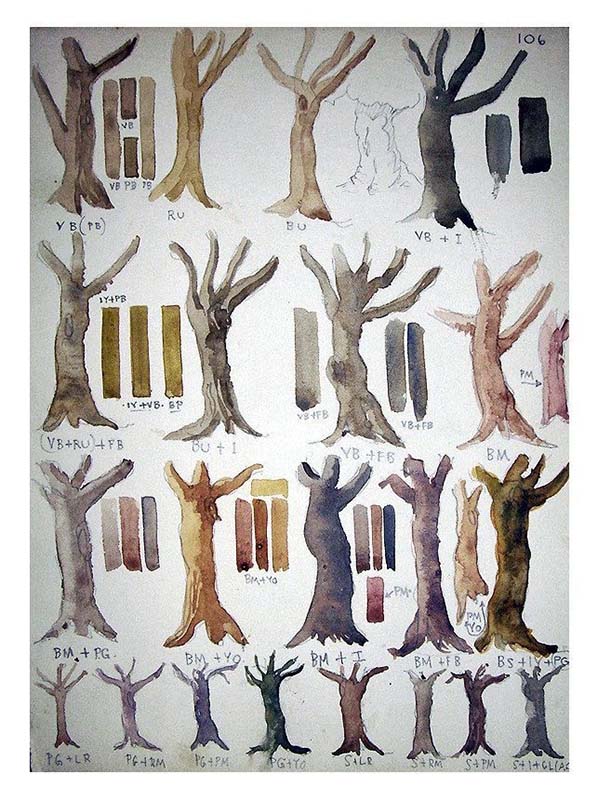
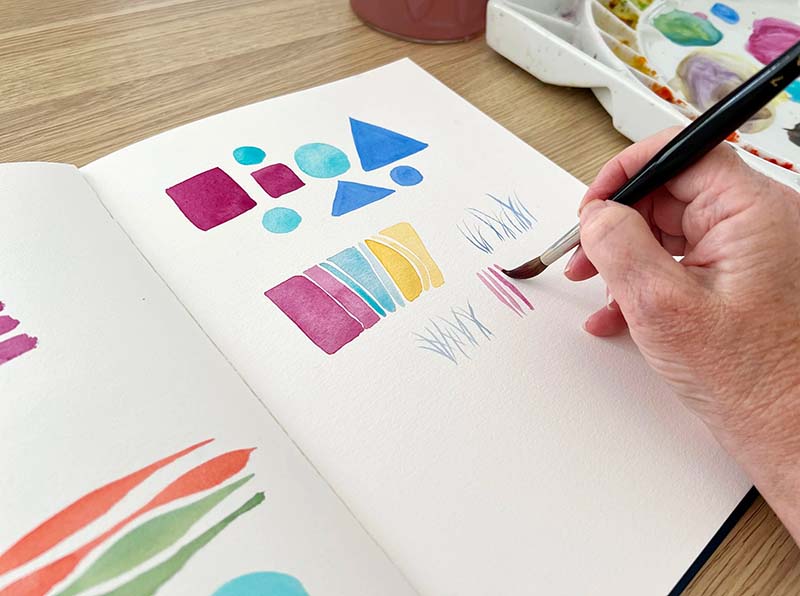
10. Color Mixing Experimentation
Color mixing encourages you to produce trillions of shades using only a few primary colors. Understanding pigment behavior is crucial. Mixing warm and cool versions of primaries creates a vast array of hues without needing a huge palette. Experimenting with paint directly on your paper can create some amazing, organic blends. This gives your watercolour painting a personality and richness that’s impossible to manufacture with tube greens or oranges alone. It’s a fundamental part of mastering watercolor painting techniques.

11. Layering for Dimension
Layering creates dimension. It adds depth and richness by applying colors in layers using basic watercolor techniques. Starting with very light washes, you can gradually deepen colors to achieve a level of realism. A hairdryer set on low heat is a great way to quickly dry layers without messing up the paint. Transparent paints produce beautiful, luminous effects through layering. Good design is planning, so your lights and darks can all stack effectively on the dry paper.

12. Negative Painting Approach
Negative painting is all about painting around your subject to create its outline rather than painting in the subject itself. This technique is great for defining shapes in a busy background, like a forest or a field of flowers. By engaging with the space around the subject, the object emerges as the focal point. Stacking negative spaces will deepen the illusion, similar to viewing through a deep forest where faraway forms blur gently.

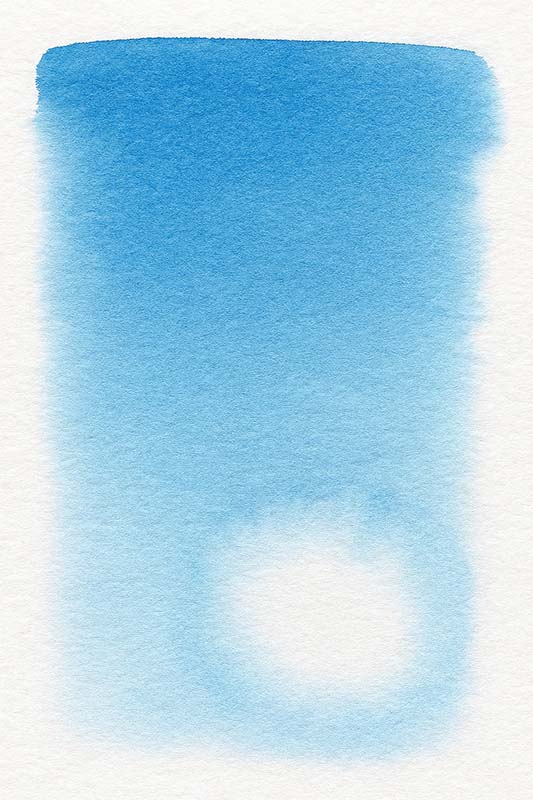
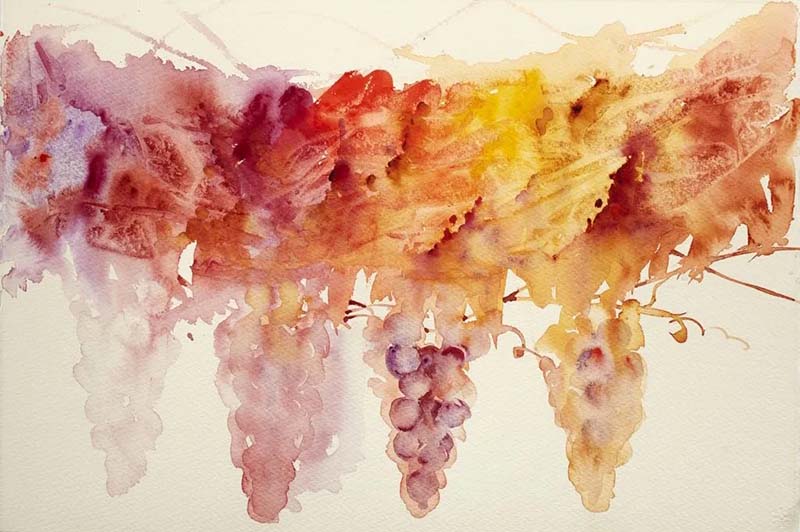
13. Blending and Blooming
Blending allows for dramatic transitions. Working with wet on wet allows pigments to blend together beautifully, creating soft edges. Sometimes, adding clear water or a different color into a drying wash creates a bloom (or cauliflower effect), which adds interesting texture. For a different effect, use a spray bottle to mist water onto the paper, softening edges or encouraging paint to run. This spontaneous method of painting adds an organic feel to landscapes and abstracts.

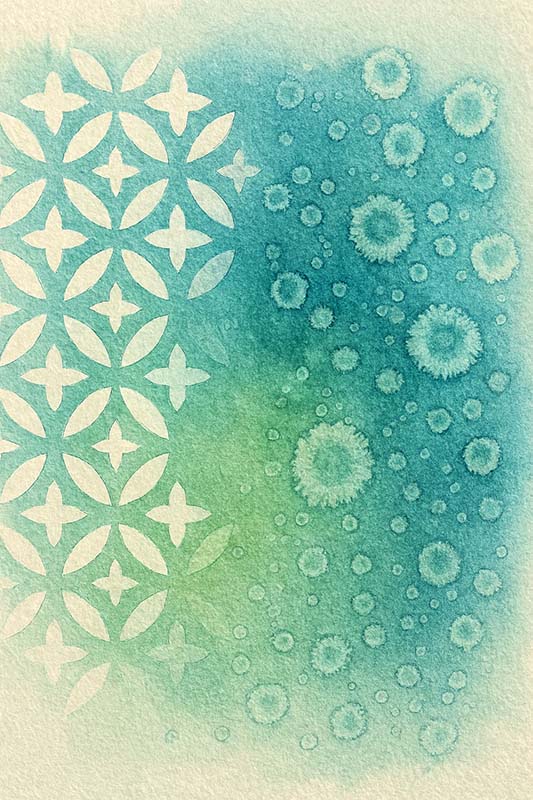
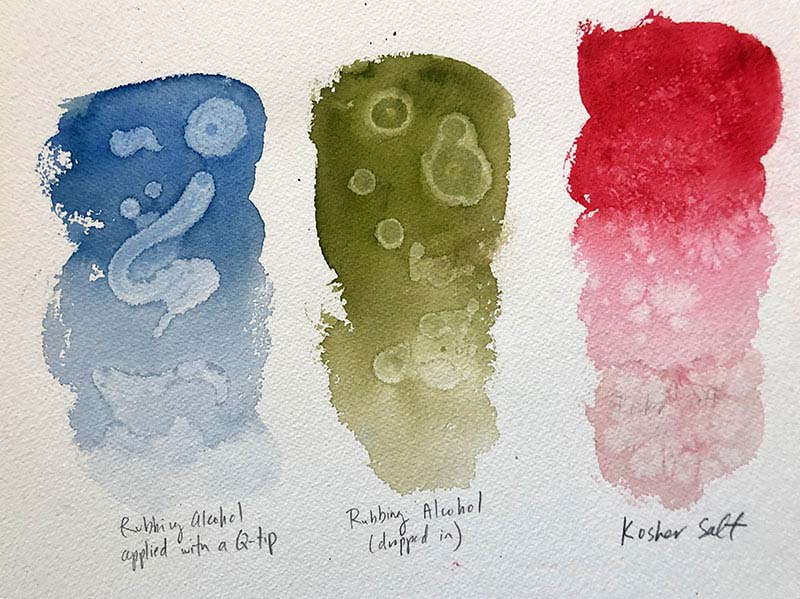
14. Using Stencils and Alcohol
Using stencils frees you up to make precise patterns. But for organic textures, try dropping rubbing alcohol onto a wet wash. The alcohol repels the water and pushes the pigment away, creating cell-like circles and lighter patches. This is fantastic for painting underwater scenes or lichen on rocks. Just dip a Q-tip in alcohol and dab it onto the wet paint to create interesting textures instantly.
15. Creating Textures with Plastic Wrap
Pressing crumpled plastic wrap onto wet paint will produce wonderfully organic, textured patterns. While the paint is still wet, lay the wrap over it and squish it around. Allow it to dry completely before removing. You’ll discover complex patterns that look like stone, ice, or abstract textures. This technique is great for adding visual complexity without painting every detail by hand.

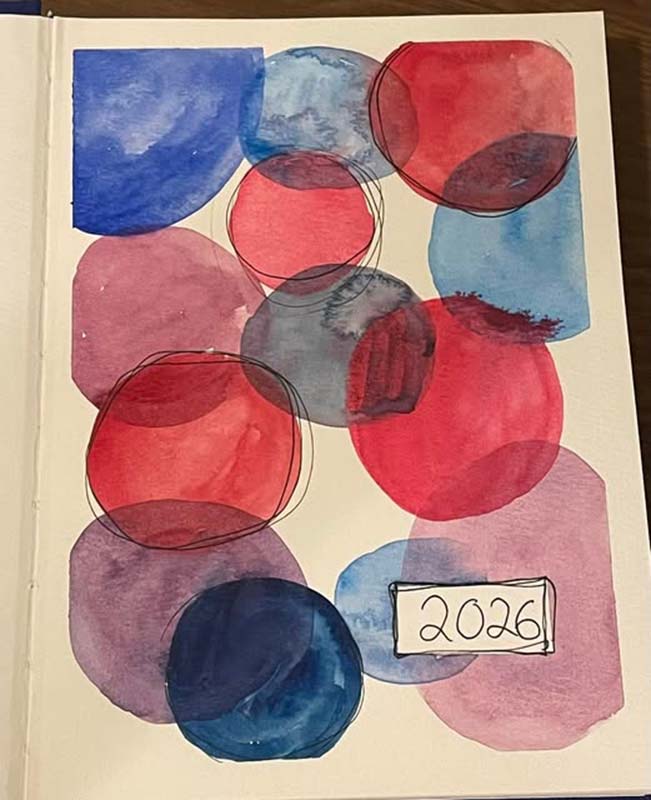
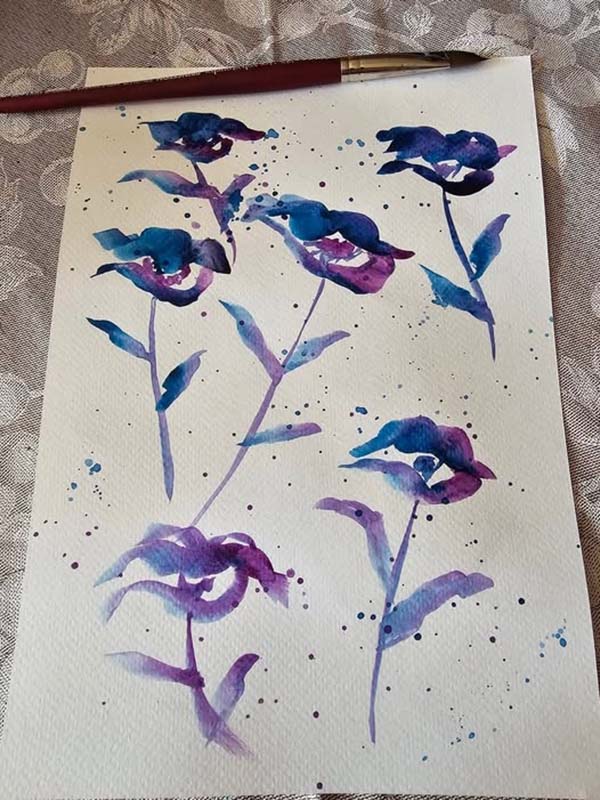
More Watercolor Painting Techniques Gallery For Inspiration


Conclusion
Watercolor painting unlocks a door to a vast creative world. Each of these watercolour techniques provides great opportunities to add an element of surprise to your artwork. From creating soft gradients with a flat wash to applying strong textures with salt, you have all the tools to make magic happen. Whether you’re new to watercolor or want to enhance your technique, these basics offer a lot to explore. So take out your art supplies, experiment with these concepts, and see your artistry flourish. Pick up a paintbrush and get the paint flowing!
FAQs
Q: What are the favourite watercolour techniques for beginners?
A: Beginners often start with a few favourite watercolour techniques such as wet on wet method, dry on dry washes, glazing from light to dark and simple brushstroke practice. These approachable painting methods help you understand how much water to use, how to soak a paper properly and how watercolour requires patience as layers dry.
Q: How does the wet on wet method work and when should I use it?
A: The wet on wet method involves applying pigment onto wet paper so the colours blend and spread softly. When it’s wet the paint will flow, so this technique requires planning to control edges and mixing. Use it to create atmospheric skies, soft backgrounds or smooth gradations where light and shadow transition gently.
Q: What is the difference between wet on wet and dry on dry techniques?
A: Wet on wet means painting onto wet paper to get blurred, flowing effects, while dry on dry is applying paint with little water onto dry paper for crisp edges and defined brushstroke texture. Choosing between them depends on whether you want softness (wet on wet) or precision and detail (dry on dry).
Q: How much water should I use when I soak the paper?
A: When you soak paper, aim for an even sheen without puddles—too much water can cause uncontrolled blooms, while too little won’t allow smooth washes. The amount depends on the painting method: wet on wet needs a fully damp surface, whereas glazing or light washes require less water so colour to create transparent layers is easier to control.
Q: Can I create textures by using your fingers instead of a brush?
A: Yes, using your fingers can create interesting textures and organic marks that a brush cannot. Finger painting can lift pigment, soften edges or add tactile effects; combine it with brush with paint techniques for controlled areas and then use your fingers to create this effect where you want more spontaneity.


