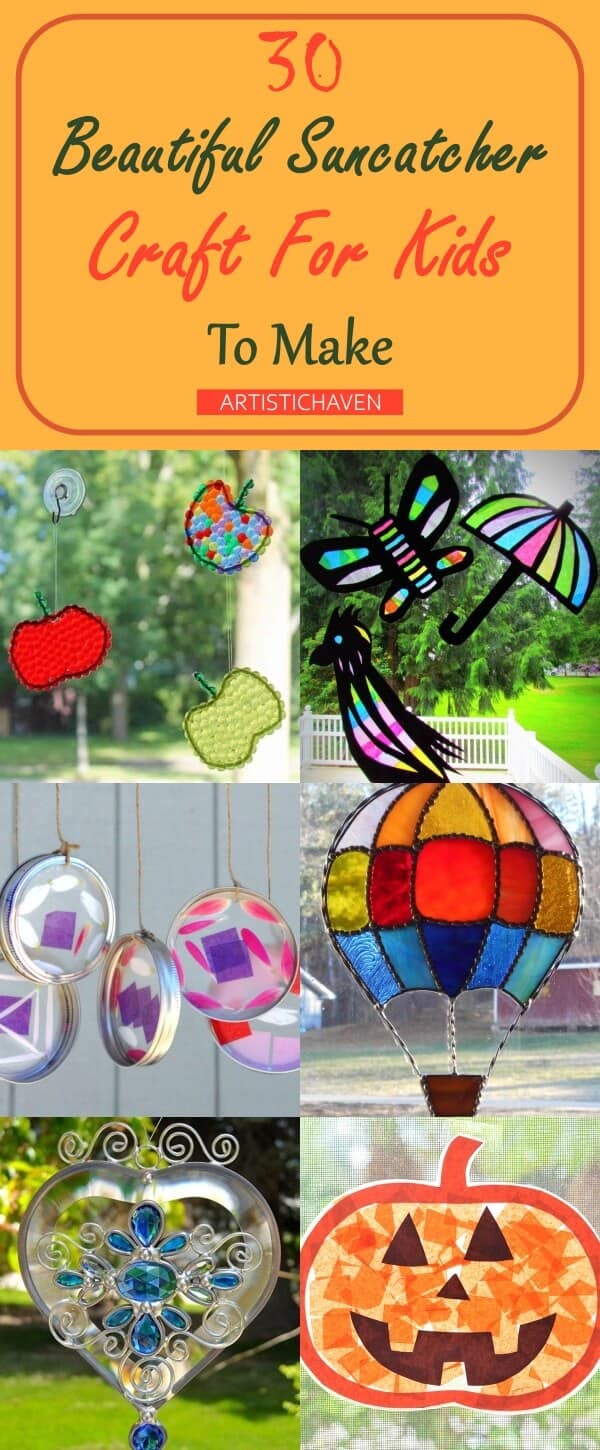
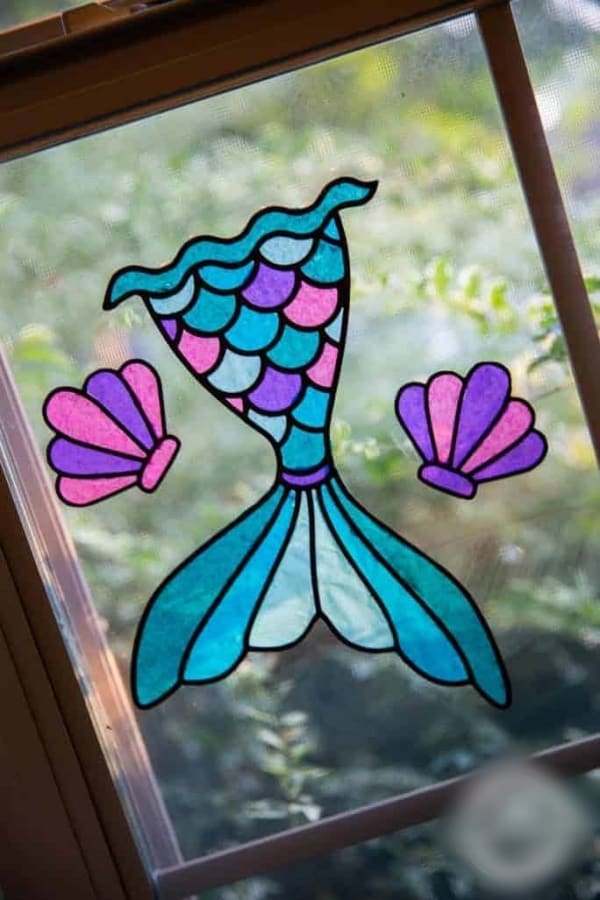
The most difficult task is to engage the kids in something productive. If not, then there’s nothing more riotous than kids with immense energy and nowhere to channel that. Thus, the best options remain to engage kids in any co-curricular activity of their choice. While the art and craft segment has always been a favorite with the kids, inquisitiveness and curiosity lead them to taste sugar, spice, and everything nice. In short, they wouldn’t mind explorations. What say? So, right at this juncture, we have the incredibly amazing suncatcher craft for kids. Eye-catching and appealing, a suncatcher or a light catcher is a tiny reflective, refractive, or iridescent ornament.
This excellent craft hack might include glass or nacre pieces and is best hung indoors near the window to ‘catch’ the sunlight A suncatcher is supposed to be the optical equivalent of a wind chime. Kids have started liking the suncatcher crafts as they are easy to compile and fun to create. So, while you are thinking of new ways to engage your kid, here we have for you some of the most beautiful suncatcher crafts for kids. Get them hooked on, and set the house at peace.
Best Suncatcher Crafts For Kids
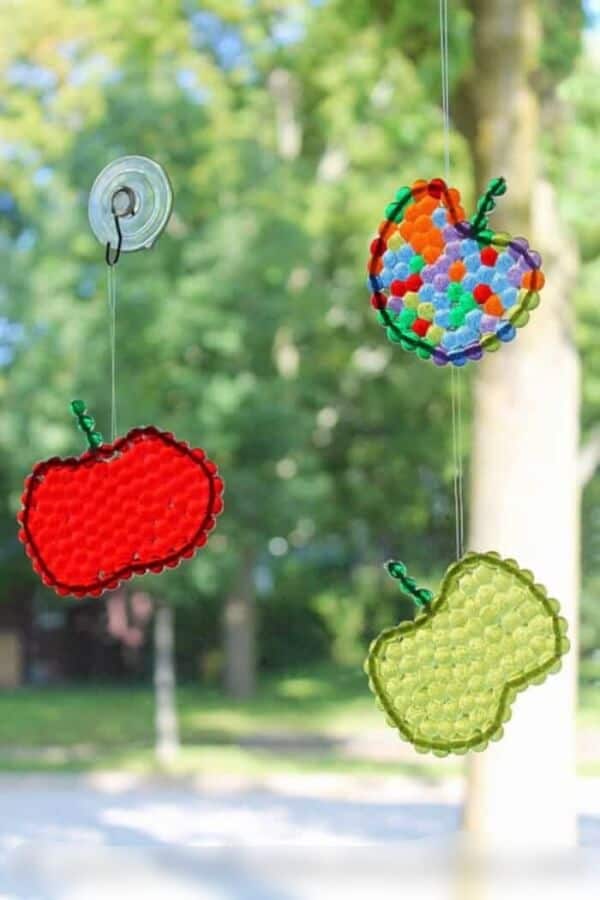
Apple Shaped Suncatchers
Image Source
Little kids would love to do this one, owing to its cuteness. They won’t find much difficulty in working with the faceted beads and chenille stems. Just get involved while doing the melting part of the project.
To start on, help your child to create a stem by tying three green beads to one end of the chenille stem. The chenille stem needs to be bent well to create the shape of an apple. Then put the beaded apple onto a parchment-lined cookie sheet, and Fill the entire shape with loose beads. Here is the step where you need to supervise. Keep the cookie sheet inside a cold oven, and set the temperature at 350º, and the timer for 10 minutes. After 10 minutes, the beads should get fused. Turn it off, and let the cookie sheet cool inside.
While the suncatchers are cool, place a piece of fishing line through them. Hang on and enjoy the magic. Your kids would love it for sure.
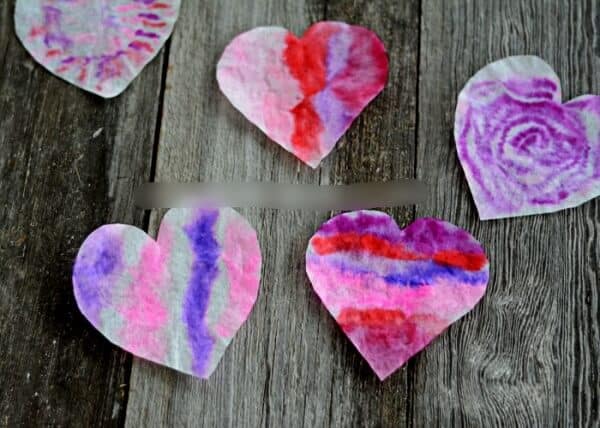
Hearts With Coffee Filters
Image Source
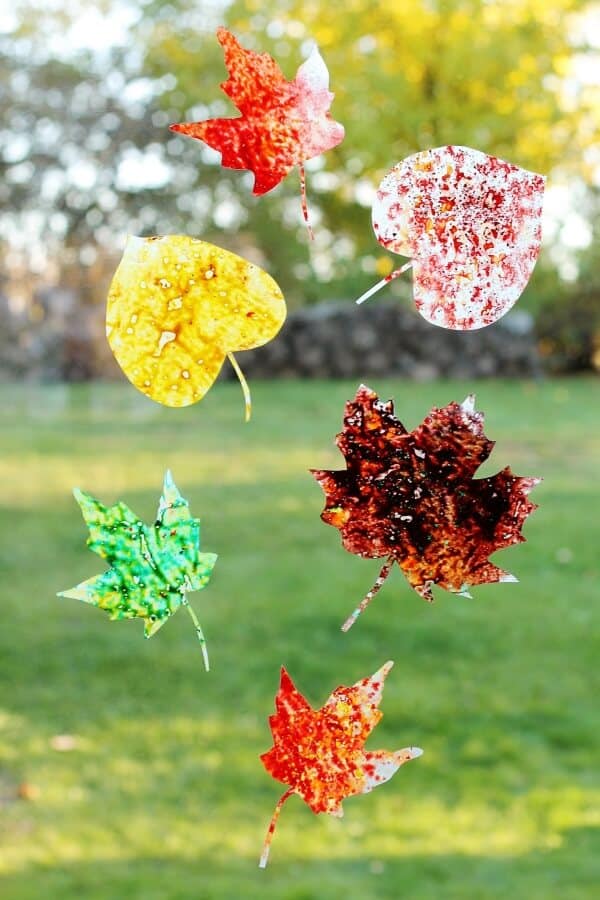
Children love exploration, and this craft hack is the best possible way to explore and experiment with the various water-colors and their application methods. Let your child choose over liquid watercolors, regular watercolors, or even food dye to color the coffee filters.
To start, you would have to opt for a large white basket of Coffee Filters. Then ask your child to flatten a handful of them, and cut various heart sizes out of them. Then by using an eye-dropper, fill color in each of the hearts. Trust me; your kids would love the way the colors swirl.
After this, carefully pull the hearts from the watercolors; pool, and place them on a paper towel-lined cookie tray to dry on. Just make sure to rinse the excess colors that were found at the bottom of the plastic tray. This would help your child to get a fresh canvas every time your child starts afresh. Several hours later, the hearts would be all dry and ready to be placed up in the window.
Just imagine the brightly colored stars on the window- excellent.
Hot Air Balloon Shaped Suncatchers
Image Source
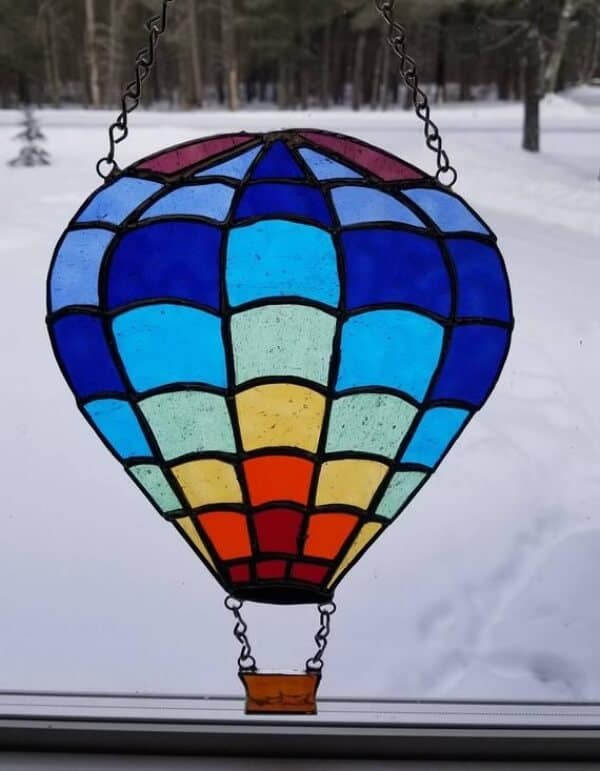
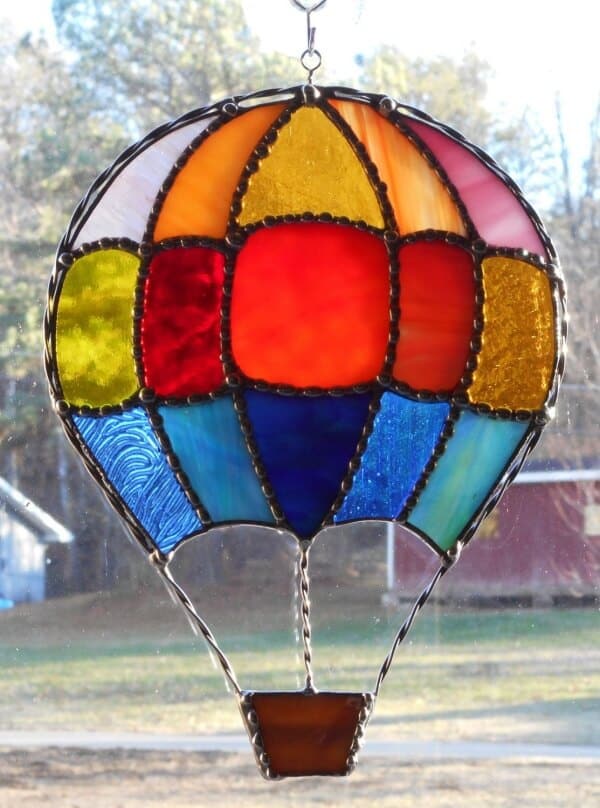
This name on the list of suncatcher craft for kids needs the least amount of raw materials for its uses. You would need only burnt-out lightbulbs, and regular color or craft paints. The lead black lines can be made using puffy black paints.
To start with, pull out the three burnt light-bulbs, hold them by their bases, and start by drawing the basic designs on the bulb with puffy paint. After drying well, use bright acrylic paints to color the left-out sections in the bulb. This might need a double coating.
When the entire drying is done, use glitters and other materials for decoration. When done with all, remove the metal hook off of the mini suction cups, and then use glass glue to get it glued onto the back of your balloons.
What you have is the beautiful Hot Air Balloon-shaped Suncatchers.
Jeweled Hearts Suncatcher
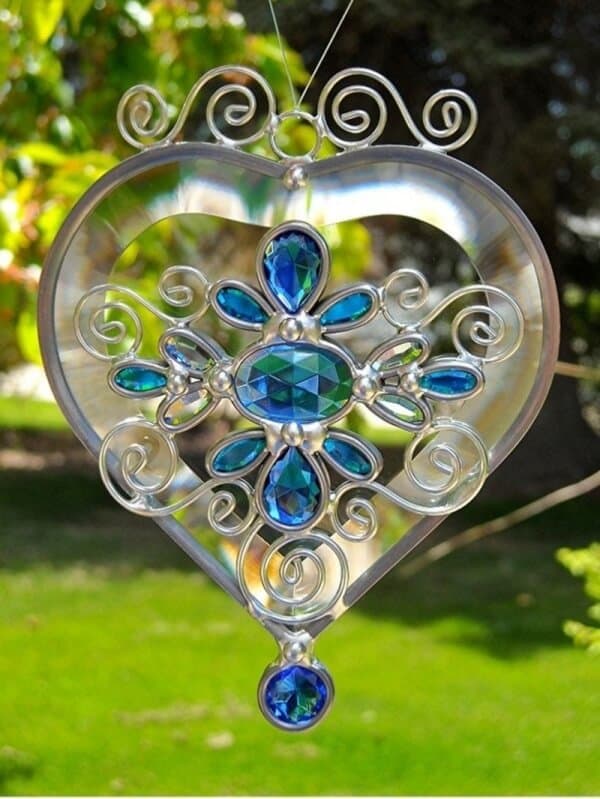
The glittering jewels are anyway attractive for the kids. But teach your child the art of recycling with the up-cycled milk jugs. All you need are clear milk bottles to make the jeweled hearts. But before that, make sure to cut out the large flat rectangular sides.
Then take a marker pen or pencil to draw the heart shape and cut it out. Place a simple hole punch at the top of the heart to create a hole for threading the ribbon.
The jewels are attached with glue sticks. Make sure the glue is placed well enough to set the jewelry right. Once all the glue is dry, hang it on the window with the ribbon.
Easy to create and bright to look at, the jeweled heart is extensively incredible.
Cosmic Suncatcher
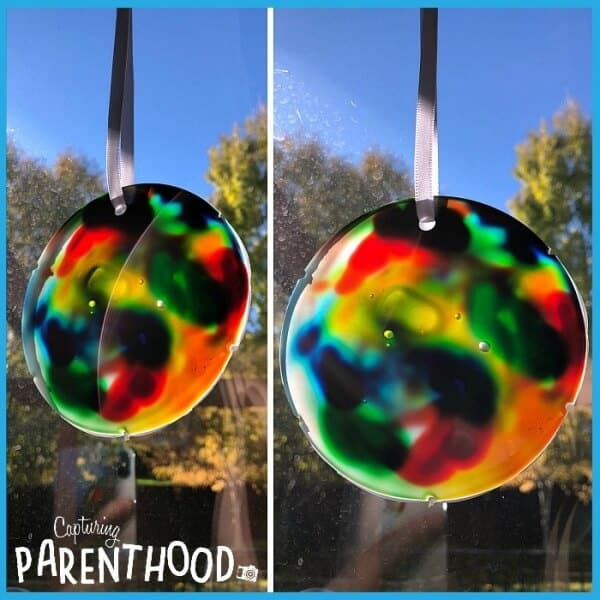
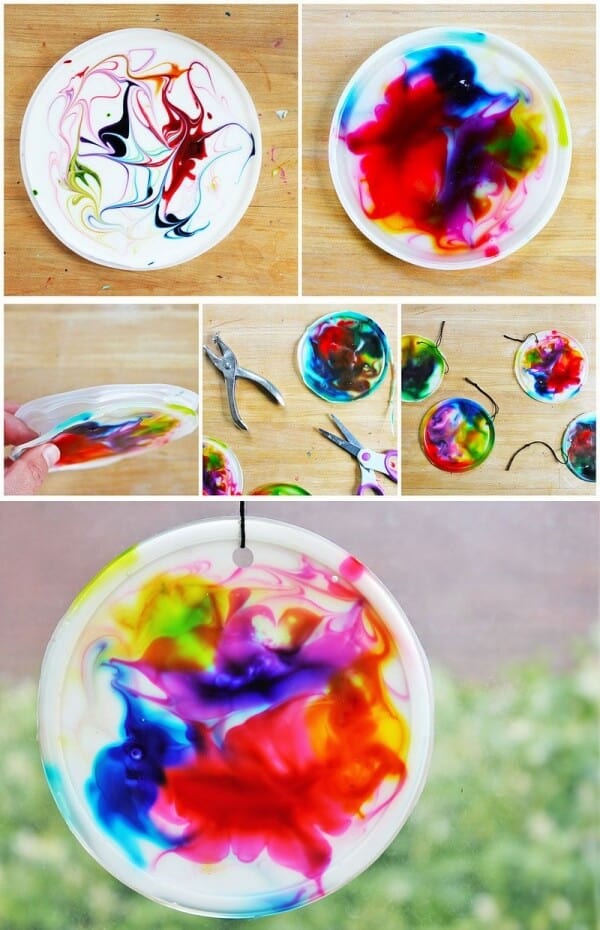
Can you take a wild guess on the ingredients? Well, this suncatcher uses white lids from yogurt containers or similar things like that. Glue and food dye/watercolor paints are used to fill in the craft with colors.
Start by placing an adequate amount of glue into one of the plastic lids, and brush it well through the entire inner surface. Then ask your child to put two drops of each of the colors of food coloring around the glue.
Let your child swirl the colors around the glue with a toothpick. Then let this dry. As the colors settle slowly, they would continue to expand more, by creating a psychedelic effect. It would take a minimum of three days to dry. You would know that it is ready when the suncatcher gets pulled off the lid, a hole is punched through the top, a string gets added. Finally, get it placed in a sunny spot. Thus, the décor of your room gets enhanced.
Suncatcher By Drinking Straw
This DIY suncatcher craft for kids is super fun and easy to execute. Thus, your kids would love this for sure. The best part that they would enjoy is to cut the straw into little pieces. Hit this off by filling a yogurt lid with glue, and then stick the straw pieces randomly or follow a pattern.
The drying might take several days or weeks. Take out the suncatcher of the plastic lid. Just be cautious, as it might curl out a bit. For better usage, just place it under a heavy book to flatten it well for a couple of hours. Make it pretty by using a needle, and then push a thread through the top of the suncatcher. Then attach to a suction hook and then hang it on a window.
Sparkling CD Suncatchers
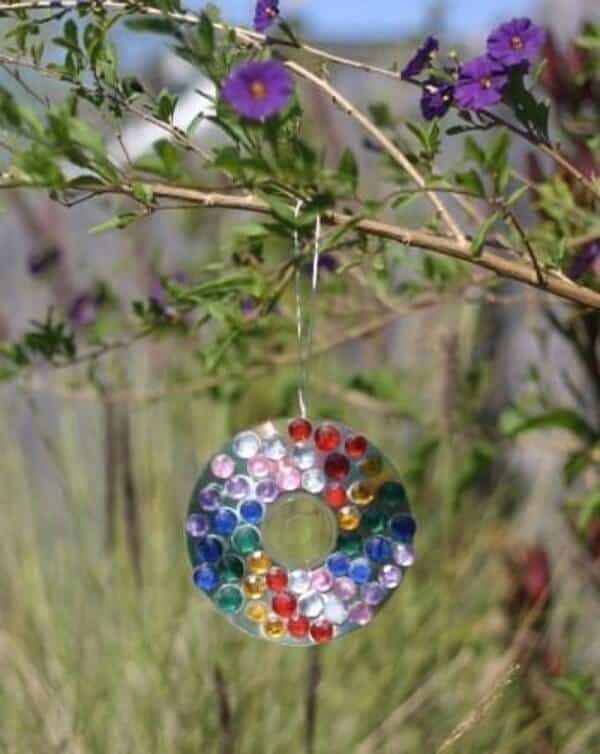
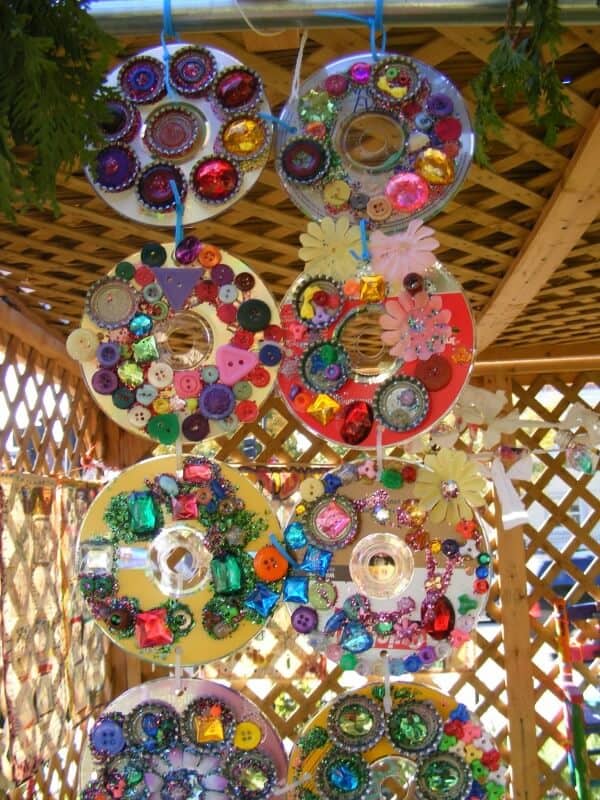
They seem to the brightest of all. If you want your old CDs to be put to good use, collect as much as you can from your family and friends, to enhance and make them beautiful. While creating this one, create a hole through the top of the cd by using a small screwdriver.
Then place all the drawing materials in a lidded plastic box to get it ready for transport. Let your kid decorate both sides of the cd with shiny stones and materials. Finally, thread the ribbon through the hole.
Hang this CD from a tree and enjoy it spin and sparkle in the sun.
Naturally Made Wind Chimes Suncatchers
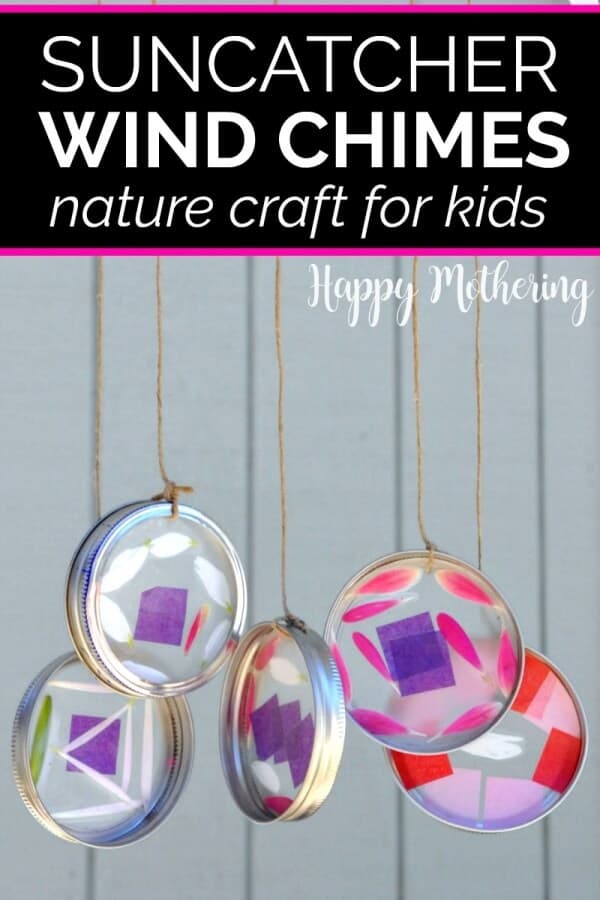
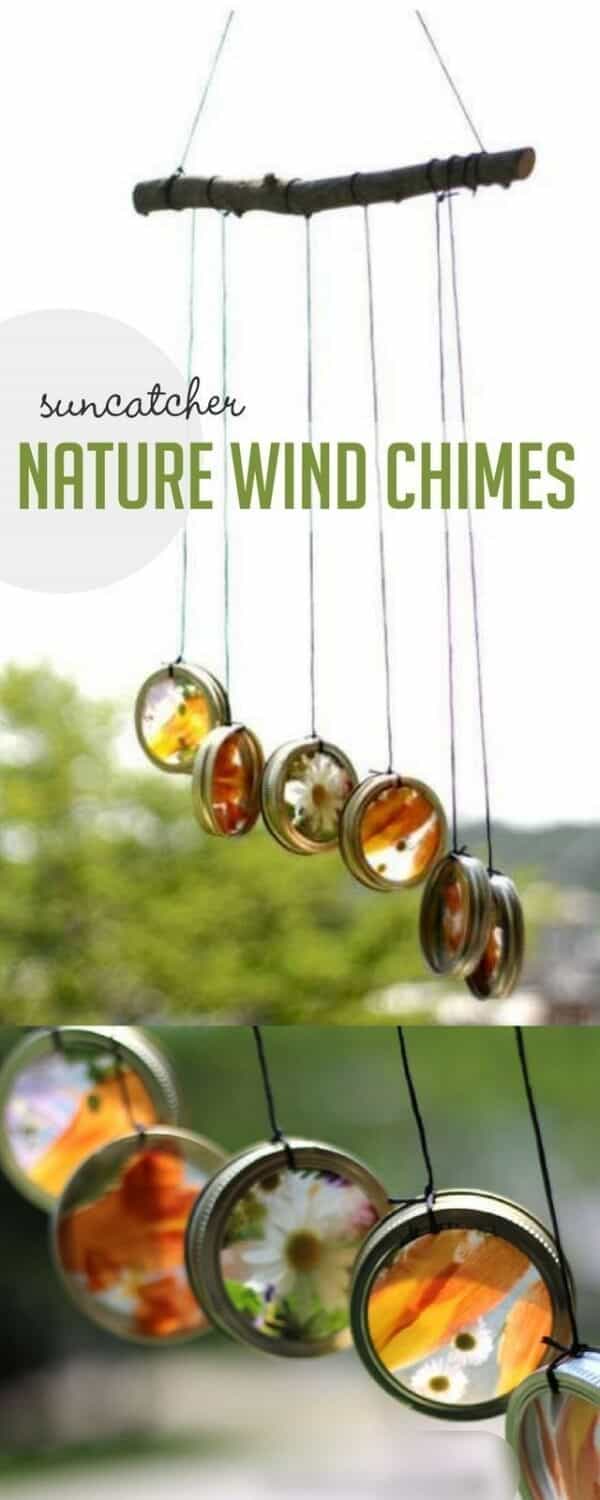
Let your child be at their creative best with these naturally made wind chime suncatchers. First, start this one by cutting out a piece of contact paper and then tracing the mason jar rings into the contact paper side. Trace as many as rings you can. Then by peeling off the backing from the contact paper, tape onto the sticky surface.
Once done with the collages, the suncatcher was done with another piece of contact paper over the top. That needs to get pressed as flat as possible, sticking the contact paper wherever possible.
The outer part of the mason jar ring was traced to be placed in shape so that the suncatcher circles would be placed. Finally, the strings were tied onto a stick to give the feel of a wind chime to be hung from the porch. The sound they made was also not clanky.
Crayon Shavings
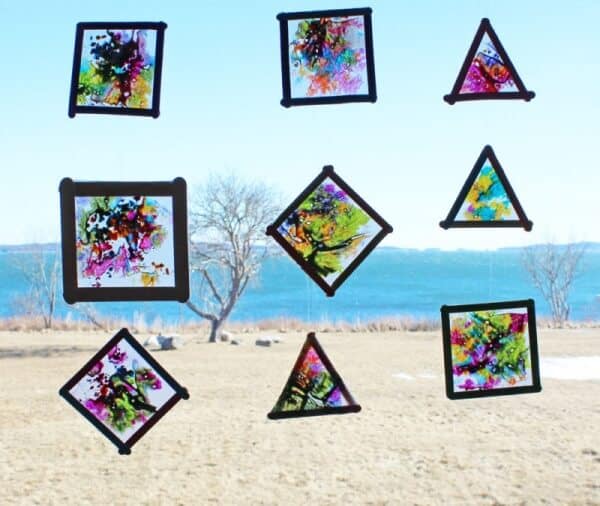
This name from the list of suncatcher craft for kids would need a bit of parental intervention as this involves a lot of crayon shavings. Once the shavings are made, kids would love to place the shavings in patterns. While using an iron to melt the shavings between wax paper would also require parental guidance.
Once the crayon shavings on the wax paper are dried and placed into various shapes, create some frames and glue the sun catchers inside.
Rainbow Suncatchers
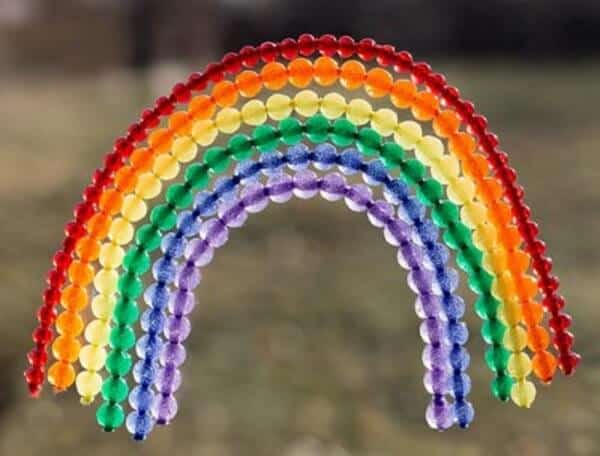
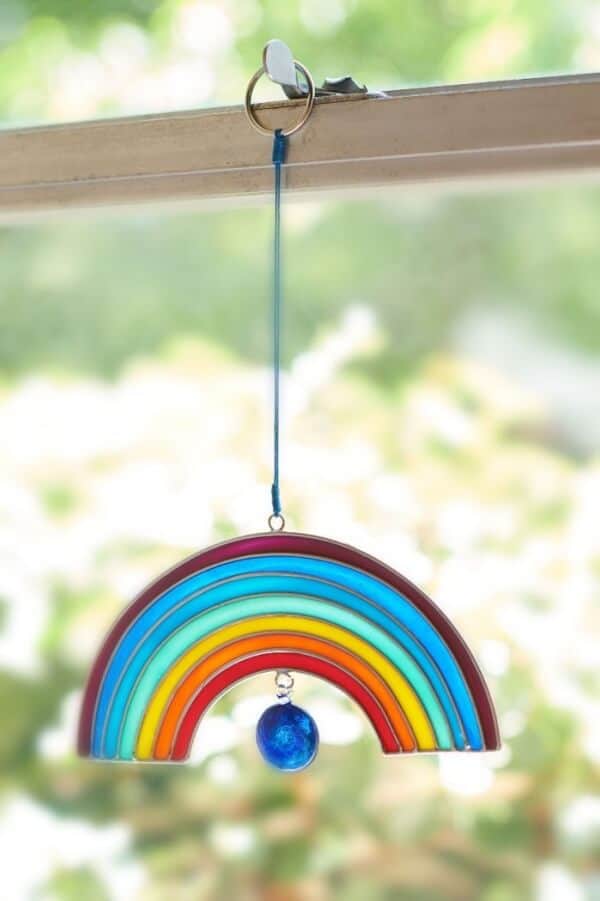
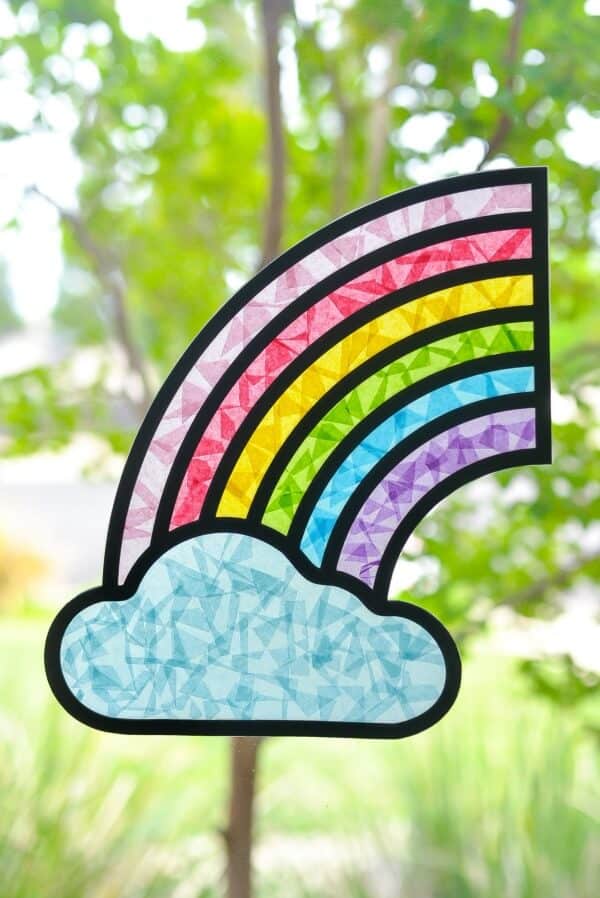
Plastic beads and chenille strips make this DIY craft much easy. The vibrancy of the color would make this an instant favorite with the kids.
Let your child string the colored beads onto their respective pipe cleaner by using a chenille stem/color. When the entire beading is complete, bend all of the chenille stems into an arc. Re-arrange the chenille stems like a rainbow on a parchment paper-lined cookie sheet.
Just be sure that the chenille stems are bonded as close together as possible, and that the beads touch in various locations. Then, place the cookie sheet inside a cold oven and set the temperature to bake at 350° for 10 minutes. Exactly after 10 minutes, you would notice that the beads have melted and are fused.
Was that cool? Just make sure to be with the kids while turning on the oven heat.
Pumpkin Suncatchers
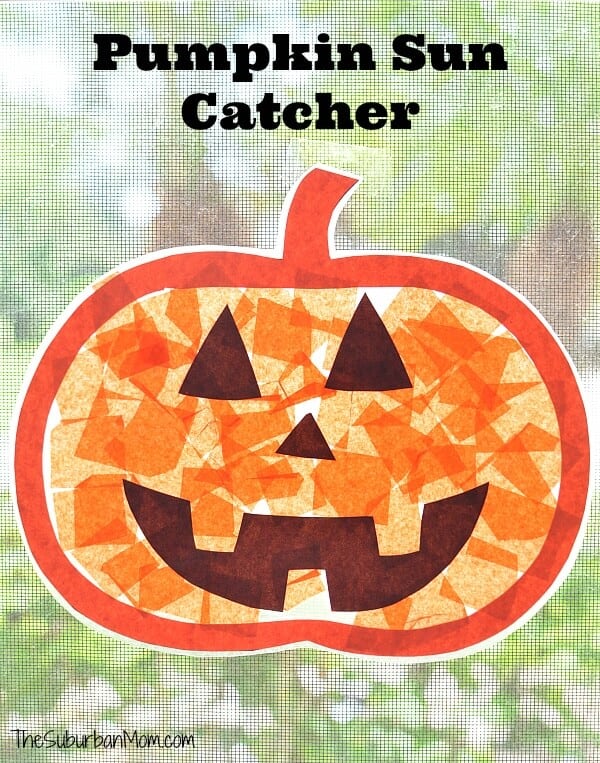
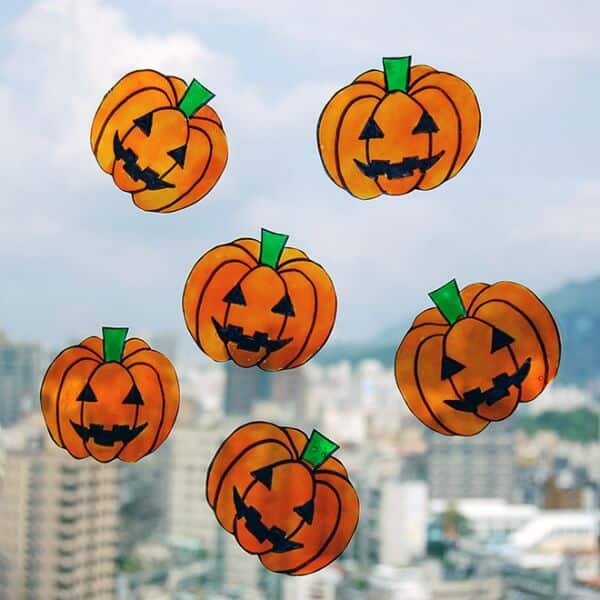
Perhaps, these are the best ones for Halloween. The pumpkins are made on the transparency film, while they are painted with food dye-colored clear glue. You can grab the pumpkin pictures online, on the coloring pages, or clip art.
Start this one by printing your chosen template of pumpkin on an A4-sized paper. Place another A4-sized sheet on the top, and fit it to the edges. Trace the outlines of each of the pumpkin on the transparency sheet and also fill in the holes. Let this dry for a few minutes before removing the transparency film from the template page.
Color the pumpkins and cut out the pumpkins. Finally, use the double-sided tape to hang the pumpkin suncatcher craft for kids onto the glass doors or windows.
See, all done and dusted.
Clear Cup Windchimes
Again, the kind of suncatchers is much known for their vibrancy of hues. Clear plastic disposable cups are first melted in muffin tins. That results in the formation of the flat discs on this suncatcher. The different colors are for real, the colors of the drinking cup. Also, the discs dry so hard that they almost sound like glass when clicked together.
What more would you need for a wind chime?
Suncatcher Hearts With Black Glue
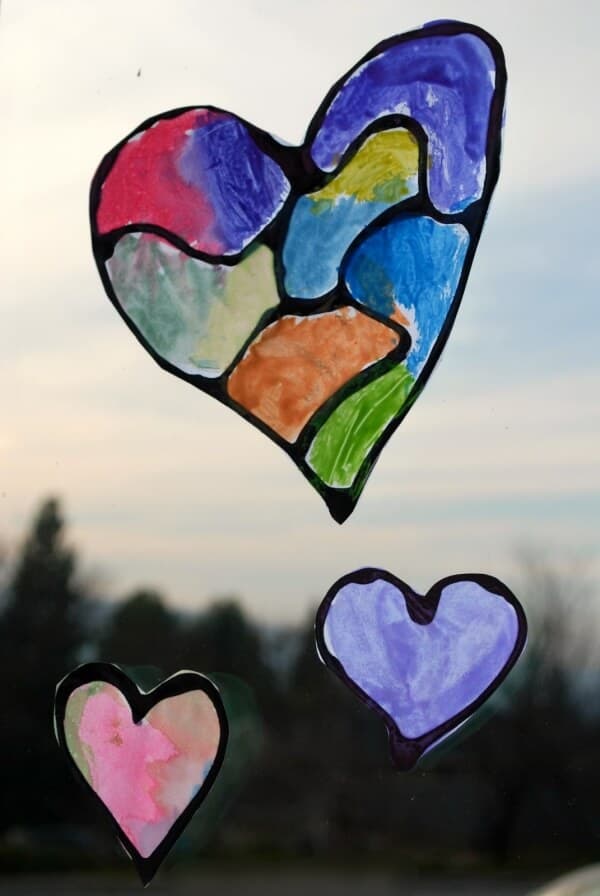
Get it done for the mere entertainment of the kids. Start by asking the kids to draw a heart on thick paper.
Then, create the outlines of this heart with glue and black paint added on top. Then, let the kids add the colored paint to the glue to fill up the gaps when the outline was dry. Cut out the heart/hearts to make it a suncatcher or place the hearts on another colored paper to form it like a greetings card.
Think easy, work easy, and create the best.
Suncatcher Made Of Crystal Beads
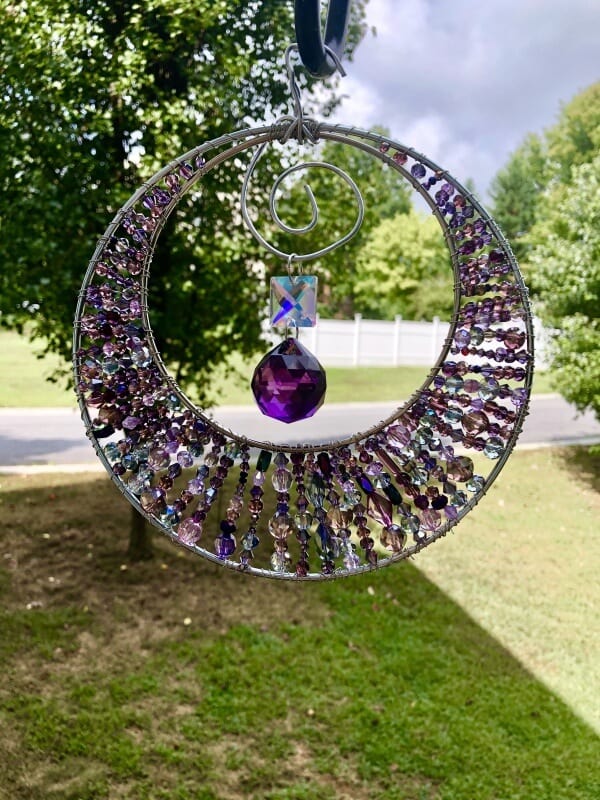
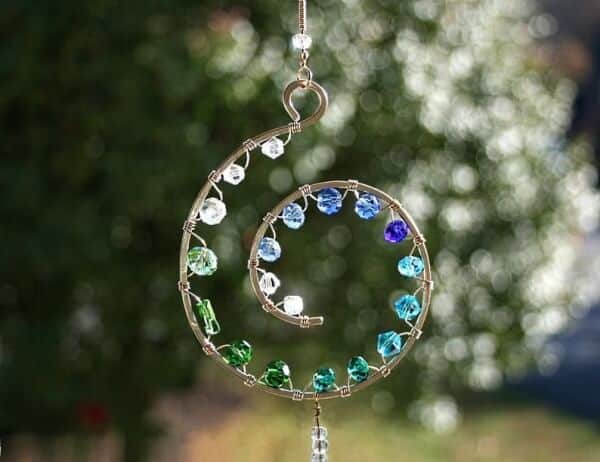
The crystal beads look exceptionally beautiful when reflected by the sun’s rays. Start by cutting out a wire into a circular form, and fill in the wire with crystal and acrylic balls, alternatively. Cut the excess wires from both ends, and try to shape the center into a butterfly.
When all set and done, hung it somewhere in the middle, and let people enjoy the beauty of it.
Tissue Paper Stained Glass
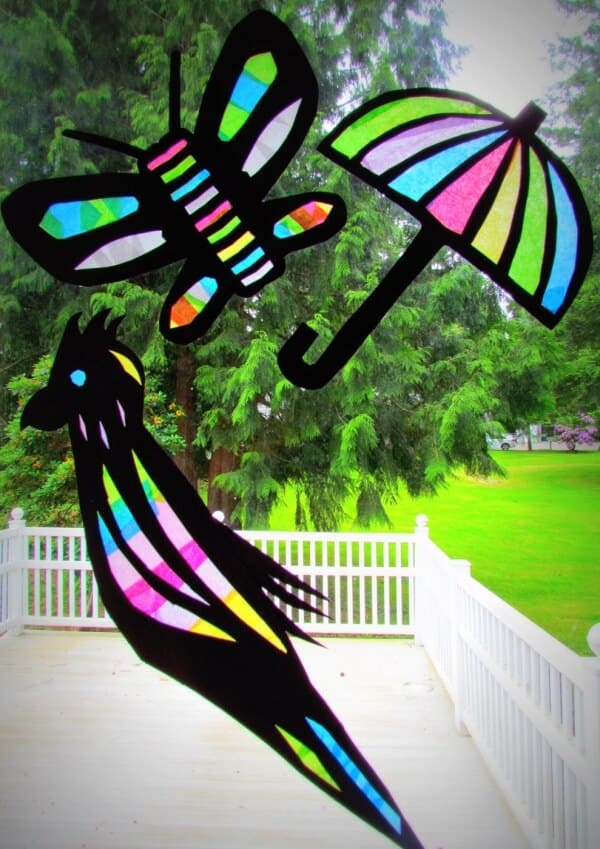
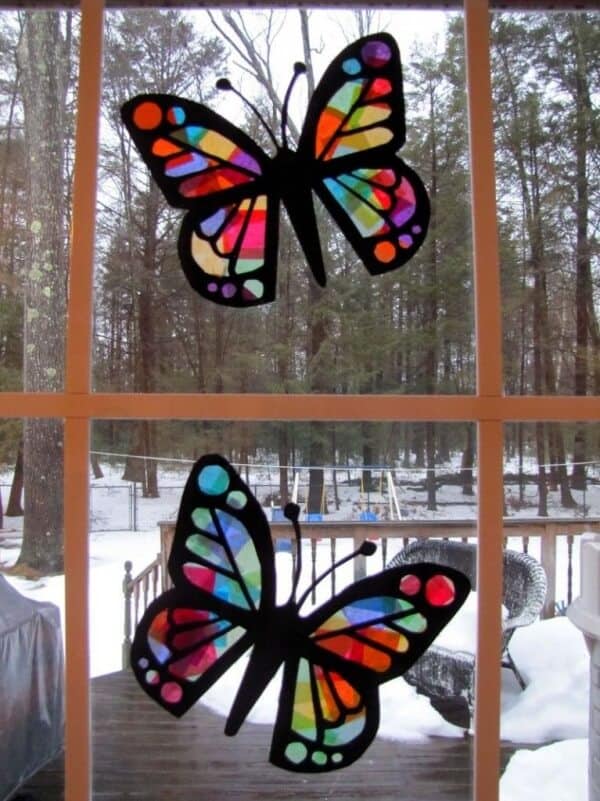
The items used in this hack only include torn tissue papers placed over the wax paper. Then start adding layers of liquid starch and more colored tissue paper until the waxed paper is filled up to the brim with the colored tissue paper scraps. The entire thing is placed in a glass frame. So, let it dry well and be mesmerized by your kid’s creation.
Read More:
- Best DIY Keychain Ideas For Gifts
- Cute Halloween Crafts For Kids
- DIY Wine Bottle Craft Ideas
- Cute Holiday Crafts For Kids
That’s how we get to the end of the list of suncatcher craft for kids. Wasn’t that eventful? Well, now you know what to indulge your kids into when they have a holiday, and nothing is working much to keep them at ease. For a better involvement, you might as well invite some of their friends, and maybe arrange for a small, homely competition? Except for a few tricks, all of them were quite easy and can be performed without parental guidance. Also, these are the new learnings that would stay on with the kids for lifelong. So, without wasting a moment, put on your activity cap, and take the plunge today.
