

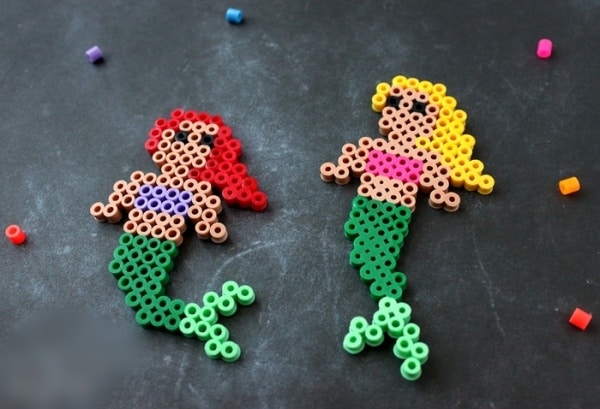

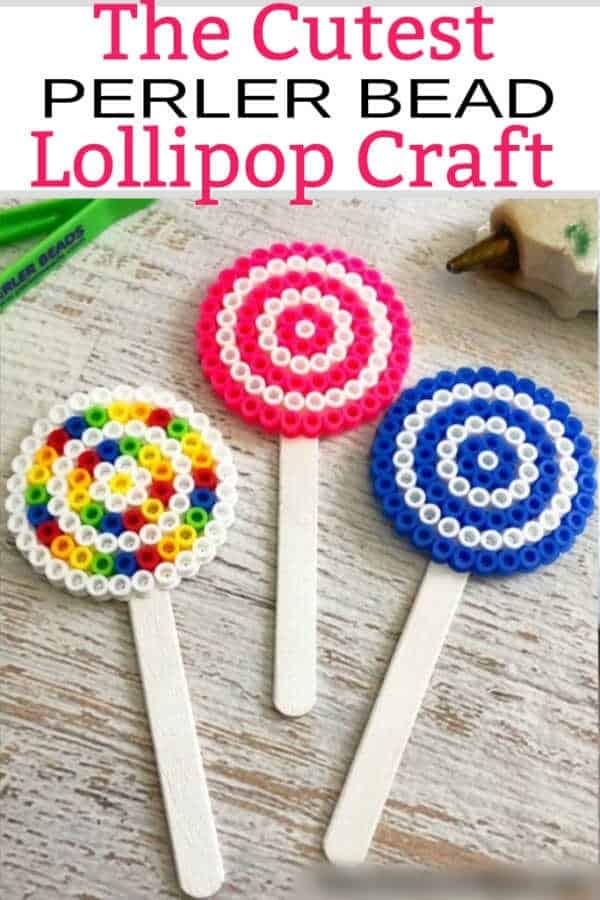
Let’s say that you want to whizz up your boring weekend, or you’re looking for a fun craft to keep the kids at bay. Start implementing your ideas on Perler bead crafts. The kids would love them and would turn out to be the most productive ones. So, excited already? For more ideas, get glued on to the section below, and read more about the craft ideas that both you and the kids are bound to love.
Getting Started: Supplies Needed for Perler Bead Crafts
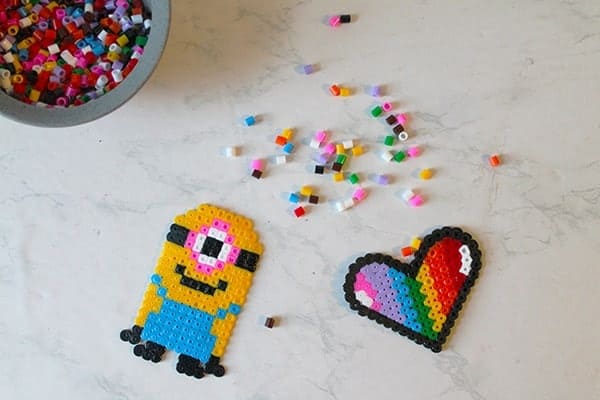
Before diving into these whimsical projects, let’s talk about the basic supplies needed. To begin your first bead project, you’ll need a few key items: Perler beads (which are small, colorful plastic beads), a pegboard to arrange them on, and a household iron. You’ll also need parchment paper or special ironing paper to place over your design before applying heat. Many craft stores sell convenient bead kits that come with a variety of colors and patterns to get you started. It’s a great arts and crafts activity for kids of all ages!
Fun Perler Bead Crafts and Bead Ideas for Kids
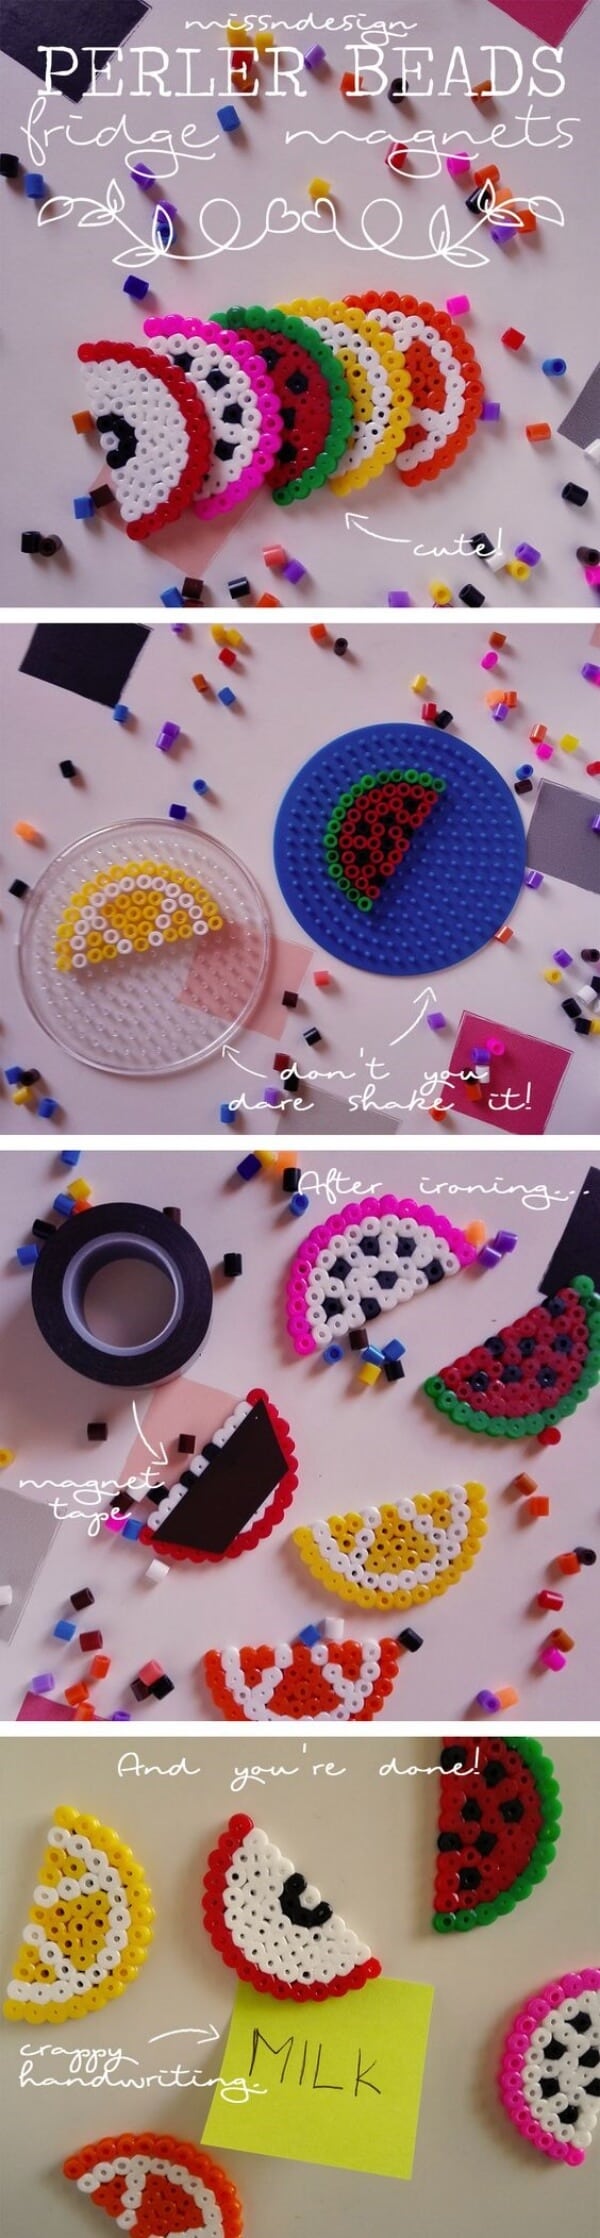
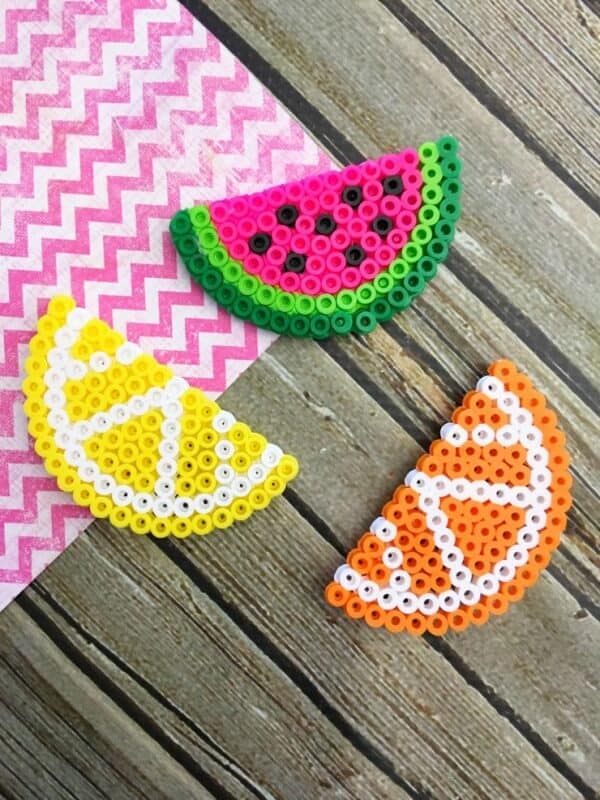
Fruit Perler Bead Magnets: A Cute Beginner Craft
Kids have been fascinated with these Perler bead crafts due to their colorful interface, and versatility. For creating the Fruit Perler Bead magnets, you need a bunch of colorful beads and different templates, and of course, the Perler beads ironing paper, and tweezers. First, try to get the imprint of the template that you have selected, so that it looks like an ‘U’-shaped peel. Then create lines on both sides of the peel. Carefully place ironing paper on both sides, and press with an iron on medium heat. Let the entire thing cool, and place a magnet on the back to let it stay tight on your freezer or cupboard.
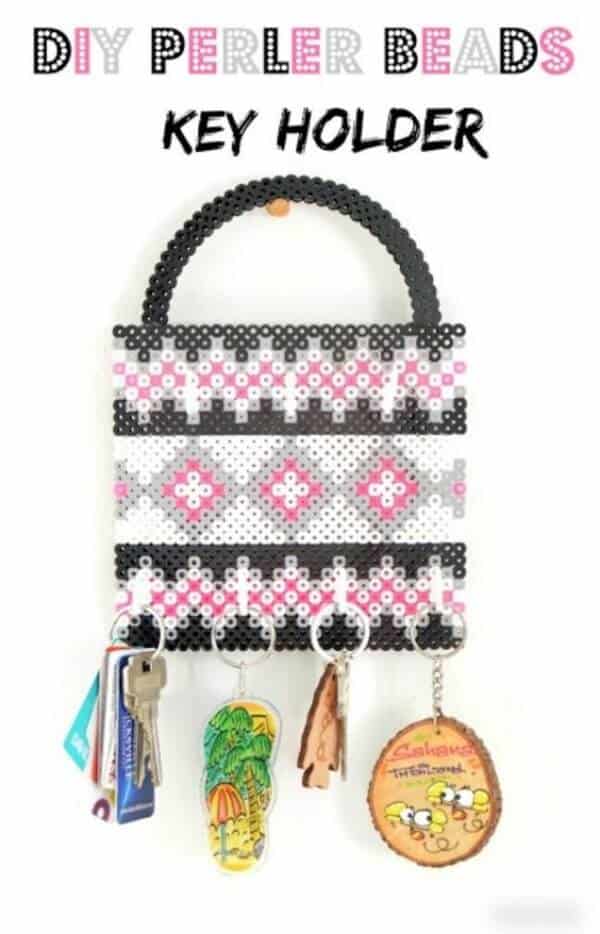
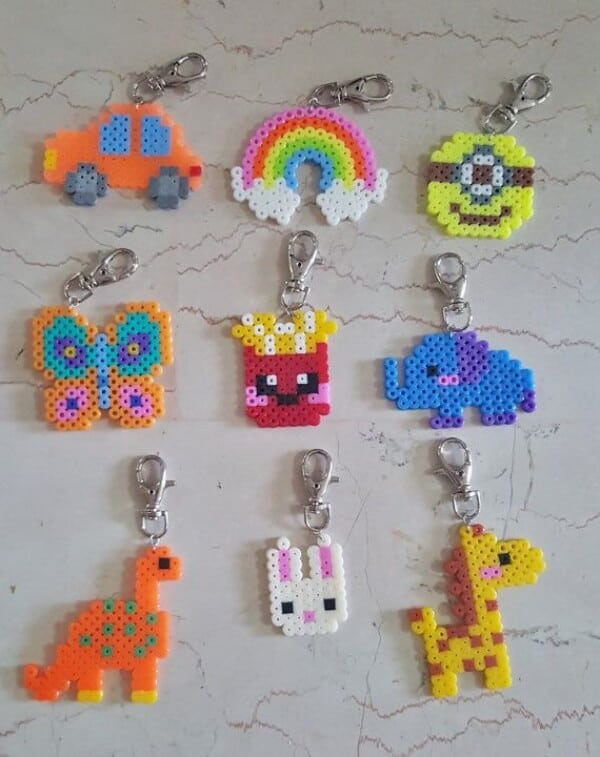
Perler Bead Key Holder: A Great Perler Bead Design
This DIY hack from the list of perler bead projects looks good while being an extremely effective one to use. Start by taking two plastic pegboards and place them from side to side. Border the squares with black beads, following them with the grey ones. Once done with the borders, start filling in the boxes with pink and white beads, in a particular symmetry. Start filling the empty triangle space, and with the same number of beads on both sides. For enhancement, place patterns with words like ‘HELLO’ or ‘KEYS’. Fold it with iron paper, iron the entire thing, and place the cup hooks. Once, done with all, gaze with pride at your key holder. These also make a great keychain for a backpack.
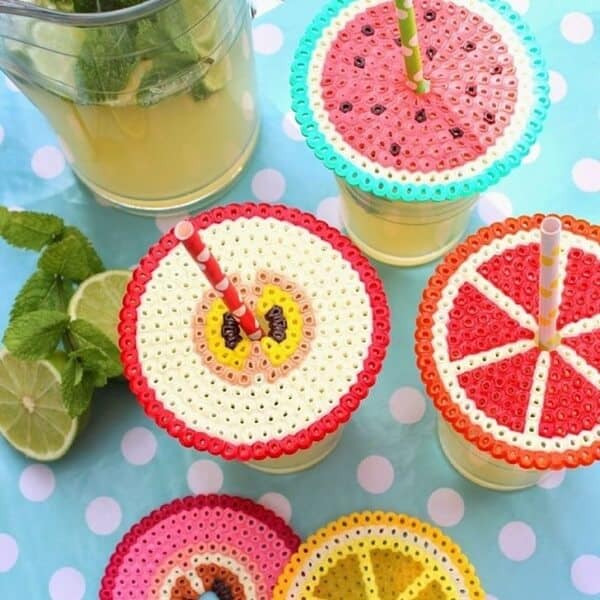
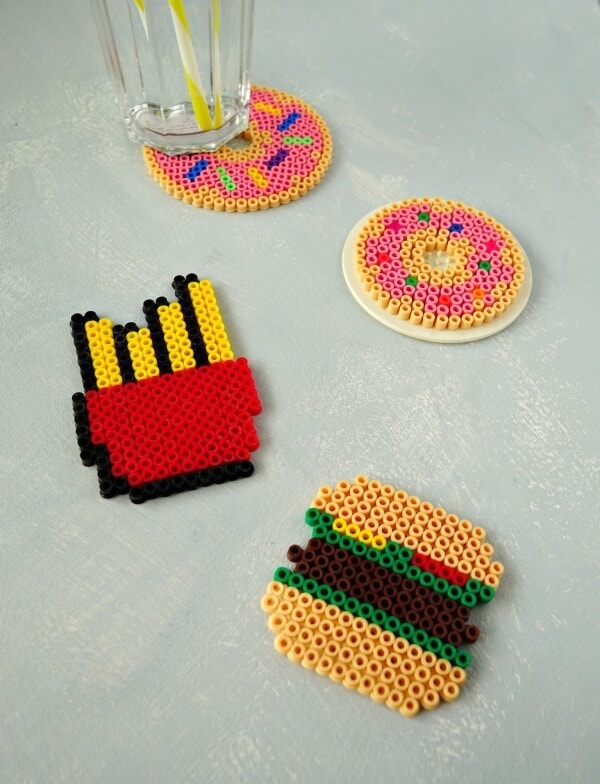
Perler Bead Glass Topper and Drink Covers
Imagine, placing a Perler beads glass topper while sipping in your favorite beverage. Well, make the idea possible with your child by grabbing the essentials like circular pegboards, colorful beads, and straws, and of course, the ironing paper. Use tweezers and place the beads on the pegboard, in a circular pattern. However, for the center use strays. Carefully wrap the entire thing with iron paper, iron it well, and let the beads fuse together. Then carefully remove the beaded circle of the pegboard, and let it remain flat until it becomes fully dry to use. Place it on top of a mason jar, pour a cool summer drink, and let the kids enjoy it.

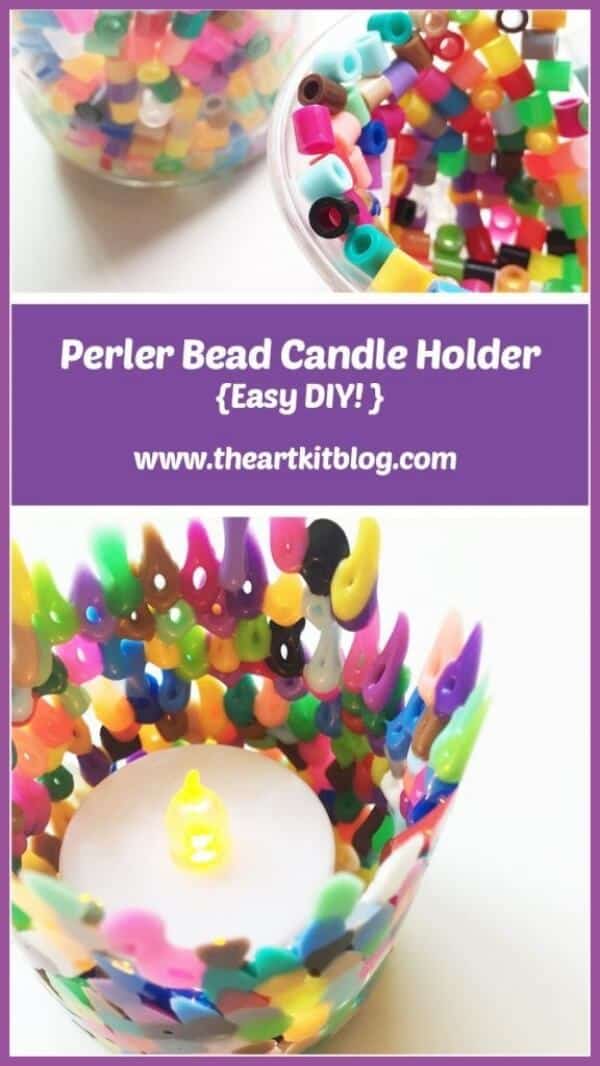
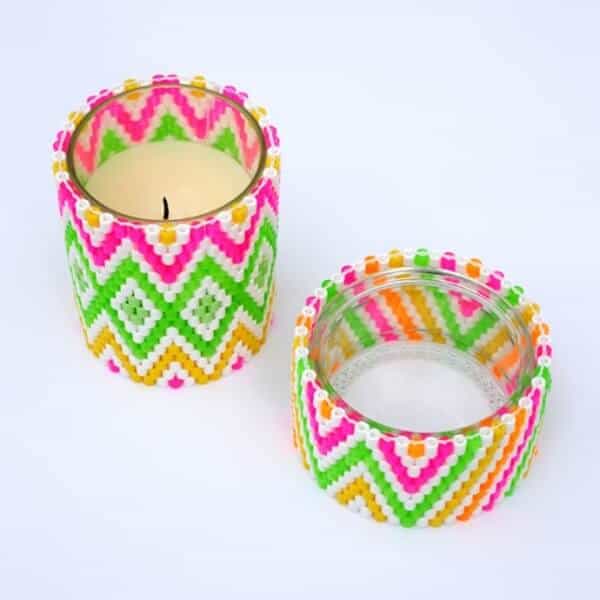
Perler Bead Candle Holder
The Perler bead candle holder states of some of the most shining beads that are required for donning the perler bead creations. Start by sketching a pattern, and placing a tea-light inside an old-glass jar. Just start circling off the entire thing by placing beads all over. Of course, you need to maintain the pattern for better usage and work. You know you might feel that this hack is a bit difficult after weaving the first few rounds with beads. However, the thing becomes a cakewalk later. So, what next? Lighting the homemade candle during a power failure.
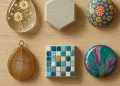
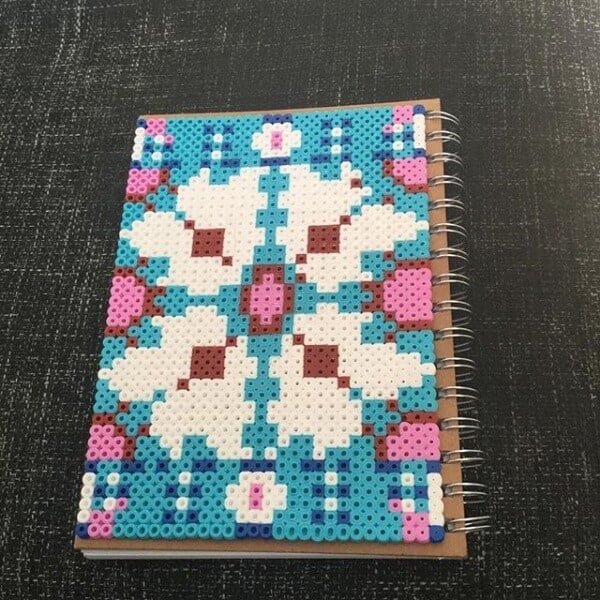
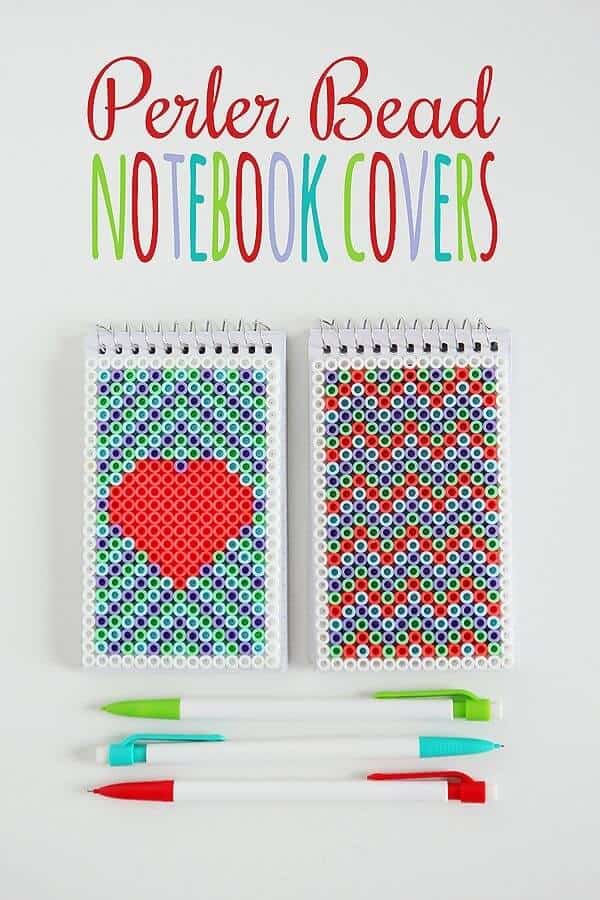
Perler Bead Notebook Covers
This particular piece of art has become my personal favorite due to its innovation and intricate design. Apart from the common ingredients, you need notebooks measuring at least 3″x5″, and a glue that’s rock solid. This one’s comparatively easy as you just need to place the beads in the specific pattern that follows, tightened by the glue. The colors, patterns, and designs are entirely your choice. Then when done with that, cover the entire notebook with iron paper, and iron it a bit. Well, you are done there. The kids would love to open the notebooks more often.
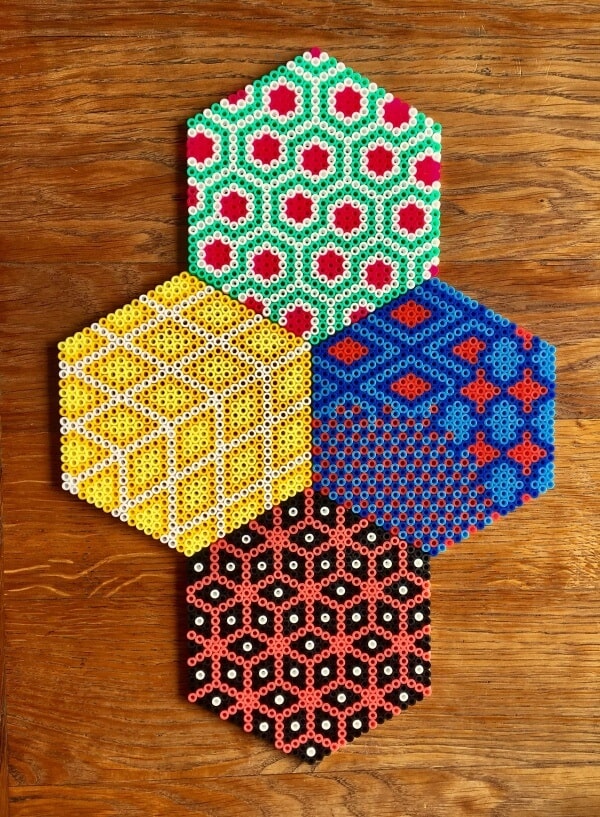
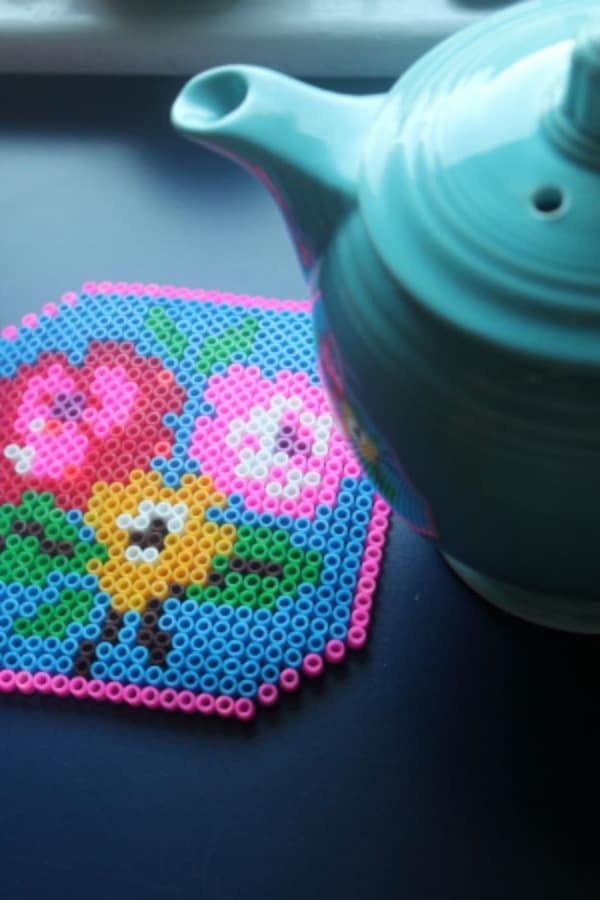
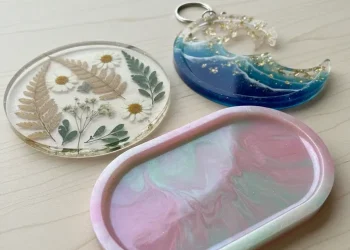
DIY Perler Bead Coasters
The initial ingredient of bead coasters needs a jelly roll pan, making people think that this might turn out to be a yummy tit-bit. However, of course, you need to place wax paper and that would prevent the beads from getting clutched into the sides of the pan. Now, bake the entire thing for at least 10 minutes. Yes, this name from the list of Perler bead crafts needs proper baking to come out well. But remember, even after baking, the mats would need a few minutes to come out in the best shape. Now, won’t the kids love the new table mat?
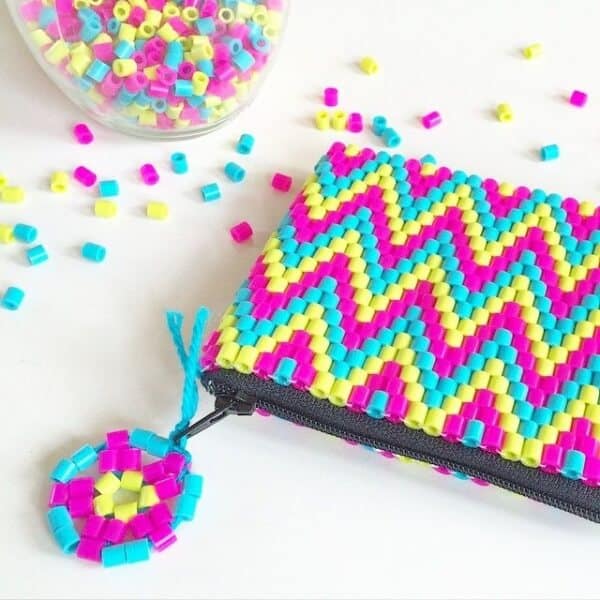
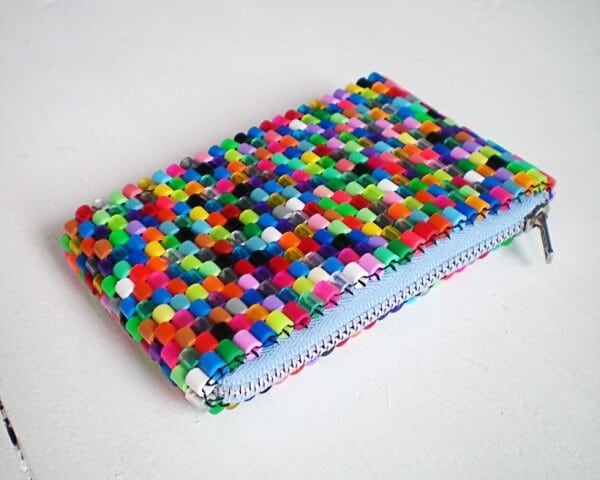
Perler Bead Purse from Hama Beads
Teach your children the magic of needlework with the Perler beard purse. It’s almost like the Hama beads that have weaved their magic again. The design is called Hama pearl, and it’s almost like counting the fingers and creating the magic that’s needed. Just keep the background steady, as in the base of the weaver. Once done with that, start counting the rows, the numbers, and let the weaving of beads continue by keeping a finger’s distance. Don’t you think it’s the best hack to keep the kids during the summer holidays?
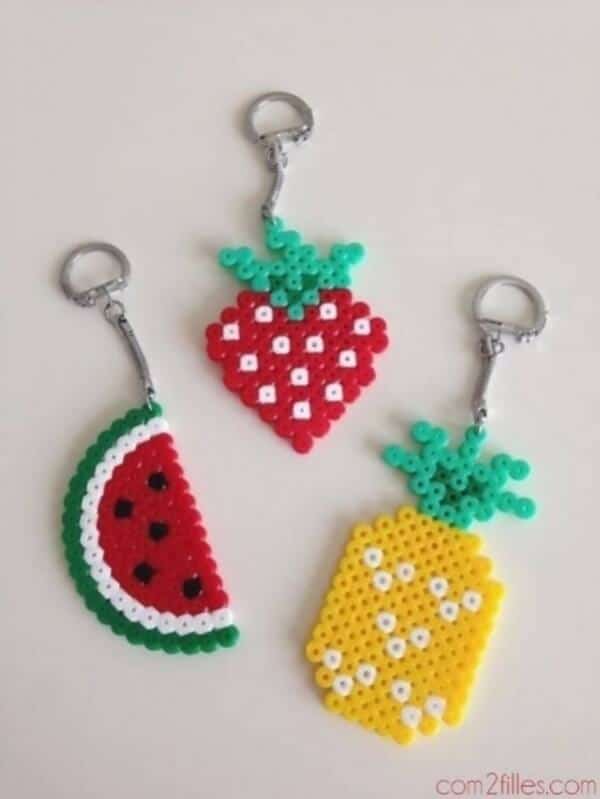
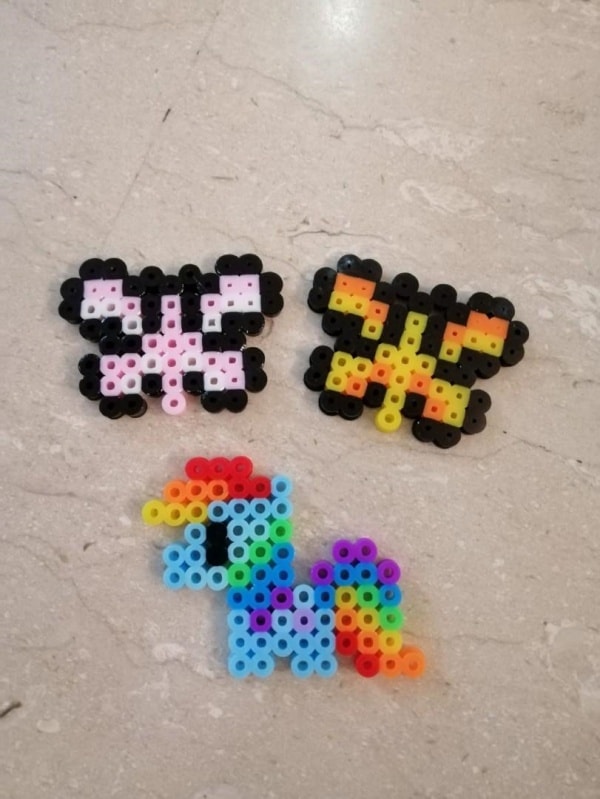
Perler Bead Fruit Keychains
Start off the fun by placing the beads one after another on a pegboard. However, the main trick behind this bead craft states of placing the beads in an assorted design, and of course, a fruit pattern layout. Once the entire design has been ironed, let it cool for some time, and then let the design come out. Then, while the design comes out, the beads would get merged on one side. Repeat the same thing by flipping the design and on a heatproof flat surface, while ironing the other side with the paper. Make sure that the shape remains intact.
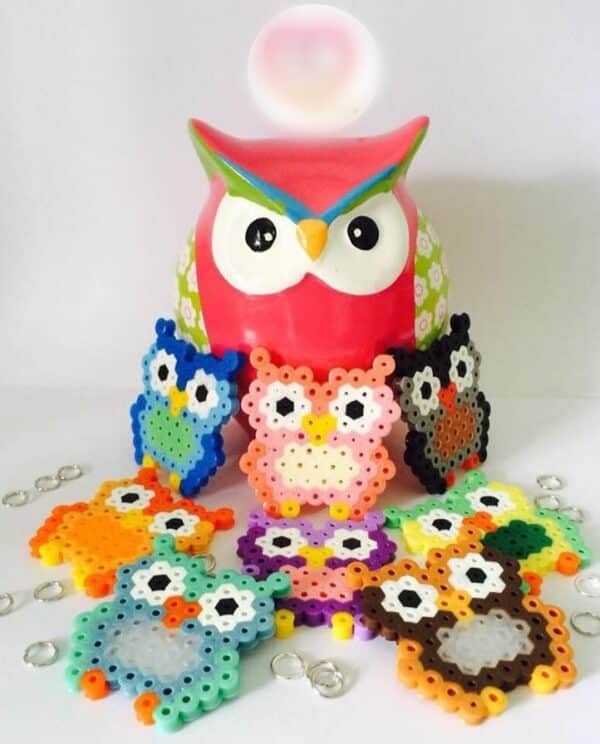
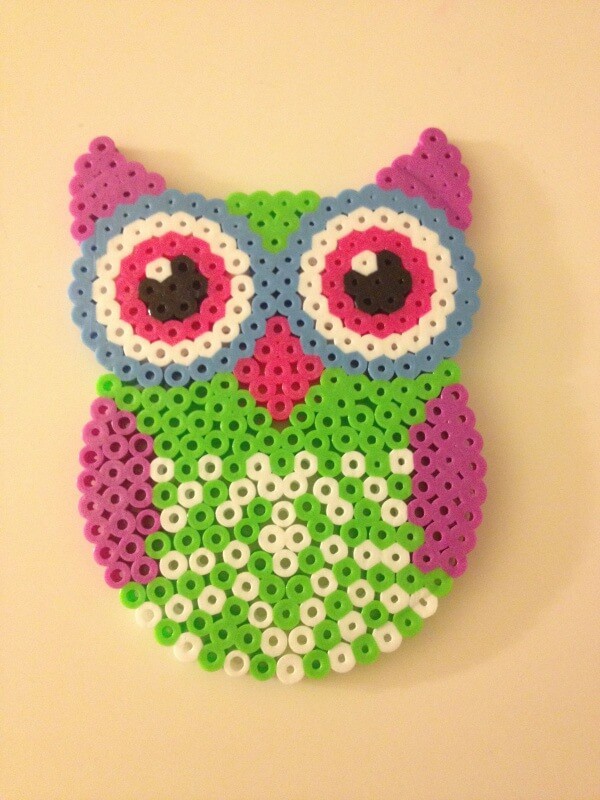
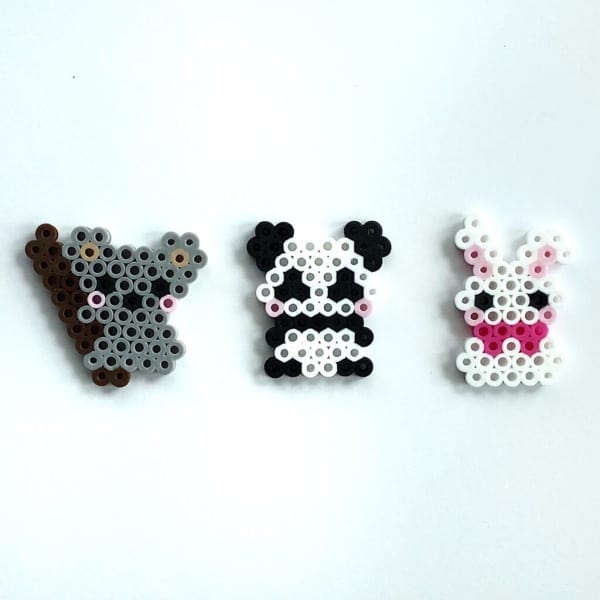
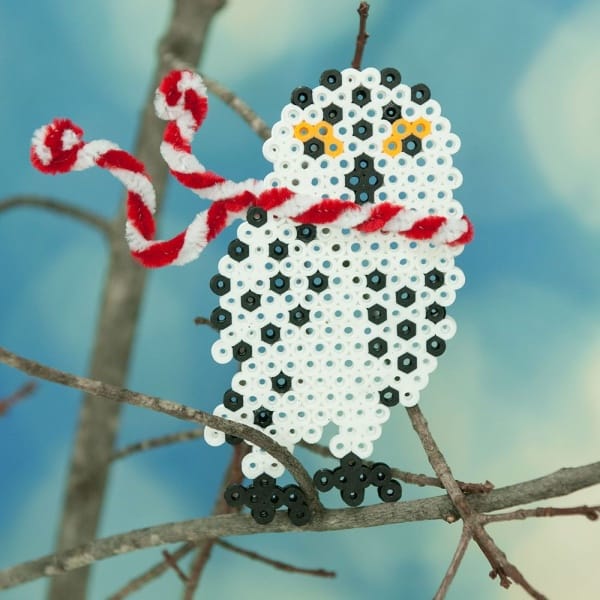
Perler Bead Owls: A Beginner Bead Idea
Creating the Perler bead owls is quite simple. Start the job by picking the small and regular square bead boards. Then start placing up the beads, following a certain pattern. You don’t even print out the bead patterns. Instead, try to fix the work in front of the computer screen, and then copy the bead pattern onto the board. Strictly for the kids, you can also try owls with a variety of colors. They look cute, and when placed in numbers, enhance the home decor. You can also try the other animals, based on this pattern.
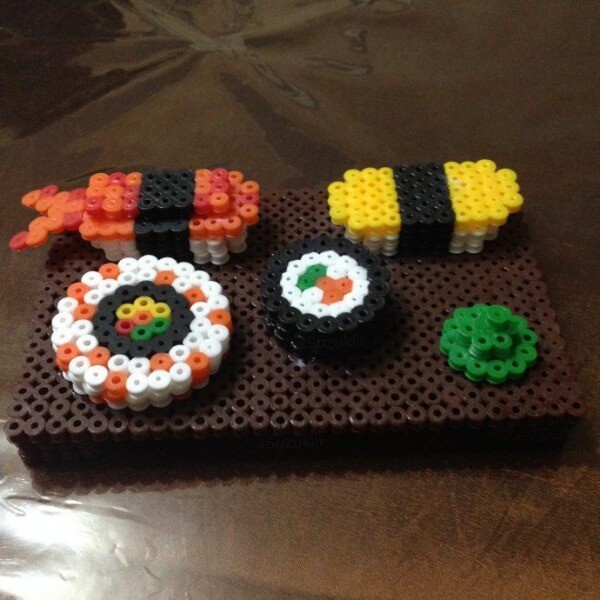
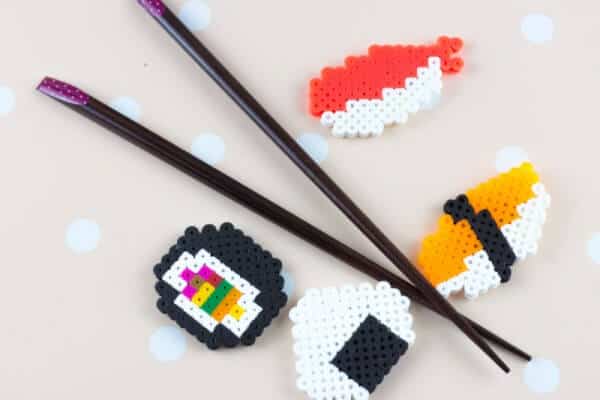
Perler Bead Sushi-Shaped Magnets
Mind you, this is not the Sushi for dinner. Now, jokes apart, for this choose the bead colors like red, white, black, green, pink, and brown. Take the pegboards, and start filling in the beads following a particular pattern. When you are done with the shapes, place the parchment paper, or iron paper all over, and iron it well. Do the same for both sides, let it cool for some time, and then remove the paper. Place round magnets on the back with some good-quality hot glue. Gift it to others, or keep it yourself, this creation is hard to resist.
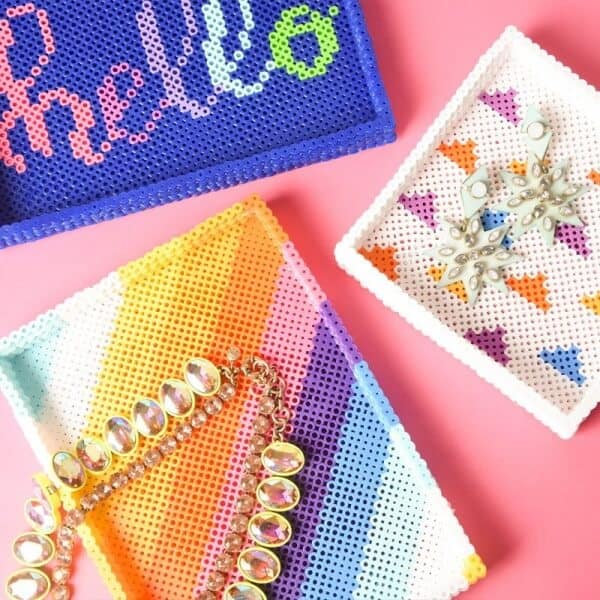
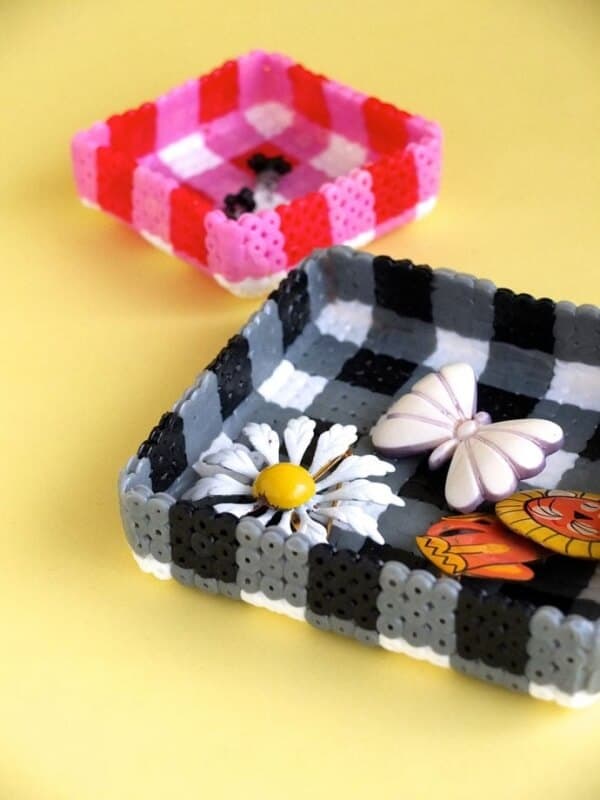
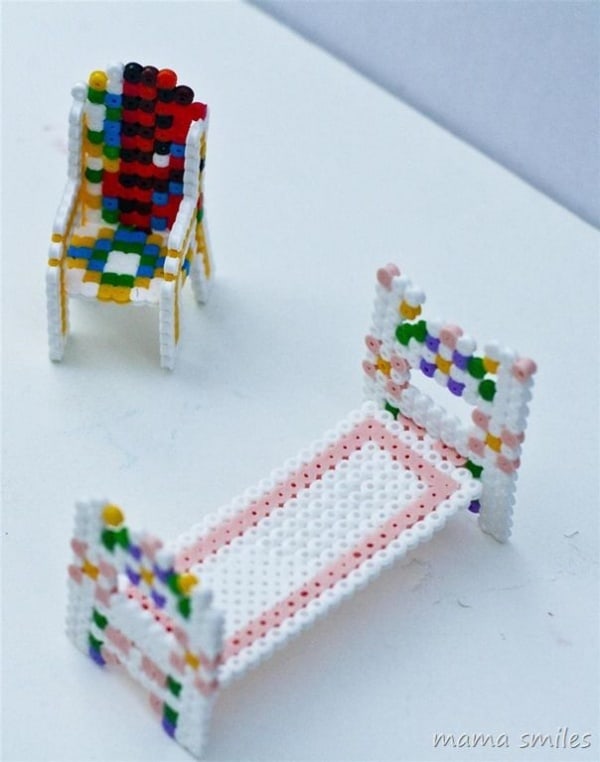
Perler Bead Trays
This is again quite a creative trick that has become everyone’s favorite. For a Perler bead tray, you need a big pegboard, and beads of multiple colors. Basically, the entire process of placing the beads and then ironing is almost the same. However, the sides should get folded up once the ironing has been done. Of course, the ironing part is a major issue when the beads are placed. This might take a bit of an effort, however, when donned well is a complete visual treat. So, try it well, and be happy.
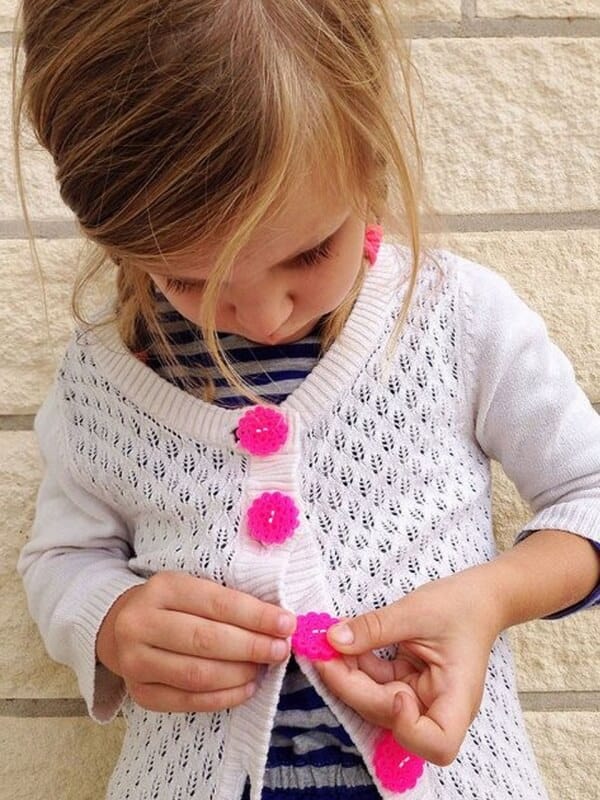
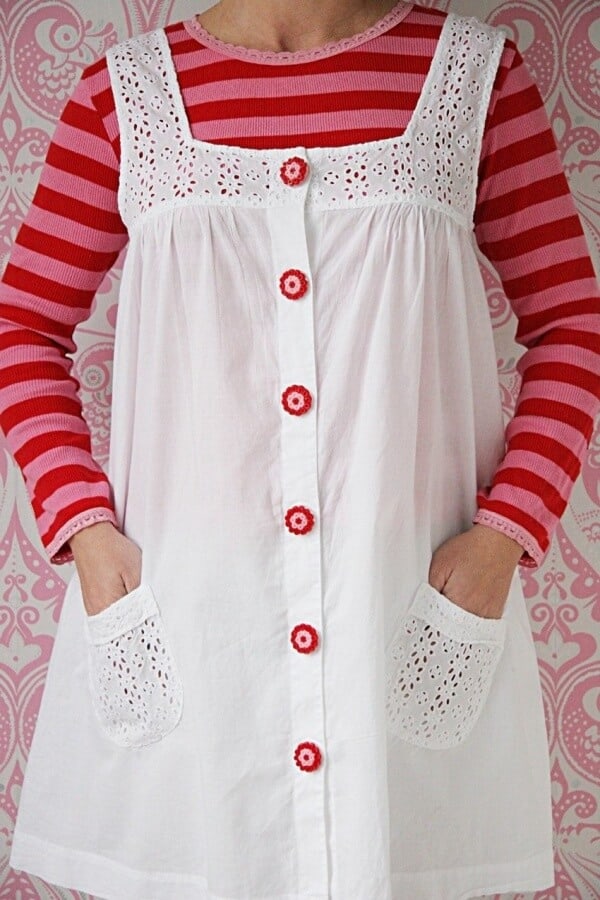
Perler Bead Dress Buttons
Perler bead dress buttons are always bigger than the usual ones, and for that, you need to stitch the buttonholes once again to adjust the buttons well. Choose the pegboard and colors of your choice and start creating them. Once done with the entire thing start stitching the buttons. However, this is one of the crafts where you need to be careful. Wash your garment with your hand, and then air-dry it for better results.
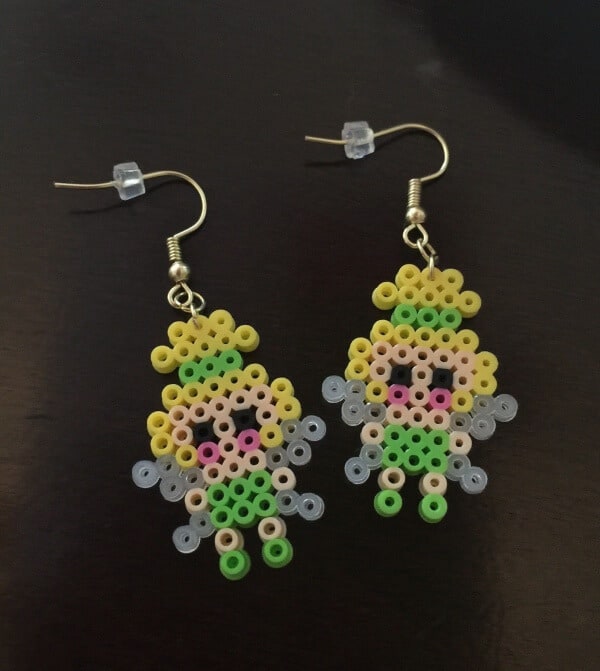
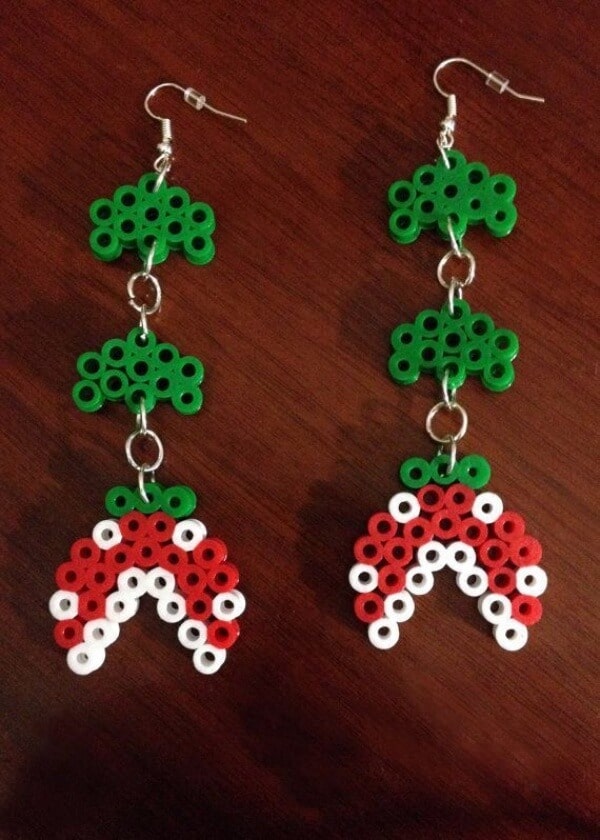
Perler Bead Earrings and Bead Bracelets
Yes, how can we miss out on these? These earrings are quite easy to create. Place your favorite beads on the pegboard, and iron both sides after placing the iron paper. For the earring backing, place a good amount of strong glue on the back. Hold it tight for a few seconds to make sure that the glue is in place. In the end, you are done with all, so flaunt them well.
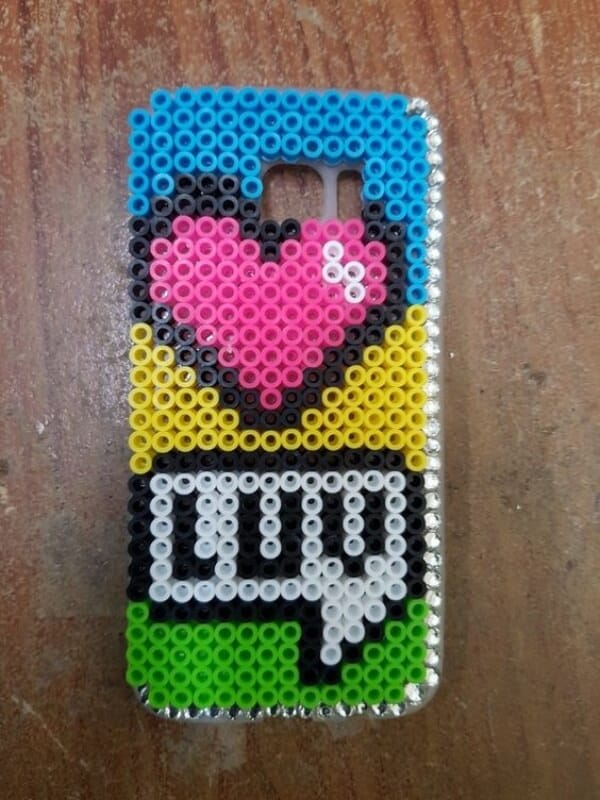
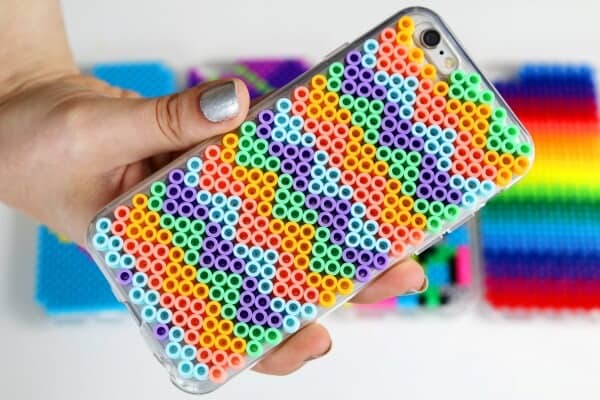
Perler Bead Phone Back-Cover
For this as well, you get to grab the beads and the pegboard of your choice. However, make sure that the beads connect well while creating the beads of your choice. Then, iron it well by placing the iron or parchment paper, and take out the shape carefully. Fix a good amount of glue on the back of the shape, and place it on the phone cover.
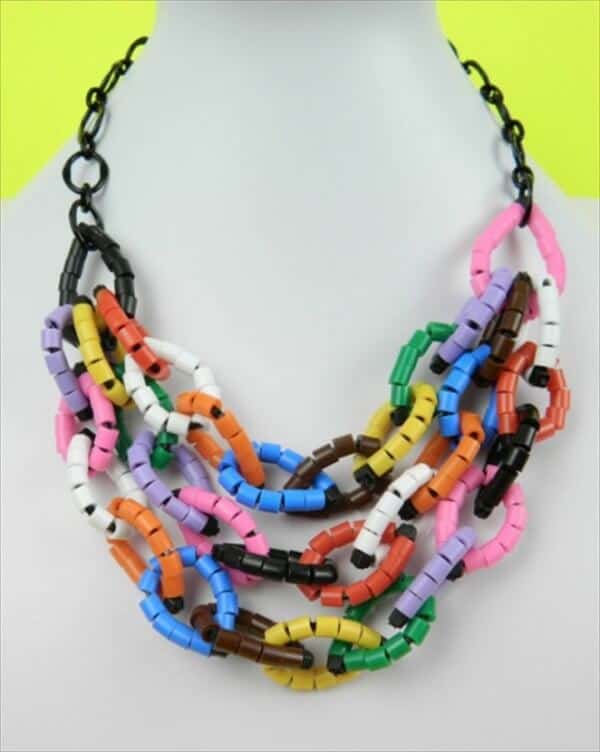
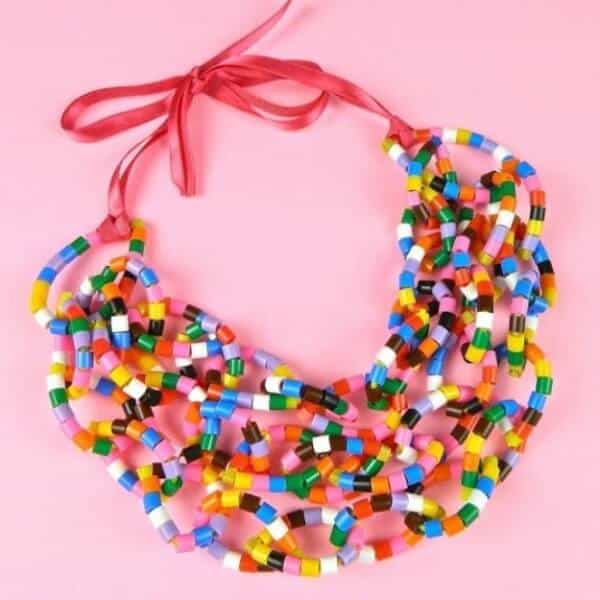
Perler Bead Tie-Necklace
Make the necklace as colorful as it can be. You need to make sure that the beads are tied together well, with glue and strings, to become concentrated enough to become the necklace. Here, the entire pattern is an inter-twining one so that the necklace looks broad enough to cover the entire neck.
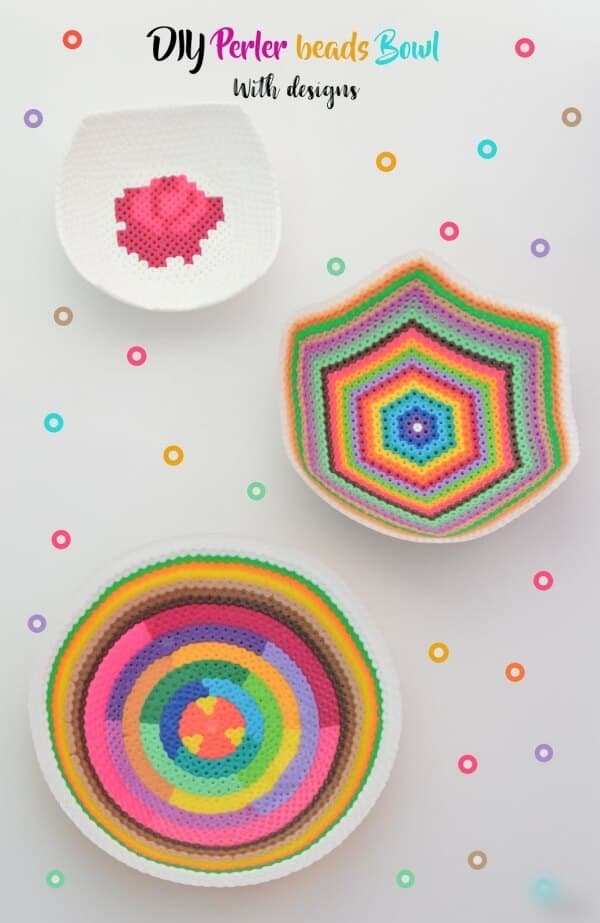
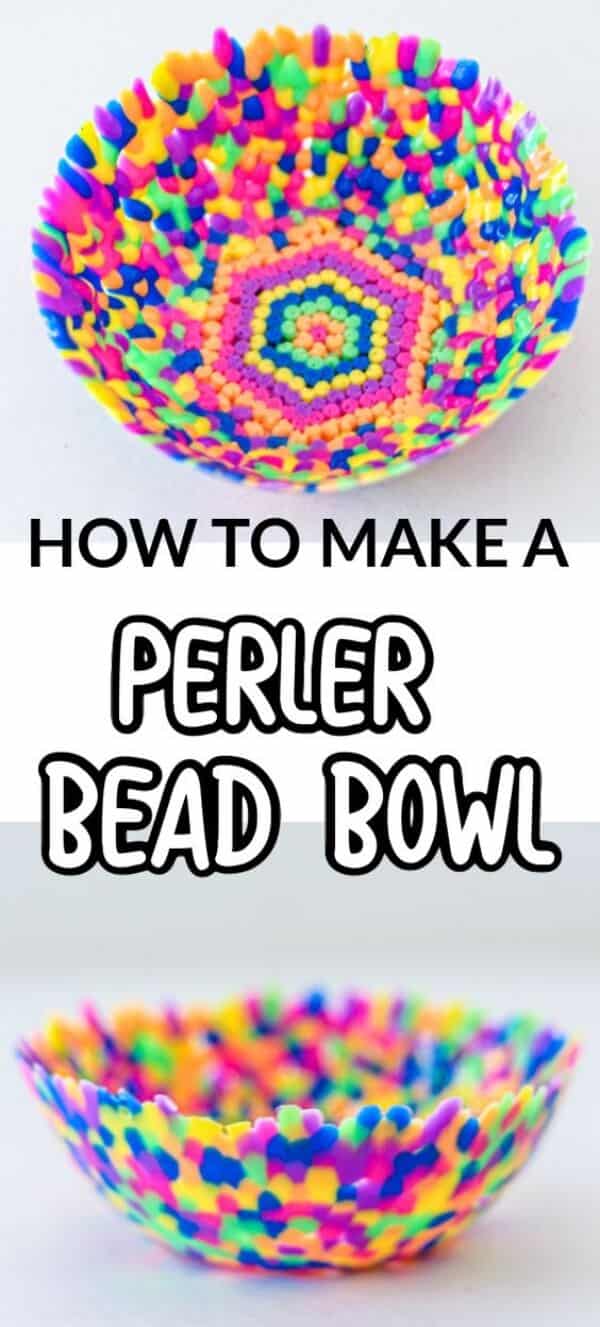
Perler Bead Bowls
Take a bowl and place multiple color beads in it. Of course, make sure that the beads are placed well, and connected together. For that use glue. When all the beads are done well, put the bowl inside an oven, and keep it at 400 degrees for at least ten minutes. Then take it out, and carefully segregate the main bowl. Finally, you are down with your beads bowl.
More Easy Perler Bead Crafts for Kids Cool Ideas

Conclusion
Finally, we are done with the DIY Perler bead crafts that look immensely attractive, yet are easy to create. All of these would work as fun activities to involve the children. But the fact remains, that even the adults can take part and enjoy these. So, when are you starting? Well, to be honest, the craft hacks are loved by all. Besides, the Perler bead thing is a comparatively new name in the block. Which one you think was the best? Are you planning to get it done this weekend? Grab the materials, get it done, and don’t forget to upload the pictures.
FAQs
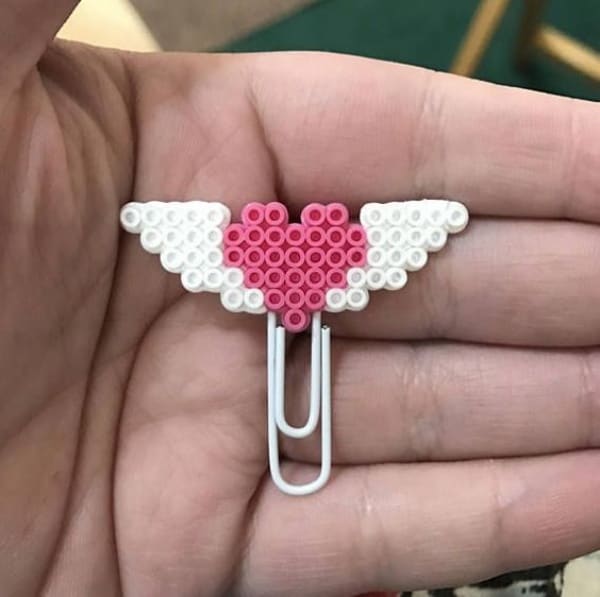
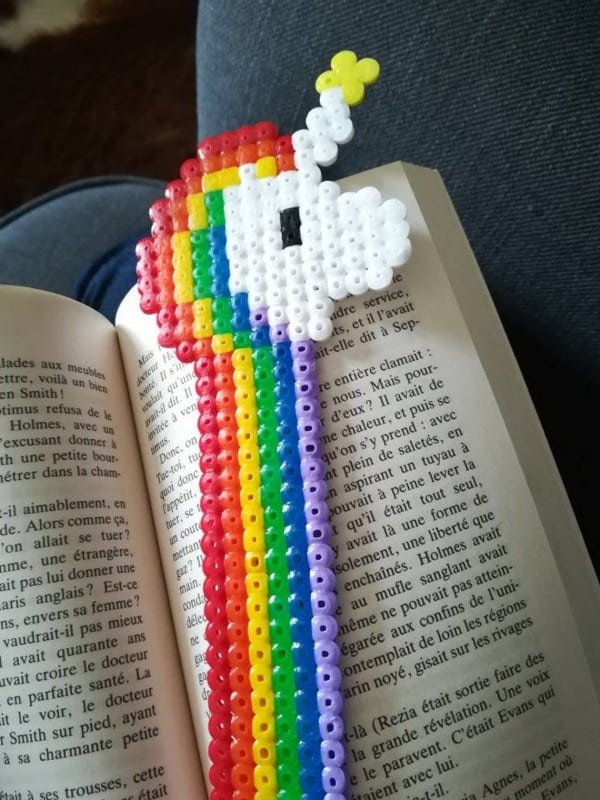
Q: What are some easy perler bead ideas for kids?
A: Some easy perler bead ideas for kids include making simple shapes like hearts, stars, and animals. You can also create bead coasters, bookmarks, and keychains, which are fun projects that yield cute perler bead creations.
Q: What supplies are needed to start with perler bead crafts?
A: To start with perler bead crafts, you will need perler beads, a pegboard, an iron, and parchment paper. Optional supplies include bead kits that often come with patterns and designs to follow.
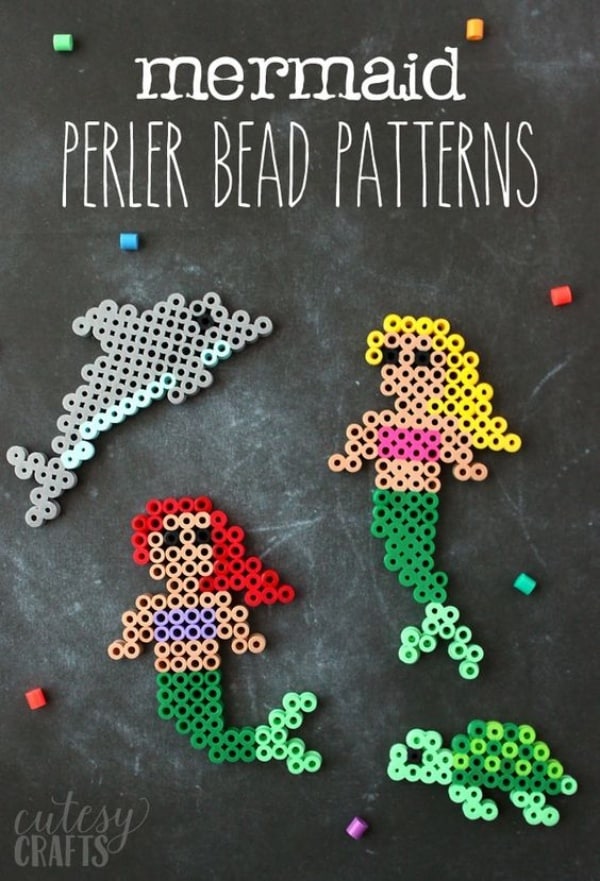
Q: Can you suggest some fun perler bead patterns for beginners?
A: Yes! Beginners can try easy perler bead patterns such as simple animal shapes, flowers, or geometric designs. These beginner patterns are not only manageable but also result in cute perler bead projects.
Q: What are some great perler bead projects for special occasions?
A: For special occasions, you can create ornaments for holidays, bookmarks for Mother’s Day gifts, or even bead bracelets as great gifts for friends and family. These projects can be personalized with favorite characters or themes.
Q: How can I use perler beads to make cool drink covers?
A: To make cool drink covers with perler beads, you can create circular designs that fit over the top of cups. Simply place beads on the pegboard in a round shape, fuse them together, and you’ll have a unique drink cover!


