

Essential Drawing Materials for Lighting and Texture
Figuring out how to draw a candle begins with gathering your tools first. You will need a pencil, an eraser, and some paper. A standard HB pencil works well for light guide lines you will erase later. A ruler is optional for your first straight line. If you want crisp final lines, a black pen or fine-tip marker is great for inking. For adding color, colored pencils or markers work beautifully at the end. Do not worry about expensive supplies. You have everything you need to start.
Understanding the Foundation: Geometric Simplification
This tutorial builds your drawing one simple shape at a time. Mastering how to draw a candle starts with understanding these geometric basics. You will start with a light vertical line and a basic cylinder for the candle body. Do not press too hard with your pencil in these early steps. Those light lines are a guide you will refine. Seeing the object as simple shapes first makes the whole process feel much easier and more fun.
1. Your First Line: A Simple Guide for Symmetry
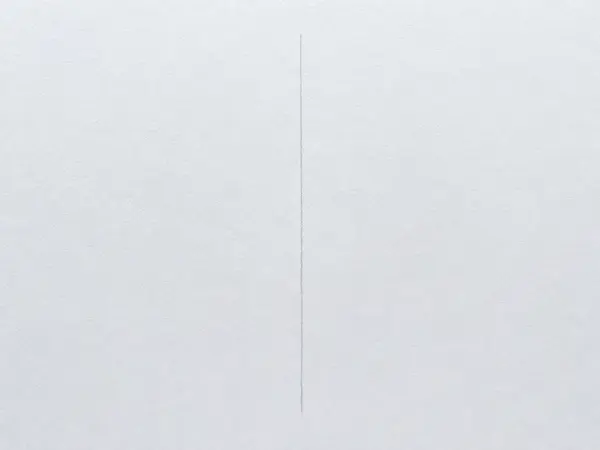
This first step draws the center line for the candle. Knowing how to draw a candle requires symmetry early on. It’s super important because it helps keep both sides even. Grab your pencil and press lightly. When learning how to draw a candle, draw a straight line down the middle of your paper. Move your whole arm to keep it smooth. This line should be extremely light, like a ghost. You’re doing great; keep practicing your creativity! Pro tip: If you want a straight line, try using a ruler. It makes this step much easier. For more practice, try this guide on easy drawing ideas for beginners. Seeing exactly how to draw a candle opens new creative paths.
2. Building the Candle Body Around Your Guide
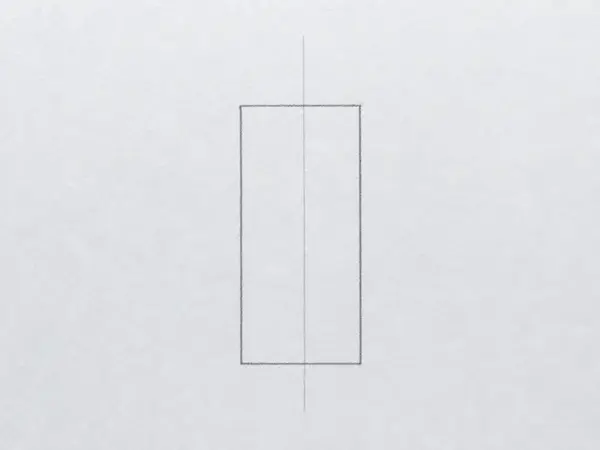
Now that you’ve drawn that first straight line, understanding how to draw a candle means turning it into the candle’s solid shape. You’re doing great. Place your pencil tip at the top of your guide line for detailed instruction. Understanding how to draw a candle means shaping the edges carefully. Draw a short, slightly curved line out to the left. That’s the top of your candle. Now move to the bottom of your guide line. Draw another short, curved line out to the left, connecting it to form the left side. Use light pressure Practice varying pencil pressure for these lines to enhance your candle drawing lesson. Next, repeat the same steps on the right side of your guide line. Every lesson on how to draw a candle emphasizes this balance. You should now have a tall, skinny oval shape. Don’t worry if the sides aren’t perfectly even. That’s totally normal; every artist goes through this learning phase. For more confidence with basic shapes like this, try this guide on simple drawings to practice. Pro tip: Try drawing the left and right sides without picking up your pencil. This one continuous line often makes the shape look smoother and more natural in your art.
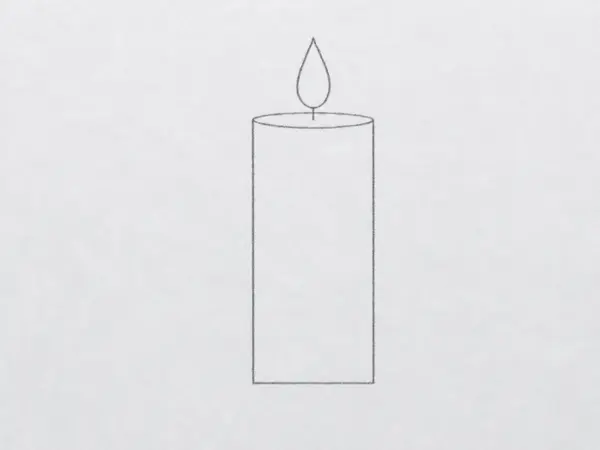
3. Adding the Wax Top and a Dancing Flame
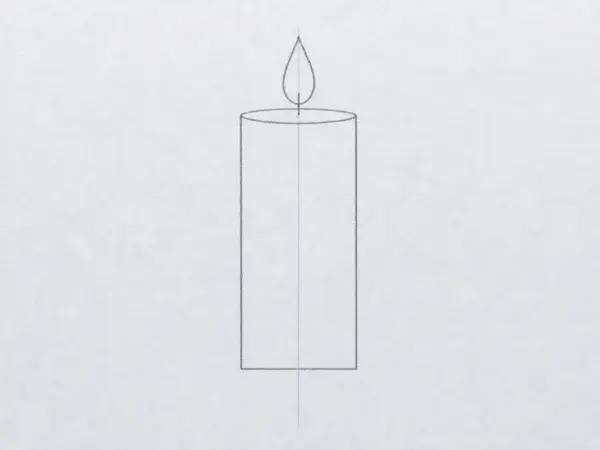
Now that you have your candle body and wick, let’s make it look lit. Exploring how to draw a candle adds a bright, moving flame next. We’ll draw the melted wax at the top. Find your softer pencil. Lightly draw a wavy line across the top of the candle. This line should dip in the middle like a shallow bowl. From this line, add a few short, curvy drips that hang over the side. Make some drips longer than others. Next, draw the flame. Start with a soft teardrop shape above the wick. Inside it, draw a smaller, brighter teardrop. Finally, use a gentle light touch to add a few tiny, wispy lines around the outside of the flame for a soft glow. This is a great way to practice your light Adjust your pencil pressure to achieve the desired detail in your drawing. If you want to build your confidence with these basic shapes, how to improve your drawing skills works perfectly. Pro tip: Don’t make your flame a stiff triangle. Use soft, curvy lines so it looks like it’s gently moving. Remember, knowing how to draw a candle relies on fluid shapes and attention to detail.
4. From Sketch to Clean Drawing
Now that you have your simple candle shape, knowing how to draw a candle means making it look neat and finished. This step is easier than it looks. Grab your fineliner pen. Any tutorial on how to draw a candle tells you to trace right over your favorite pencil lines from the last step. Go slow and steady. Follow the outline of the candle first. Then trace the wick and the little flame shape. Let the ink dry for a moment. Now, use your eraser to gently wipe away all the old pencil marks. You’ll be left with a clean, crisp drawing. Watching how to draw a candle progress reveals your steady hand. Nice work. Pro tip: If you make a mistake with the pen, don’t worry. You can let it dry and then draw over it lightly with your pencil to hide it. Learning how to draw a candle includes these recovery steps. For more practice with simple objects, try this step-by-step guide on candle drawing. learn how to draw a flower.
5. Ink Your Lines for a Crisp, Final Outline
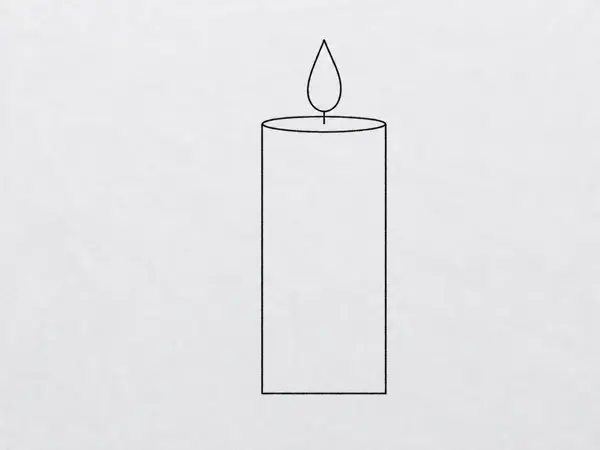
You’ll make your candle drawing look clean and permanent by tracing over your pencil lines. This step is easier than it looks, I promise. Pick up your fineliner pen now. To properly finish how to draw a candle, start by tracing the outline of the candle shape you drew earlier. Press firmly to make a smooth, dark line. Follow the curve of the candle’s side all the way down for a more natural size. Next, trace the wick at the top and the flame shape. Go slow and steady, you’re doing great. If you want to practice more line work, this candle drawing lesson is perfect for you. tutorial on drawing a lighthouse uses the same steady hand. Pro tip: Let the ink dry for a few seconds before you erase your pencil lines underneath. This keeps the ink from smudging.
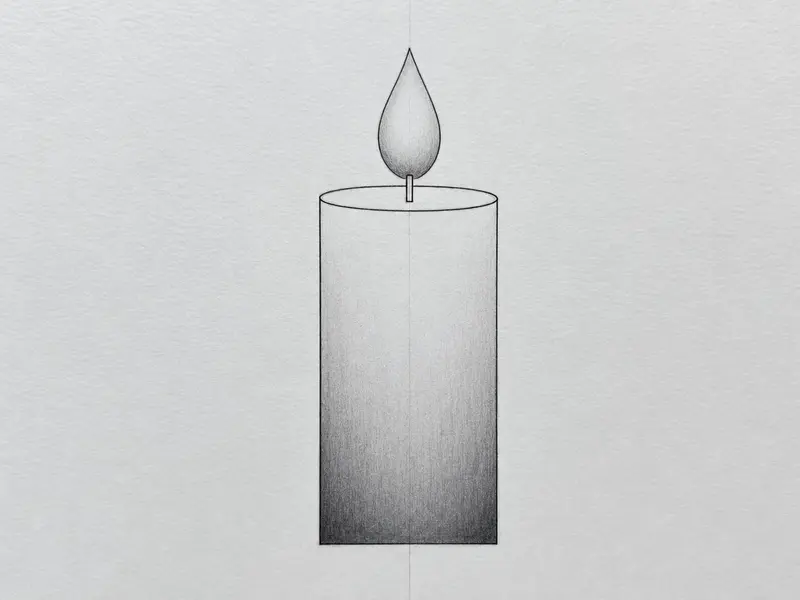
6. Simple Shading to Bring Your Candle to Life

Now that you have the candle outline and flame drawn, this step adds shading to make it look real. You’re doing great. Mastering how to draw a candle requires careful light placement here. This part is easier than it looks. Look at the left side of your candle drawing. Use a soft pencil to fill in that side with light shading. Press lightly so you can make it darker later. Keep your lines going up and down, following the candle’s shape. Leave the right side of the candle white for now. Shade the area under the candle flame a bit darker to show a little shadow. Don’t worry if it’s not perfect. You can always go back and fix it. Pro tip: Hold your pencil on its side for shading, not the tip, to create more artistic detail. This makes wide, soft marks that blend together nicely. For more practice, try this guide on guide to drawing a tree.
Refining Your Drawing: Common Mistakes to Avoid
Watch for a perfectly straight candle body. Real candles are slightly rounded cylinders. Adding depth when you learn to sketch avoids a stiff appearance. Remember the curved ellipse at the top to show the wax surface. Avoid making your flame perfectly symmetrical. Flames flicker and have an organic shape. Finally, use soft vertical strokes for shading the wax and smoother circles for the flame’s glow. Your drawing will look fantastic.
Conclusion
You did it. You’ve successfully learned exactly how to draw a candle from start to finish. That’s a fantastic achievement. You started with a simple line and built up the whole drawing step by step. You learned to use guide shapes for structure and how to add shading for a realistic touch. If you want to practice more, try drawing a shorter candle or a few together. A simple cup or vase would be a great next subject using similar shapes. I’d love to see your artwork. Feel proud of what you’ve created and keep drawing.
FAQs
Q: How can I draw a candle using easy steps for beginners?
A: Start with a simple outer shape by sketching a vertical rectangle for the candle’s body, then add a rounded top for the melting wax and a short cylinder or small oval for the holder. Follow step instructions: outline the wick, draw a teardrop flame, add small drips and a base. These easy steps work in pencil first, then finalize the lines and proceed to drawing and coloring.
Q: What are the best easy tutorials for candle drawing with crayons or markers?
A: Look for easy tutorials that break the process into stages: stage 1 – outer shape and rectangle body, stage 2 – wick and flame, stage 3 – holder and shadows, stage 4 – drawing and coloring. For crayons, choose warm colors like yellow and orange for the flame and softer tones for the wax. Simple cartoon-style tutorials are especially good for practicing with crayon because they emphasize bold outlines and flat color fills.


Q: How do I draw the flame so it looks burning and realistic but still simple?
A: To depict a burning flame, sketch a teardrop shape and add an inner smaller teardrop to show the hottest core. Use yellow for the inner area and blend to orange or red toward the edges. Add tiny flicks or a hint of smoke above the flame for realism, using light gray strokes to suggest wisps without overwhelming the cartoon style.
Q: What tips help when I want to draw a candle in a holder or on a stand?
A: Begin by drawing the rectangle or cylinder for the candle body, then sketch a wider base for the holder — this could be a simple round dish, a square plate, or an ornate stand. Pay attention to proportions and height so the holder looks stable. Add shadows where the candle meets the holder to ground it, and include small reflections on metal holders for design detail.
Q: How can I make a cartoon candle with personality and simple design elements?
A: Give the candle facial features or expressive drips, keep the outer shape slightly rounded, and exaggerate the flame’s size relative to the body. Use bold outlines and bright colors—yellow for the flame, a contrasting body color—and add simple accessories like a patterned holder. These cartoon choices make the candle feel friendly and distinct without complex techniques.


