


Achieving Structural Integrity With Heavy Body Mediums
The fastest way to ruin a textured painting is using thin, standard-consistency paints that slump and flatten as they dry. Trust me on this, you need paint that fights gravity. Your foundation is heavy-body acrylics, which have the thick, buttery consistency right from the tube for holding sharp peaks. For real sculptural volume, mix these paints with a modeling paste to build up a substantial, stable base that supports subsequent layers. If you prefer oils, skip the struggle and reach for alkyd thickening gels or cold wax medium to create that same luscious, dimensional body. The good news is that this sturdy base gives you the freedom to explore impasto painting ideas without worrying about your texture collapsing overnight.
Selecting Palette Knives For Consistent Ridge Height
Your palette knife shape directly controls the personality of every mark you make on the canvas. A long, flexible trowel-style knife lays down smooth, wide swaths of paint perfect for sweeping skies, while a short, stiff diamond-shaped blade is your secret for precise, sharp ridges and intricate textural details. The key is to match the tool to the scale of your work; a tiny painting needs a small knife for control, but a large piece demands a bigger blade to maintain consistent ridge height across the whole surface. You will notice that holding the knife at a consistent angle is what gives you uniform, beautiful strokes. Invest in two or three different shapes, and you will have the range to tackle easy impasto painting ideas with confidence and create dynamic, topographical interest.
1. Create Abstract Palette Knife Color Waves with Expressive Strokes
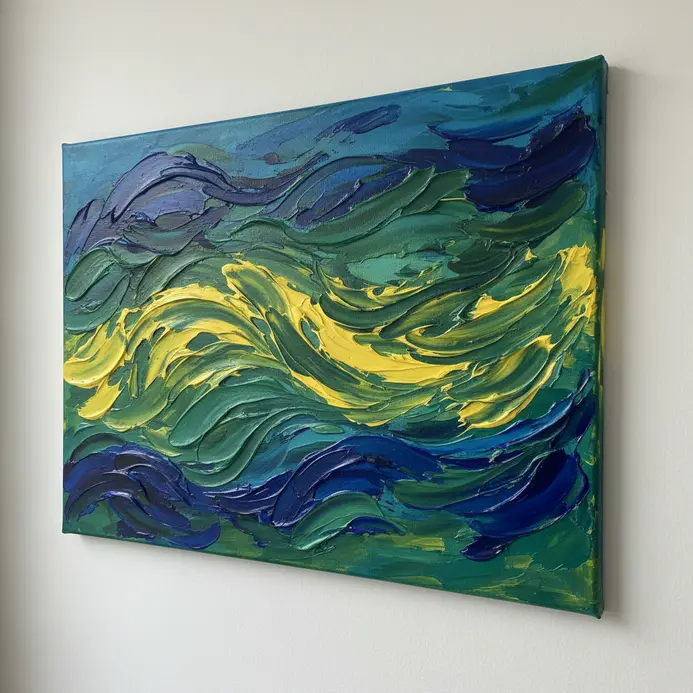
Ever wondered how those gorgeous, flowing textured pieces are made? This one looks complex but it is genuinely beginner-friendly. You will scoop thick paint with a palette knife and apply it in sweeping, energetic motions right onto your canvas. Think of it like frosting a cake, but with bold acrylics or oils to create ridges and sharp edges. The key is to let each stroke show, building up layers of color that suggest rolling waves. I love how this technique turns emotion directly into texture. You are not painting a picture of something, you are painting a feeling. That is why it works so well. For a great starting point with your materials, check out these acrylic painting ideas for beginners. Try it to practice easy impasto painting ideas and feel the pure joy of making marks that are uniquely yours.
2. Paint a Textured White on White Floral: Subtle Dimension with Heavy Body Paint

Ever think a painting could be all white and still have incredible depth? This is one of my favorite ways to play with texture. You will start with a faint sketch of a simple flower, then build up the petals using heavy body acrylics and a palette knife. Mix various shades like titanium white with a touch of cream or gray for subtle contrast to enhance your impasto effect. Trust me, this stands out among easy impasto painting ideas because the final tactile result feels as good as it looks. The thick paint catches the light, making the form pop even without bold color.
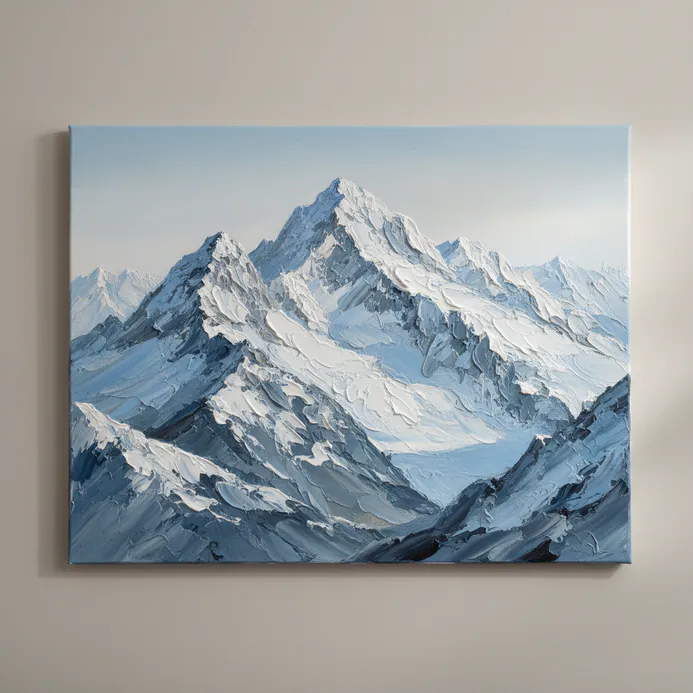
3. Build an Impasto Sunset over a Mountain Range with Layered Color
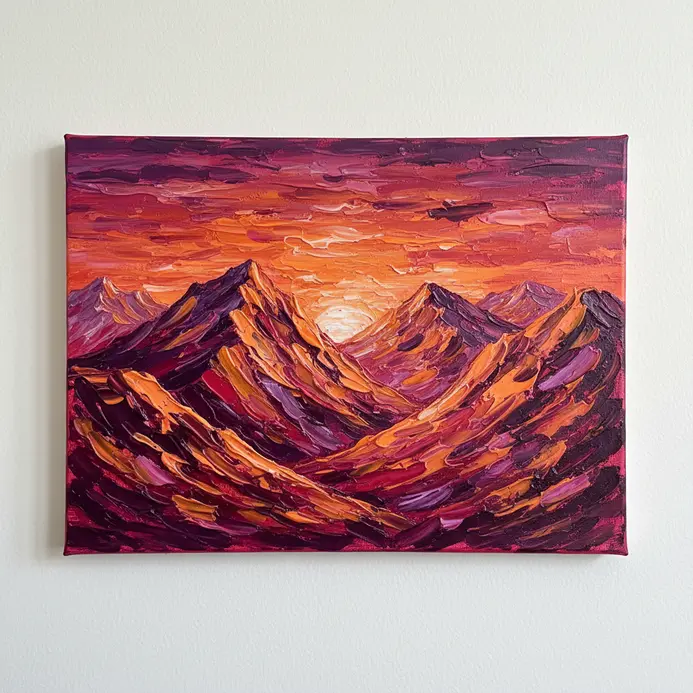
Who says you need a mountain of experience to paint one? This project is all about using thick, juicy paint to build a scene with real depth. Start with a thin wash of warm color for your sky, then use a palette knife to layer on thick strokes of orange, red, and purple directly on the canvas. Let those peaks and valleys catch the light. For the mountains, mix a cool dark color like Ultramarine Blue with a touch of Burnt Umber and apply it in thick, bold shapes in front of that glowing sky. Why does this work so well? The layering of colors creates a luminous effect that feels alive, and the physical texture makes the sunset something you can almost feel. Remember, blending brush strokes is done subtly right on the surface; overworking it flattens the magic of the impasto effect. I love how this technique turns simple shapes into a dramatic, tactile landscape, reminiscent of Van Gogh’s vibrant brush strokes. Feeling stuck on where to begin testing easy impasto painting ideas with thicker paints? The principles you learn here translate beautifully to other mediums, like exploring oil painting techniques for beginners. Now go make some glorious, textured peaks!
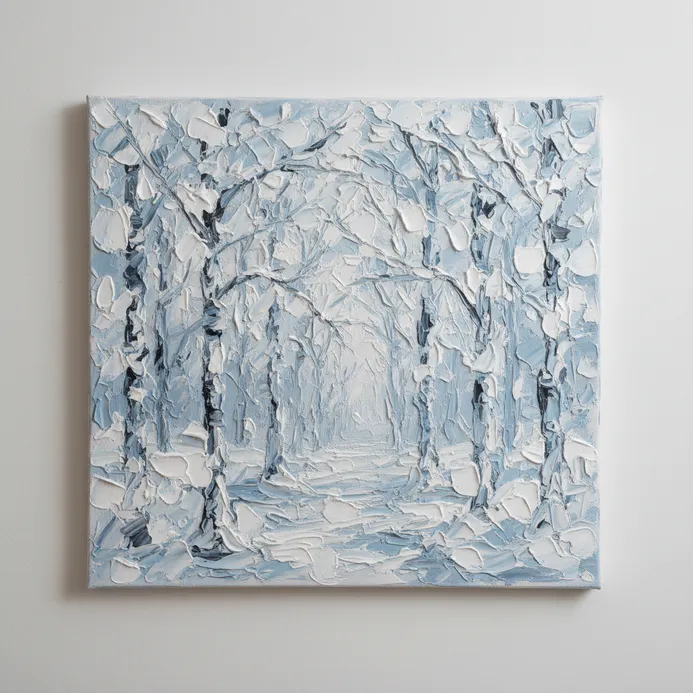
4. Capture a Knife Scraped Birch Tree Forest for Linear Texture
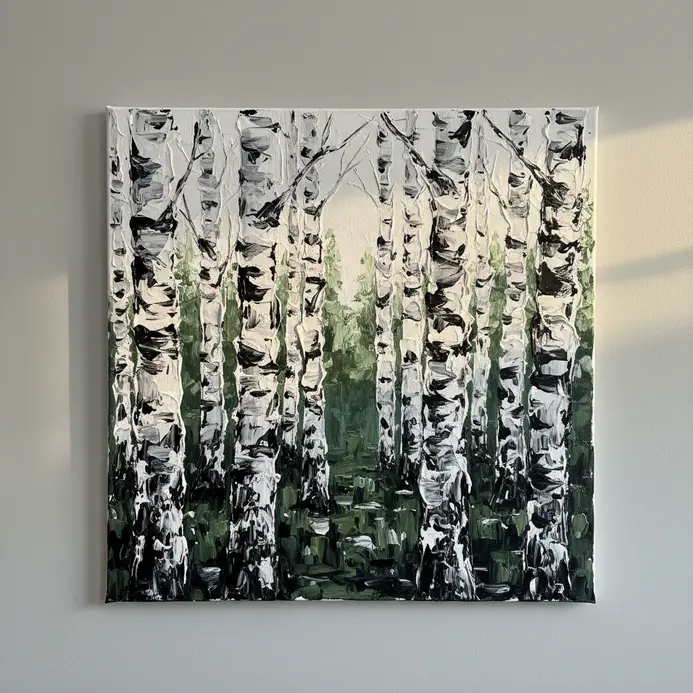
Ever wondered how to translate those distinctive, scraped birch trunks into thick, linear paint strokes? I love this project because it’s all about observing and replicating natural lines. Focus on the peeling bark and horizontal lenticels as your main guide, which is why this ranks so highly among easy impasto painting ideas. Use a palette knife to drag thick, vertical impasto strokes for the trunks, letting the paint’s ridges create that scraped texture. Why does this work so well? The physical weight of the paint mimics the rugged, three-dimensional feel of the bark perfectly. For a softer approach to textured art, check out these abstract painting ideas for beginners. Feel how satisfying it is to build a forest with just a few decisive strokes!
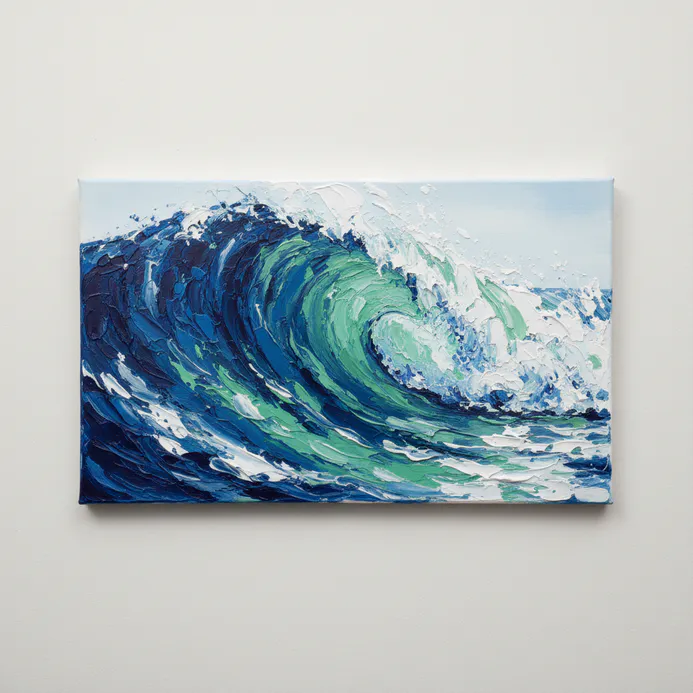
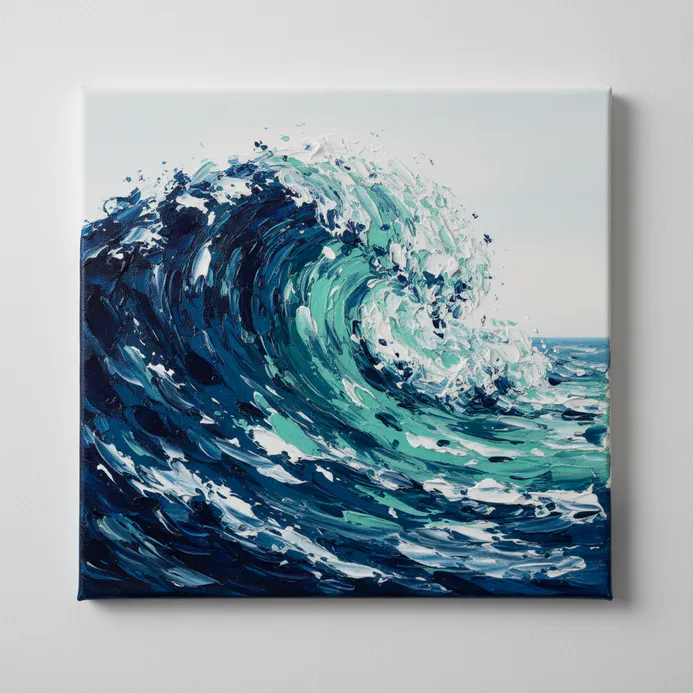
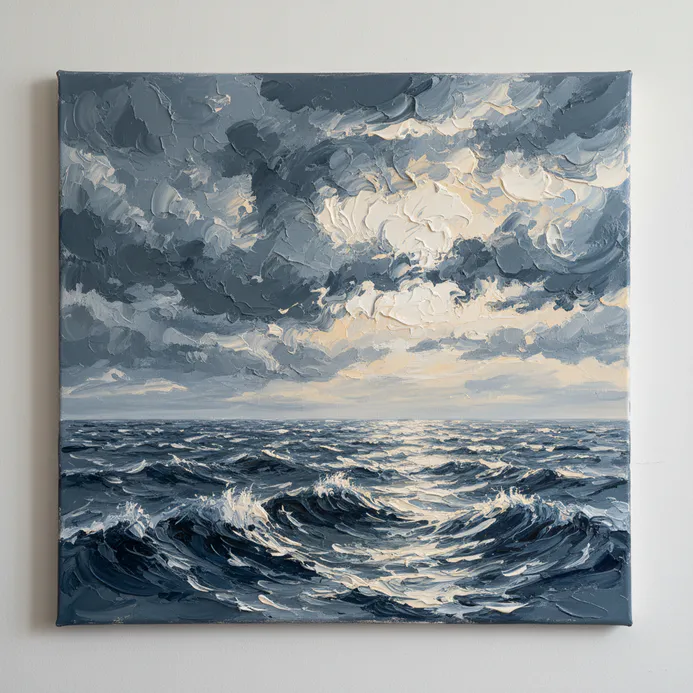
5. Apply Thick Painted Ocean Wave Crests for Dramatic Movement
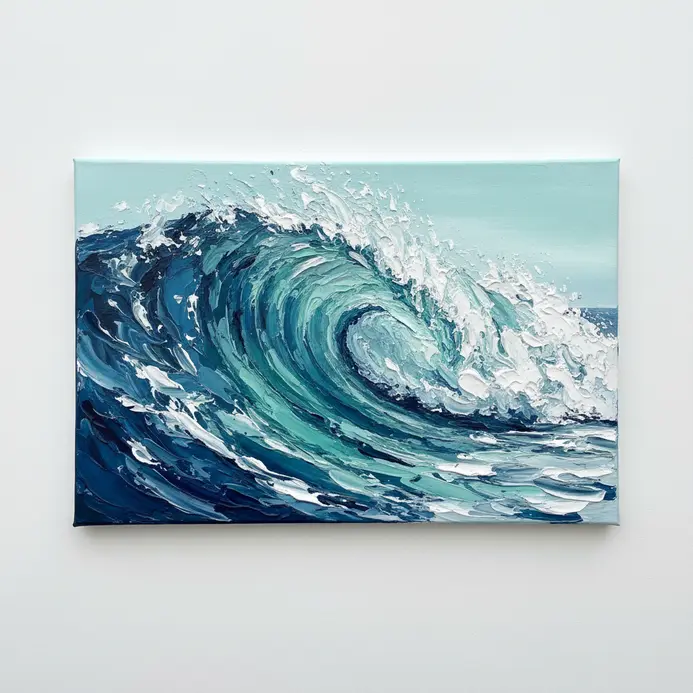
Ever wanted your waves to look like they’re about to crash right out of the canvas? This technique is pure, sculptural fun, especially when using thickly applied brushstrokes. You will first establish an underpainting for the main wave body. Then, grab a stiff bristle brush and a palette knife to scoop and shape thick, heavy paint onto the crests, building up sharp peaks and frothy ridges. I love how this creates a real, three-dimensional texture you can feel. It works because light catches those thick ridges, creating dynamic highlights and deep shadows that suggest powerful motion. Trust me, using a palette knife for this proves why wave studies rank among the best easy impasto painting ideas. Feel the energy come to life with every stroke.
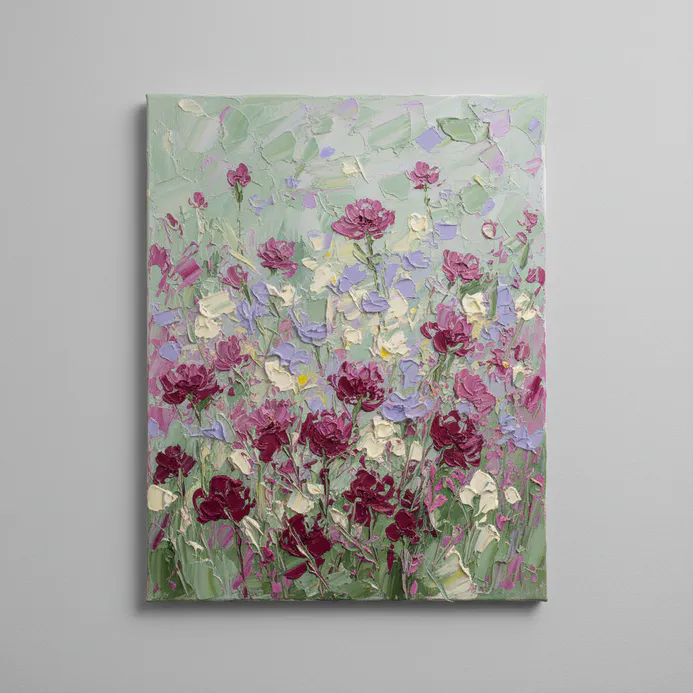
6. Form a Circular Impasto Meadow Flower Patch with a Round Knife
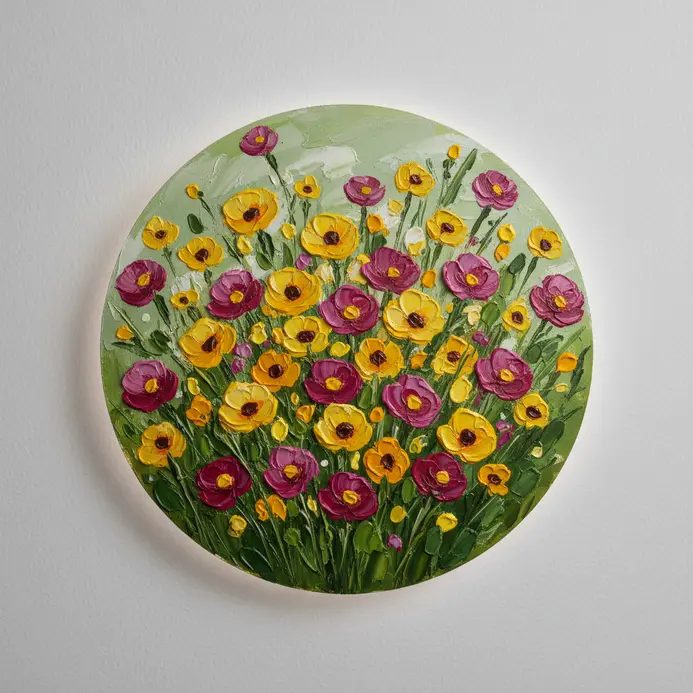
This one is a favorite of mine. It looks intricate, but the impasto painting technique is wonderfully direct. Start by lightly sketching a circular guide on your canvas. Then, load a round palette knife with a generous amount of darker green paint and apply it with dabbing and swirling motions to create your textured base. Isn’t that satisfying? While that base is still wet, dab in patches of lighter green for depth. Then comes the fun part. Use the tip of your round knife to place thick dots and small petals of vibrant flower colors right into the wet base. The paint clings and holds its shape beautifully. This impasto technique builds amazing three-dimensional flower heads, making it a staple of easy impasto painting ideas. The result is a lush, textured meadow that feels alive. It’s a perfect project if you’re looking for small painting projects for beginners to practice building texture. Feel the freshness of your meadow come to life.
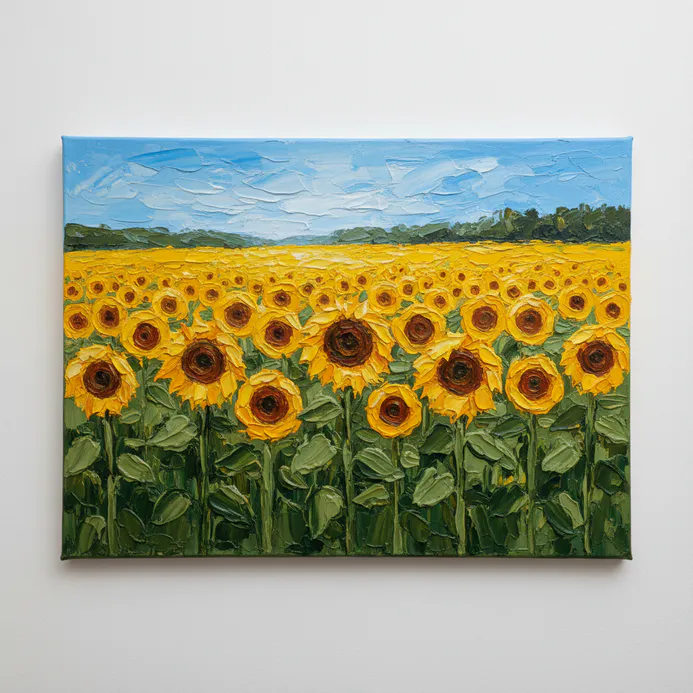
7. Paint a Textured Golden Hour Wheat Field with Warm Tones
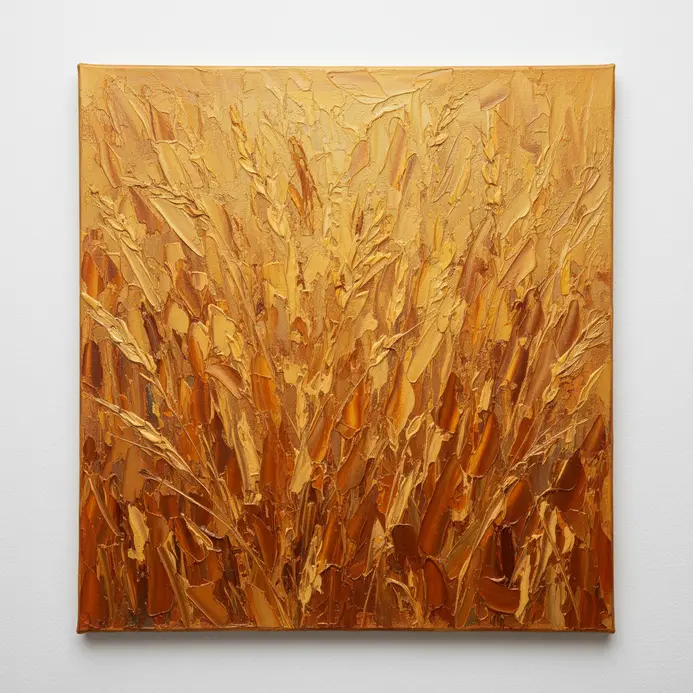
Who doesn’t love the warm glow of a sunset over a wheat field? This impasto painting idea lets you capture that serene moment with thick, tactile texture. You’ll start by blocking in the sky with cool blues and purples, then use a palette knife to apply rich, warm tones like cadmium yellow and burnt sienna for the field. The impasto technique works beautifully here because it mimics the natural, uneven surface of wheat stalks, adding depth and movement. Focus on varying the direction of your strokes to suggest wind in the field. Embrace the warm, golden hues to create a nostalgic and abundant feel. Trust me, the satisfaction of seeing those thick strokes come together shows why landscapes dominate easy impasto painting ideas. For a great next step, explore more easy things to paint to keep your creativity flowing.
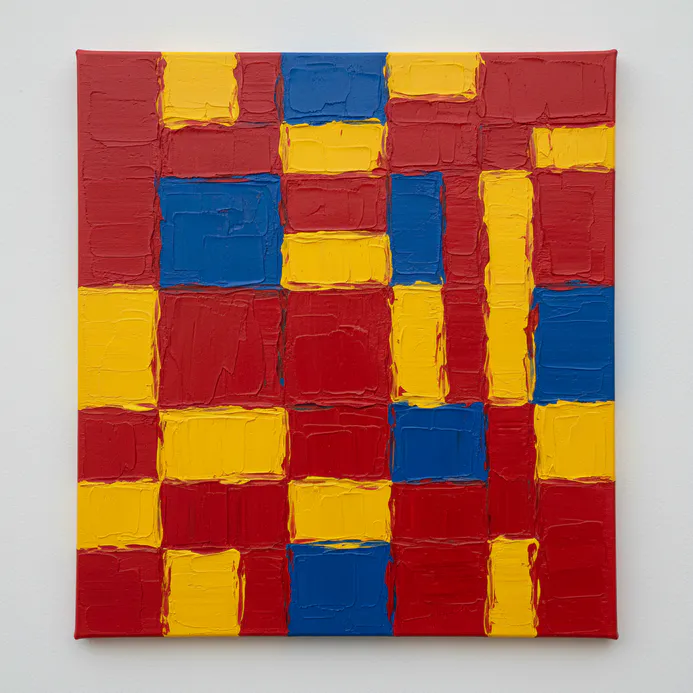
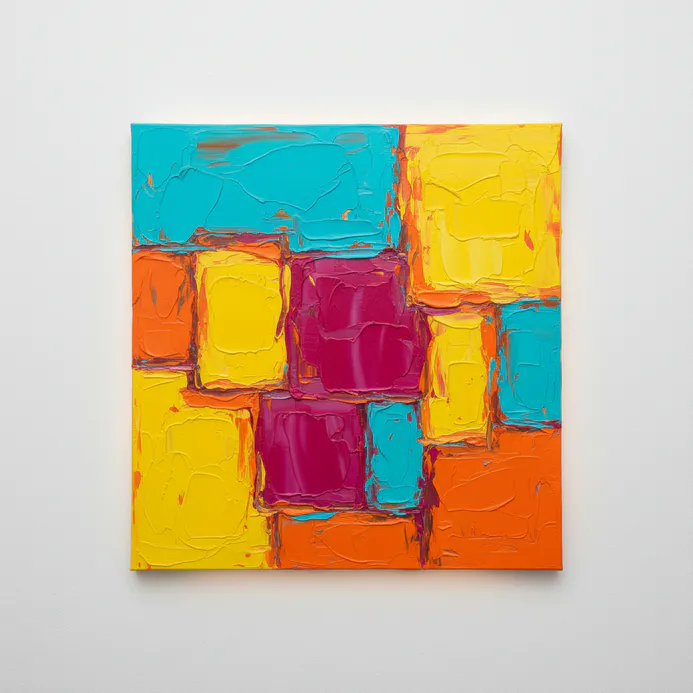
8. Build a Geometric Impasto Color Block Study with Clean Edges
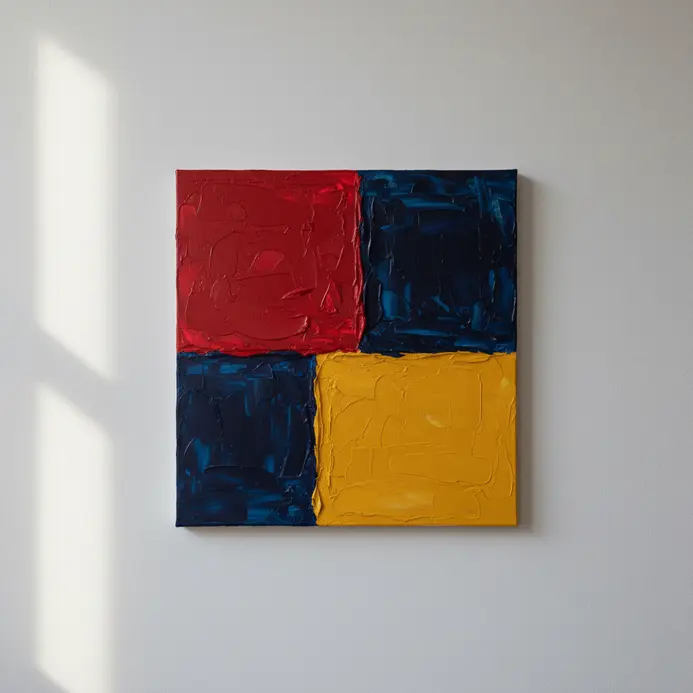
Ever thought crisp geometric art and thick, gooey texture could not mix? This project proves they are perfect partners. You will map out a simple design with a pencil and ruler, then define your sharp lines with low-tack painter’s tape. Next comes the fun part: loading a palette knife with heavy body acrylics and laying on thick, juicy strokes within each taped-off shape. It works so well because the contrast between the precise lines and the wild texture is incredibly dynamic. My top tip when tackling easy impasto painting ideas? Let each color block dry completely before taping over it for the next one to keep those edges perfectly clean. Trust me, peeling off that final piece of tape to reveal your sharp composition is pure satisfaction.
9. Layer Palette Knife Lavender Field Rows for Rhythmic Texture
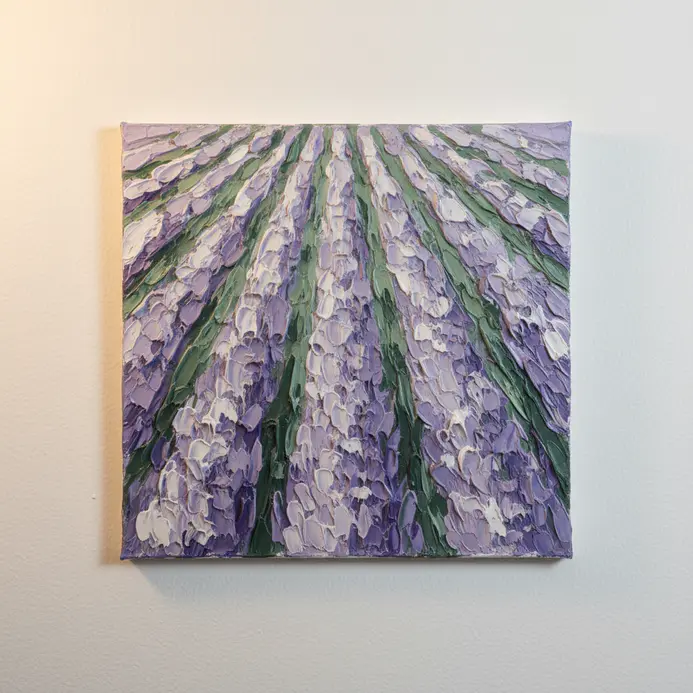
Ever wondered how to make a lavender field feel alive and breezy? This technique is my go-to for creating that rolling, rhythmic look. You start with a simple underpainting for your field, then use a trowel-shaped palette knife to lay down rows of thick lavender paint. Vary your pressure and stroke direction with each pass to build up layers that mimic natural, swaying plants. Why does it rank among the most popular easy impasto painting ideas? The palette knife lets you apply paint with a bold, physical texture that brushes just can’t match, giving your landscape incredible depth. For a different approach to creating realism with paint, you might enjoy exploring Vincent van Gogh’s impasto painting techniques. Trust me, the final effect of those layered, textured rows is incredibly satisfying to see come together.
10. Create a Textured Potted Cactus Desert Scene with Sharp Forms

Honestly, who needs a green thumb? This project lets you build a permanent, tiny desert world. Start by filling a terracotta pot with a mix of coarse sand and small, angular rocks for a realistic base. Arrange your artificial cacti and boulders, focusing on sharp, spiky forms and an asymmetrical layout to create depth and visual interest. The joy is in the texture, which explains why desert scenes are a top choice for easy impasto painting ideas inspired by Vincent van Gogh. For a fun family project with a similar hands-on feel, check out these canvas painting ideas for kids. Trust me, the final look is incredibly satisfying.
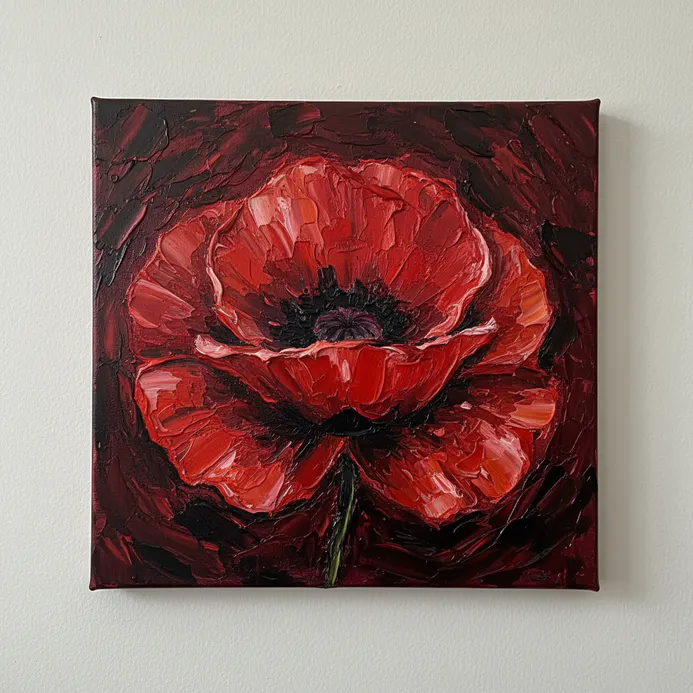
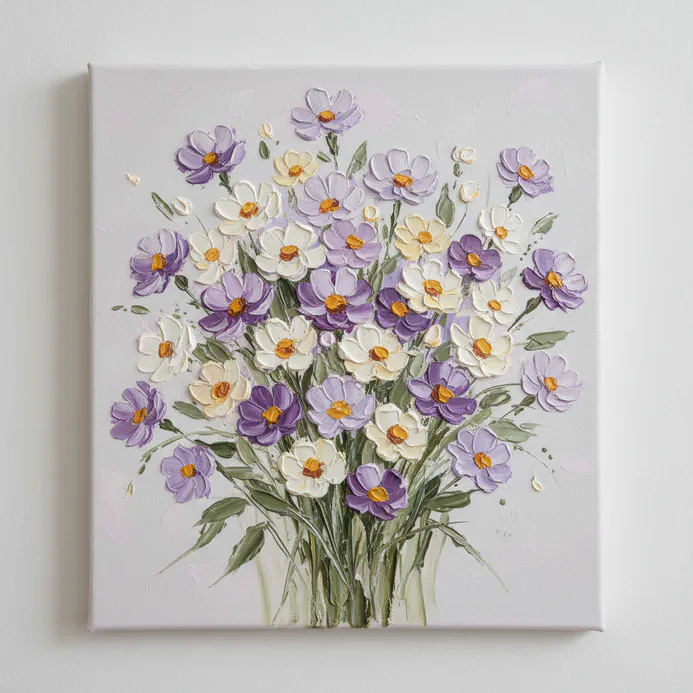
11. Add Deep Relief to a Red Poppy Bloom with a Modeling Paste Base
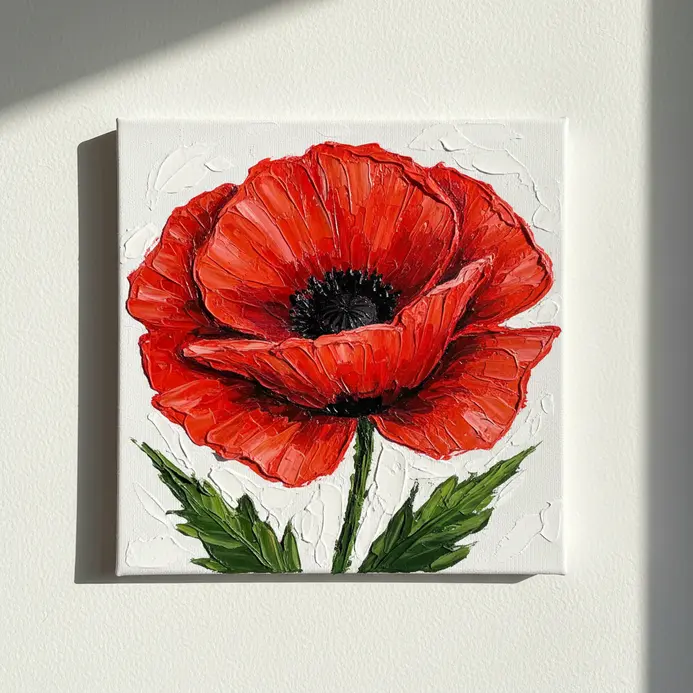
Ever wanted your poppies to feel like they’re literally reaching out from the canvas? This technique uses a modeling paste base to build up incredible 3D petals before you even touch the paint. You’ll start by applying thin layers of paste to form the flower’s core shape, letting each one dry completely. Then, you use a palette knife to add thicker, crinkled forms that mimic the real petal texture. It works because you’re creating the physical structure first, a reliable method behind most easy impasto painting ideas. I love how this gives you such a tactile, sculptural feel—your finished bloom will have amazing weight and dimension.
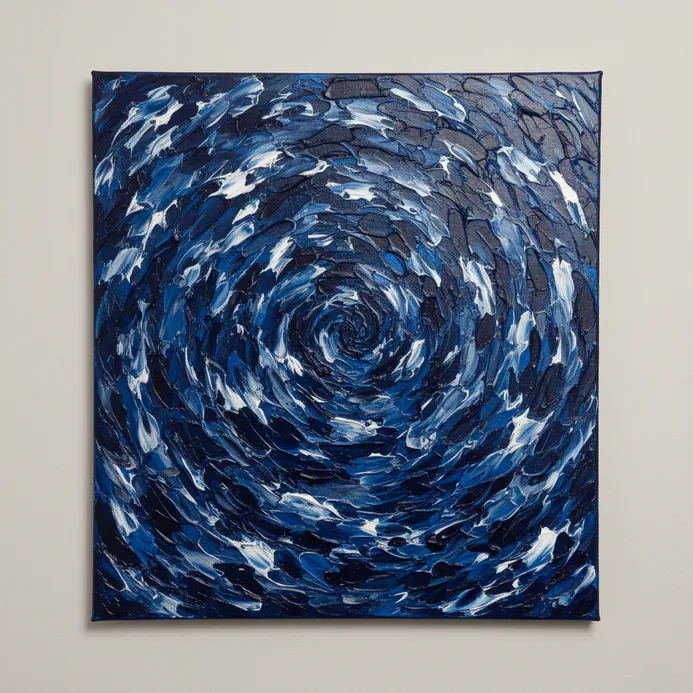
12. Achieve an Impasto Stormy Night Moonscape with Dark, Thick Paint

Ever wanted to paint a scene that feels truly alive? This one is all about drama. You will build up a stormy night sky and rugged land using palette knives loaded with thick, dark paint. Start by toning your canvas with a dark grey base, then layer on deep blues and blacks to form those churning clouds. Push and twist the paint to create wild textures that catch the light. The thick, sculptural quality of the paint makes the moon’s glow pop against the darkness, creating incredible dimension. I love how the physicality of the technique mirrors the raw energy of the storm itself, capturing why dramatic scenes inspire easy impasto painting ideas. For a different kind of serene beauty, you might also enjoy exploring the impasto painting technique.
13. Paint a Thick Painted Autumn Leaf Pile with Varied Knife Marks

This one is all about letting go of detail and embracing the fun of texture. Start with a thin underpainting to sketch out your pile’s shape and shadows. Then, load your palette knives with generous amounts of autumn-colored paint and start building. Drag, twist, and dab to create a lively, clumped texture that feels like a real mound of leaves. I love how this technique focuses on pure form and color variation instead of outlining individual leaves. The thick, sculptural paint catches the light beautifully, giving you instant dimension. For a great follow-up project that also uses bold forms, check out easy still life painting. Does that not feel wonderfully tactile when you apply easy impasto painting ideas?
14. Create an Abstract Linear Palette Knife Grid for Structured Texture

Ever feel like you want to paint abstractly but need a little structure to start? This project gives you the perfect framework for experimenting with the impasto effect. First, lay out a grid with a metal-edge ruler and tape it off. Then, fill each section by spreading thick paint with your palette knife, making some areas smooth and others textured with peaks and grooves. I love how this balances order with pure creative play. The crisp lines from the tape removal are incredibly satisfying, revealing a striking piece full of dimension. Trust me, you will feel so proud when you peel back that tape and see your structured texture unlock new easy impasto painting ideas.
15. Paint a Textured Coastal Lighthouse Cliff Scene with Bold Strokes

Ever wanted to capture the raw power of the coast? This is where your palette knives become your best friends. Start by blocking in the stormy sky and churning sea with thick, sweeping strokes of paint. Then, carve out the cliffs and lighthouse with bold, decisive marks, letting the texture build up naturally. The beauty of this impasto technique is its energy; you’re not just painting a scene, you’re sculpting its feeling. This approach is perfect for creating dramatic landscape paintings for beginners. Trust me, the physicality of the thick paint makes the experience incredibly satisfying, showing why coastal scenes lead easy impasto painting ideas.
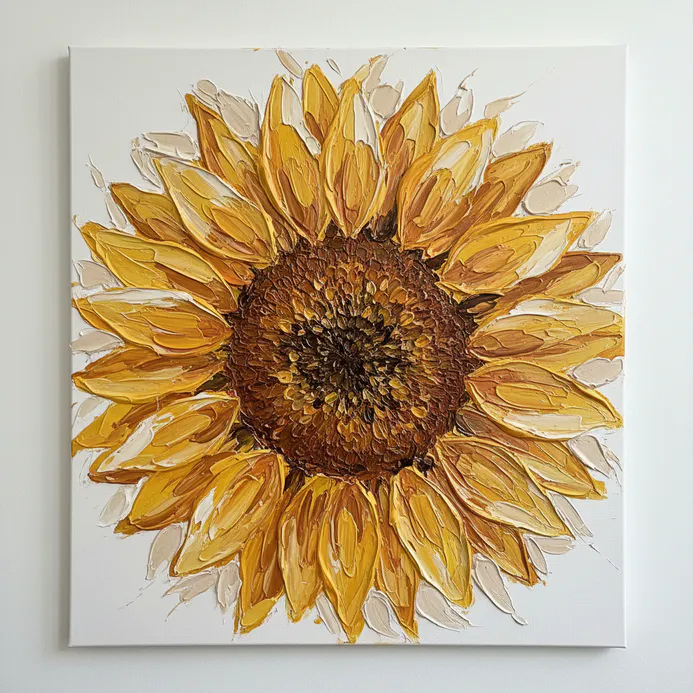
16. Build an Impasto Sunflower Petal Close View with a Fan Brush
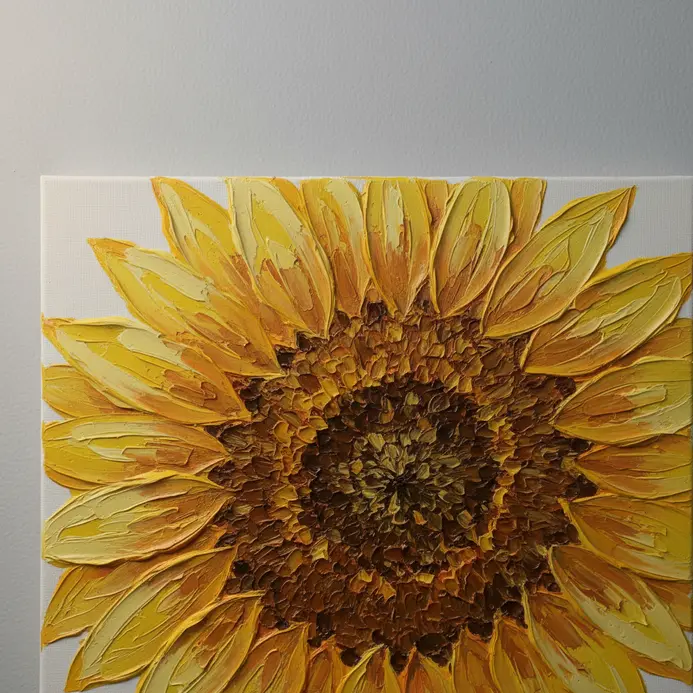
Ever wondered how to make a flower petal look like you could touch its ridges? This technique is my favorite for creating that illusion. Start with a thin wash of warm yellow as your base. Then, use a fan brush to dab and pull thick strokes of cadmium yellow and a touch of orange, mixing the colors right on the canvas. You are not blending smoothly you are building up distinct, textured strokes that follow the petal’s natural curves. It works because the splayed bristles create a feathery, layered effect perfect for organic shapes. For a fantastic way to practice texture on a smaller scale, check out these textured rock painting ideas. Trust me, the final dimension you get is incredibly satisfying.
17. Capture Knifed Winter Snow Covered Pines with Sharp, White Peaks

Ever wondered how to paint snow that looks crisp and sculptural, not just soft and fluffy? This approach is all about using your palette knife to carve sharp, angular strokes that mimic the weight of snow clinging to pine branches. Load your knife with a thick mix of white and a touch of blue, then press and pull to create those distinct, bright peaks. I love how this technique builds incredible texture and drama. Feel the satisfaction of seeing those sharp white ridges stand out against the dark green pines! The physical layering gives you instant depth.
18. Paint Textured Raindrop Reflections on a Pond with Dotting Tools
Ever wondered how to capture the shimmer of rain on water? This technique surprised me. You start with a smooth, atmospheric base layer for your pond. Then, the real fun begins with dotting tools. Use different sizes to apply thick paint, building up raindrops and their distorted reflections in layers. I love how varying the dot size and pressure creates instant depth and movement. It feels like magic watching the texture come alive. For a great starting point with this medium, check out these acrylic painting ideas for beginners. Try it and feel the satisfaction of creating that watery, tactile effect.
19. Layer an Impasto Cloudscape Sky Study with a Putty Knife

Ever wondered how to make clouds look like they’re popping off the canvas? This technique is all about building up the sky in distinct, textured layers with your putty knife. You will start with a thin wash for the background, then add thicker, fluffier paint for the main cloud forms. Let each layer dry a bit before you come back in with highlights and shadows. The payoff is a sky that feels deep and full of movement, not just flat color. If you enjoy this sculptural approach, you might also like exploring more oil painting techniques for beginners that build on texture. The results always surprise.
20. Create a Rustic Textured Stone Wall Detail with a Trowel

Ever admired those rustic stone walls in old cottages and wished to recreate that look without the hassle? This technique lets you do just that. First, ensure your wall is clean and apply a generous coat of acrylic bonding agent. Mix your chosen material – I prefer a stucco base for interiors – until it’s firm but workable. With a pointing trowel, start sculpting individual stone shapes directly onto the wall. Don’t aim for perfection; random sizes and uneven joints are what make it look authentic. You can add depth by building up some areas more than others. There’s a real joy in physically molding the texture and watching the wall come to life under your hands. Keep a damp sponge nearby to soften edges or create subtle variations. Try it and feel the rustic charm you’ve created!
Preserving Dimensional Surfaces Through Final Varnish Application
Applying your final varnish with a soft, wide brush is the safest method to protect every precious peak and valley without flattening your work. You want to avoid aerosol sprays for this final coat, as their force can pool in the textured crevices and create an uneven, glossy finish. Instead, use a soft-bristle varnish brush to gently float a layer of matte or satin acrylic varnish over the entire dried surface, letting it settle naturally into the texture. This protective layer locks in your colors from UV light and dust, ensuring your artwork retains its sculptural quality for years. Allow it to dry completely in a dust-free area, and you will have a finished piece that is as durable as it is dramatic.
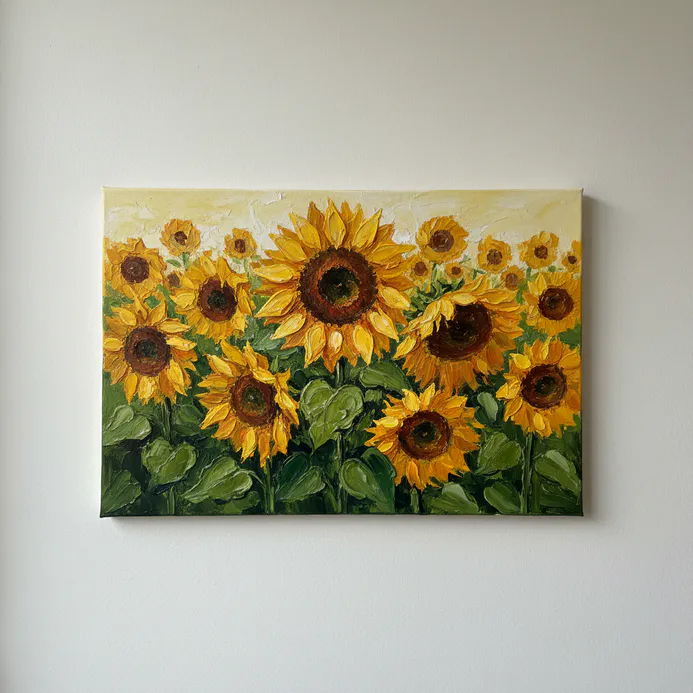
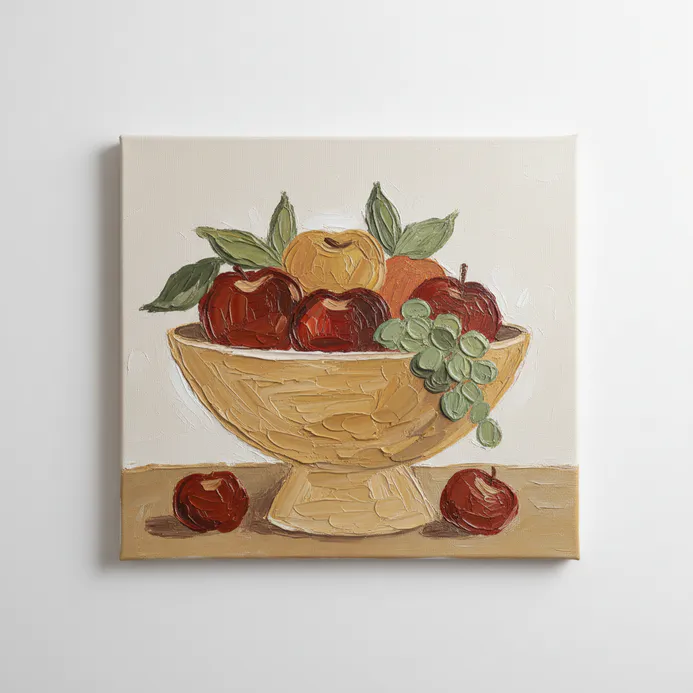
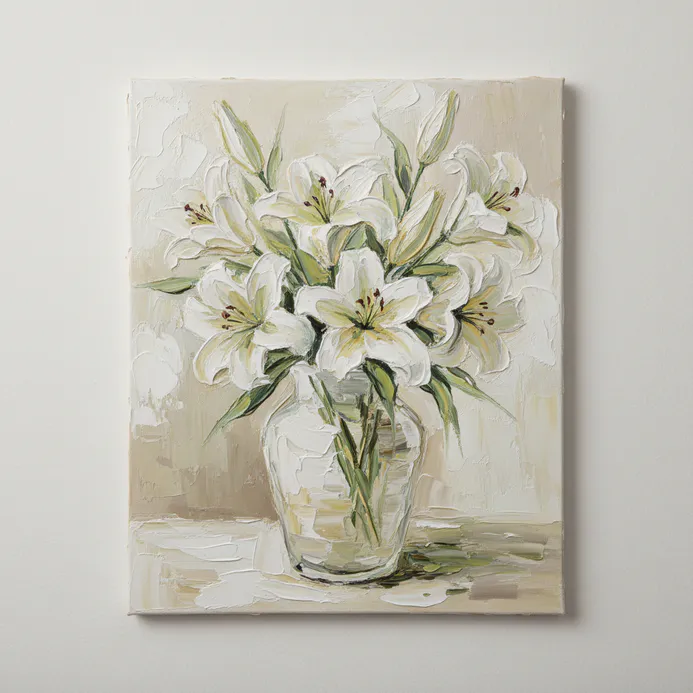
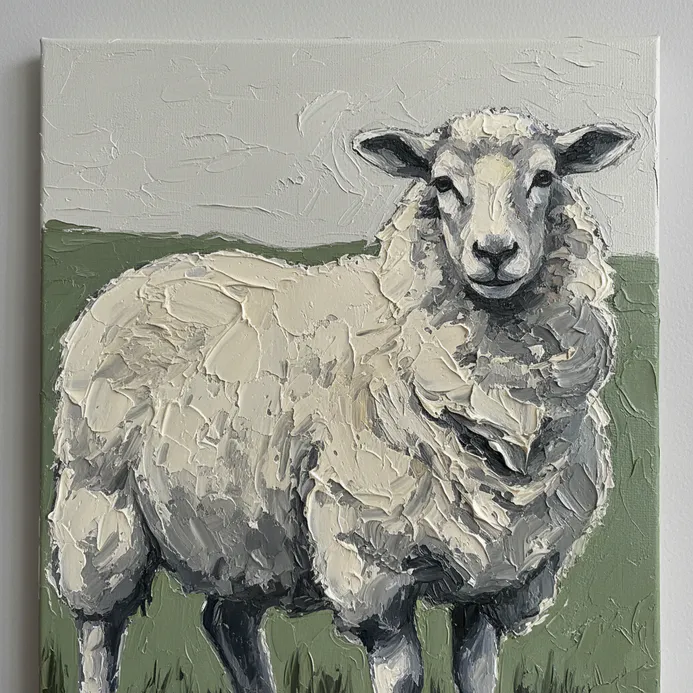
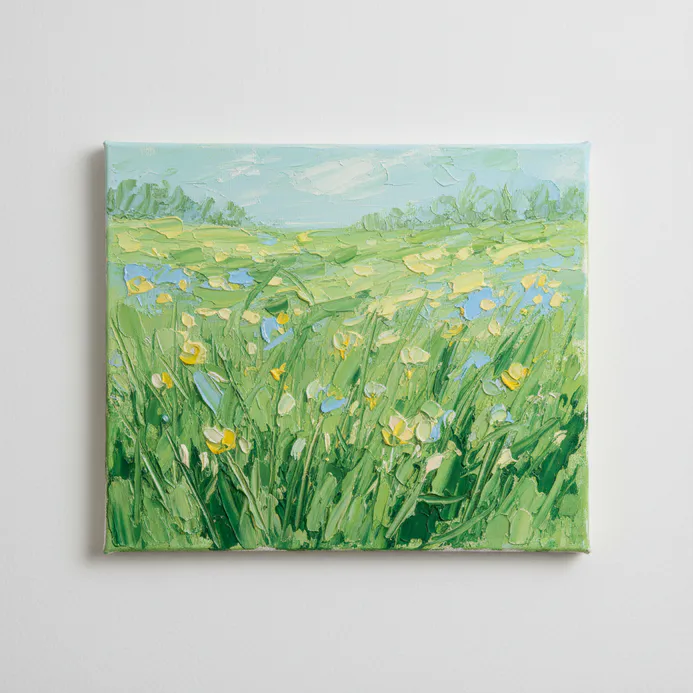
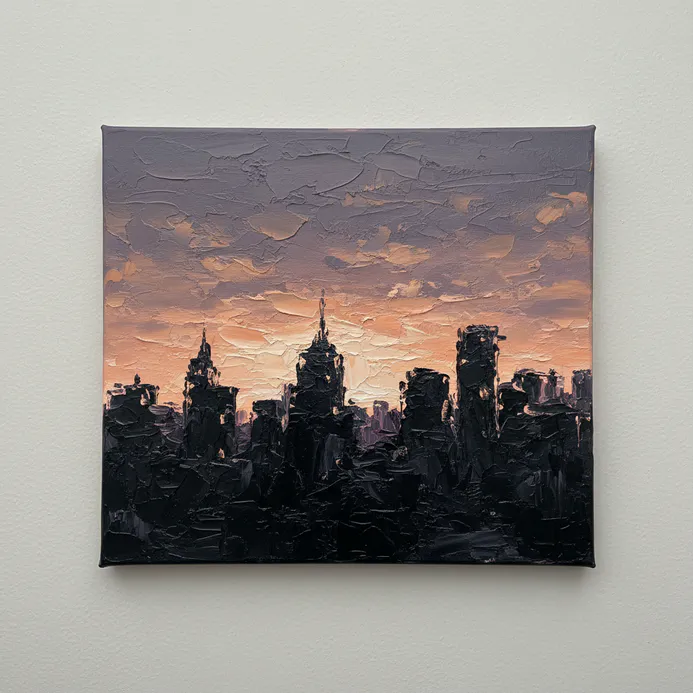
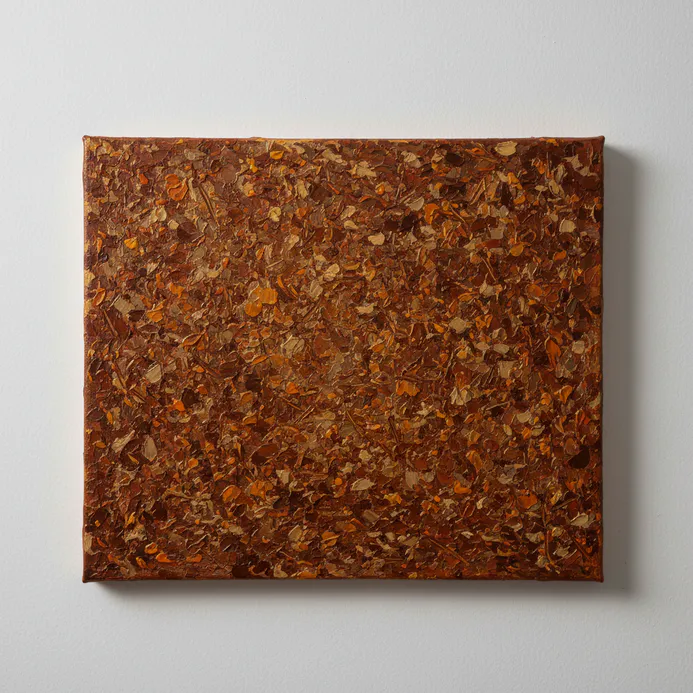
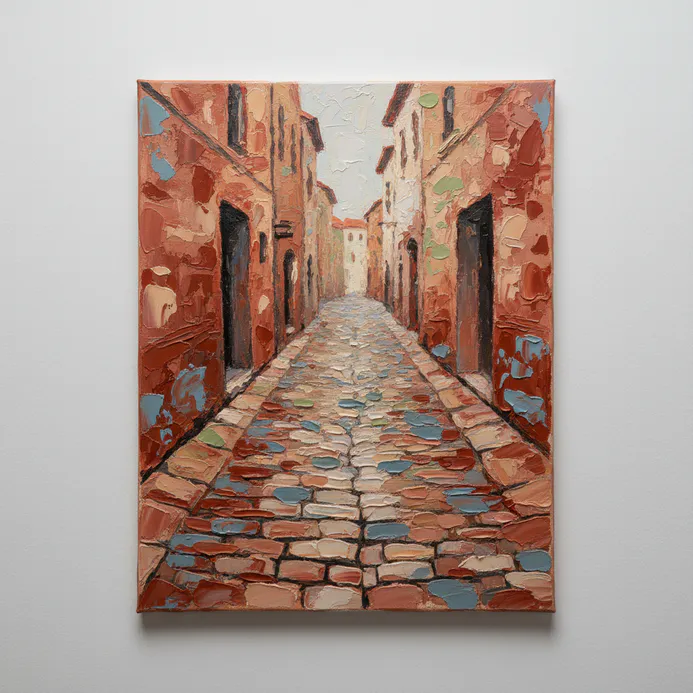
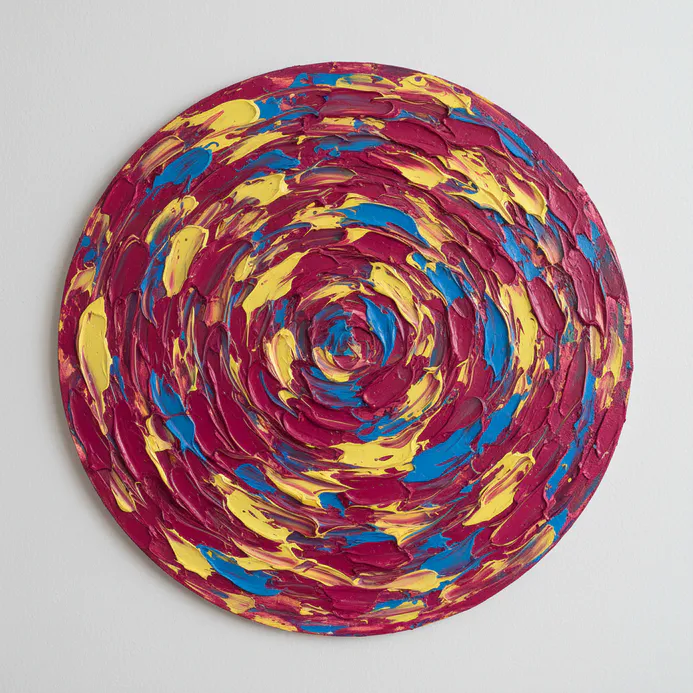
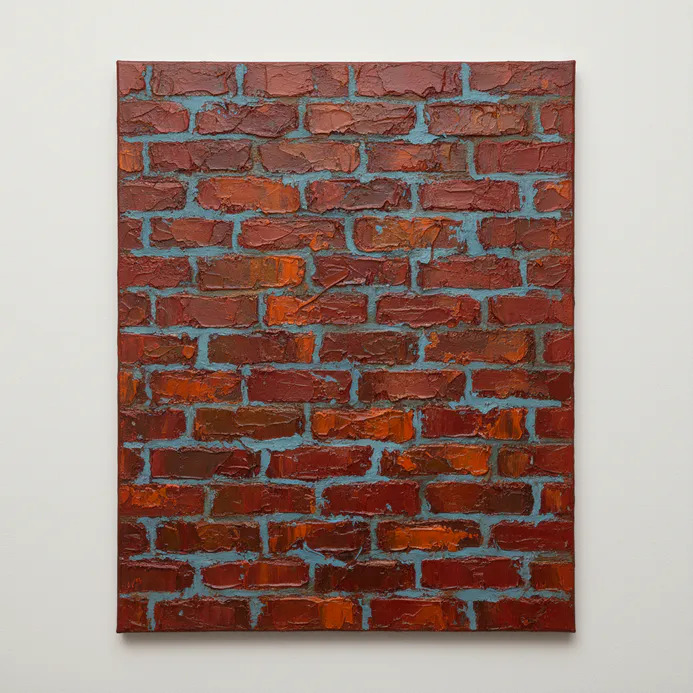
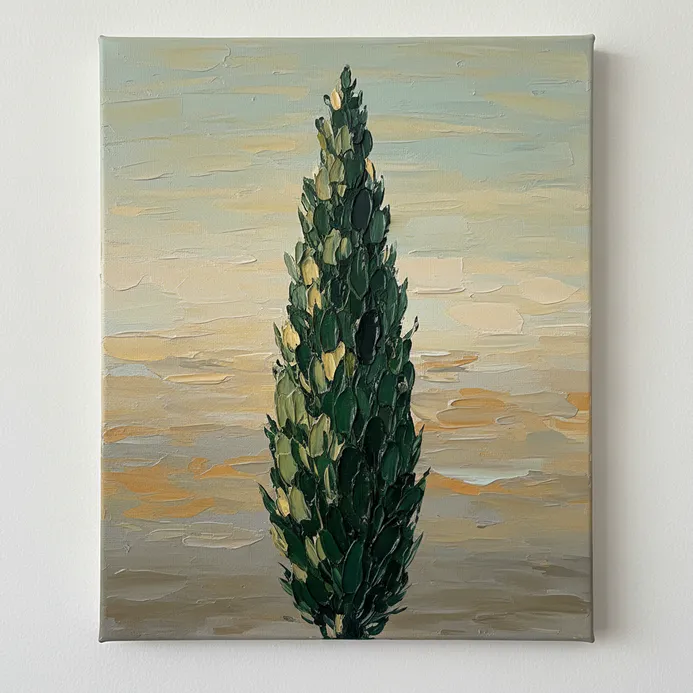
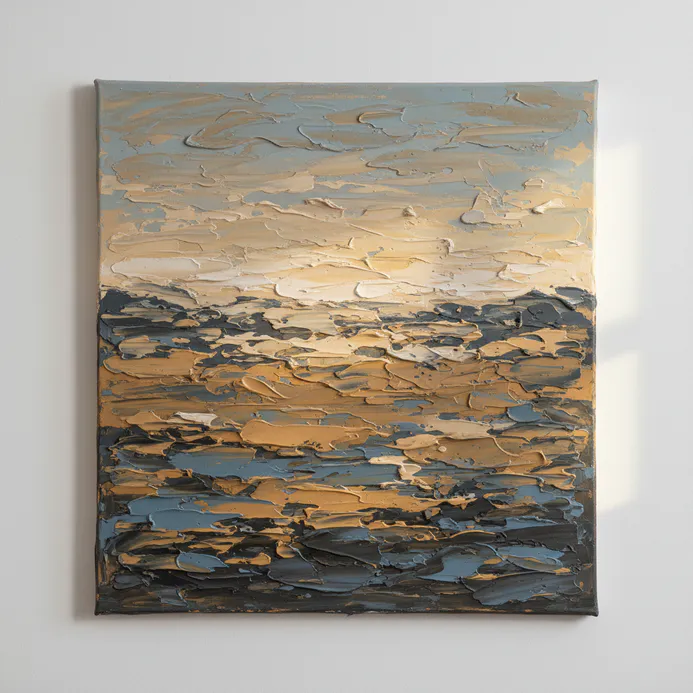
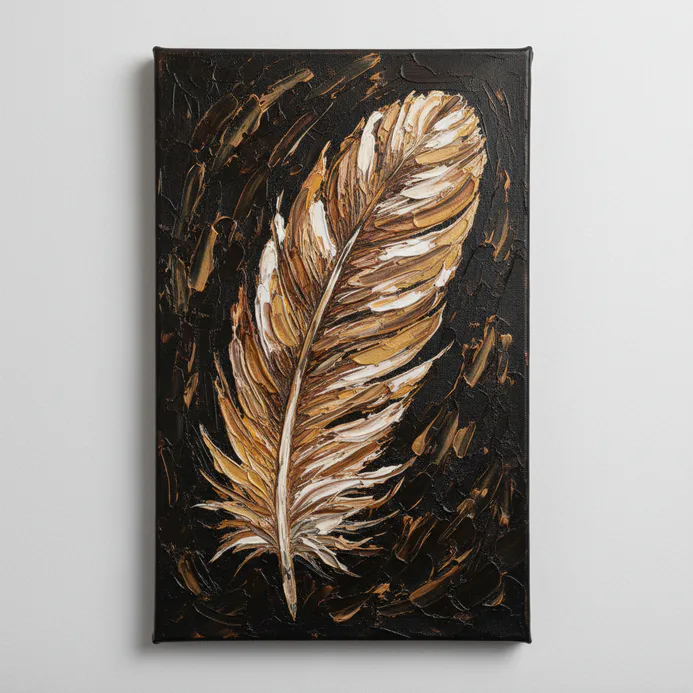
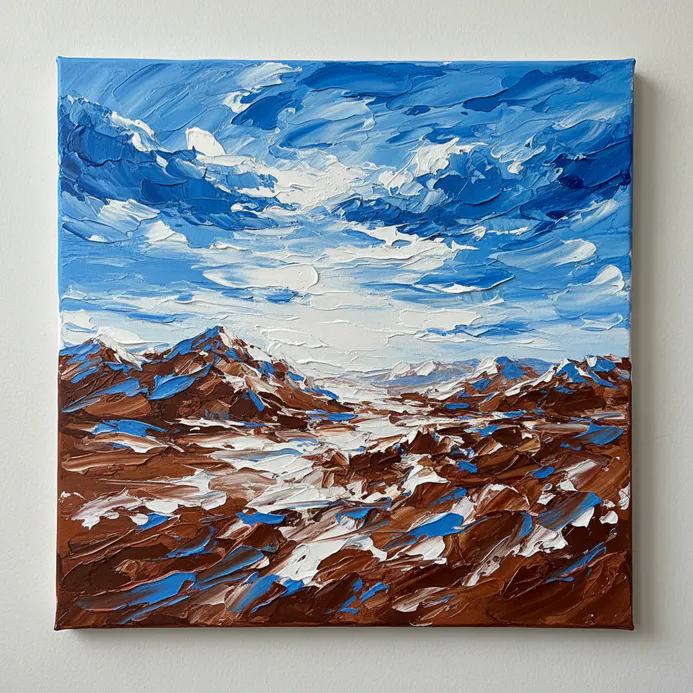
More Easy Impasto Painting Ideas Gallery for Inspiration


Conclusion
I hope these easy impasto painting ideas have shown you how accessible and expressive thick texture can be. The best part about this technique is how it celebrates your direct, physical interaction with the paint, turning each application into a permanent record of your gesture. As you finish your first piece, remember that the texture will look even more dynamic once it is completely dry and the light catches all those wonderful ridges and peaks. Your next step could be to choose a single color and explore easy impasto painting ideas on a spare canvas. Building that muscle memory with the tool will make every future project feel more intuitive. The journey into textured painting is one of continual discovery, where each thick layer adds not only color, but character and life to your artwork.
FAQs
Q: What is impasto and why is impasto a painting technique used by famous artists?
A: Impasto is a painting technique where paint is applied thickly so that brush or knife strokes are clearly visible, creating a new dimension and a tactile paint layer. Famous artists like Rembrandt and modern painters drew on impasto to add vibrancy, movement and emotion to a work by building texture and visible lines of paint.
Q: How do I choose the right tools to paint thickly with impasto?
A: The right tools include palette knives, painting knives, stiff brushes and a sturdy paint palette that can handle thick consistency. Knife strokes deliver sharp edges and peaks, while brushes can create softer ridges; using both lets the painter control sheen, angles to see the texture, and the overall sense of movement.
Q: How do I mix the paint for impasto to get the best thick consistency?
A: To mix the paint for impasto, remove excess medium and add a thicker medium or use heavy-body acrylics or oil colors. Mix the paint on your palette so it holds peaks and can be applied thick layers without sagging. Experiment to balance workability and drying time while preserving vibrancy and the intended knife or brush marks.
Q: What techniques create movement and emotion in impasto paintings?
A: Use directional knife strokes, bold lines of paint, varying thicknesses of paint layer, and contrasts in sheen to create movement and emotion. Applying thick paint in rhythmic gestures or deliberate drips can evoke action—think of the energy in Jackson Pollock’s drip works combined with layered impasto to enhance a dynamic sense of movement.
Q: How long does impasto take to dry and what affects drying time?
A: Drying time depends on medium, thickness, and environmental conditions. Oil impasto can take weeks to months to cure in thick areas; acrylic impasto dries faster but very thick layers still need days to weeks. Factors like humidity, temperature, and choice of medium or retarders all affect drying time, so plan layers accordingly.


