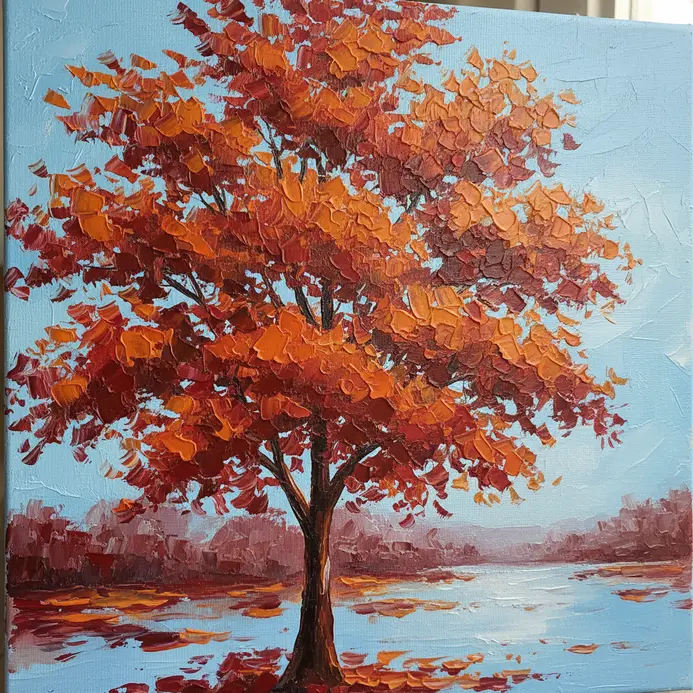


These ideas use high-contrast silhouettes, layered dabs, and a limited palette to help you create lovely, textured trees without frustration. Let us grab our brushes and turn that creative spark into something you will be proud to hang on your wall.
Mastering Wood Grain And Branch Structure
The fastest way to avoid that flat ‘lollipop’ look when attempting an easy acrylic tree painting for beginners is to remember that branches taper dramatically as they move away from the trunk, and they never grow perfectly straight or symmetrical. You want to paint your main trunk first, using a palette knife or the edge of a flat brush to drag dark browns and grays into vertical streaks that suggest the rough textural bark interest. Then, when you add your secondary limbs, start each one with a confident, thicker stroke at the trunk and lift your brush to a fine point as you pull away, letting the stroke get thinner and lighter. This creates an instant sense of perspective and weight, making your tree feel grounded and real.
Selecting Brushes For Organic Canopy Textures
Your brush choice makes or breaks the believable fluffiness of leaves, a crucial detail for any easy acrylic tree painting for beginners, and the secret weapon here is a fan brush. Trust me, its spread-out bristles are perfect for the stippling and dabbing technique that builds up soft, layered foliage without creating a hard, solid green blob. You start with your darker greens at the base of the canopy, using the fan to press and twist, then move to mid-tones and finally lighter highlights on the sun-facing side. Keep a small round brush or a rigger on hand for those final twigs and branches that peek through the leaves.
1. Minimalist Winter Birch Silhouette Painting
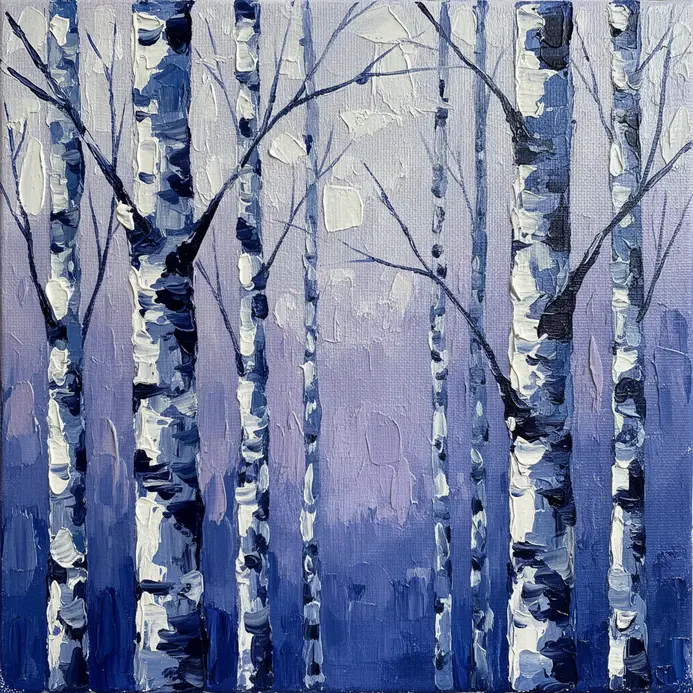
This one surprised me. It looks complex but it is one of the most forgiving easy acrylic tree painting for beginners projects you can start with. You paint a pale background, let it dry, and then add your dark tree trunks and branches. The stark contrast does all the dramatic work.
I love how the simplicity creates such a serene and open feeling. It is a fantastic way to practice composition without getting overwhelmed by detail. Try it and feel proud of your elegant, finished piece. You might want to look at more simple tree painting ideas for your next project.
2. Vibrant Autumn Maple With Overlap

Ever feel like your foliage looks a bit flat during your easy acrylic tree painting for beginners practice? The secret is all in the layers. Start with a warm burnt sienna underpainting, then build your leaf masses from light yellows to deep reds. Actively paint some clusters in front of others, using sharper edges and brighter colors for those foreground leaves.
This works because that overlap creates instant depth, making your tree look real and full. Trust me, focusing on value contrast between your layers makes those autumn colors pop beautifully.
3. Textured Palette Knife Pine Forest

Who would have thought a forest could feel so touchable when practicing easy acrylic tree painting for beginners? This technique swaps brushes for a palette knife, letting you build up thick, rugged tree trunks and dense foliage with a few bold strokes. You will apply heavy body acrylics directly onto the canvas, scraping and dabbing to create that incredible three-dimensional texture. It works because the knife’s natural marks perfectly mimic the wild, organic feel of a real pine forest.
I love this one for its instant impact, as try it and feel the satisfaction of creating a landscape you can practically walk into. Before you dive into all that thick paint, it is smart to browse some easy acrylic painting ideas to get comfortable with your materials first. A common mistake is using too little paint, which gives a flat result instead of that glorious impasto look. Do not be shy with your paint application, load up that knife and let the texture do the talking.
4. Golden Hour Oak Tree Landscape
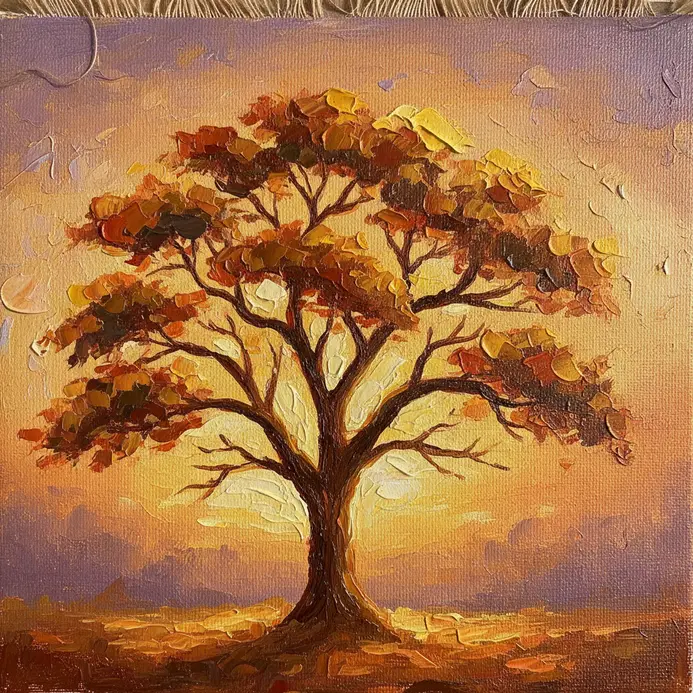
Ever wanted to capture that magical evening light in a painting that fits your easy acrylic tree painting for beginners routine? It looks complex, but this is a surprisingly forgiving subject. The key is to build your sky first with a soft gradient of warm colors, then paint your majestic oak tree silhouette right over it. I love how the low sun creates long, dramatic shadows that instantly add depth.
To avoid flat colors, mix your own rich shadows with blues and browns instead of using black. Getting confident with basic acrylic landscape painting techniques first makes this golden hour scene feel much more approachable. Trust me, seeing that warm glow come together on your canvas is incredibly satisfying.
5. Whimsical Pink Cherry Blossom Tree

Ever tried painting something that feels more like a dream than a tree? This is it. Start with a loose sketch of a playful trunk and branches, then lay down a soft background. The magic happens when you dab on your pink acrylics to make this easy acrylic tree painting for beginners feel whimsical and dreamy.
I love building up the blossoms in layers for that cloud-like effect. It works because the whimsy makes your heart happy, and those vibrant pinks are pure joy on canvas. Try it and feel the enchantment when your fantastical tree comes to life.
6. Soft Pastel Spring Willow Study
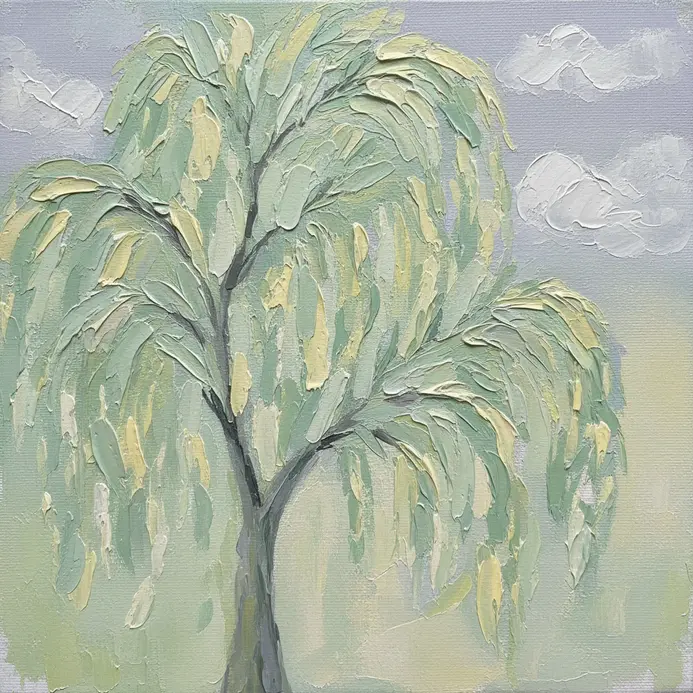
This one feels like a breath of fresh air, literally. You are not painting a tree so much as you are capturing a gentle, hazy feeling of spring in this easy acrylic tree painting for beginners exercise. Start by lightly sketching the graceful droop of the willow branches on your toned pastel paper. Then, use the sides of your soft pastels to layer pale greens and yellows softly, letting them blend together for that fuzzy, catkin look.
The magic is in the layering. Lightly add hints of ochre and gray to the bark, then use your fingertip to gently smudge edges. This creates that soft, impressionistic texture that makes a willow seem to sway. Avoid pressing too hard, or you will lose that lovely, delicate quality. Trust me, when you step back, you will feel the tranquility you created.
For another project with a gentle, mood-friendly approach, look at some beginner flower painting ideas to practice similar soft blending techniques.
7. Dark Night Sky Cypress Silhouette
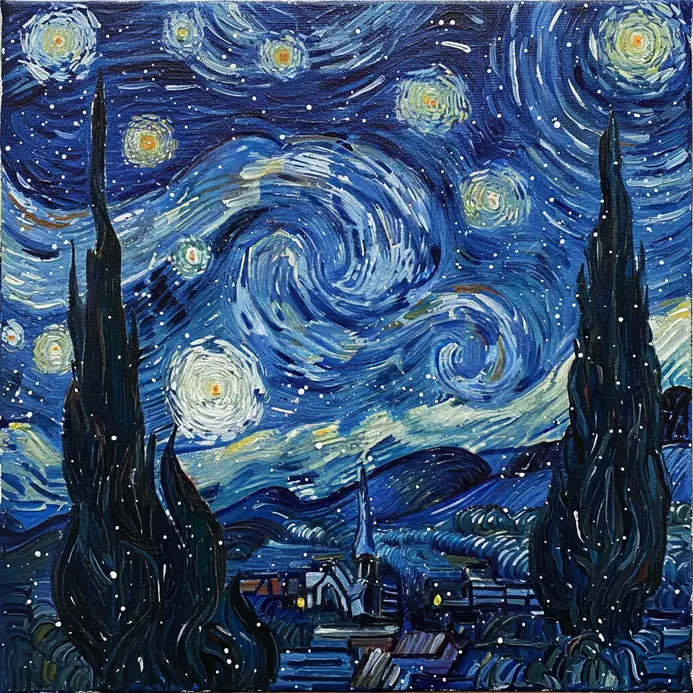
Ever wondered how to make a simple silhouette look breathtaking in an easy acrylic tree painting for beginners setup? This one is all about contrast. You will start with a gorgeous gradient night sky using deep blues and purples, blending them until they look like a real evening. Then, you add tiny stars with a flick of a toothbrush and paint that tall, elegant cypress tree in solid black.
I love this part because the crisp, dark shape against the glowing background creates instant drama. The magic happens when you let the sky dry completely before tackling the tree. This keeps your silhouette edges sharp and prevents muddy colors. Trust me, taking that extra minute makes all the difference. You will step back and feel that wonderful sense of quiet mystery.
8. Stippled Summer Apple Tree Scene
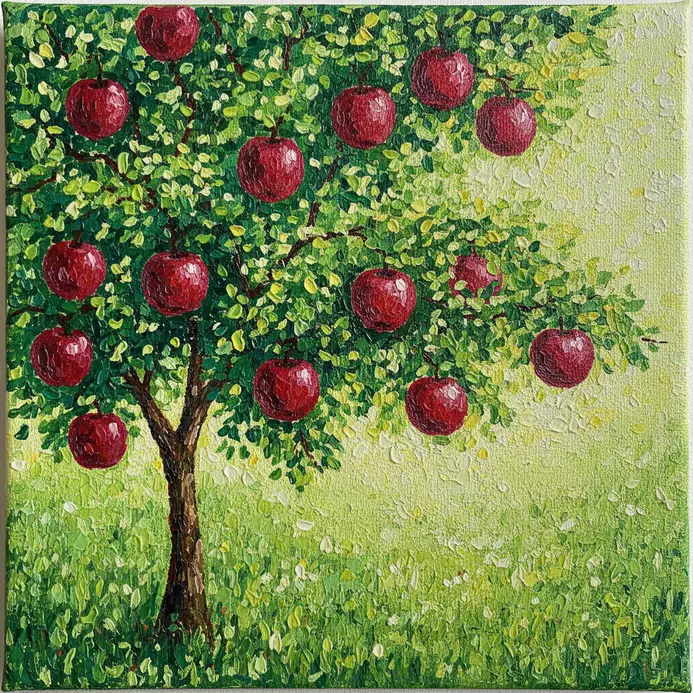
Does creating an entire scene with tiny dots sound intimidating for an easy acrylic tree painting for beginners project? Trust me, it is not as hard as it looks. You will build up the texture of the bark and the roundness of the apples using only the density of your fine-liner pen dots. I love how this technique makes the dappled summer light feel so real.
Your key is to work slowly and build tones gradually. Start with a light sketch, then outline everything with sparse dots before filling in shadows. This dot work is incredibly satisfying because each mark adds to a lush, textured whole. Once you get the hang of it, this meticulous approach pairs perfectly with more fluid easy oil painting projects for a well-rounded skillset.
9. Abstract Geometric Triangular Pine Grove

Who would have thought painting a forest could be this simple when following this easy acrylic tree painting for beginners method? You will break each pine tree down into its most basic shape: a single triangle. Start by painting a few large, solid triangles for the closest trees. Then, add smaller ones behind them, using a slightly different shade of green or blue to create depth. I love how this approach makes the whole grove feel organized and modern.
It is a perfect first step if you are new to simple canvas work for kids and want a structured project. Feel the satisfaction of seeing your geometric forest come together.
10. Dappled Sunlight Forest Path View

This scene looks tricky with all those light spots, yet it remains a favorite in any easy acrylic tree painting for beginners collection. You start by laying down a simple forest path shape with a warm brown. Then, instead of painting every leaf, you use a dry brush to lightly dab on patches of bright yellow and gold for the sunlit areas. The magic happens when you let the darker green of the forest floor peek through between your dabs.
Why does it work so well? Our eyes naturally connect those scattered dots of light into a convincing, shimmering effect. I love how this technique captures the feeling of a peaceful walk without needing perfect detail. Try it and feel the instant calm it brings to your canvas.
11. Rustic Farmhouse Dead Tree Silhouette

This one looks dramatic, but trust me, the technique behind this easy acrylic tree painting for beginners guide is wonderfully simple. You start by creating a soft, muted background on your canvas or wood panel and letting it dry completely. Then, you paint a stark, dark silhouette of a gnarled, leafless tree, focusing on its unique, twisted branches. The key is to embrace the irregular shape and the beautiful negative space the branches create.
It works because that strong contrast feels both elegant and deeply rustic. A great next step is to build your confidence with other beginner landscape painting techniques that use similar bold shapes. You will love how striking this looks on your wall.
12. Monochromatic Blue Forest Horizon Line
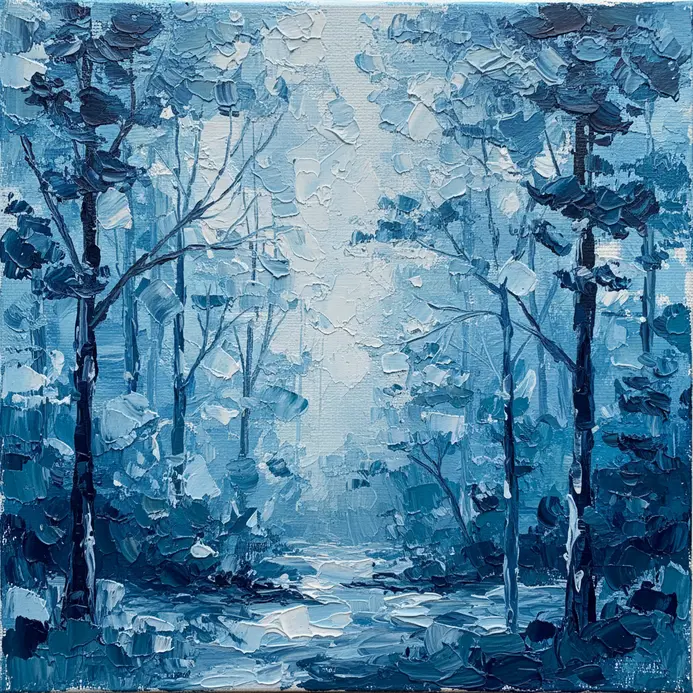
Ever wondered how a single color can create such a sense of depth? This style uses only shades of blue to paint a forest meeting the sky. You will start by laying down a light blue sky, then block in the forest with darker blues along your horizon line. The real magic happens when you mix lighter, grayer blues for the distant trees and save your richest, darkest blues for the foreground clusters.
It works because this limited palette naturally mimics how our eyes see things fade into the distance. I love how serene and unified the final piece feels. Trust me, varying your blue values makes all the difference.
13. Circular Impressionist Tree Canopy Study

This one looks tricky, but trust me, it is a perfect way to loosen up. You are not painting individual leaves. Instead, focus on building the canopy with distinct, vibrant brushstrokes of different greens, yellows, and blues right next to each other. Your goal is to capture the feeling of dappled light filtering through. I love how the circular frame makes everything feel intimate and complete. Trying this is a fantastic next step after you have gotten comfortable with some simple abstract painting ideas for exploring color and form.
14. Fiery Sunset Palm Tree Silhouettes

Ever wondered how to paint something that looks so dramatic and professional? This one surprised me. The secret is focusing on the sky’s color gradient first, working wet-on-wet to blend those fiery oranges into deep purples. Then, you paint the palm trees as solid black shapes against that light. It works because the high contrast is instantly striking and feels so peaceful.
My go-to tip is to use a small round brush for the fronds and embrace loose, varied strokes. Does that not look stunning? For a great next step, read about small painting project ideas to practice these techniques on a manageable scale.
15. Detailed Bark Texture Cedar Close-up

Ever wondered how to make tree bark look like you actually feel its roughness? This close-up is all about capturing that fibrous, peeling character of cedar. You will start with a base layer of earthy burnt umber, then use a stiff bristle brush to dry brush lighter tones over the raised areas and push darker raw umber into the cracks. It works because you are building real depth, not just painting a flat pattern.
16. Colorful Abstract Autumn Forest Background

This one is a total mood booster. You are not painting trees, you are painting the feeling of autumn. Start with a big wash of your favorite autumn color, then layer on broad strokes of red, orange, and yellow. I love letting these fluid acrylics bleed together naturally. The magic happens when you add vertical strokes in brown to suggest trunks and then splatter on some golden dots for leaves.
It works because the abstract approach lets you focus purely on vibrant color and emotion. To keep your composition balanced, think about creating a simple still life composition as a warm-up exercise for arranging shapes and colors. Does that not feel wonderfully freeing?
17. Double Tree Sunset Love Motif

This one always makes me smile, as it looks like a romantic scene from a movie, but you can create it with a few strokes. You start with a gorgeous sunset gradient, blending those warm oranges and purples from the bottom up. Once that’s dry, you paint two simple black tree trunks close together. The magic is in the branches.
Use your fine detail brush to let their limbs reach out and gently touch, or even intertwine a little. Isn’t that a lovely visual metaphor? This motif works because it pairs natural beauty with a universal feeling of connection. Trust me on this one, let the background dry completely before you add the trees, and you’ll be so proud of the serene, loving result.
18. Reflective Lake Side Pine Landscape

This one looks so peaceful, doesn’t it? The trick is to treat the water as a separate painting. Block in your dark pine shapes first, then paint their reflection with slightly muted colors and gentle horizontal strokes. I love how the symmetry creates such a calming scene. A great way to practice is on a mini canvas acrylic painting ideas test run before committing to a larger piece.
Keep the reflections simple and blended, avoiding too much detail. That soft, mirrored look is what makes this landscape feel so serene. Trust me, when you see that perfect inversion start to appear, you will feel a real sense of accomplishment.
19. Minimalist Grey Sky Mangrove Study

Ever tried to paint a landscape that feels more like a quiet sigh than a shout? This study is exactly that. You focus on the stark, twisted shapes of mangrove roots against a soft, overcast sky. The trick is to use a limited grey and muted green palette and let the composition do the heavy lifting.
Keep your brushwork simple and avoid adding too much detail. I love how this approach forces you to see the essential forms and textures. It feels less intimidating because you are not chasing perfection in every leaf.
Mastering the subtle tonal shifts within your greys is what brings the whole scene to life. A great way to practice this tonal control is by working on some black and white painting studies first. You will be amazed at the mood you create with so little.
20. Glowing Yellow Moon Behind Tree
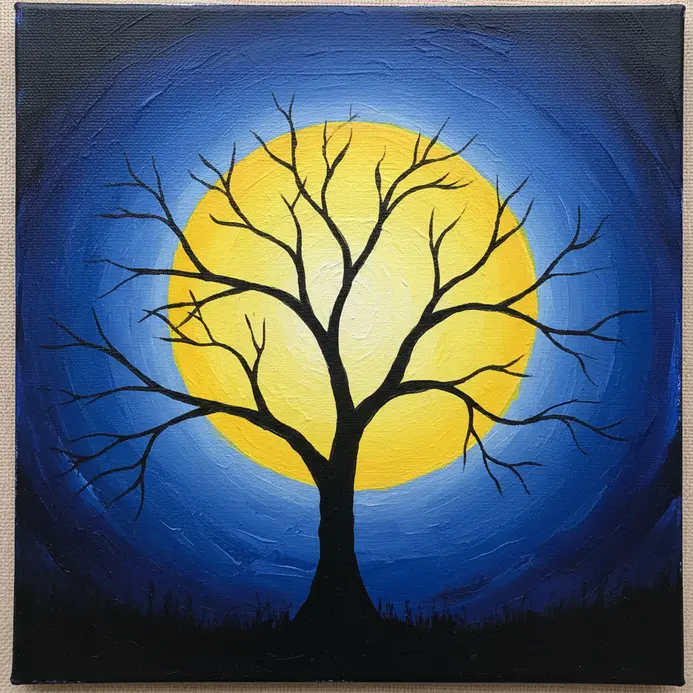
This one looks much harder than it is. You start with a dark sky and then place that big, warm circle of light right behind your tree. The trick is to paint your tree silhouette using black or a super dark mix once the moon is dry, letting it cut across the glow for that dramatic backlit look.
I love how the strong contrast makes the scene pop instantly. To get that soft, hazy effect around the moon, blend a little white into your wet yellow paint and gently feather it outward. Isn’t it satisfying when that luminous glow comes to life?
21. Stenciled Acorn Oak Tree Design
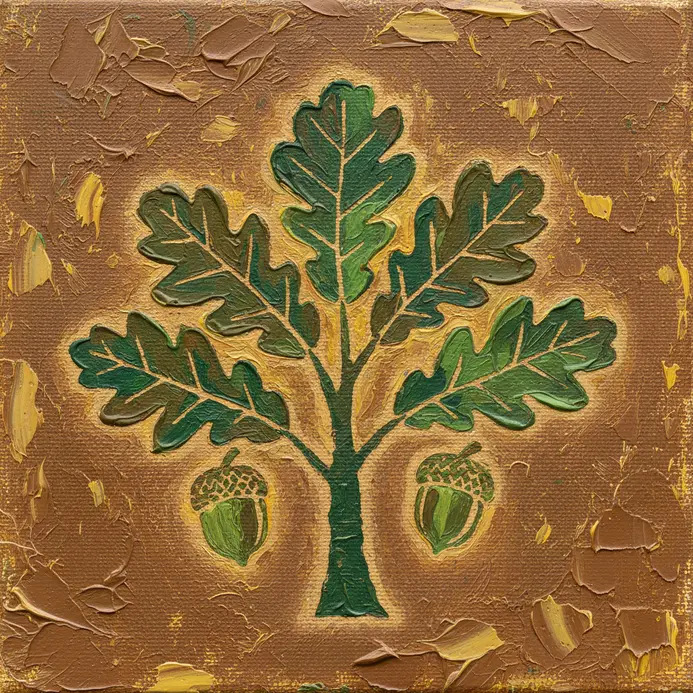
Who would have thought you would get such a crisp, detailed oak tree without any drawing skills? This one is all about using a stencil brush with a dabbing motion. You simply secure your stencil, load your brush, blot it almost dry, and tap the paint over the openings.
It works because the technique gives you a perfectly repeatable, professional-looking result every time. I love how it makes a complex symbol like an oak and acorn feel totally approachable. Trust me on this one, a little patience with your layers pays off big, and you will feel proud when you peel that stencil back to reveal your clean design.
If you enjoy the calm, repetitive nature of this project, the same careful dabbing technique is perfect for creating easy coastal scenes with gentle waves and textured sand.
22. Bright Multi-Color Pop Art Tree

Who would have thought a tree could look so graphic and electric? You start by sketching a simple tree shape, then trace over it with a bold black outline to define everything. Next, fill each section with flat, unblended blocks of your brightest acrylics. Does that sound complicated? It is not, and the result is incredibly vibrant.
The magic is all in the contrast. Using pure, saturated colors right from the tube next to that crisp outline makes the whole image pop off the canvas. I love how this style turns a natural form into something playful and modern. Try it and feel the satisfaction of creating a piece that is pure, joyful energy.
23. Layered Silhouette Mountain Pine Scene
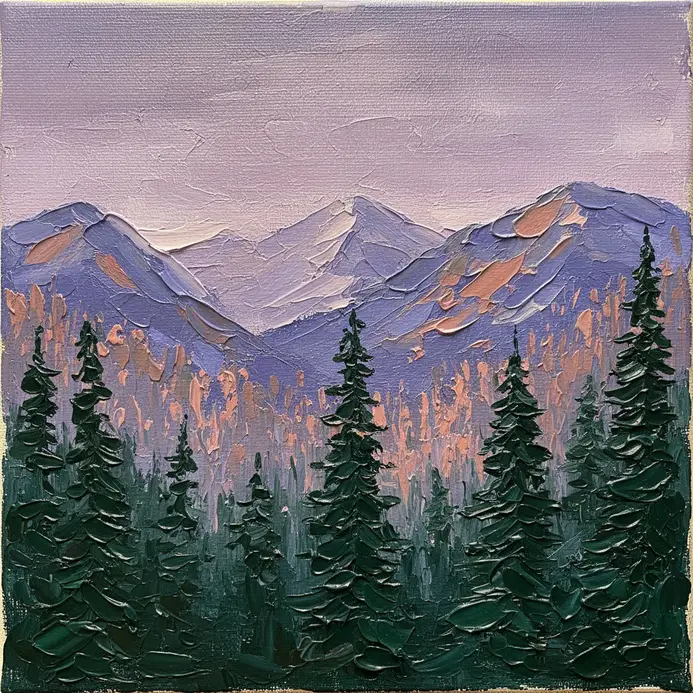
This one looks dramatic, but it is built on a simple principle of stacking shapes. You start by painting a soft background gradient, then add a series of dark mountain layers, each one slightly smaller and lighter than the one before it. Finally, you dot in those classic pine tree silhouettes with a small round brush, making them larger and more defined in the foreground.
The magic happens because those overlapping layers create instant, believable depth. My favorite tip is to let each layer dry completely before adding the next to keep those crisp, clean edges. Trust me, the final atmospheric payoff is incredibly satisfying.
24. Soft Mist Morning Beech Tree
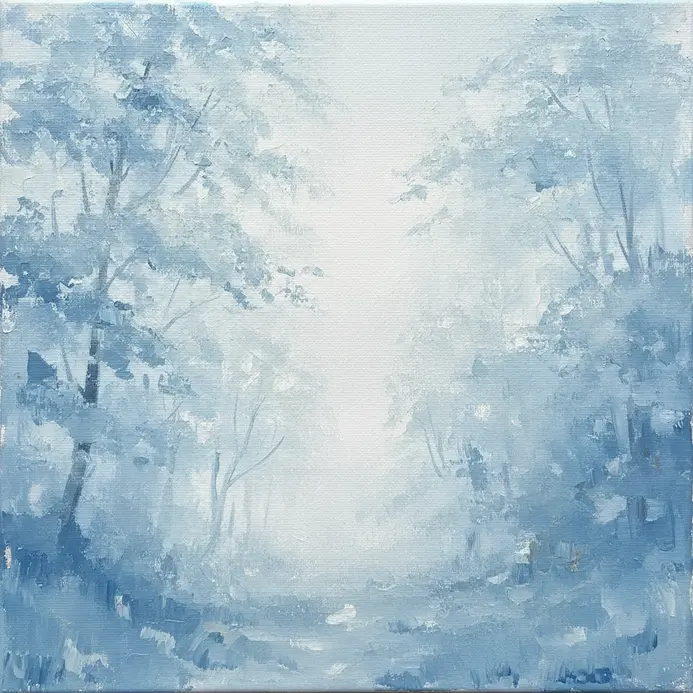
Ever wondered how to paint a scene that feels so peaceful and quiet? The secret is in the muted color palette. Mix pale greys and soft blues for the misty sky, and use gentle washes of muted green for the distant tree canopy. Let those layers dry slightly before adding the beech tree’s distinctive silvery bark with a few deliberate strokes. This works because the soft, blurred edges and compressed values naturally create that serene, hazy morning feeling.
I love this approach for its forgiving nature. The most common mistake is trying to paint every single leaf, which fights the misty effect. Instead, focus on the overall shape and let the atmospheric perspective do the work.
A great next step, once you’ve captured this moody scene, is to try a silhouette painting for beginners to practice defining shapes against a simple background.
25. Whimsical Fairy Tale Spiral Tree
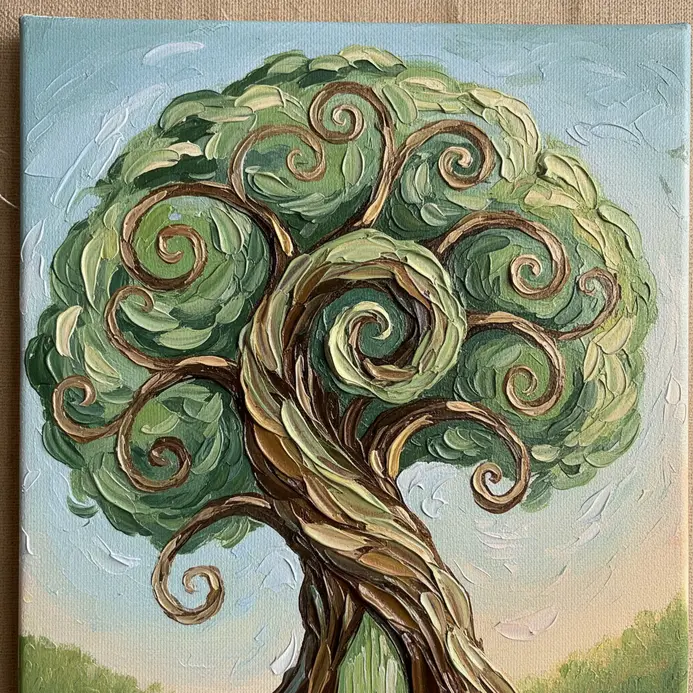
Ever thought a magical tree would be too hard to paint? It is not. Start by sketching a single, flowing graceful spiral for your trunk. Let it twist and turn organically, not perfectly.
Block in your earthy base colors, then build up the bark with layers of light and dark paint. I love using a fan brush to dab on mossy textures. Add whimsical touches like a hint of shimmer or a glowing patch. This works because the spiral shape creates a natural flow that feels enchanted.
Trust me, embrace the imperfections and your painting will feel full of fairy tale charm.
Varnishing Techniques For Longevity And Sheen
Once your painting is completely dry, a single protective layer of matte acrylic varnish is your best friend for locking in all that hard work and preventing dust or UV light from fading your colors. The good news is acrylic varnish is water-based and straightforward to apply, use a wide, soft brush and work in one direction with smooth, overlapping strokes on a flat surface to avoid drips. A matte finish is ideal for most tree scenes as it eliminates glare and maintains a natural look, but if you want a slight dew-like sparkle on morning leaves, you might opt for a satin finish instead. Let this final coat cure for a full day before you handle or frame the painting, and you will have a piece that stays vibrant for years.
Conclusion
Working through these ideas, you have probably noticed how much personality a tree can hold, from the sturdy silence of an oak to the playful flutter of cherry blossoms. That connection you feel to these natural forms is the heart of your painting, more important than any perfect technique. For your next project, pick a tree you see every day and try simplifying it into three basic shapes: the trunk, the main branches, and the overall canopy shape. Mixing your own greens and browns from primary colors will also give your work a more natural, cohesive feel.
This journey into easy acrylic tree painting for beginners is really about building a visual vocabulary, one joyful, textured stroke at a time.
FAQs
Q: What are the essential supplies I need to start painting trees with acrylics?
A: You need a few basics: a small set of acrylic paints in primary colors, white, and black, a pack of synthetic brushes in different sizes, a canvas panel or heavy paper, a palette for mixing, a water container, and paper towels. A limited palette helps you learn color mixing without overwhelm.
Q: How do I paint leaves without making them look messy or muddy?
A: Avoid painting individual leaves. Instead, use the tip of your brush to dab clusters of color, starting with darker shades underneath and adding lighter tones on top. Let each layer dry slightly to keep colors clean and create a sense of depth and fluffiness.
Q: Why do my tree trunks look flat and unrealistic?
A: Flat trunks often lack variation in color and value. Mix two or three shades of brown, grey, or the local color. Paint the trunk with the mid-tone first, then add a darker shade to one side for shadow and a lighter highlight on the opposite side to suggest roundness.
Q: How can I create a sense of distance in a forest painting?
A: Use atmospheric perspective. Paint trees in the foreground with more detail, sharper edges, and warmer, brighter colors. Make distant trees less detailed, with softer edges and cooler, lighter colors like blue-grey or lavender, so they appear to fade into the background.
Q: My acrylic paint dries too fast to blend the sky. What should I do?
A: Acrylics do dry quickly. For smooth sky gradients, work on a damp canvas or use a blending medium mixed with your paint to extend drying time. Work quickly in small sections, blending adjacent colors while they are still wet on the canvas.