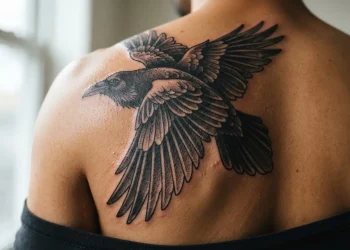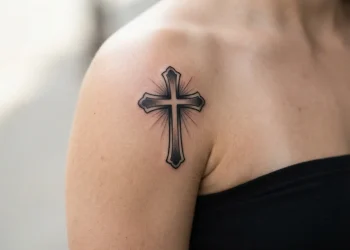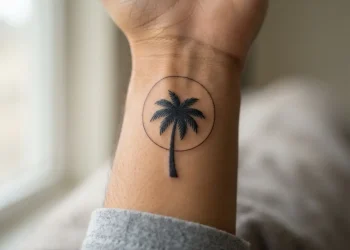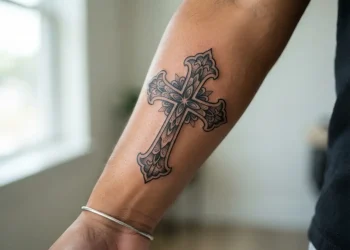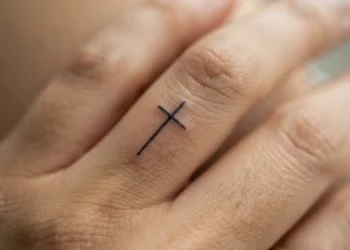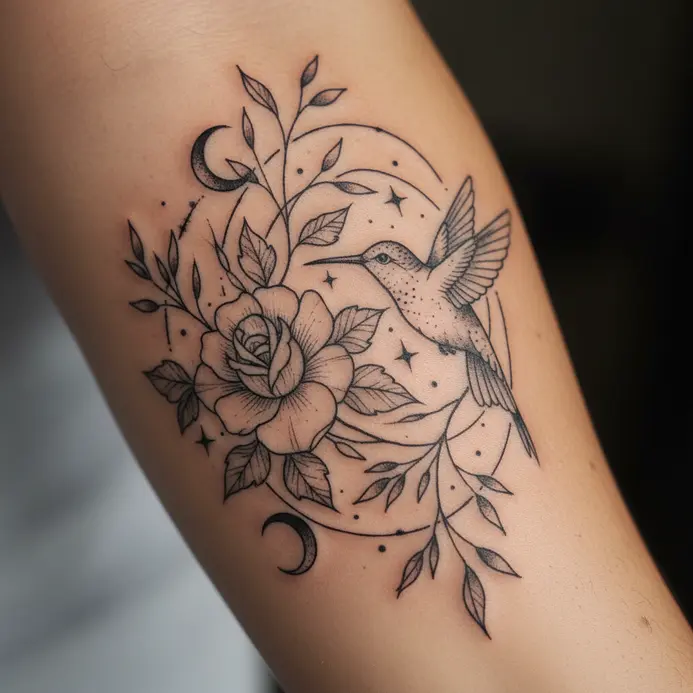


You are about to start a creative collaboration, and knowing what to expect makes the entire experience more enjoyable.
Navigating The Essential Consultation And Booking Etiquette
Your artist’s portfolio should show you their healed work, not just fresh photos. We all get dazzled by a bright new tattoo, but you need to see how their lines settle and colors age over months. Trust me on this, a good artist will happily show you healed photos because they are proud of that work.
Bring reference images that capture the feeling you want, but be open to their redraw. They know how a design will flow on your body and which pigments will last. That initial conversation is your chance to see if you trust their vision for your permanent piece. Following this getting a tattoo guide ensures you navigate the booking process smoothly.
Understanding Essential Safety Standards In The Studio
Every single needle your artist uses should come from a sealed, sterile package opened in front of you. This is non-negotiable. A reputable studio follows strict protocols to prevent cross-contamination, using single-use disposable tubes and barriers on all equipment.
You will notice your artist wearing fresh gloves and using medical-grade disinfectants on the work area. They should also have an autoclave for sterilizing their reusable machine parts, which is a blood-borne pathogen safety standard. Seeing these steps gives you confidence that your health is the priority, letting you relax into the experience. Reading every page of a getting a tattoo guide helps you recognize these critical safety markers.
1. Define Your Tattoo Concept and Personal Style
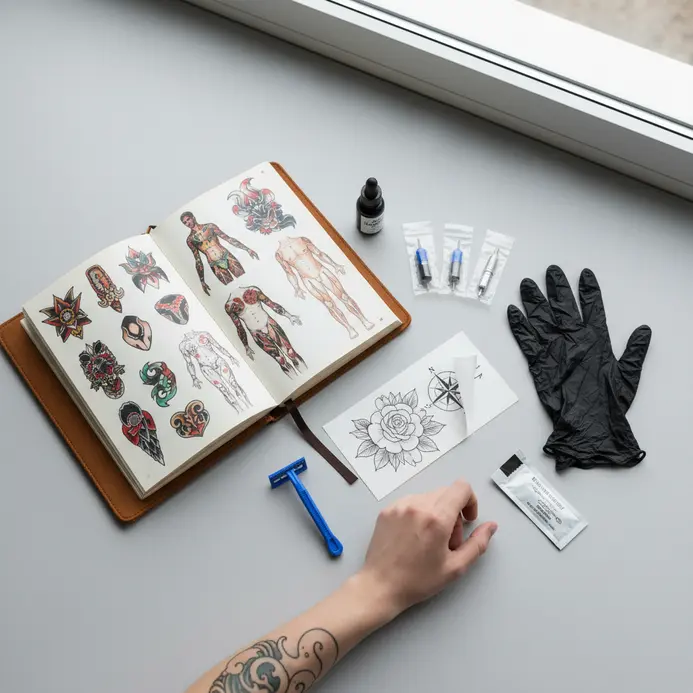
Ever feel overwhelmed by the sheer number of tattoo ideas out there? It is completely normal. The first step is not about finding the perfect picture, but about figuring out what truly matters to you. I love this part because it is all about self-discovery.
Start by grabbing a notebook and writing down everything you love, from hobbies and favorite stories to symbols that represent your values. Do not censor yourself. This brainstorming phase is where your best ideas are born. Next, look for patterns in your list.
Do you keep coming back to nature, strength, or a specific memory? Grouping your ideas helps you identify a clear theme. This theme becomes the heart of your tattoo. Now, match that heart to a visual style.
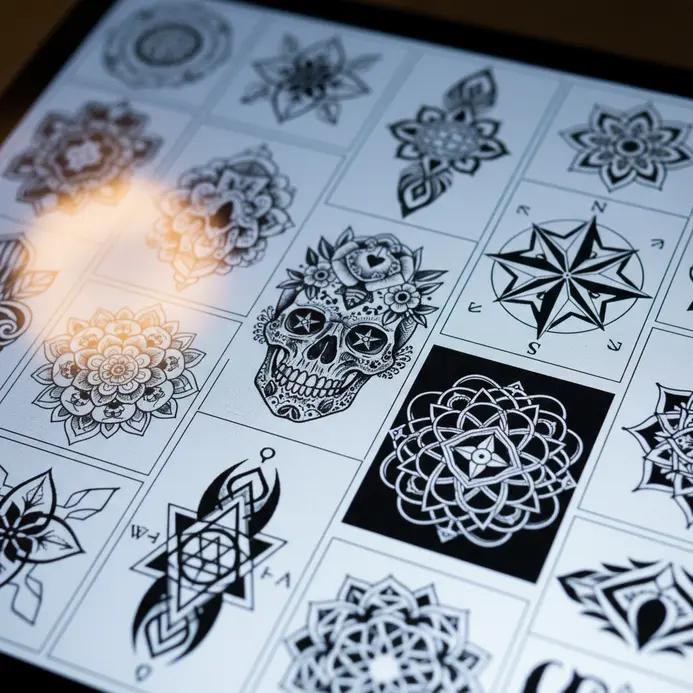
Spend some time looking at different tattoo styles online. Seeing examples of realism, watercolor, or traditional work will show you what resonates with your personal taste. Honestly, skipping this research is a common mistake that can lead to regret. Every solid getting a tattoo guide reminds you to take your time during this creative stage.
Your concept and style are the blueprint for your entire experience. A solid plan helps you communicate clearly with your artist and ensures you get a piece you will love for years. Feeling nervous is natural, and it helps to understand the tattoo sensation before you go in.
Trust me, taking this time upfront makes the whole process more exciting and personal. Feel confident in your vision.
2. Research and Select a Professional Tattoo Artist
Ever felt overwhelmed by the sheer number of tattoo artists out there? Trust me, this is the step where your patience pays off. Before you even start looking, have a clear idea of your style and subject. Then, begin your search on Instagram using hashtags for your city and preferred style.
Word-of-mouth from friends with great tattoos is also a fantastic resource. Your main task is to become a portfolio detective. Do not just look at fresh, vibrant photos. You absolutely must check for healed photos in an artist’s portfolio.
This shows how their linework and color truly hold up over time. Look for crisp lines and smooth, even shading. A common mistake is rushing this process or picking an artist just because they are nearby.
Your perfect artist specializes in the style you want. This research is your best defense against regret and ensures your vision becomes a stunning, permanent piece you will love. Getting this right depends on preparing for your tattoo session with the right person for the job. Using a reliable getting a tattoo guide keeps your artist search focused and intentional.
3. Book a Consultation to Finalize Design and Placement
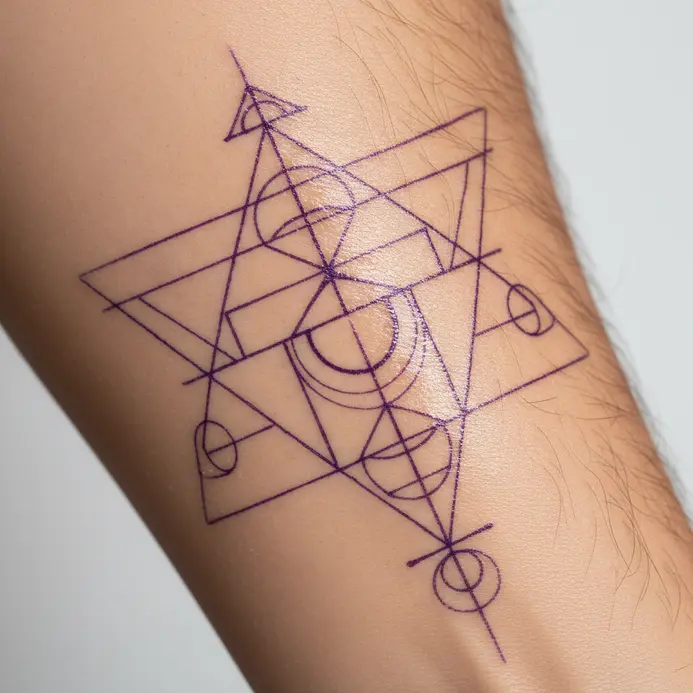
Ever wondered how your sketch actually becomes a tattoo you love forever? The secret is booking a tattoo consultation. This is your chance to sit down with your artist and refine every single detail. You will show them your reference images and ideas, and they will use their expertise to suggest tweaks, check if your dream design fits the chosen spot on your body, and ensure everything is technically possible.
I love this step because it turns a vague idea into a concrete, exciting plan. Come prepared with your budget in mind and a list of questions. Your artist will assess the design feasibility, talk timelines, and give you a solid quote. This collaborative chat builds the trust you need before the needle touches your skin.
Feeling confident and clear about your permanent art starts right here. Before you leave that meeting, make sure you have a clear understanding of the new tattoo aftercare essential guide. Proper healing is a crucial part of the final result your artist creates. A thorough getting a tattoo guide always emphasizes this pre-session communication.
4. Prepare Your Skin and Physical Health Beforehand
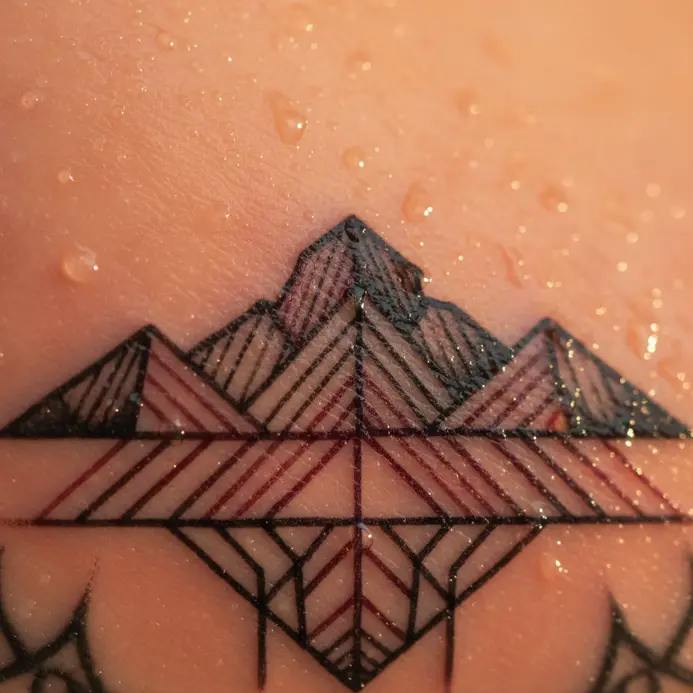
Ever think that getting a tattoo is just about the day-of appointment? It is not. The work you do in the weeks before matters just as much. A healthy body and well-hydrated skin create the perfect canvas. This makes the process smoother and helps your tattoo heal beautifully.
Start by drinking plenty of water and using a good daily moisturizer. Eat foods rich in Vitamin C and Omega-3s to support your skin from the inside. Good sleep and managing stress also play a huge role in how your body handles the session and heals afterward.
Your physical readiness directly affects your pain tolerance and recovery. I love this tip because it is something you can control. Making these small changes builds a strong foundation. This is especially important if you want to avoid most painful tattoo areas for a future piece.
Feel confident and prepared walking into your appointment. Consulting a getting a tattoo guide early helps you establish these healthy habits on schedule.
5. Complete the Mandatory Shop Consent and Paperwork

Ever feel a little jolt when you see a stack of forms? I know I do, but this paperwork is your friend. It is not a boring chore, it is a crucial safety and legal step that protects both you and the artist.
You will fill out your personal information and a detailed health questionnaire. This is where you honestly list any allergies, medications, or conditions. It is not about judgment, it is about making sure your tattoo experience is as safe as possible.
You will also sign a consent form that clearly outlines the risks and the permanent nature of the work. Reading this carefully ensures you are giving truly informed consent. Your final step is providing a valid photo ID to verify your age and identity.
Getting this right hinges on the careful work you did when selecting your perfect tattoo design. It builds a solid foundation for everything that follows. Take your time with each section. Feel confident and protected knowing you have covered all the bases before the needle even touches your skin. Every detailed getting a tattoo guide reminds you to handle these forms carefully.
6. Verify the Sterilization of Equipment and Workspace Setup
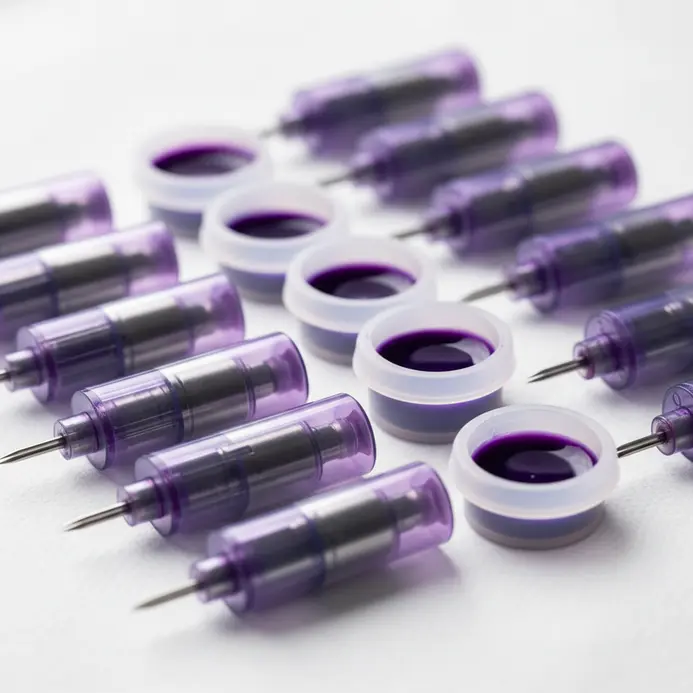
Ever wonder how you can be sure everything is truly sterile? I love that you are asking. The key is looking for multiple layers of verification, not just one simple check.
For steam sterilization, you need to see the correct color change on an internal chemical indicator strip inside the package. This shows the right conditions were met inside, where it counts. The most definitive proof comes from a biological indicator test, which uses bacterial spores to confirm all microbial life is gone.
You also need to inspect every package before it is opened. Check for any tears, moisture, or stains. A proper sterile setup depends on you understanding these fascinating tattoo facts about safety protocols. This verification is your best defense against infection, and that is a feeling of real security. Referencing a trusted getting a tattoo guide gives you the vocabulary to spot a properly sanitized station.
7. Allow the Artist to Apply and Adjust the Ink Stencil
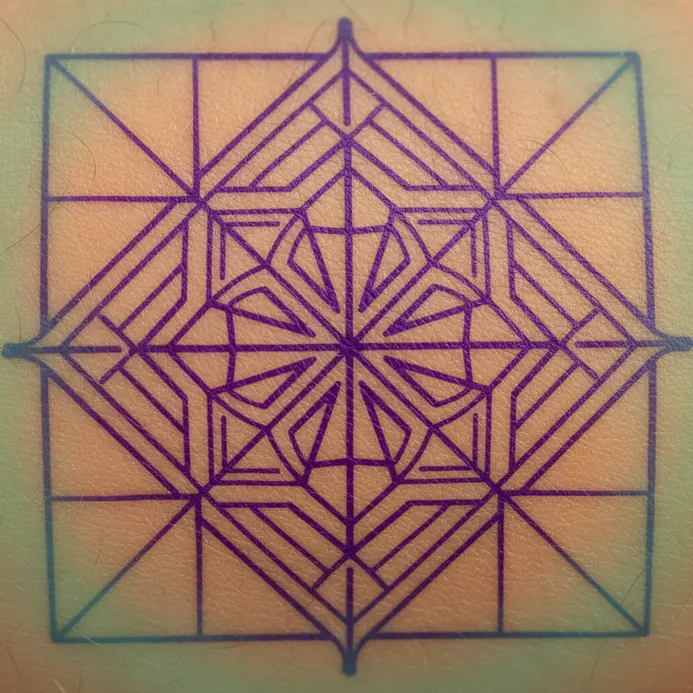
Ever wondered how your tattoo design gets from paper to skin so perfectly? This step is where the magic of precision happens. The artist will clean and prepare the area, then use a stencil transfer solution to carefully place the design. They will press it down and peel the paper away, leaving a crisp, temporary guide.
This is your final visual check before the needle touches your skin. Trust me on this one. You should look at it from every angle and speak up if something feels off. A proper stencil application depends on understanding how the skin’s surface and texture work, especially for designs involving tattooing over existing scars. This ensures the artist has a flawless roadmap to follow. A clear getting a tattoo guide always highlights this stencil verification step.
Feel that confidence build when you see your design exactly where you want it.
8. Endure the Tattooing Needle Application Process
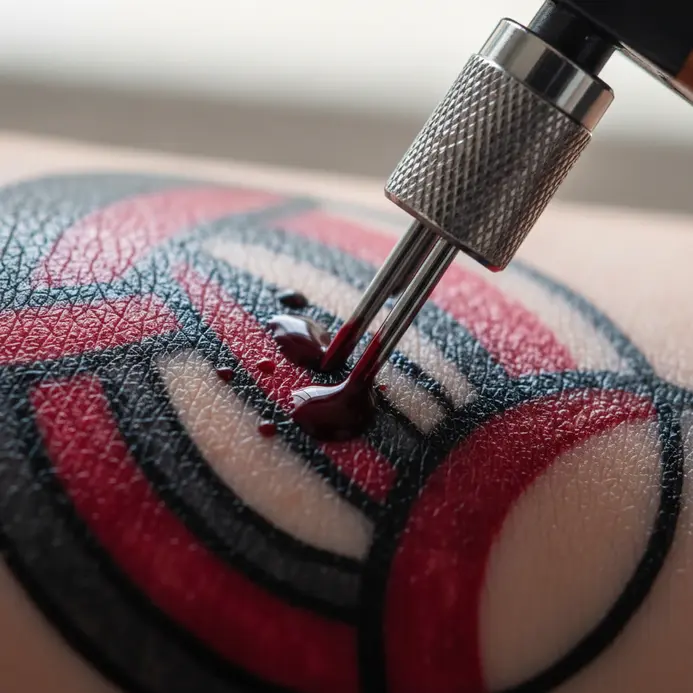
Ever wondered what the needle actually feels like? It is not one single sensation. It is a mix of stinging, scratching, and a deep vibrating buzz. Those tiny needles move incredibly fast to deposit ink into your dermis layer, which is what makes your tattoo permanent. The feeling varies a lot depending on your pain tolerance and the spot being tattooed.
Bony areas and places with thin skin are generally more intense, so be ready for that. Your artist will use different needle configurations for lining and shading. I love how a good artist can adjust their machine settings for the perfect depth and speed. It is a continuous process, so you will hear that buzzing sound for a while.
Remember to breathe deeply and rhythmically. Holding your breath tenses you up and can make the pain feel sharper. Do not make the common mistake of going in unprepared. Eat a good meal, drink water, and get rest before your appointment.
If you feel overwhelmed, always speak up and ask for a quick break. Trust me on this one, communicating with your artist makes the whole experience smoother. For some, the process brings up deeper questions, so it is wise to look into addressing religious tattoo concerns well before you sit in the chair. You have got this.
Take a deep breath and focus on the amazing art you are getting. Applying the advice from a getting a tattoo guide makes enduring the needle much easier.
9. Apply the Initial Bandage and Protective Wrap
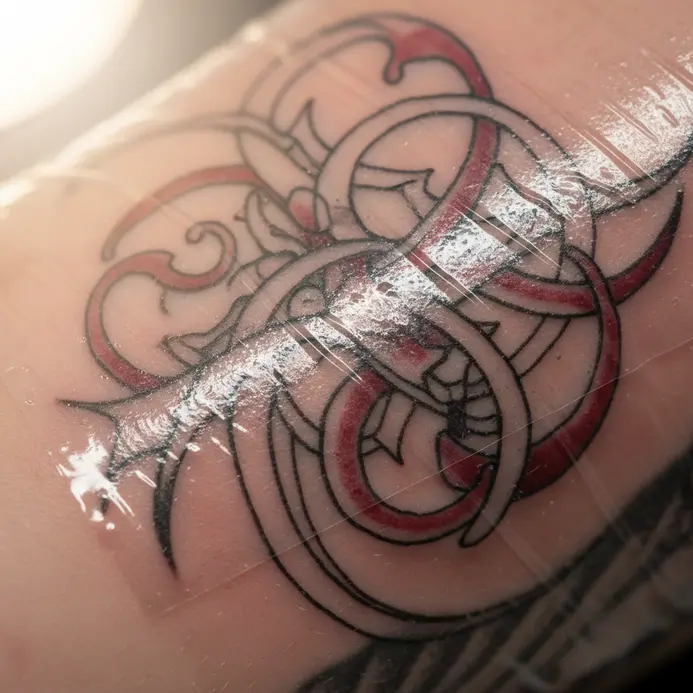
This step looks simple, but it is the most important one for setting your new tattoo up for success. After your artist finishes, they will clean the area and place a sterile pad directly over the ink.
They will secure this with a medical adhesive tape or a gentle self-adhering wrap. This initial layer absorbs any fluid and creates a crucial barrier against germs and friction from your clothes. It is vital for preventing infection and starting the healing process right.
Your artist will give you specific aftercare instructions, and following them depends on getting this first protective stage correct. You need a proper plan for spacing out your tattoo appointments to let this initial healing complete before adding more work. Trust me, a little patience here makes all the difference for a crisp, beautiful result. Following a getting a tattoo guide at this stage prevents early complications.
10. Follow Daily Cleaning and Long-Term Healing Protocols
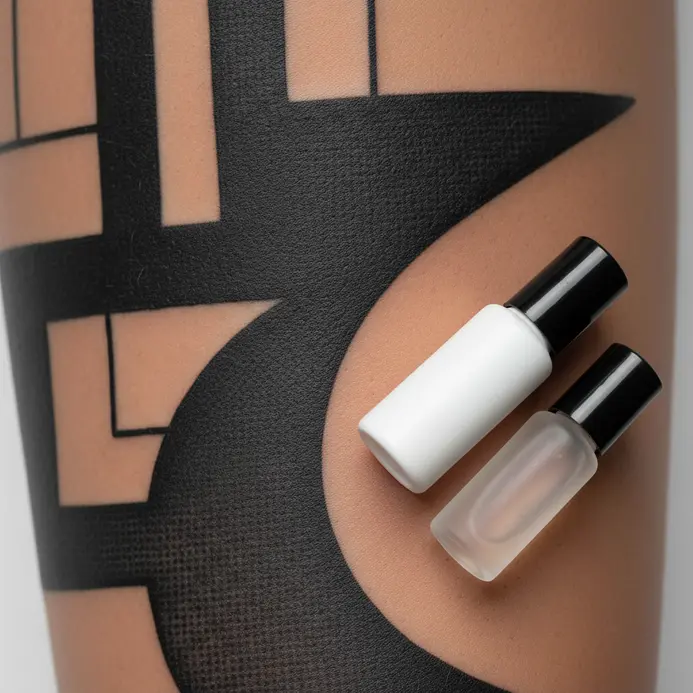
Ever think the hard part is over once you leave the shop? The real commitment starts now. Your daily cleaning routine is simple but vital. Gently wash the area with unscented antibacterial soap a few times a day and pat it dry with a clean paper towel.
This keeps infection away so the color can set properly. A clean tattoo is a happy tattoo. Long-term care is what makes your ink last. After the initial healing, your skin needs protection. Moisturize daily to keep it supple, and always, always apply a strong sunscreen before going outside.
You need to understand tanning with fresh tattoo considerations to prevent fading and damage. That vibrant piece you love depends on this consistent aftercare. Feel proud watching it heal perfectly. Checking any getting a tattoo guide for long-term maintenance tips keeps your ink looking fresh.
Implementing Long Term Sun Protection For Ink
The fastest way to ruin a beautiful tattoo is to let the sun hit it without a barrier. Ultraviolet rays break down the pigment molecules in your skin, causing your bold lines and vibrant colors to fade and blur over time. You need to make a high-SPF sunscreen a permanent part of your routine for that area.
Apply it every single time you go outside, even on cloudy days, and reapply it often. Think of it as a mandatory maintenance step for your art. Your tattoo is an investment, and this simple habit protects that investment for decades. A comprehensive getting a tattoo guide always stresses UV protection.
Conclusion
Your tattoo is more than ink; it is a story you choose to wear. The process of getting a tattoo is a partnership built on trust and clear communication. The most important piece of advice is to listen to your body and your artist during healing—do not rush it.
A little patience now means your artwork will look its best for years. Relying on this getting a tattoo guide replaces uncertainty with practical knowledge, letting you focus on the meaning behind the art. Your new piece is the start of a chapter, not the end of a process.
FAQs
Q: How much will my first tattoo hurt?
A: Sensation varies by placement and personal tolerance. Many describe it as a persistent scratching or vibrating feeling. Your artist can suggest breathing techniques to help you manage the discomfort.
Q: What should I bring to my tattoo appointment?
A: Bring a valid photo ID, any final reference images, and a bottle of water. Wear comfortable clothing that allows easy access to the area being tattooed. Leave valuables and large bags at home.
Q: How long does tattoo healing typically take?
A: Surface healing usually takes about two weeks, but deeper skin layers heal for a month or more. Follow your artist’s specific aftercare instructions closely to ensure proper healing and color retention.
Q: Can I go swimming or to the gym after getting a tattoo?
A: Avoid submerging your new tattoo in pools, lakes, or baths for at least two weeks. Skip heavy gym workouts for a few days to prevent excessive sweating and friction on the fresh skin.
Q: How do I know if my tattoo is infected?
A: Normal healing includes redness, swelling, and slight oozing for a few days. Signs of infection are excessive pus, worsening redness that spreads, severe pain, or a fever. Contact a doctor if you see these signs.