We all have a favorite car memory, whether it comes from family trips, toy boxes, or busy streets. Every page keeps the main vehicle easy to recognize, with a clean setting so color choices stay fun instead of confusing. These printable designs include open spaces for crayons, markers, or colored pencils, making them perfect for car coloring sessions.
Let’s pick a first favorite, gather paper and supplies, and enjoy eighteen playful designs together, starting with our curated car coloring pages. Did I miss your favorite? Choose a page and get coloring today!
Print Settings For Clean Car Outlines
Set your printer to 100% scale and 300 dpi before printing, so each car keeps its clean proportions and bold outline, which keeps car coloring pages sharp. Choose black-and-white or grayscale mode, then check the preview for a white background, clear margins, and no clipped wheels. Standard letter or A4 paper fits most home printers, while 20-pound paper suits crayons and colored pencils without feeling too flimsy.
Washable markers need heavier paper or a second sheet underneath to protect the table, protecting your printed car coloring pages from bleed-through. Turn off “fit to page” when the file already includes a margin, since resizing often shrinks windows and tires. A test page reveals faint headlights, broken rooflines, or crowded edges before your child starts coloring. Keep the printer glass clean for crisp black outline printing.
Choosing Colors From Real Vehicle Photos
Compare a car’s body color with a shaded and sunlit area in the same photo before choosing crayons. Direct sunlight often washes bright paint toward white, while shadowed panels look deeper than the true color. A second reference photo helps confirm whether a vehicle is red, orange, cream, or silver when indoor lighting changes the view, much like matching real shades to car coloring pages.
Match windows to blue-gray, smoky gray, or near-black rather than filling every pane with solid blue. Tires usually look charcoal instead of pure black, which leaves room for visible tread lines. Chrome trim works well in gray, pale blue, or white, and headlights need a light center against their dark outline, a simple trick for car coloring pages.
Keep one color family for the body, then add darker shades around wheel arches, bumpers, and door seams for readable detail. I always recommend testing a small swatch first to see how the marker dries. This ensures your final artwork matches your original vision.
1. Classic Vintage Muscle Car Illustration — Bold Line Art

Ever tried giving a classic muscle car its own bold coloring-page style? Start with a three-quarter front view, placing the grille and bumper near the center while letting the long hood lead toward the side panels. Add wide tires, a low roof, and strong fenders so the vehicle feels broad and easy to recognize. I love how this angle shows both the front and side in one clear picture, making it ideal for car coloring pages.
Trace the body with thick contour lines, then add sharp details around the headlights, grille bars, chrome bumper, door seams, and sculpted panels. Keep each section open enough for crayons or colored pencils. A desert highway, sunset rays, or a small vintage garage sign adds retro character, yet the background should stay light and uncluttered.
This clean black-and-white line art works well for car coloring pages because strong contrast separates every major part. Skip gradients and photorealistic shading, since crisp vector-like outlines give younger artists more usable spaces. Trust me, broad color areas paired with angular details make the finished page feel bold, tidy, and satisfying.
2. Busy Construction Dump Truck Design: Open Coloring Spaces
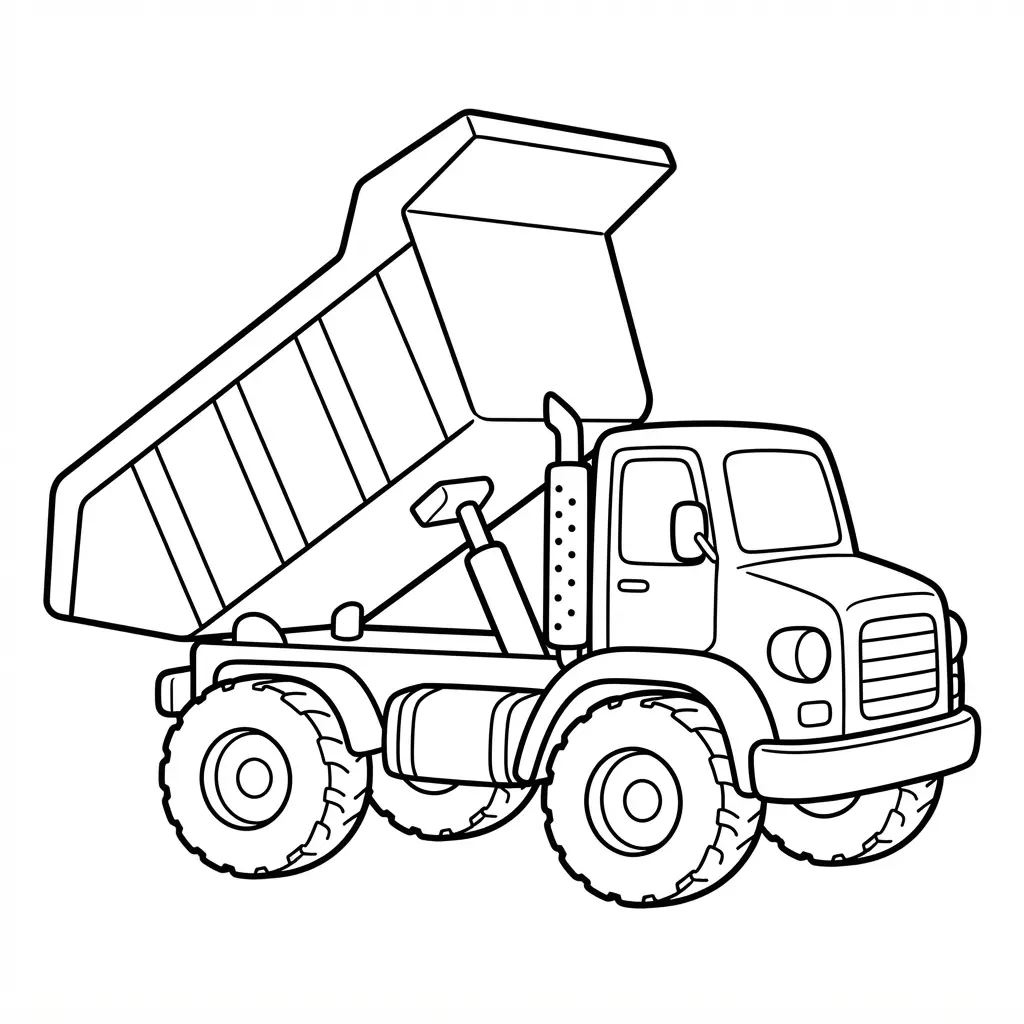
This busy dump truck scene feels lively while staying easy to color. Sound complicated? It isn’t. Start with the large open truck bed, giving it thick, clean outlines and plenty of white space. Oversized wheels and bold body shapes make the vehicle easy for small hands to follow, which explains why these car coloring pages remain so popular.
Build the worksite around the truck with separated traffic cones, wooden crates, round rocks, a shovel, safety signs, and a low dirt pile. Add a friendly worker in a hard hat near one wheel, keeping the figure large and uncluttered. Clear object spacing helps colors stay inside their own areas.
This arrangement gives young fans familiar construction details without crowding the page. I love how the empty bed becomes the main place for bold color, while the cones and crates invite quick color changes nearby. There are no shadows, gray tones, or tiny textures to slow the process, keeping the experience relaxed.
The black-and-white line art works well for early coloring practice because every shape reads at a glance. Keep the bed empty rather than filling it with gravel lines or heavy texture, keeping your car coloring pages neat. Trust me on this one: broad spaces create a calmer page and let each color stand out. Leave room between the shovel, rocks, cones, and crates so outlines never merge. Use thick black outlines for a cheerful finish, then enjoy seeing your construction scene come together.
3. Fast Formula One Racing Car — Clean Printable Outline
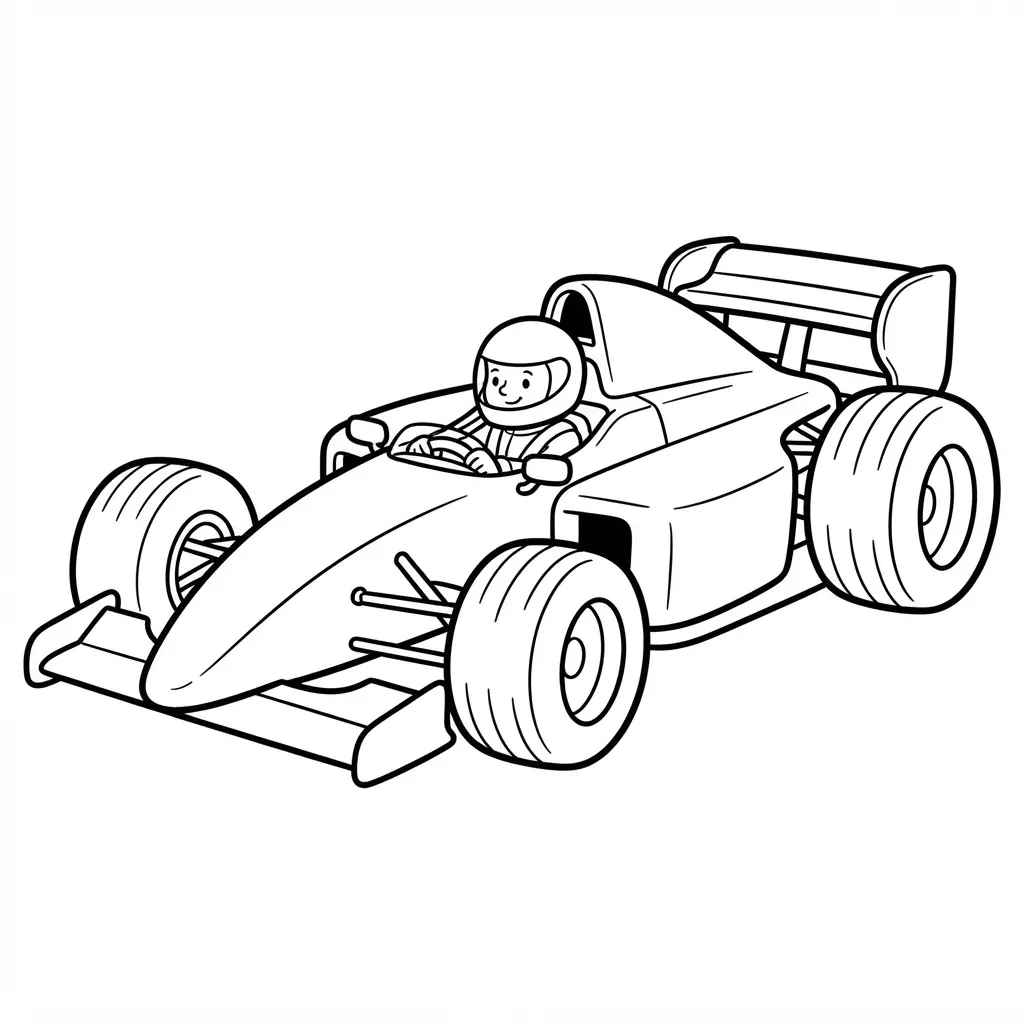
I love this one because it looks fast before you add a single color. Ever tried colored pencil drawing ideas car from the side? The low body, open cockpit, and wide wings make the shape easy to recognize, while a side-view outline keeps every section clear. Start with the long aerodynamic body, then add low-profile tires, a front wing, and a rear wing.
Include small suspension parts and sharp racing contours, but leave generous spaces between each line, a crucial step for sharp car coloring pages. A few motion marks beneath the car suggest speed without filling the page. Keep every edge smooth and bold with black line art on a white background. The clean layout works well for young artists because each part stands apart for easy coloring.
A simple track line gives the car a place to sit, while the open cockpit and curved tires add useful details without clutter. I find the balance between detail and open space especially satisfying. Print the design on a white 8.5 × 11-inch sheet using a crisp printer, then reach for crayons, colored pencils, or markers. Skip logos, text, gray tones, and heavy shading so your finished page stays bright, clear, and ready for color. Feel proud when those racing lines come together.
4. Sturdy Offroad Monster Truck Drawing With Thick Lines
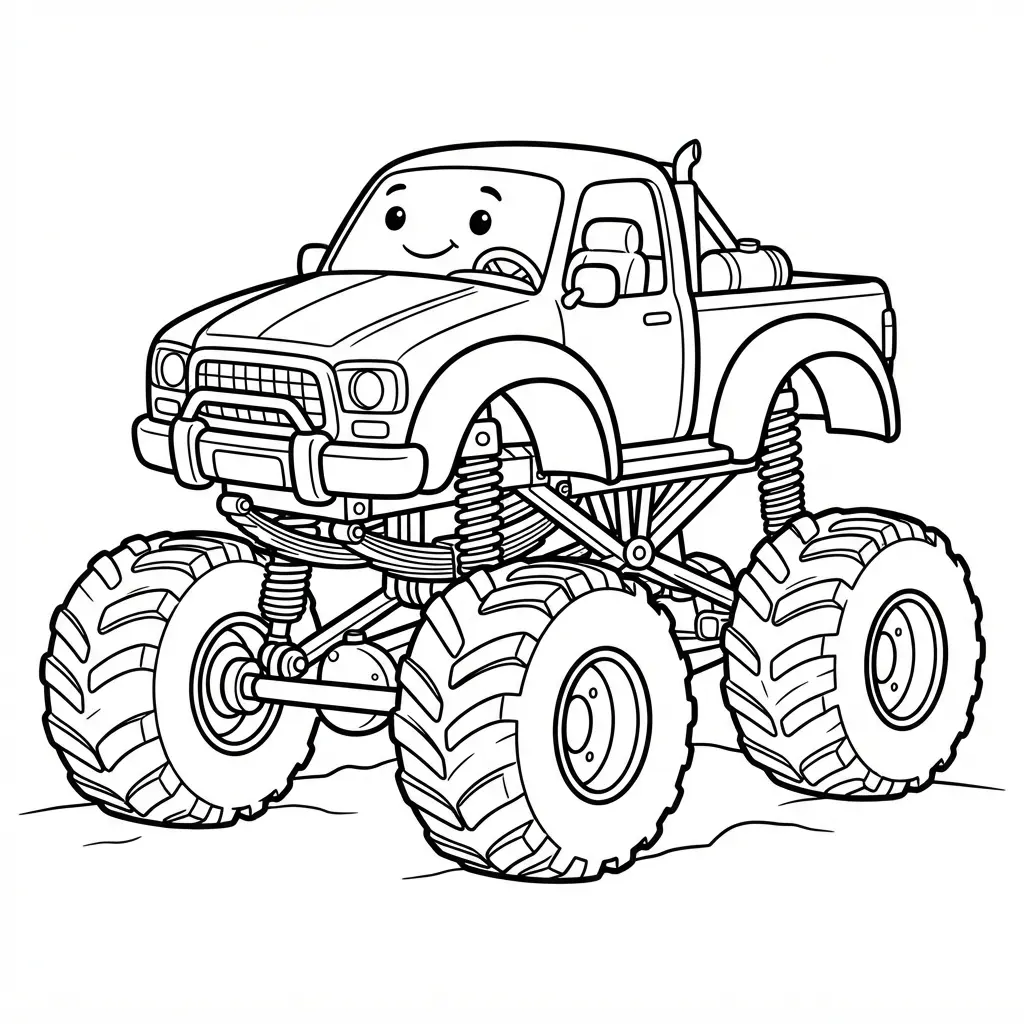
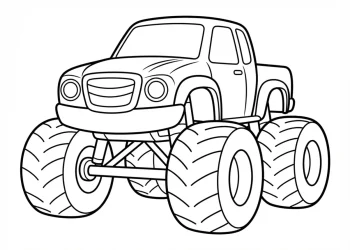
Thick black lines, huge deep-tread tires, and a raised body give this offroad truck a bold look before a single color touches the page. Ever tried making a truck feel sturdy with only outlines? Start with the three-quarter view, then place the front wheel larger in view and angle the side panels behind it. Add oversized rugged tires, open wheel wells, and a clear gap for the suspension. I love how this view lets you see the grille, cabin, and side in one lively pose.
Finish the scene with thick bumpers, roll bars, angular body panels, and a few rocks beneath the wheels. Small mud splashes and a dusty trail suggest motion, while a plain white background keeps the large coloring areas open. Keep the cabin interior spare, using only a few lines for the seats and steering wheel.
Heavy black outlines separate each part, helping crayons and broad markers stay inside the shapes. Skip shading, gradients, and tiny tread marks. Trust me, the clean layout feels satisfying, and your finished truck will look ready for a cheerful offroad adventure when you use car coloring pages like this one.
5. Cute Compact City Car Cartoon: Friendly Simple Shapes
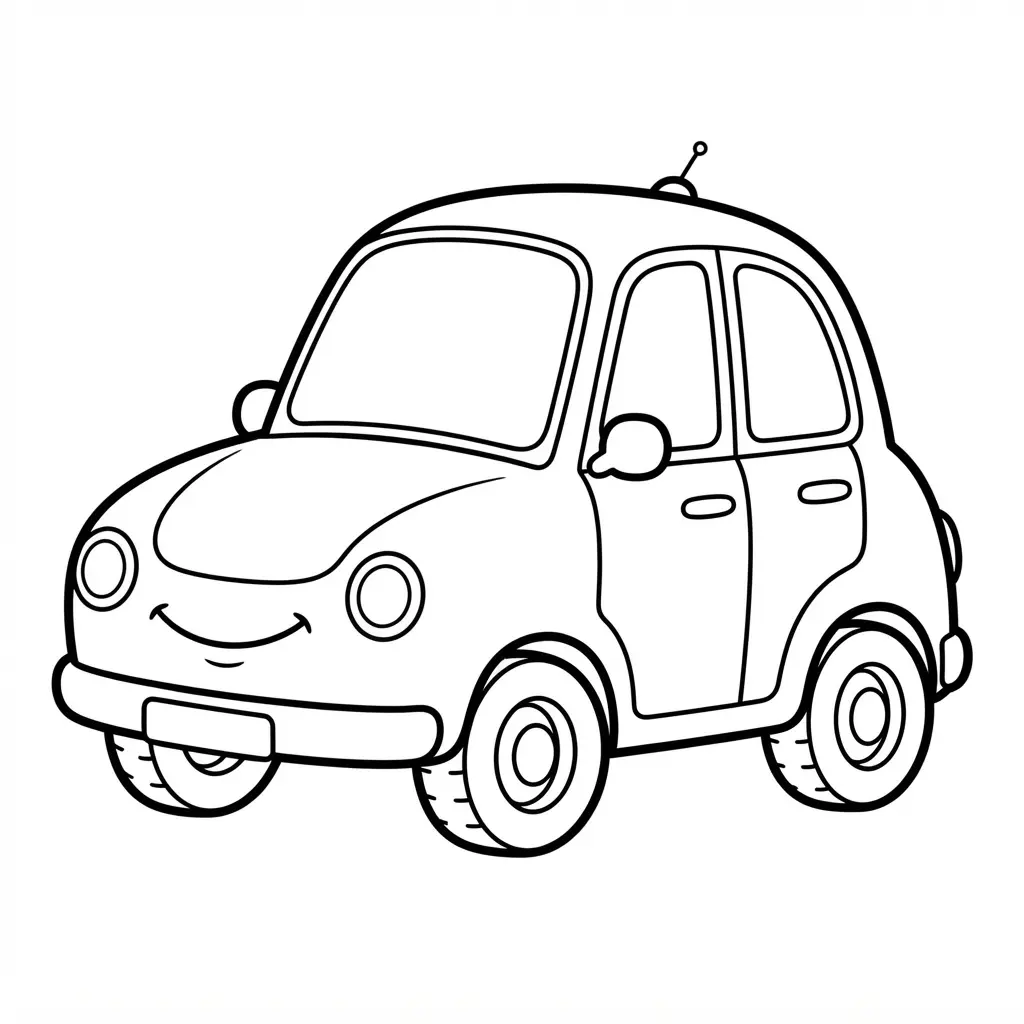
Many people think a cheerful car needs loads of tiny details, but the opposite gives children a better page. Start with a rounded boxy body and keep the subject centered using smooth thick outlines. Add oversized circular headlights as friendly eyes, plus rounded windows, soft bumpers, and tiny wheels. Sound complicated? It is not, since each part uses a familiar shape.
Give the front a small curved grille and a gentle smile beneath the headlights. A mint green body with cream accents makes a cheerful two-tone palette, while pastel crayons keep the look soft. Behind the vehicle, draw only a few small buildings, trees, and fluffy clouds, leaving open space around the wheels. I love how this layout turns a simple vehicle into a friendly character without crowding the page, a hallmark of quality car coloring pages.
For car coloring pages, these broad sections feel easy to recognize and satisfying to fill. Trace the main shape first, then color the windows, lights, bumpers, and wheels one area at a time with rounded shape details. Skip busy street signs, mechanical parts, and sharp angles, since they distract from the happy expression. Trust me on this one: a clean outline and a small smile give your finished picture plenty of charm.
6. Fire Engine Emergency Vehicle — Clear Rescue Details

Start with a broad rectangular body, then add a raised cab at the front. Draw large rescue wheels beneath the frame, keeping them round and evenly spaced. Add a roof light, side windows, door handles, and a bold front grille. Does not the shape feel more complete once each rescue detail has a clear outline, just like our favorite car coloring pages?
Place a long ladder along the top or side, then sketch a coiled hose near the rear. Simple panels, handles, and storage doors give the vehicle a useful working look without crowding the page. Use red for the body, silver or gray for the ladder, and yellow for the emergency lights, or choose any colors you enjoy.
I love adding dark lines around the equipment because each part stands out during coloring. Keep the background open with a road line, a few clouds, or a small station in the distance. This balance keeps attention on the vehicle while giving your picture a sense of action. Finish with clean outline lines around every feature, and feel proud of your rescue scene.
7. Sleek Futuristic Flying Sports Car Outline With Open Spaces
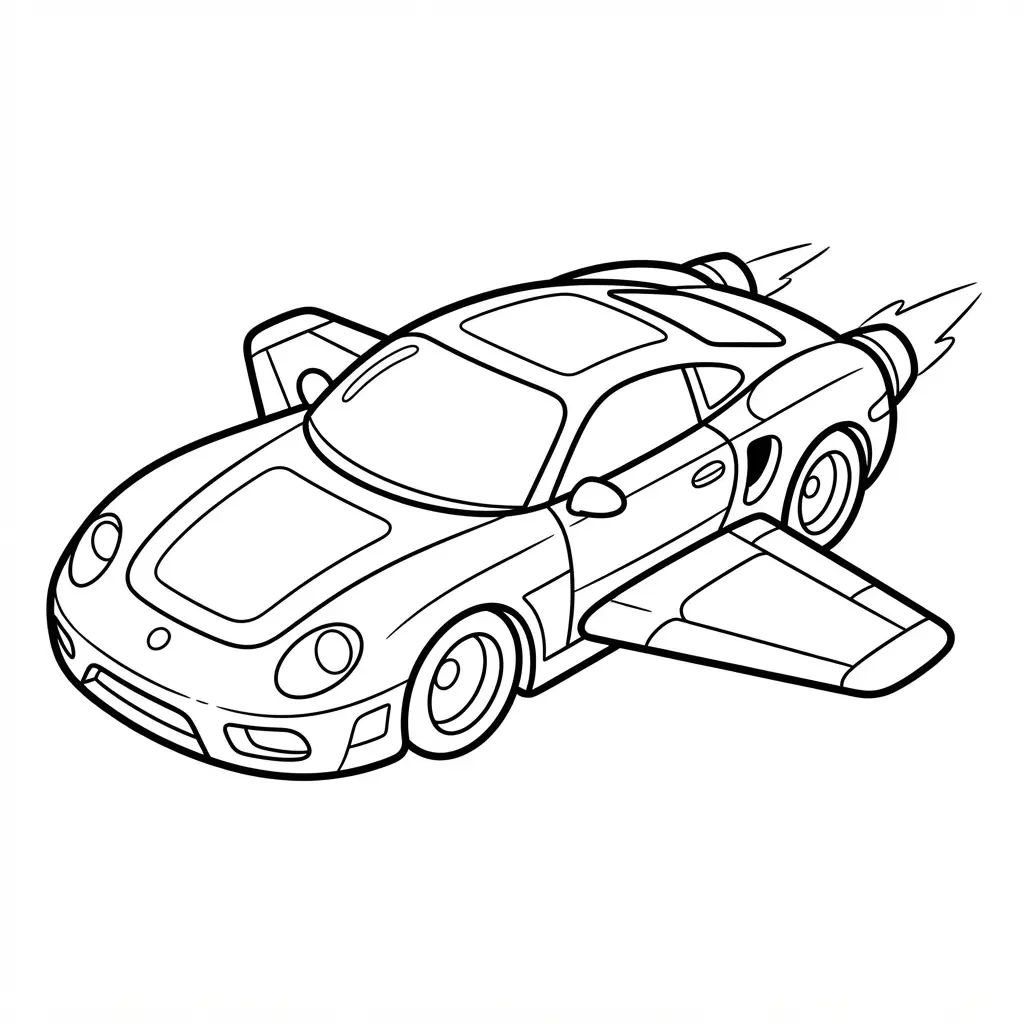
Ever wondered how a sports car might lift off the ground? This flying-car outline blends smooth curves, a pointed nose, sharp headlights, and a futuristic cockpit into one clean design. The gull-wing doors and small hover-engine pods make the vehicle easy to recognize, while the blank background keeps every feature clear. Begin with the aerodynamic outer contour, using broad lines to shape the hood, roof, side panels, and rear section.
A three-quarter view shows the front, side, and top surfaces, giving the picture a sense of motion without making the form hard to follow. Streamlined wheels sit beneath the body, adding a familiar sports-car detail. I love how the open coloring spaces invite bold choices without forcing children to fill tiny sections.
Leave the doors, wings, hood, and side panels mostly empty, then add only a few cockpit lines and pod details. Crayons, colored pencils, and markers all suit this simple outline. Finish with bold black outlines and skip shading, gradients, cross-hatching, and solid fills. Try bright windows, contrasting panels, or colorful propulsion pods for a playful result.
Your car simple bunny coloring pages for kids needs a design like this for pure futuristic fun, and we often blend themes when designing car coloring pages.
8. Rugged Pickup Truck With Cargo — Simple Roadside Scene

This pickup scene feels sturdy and friendly, with enough open space for relaxed coloring. Start with the truck in a three-quarter front view, showing the grille, side panels, roof rails, and two large all-terrain tires together. Give the body a dusty finish with broad, clean lines, then add windows, door handles, and sturdy wheel arches. Sound complicated? It isn’t, since each feature uses a clear shape.
Fill the cargo bed with simple wooden crates, camping gear, and a rolled canvas tarp, keeping every item easy to identify. Place the truck on a gravel shoulder with sparse grass, a few shrubs, distant hills, and a pale blue sky. Use soft shadow shapes beneath the tires and along one side to suggest warm late-afternoon light, a trick I recommend for all car coloring pages.
I love how the cargo gives you extra areas for earthy colors without taking attention from the vehicle. Keep the background light, and enjoy the satisfying finished roadside scene. Always test your markers on a scrap piece of paper before applying heavy color.
9. Friendly Ice Cream Delivery Van: Cheerful Line Drawing

I love this van because its rounded shape feels welcoming before you add a single color. Wouldn’t a smiling driver make every scoop stop feel happier? Start with the bold outer outline, then fill the serving window, striped awning, rounded wheels, and ice cream cone logo with cheerful colors. Keep each section open and easy to follow, so young artists have plenty of room for crayons or markers.
The roof sign and tiny bell add personality without making the scene crowded, while a few floating clouds give the plain background a little movement. I like leaving the windows, wheels, and awning as clear white spaces before coloring, since strong borders help every shade stay neat, a standard we maintain for car coloring pages. Skip gray tones, lettering, and heavy shadowing to keep the line drawing bright and printable.
Try pink and white stripes on the awning, a sunny yellow body, and a bright cone logo, then feel proud when this friendly vehicle is ready for its first colorful stop. Children especially enjoy mixing pastel shades for this design. The open spaces make blending smooth and stress-free.
10. Chunky School Bus Character Design With Big Windows
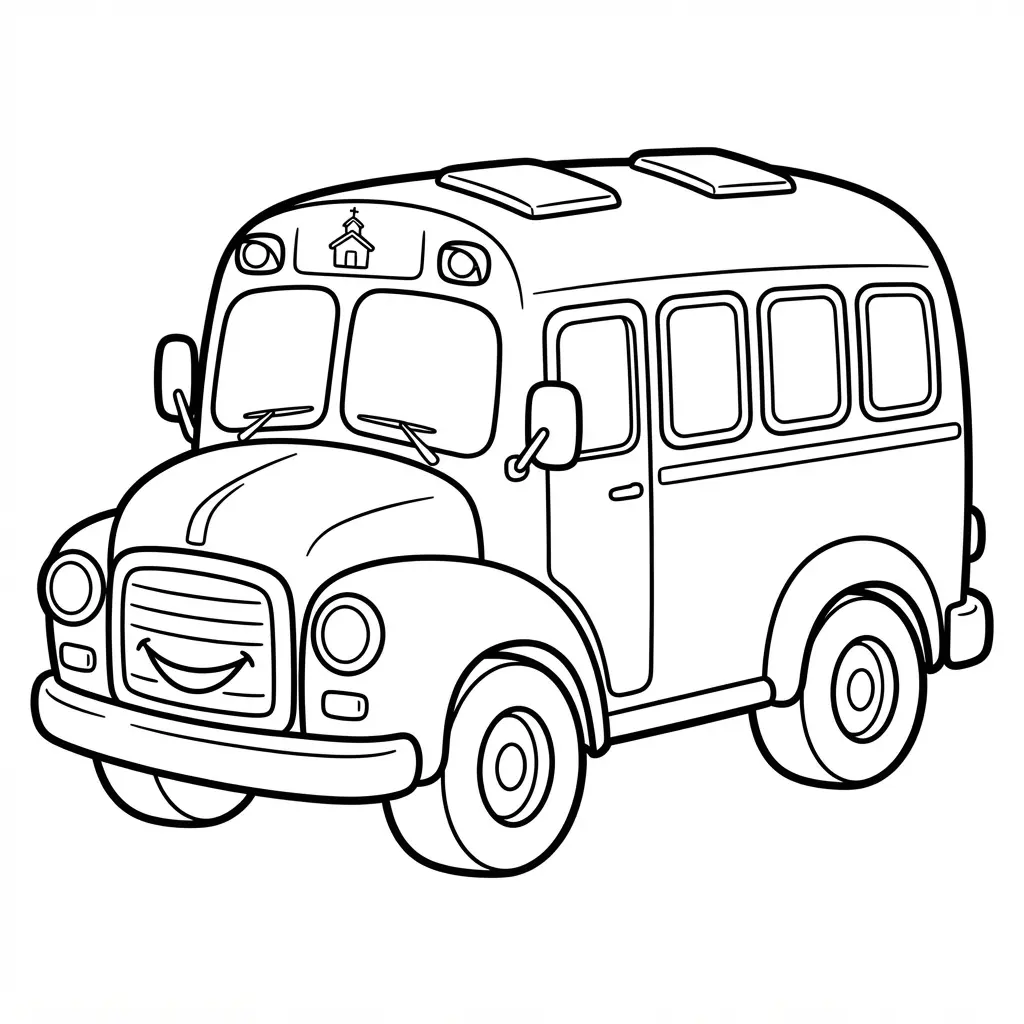
The finished bus looks like a cheerful toy rolling toward you, with a golden-yellow body, huge windows, and a smile tucked beneath bright windshield-eyes. Start with a rounded rectangular body in a slight three-quarter view, then add a gently curved roof and bold outer outlines. Sound complicated? It isn’t. Leave broad panoramic side windows so colorful seats show inside, while keeping the front visible for the friendly expression.
Add a smiling grille, circular headlights, small black mirrors shaped like ears, and a red stop sign along the side. I love how oversized wheels give this character a sturdy, playful stance, especially with simple gray hubcaps and clean black tires. Keep emergency markings and seat shapes easy to color, then skip heavy shadows or use a pale pastel background for a printable page. Your bus will feel welcoming, clear, and full of cheerful personality, which is why we love designing car coloring pages with big smiles.
11. High Speed Police Cruiser Car — Bold Road Scene

A flat side view makes a police cruiser look parked, but a three-quarter front view gives it instant motion. Sound complicated? It is not. Start with a large outline, sloping hood, windshield, roof, separated wheels, and a clear three-quarter front view, then place the cruiser low on the page so it fills the foreground. Add curved tire-spray shapes behind the wheels, angled action lines around the body, and broad lane markings leading toward simple skyscrapers.
Use thick black outlines around the car, road, streetlights, and puddle reflections, leaving wide spaces inside every shape. Keep the flashing light bar open for red and blue coloring, while wet asphalt reflections stay long and clean rather than packed with tiny marks. I love how the low viewpoint makes the cruiser feel fast without needing heavy shading. The bold road scene gives young artists large areas to fill, plus small details such as windows, tires, lane lines, and glowing streetlights. Pro tip: keep the car larger than the buildings, and leave open asphalt around the tires so the silhouette stays clear after printing. Feel proud when the finished page looks ready for a fast city chase, especially with car coloring pages that highlight motion.
12. Detailed Antique Steam Powered Vehicle Outline

Start with large spoked wheels, giving your antique vehicle a tall, carriage-style stance. Add a sturdy iron frame, high seating, and a rounded boiler near the front or center. Exposed pipes, valves, and gauges make the drawing read as steam-powered instead of a modern automobile. Does this old machine sound difficult to outline? It is easier once each part has its own clear shape.
Draw the boiler as a long cylinder or rounded tank, then connect it to the wheels with visible rods and gears. Place a firebox or burner beneath it, plus a water tank and small pressure fittings near the rear. Wood panels, metal brackets, leaf springs, and solid rubber tires add useful historical detail. I love using thick outer lines and thinner interior lines here because every pipe stays easy to follow.
Leave open spaces between the steam system parts so children have room to color each section. Coal, wood, or a fuel container gives the vehicle a practical working look, while a simple road beneath it grounds the scene. For a seasonal variation, a few pumpkins or bats from creative halloween pages to print fit around the wheels without hiding the machinery. Add small bolts and spoke lines last, then enjoy the satisfying old-fashioned finish.
13. Convertible Car With Open Roof: Sunny Drive Design
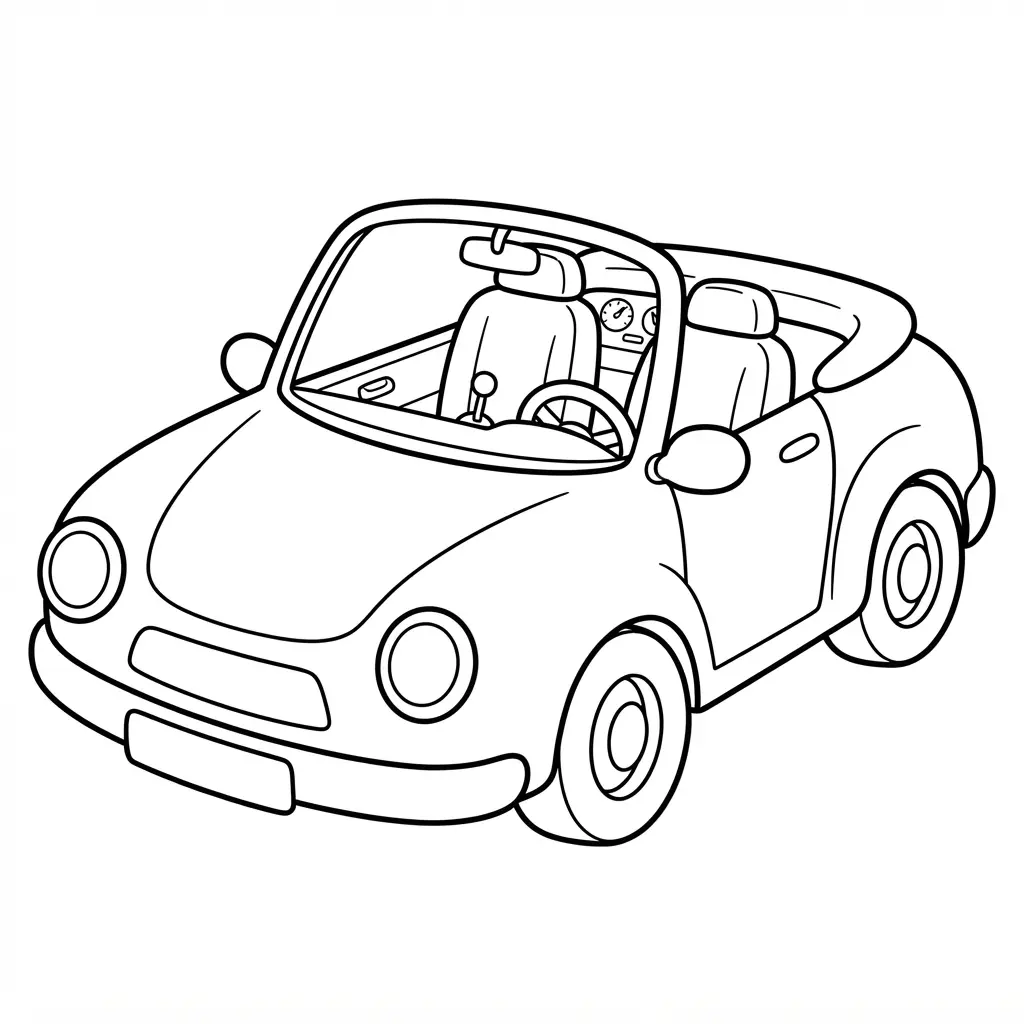
Want a sunny scene for your car coloring pages collection? This cheerful design places a sleek convertible at the center of a coastal highway, with relaxed passengers enjoying the breeze and ocean views behind them. Start with bold, clean outlines around the body, wheels, seats, and open roof so every section feels easy to color.
Keep the roof space clearly open, showing the seats and a small part of the interior beneath it. Add palm trees, blue skies, a distant ocean, and a few simple road lines for gentle movement. Large areas around the windows, bodywork, road, and sky give young artists room for creative choices without crowded details.
I love how the sunny drive theme turns a vehicle into a cheerful vacation scene. A warm color palette suits the polished body, while blue, green, and golden shades bring life to the coastal setting. Use a few short reflection lines on the car, then enjoy the happy summer feeling in every finished section.
14. Sturdy Excavator Construction Vehicle Page With Clear Lines
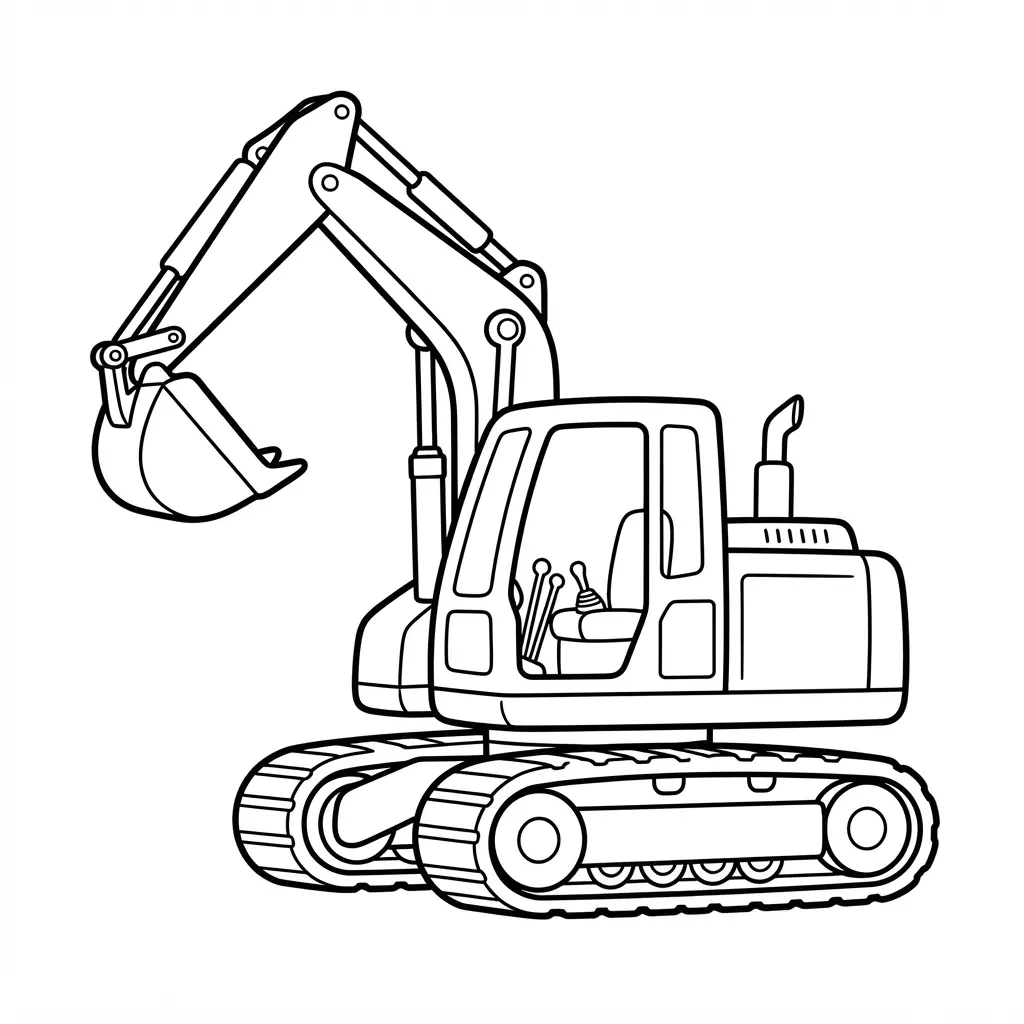
This excavator page feels sturdy and friendly, with a clear side view children recognize at once. Start with the tracked base, round wheels, rugged body, and cabin windows, then follow the articulated arm toward its broad digging bucket. Doesn’t the bucket make the whole picture feel ready for a busy workday?
Keep each part inside a large enclosed section so coloring stays comfortable and neat. Add the hydraulic cylinders along the arm, using balanced shapes so the cabin, body, tracks, arm, and bucket look connected. Finish with thick black outlines, a plain white background, and no shading or gradients. I love this page for younger artists because every feature stands out without tiny details getting in the way. Choose gray, yellow, orange, or bright custom colors for the vehicle, then give the cabin windows a cool blue shade. Your finished construction scene will feel bold, tidy, and full of cheerful energy.
15. Adventurous Camper Van Scene — Simple Outdoor Setting
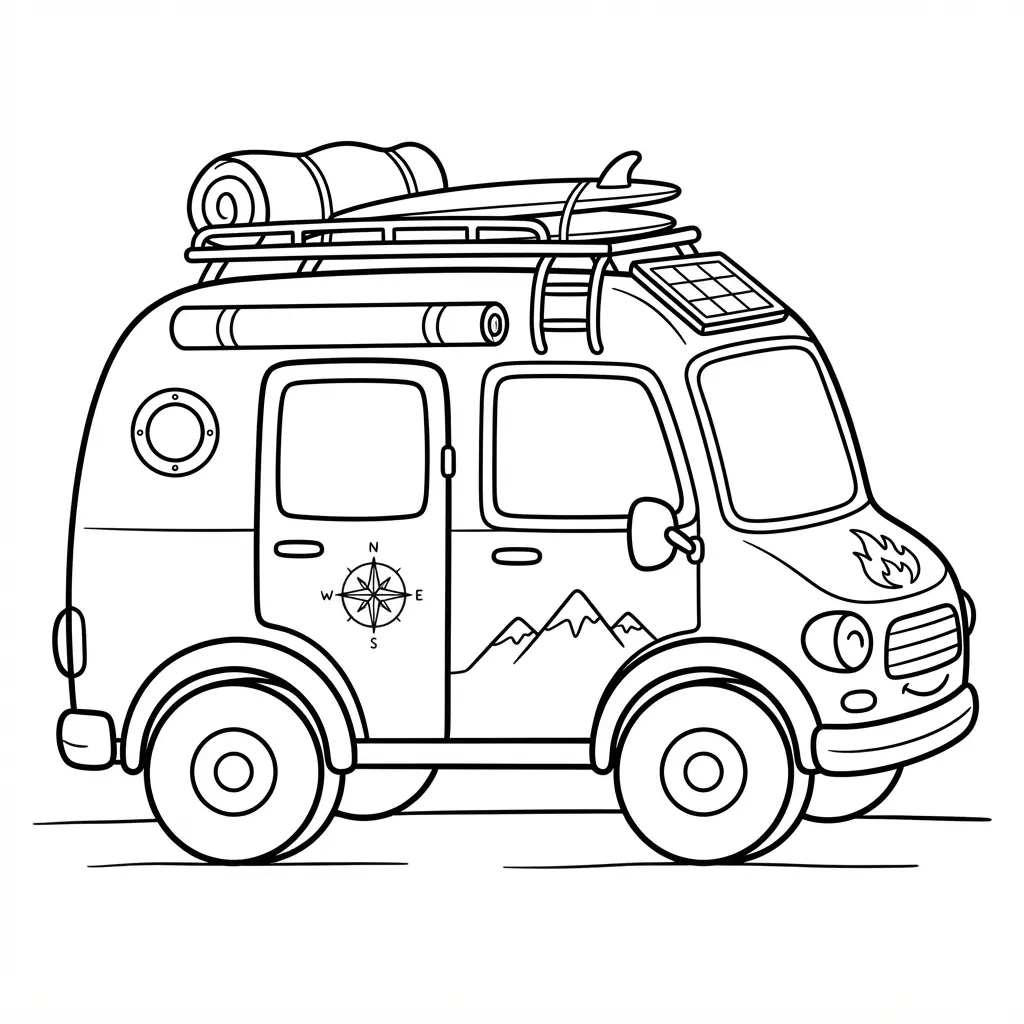
I love this scene because it brings a little camping adventure into one friendly picture. Ever tried drawing a camper van in a forest clearing? Start with the van as the main focal point, giving it a compact body, rounded windows, a roof rack, and a spare tire. Add a folding chair, lantern, backpack, and picnic table nearby.
Frame the picture with tall pine trees, gentle hills, and a short dirt trail, keeping each shape broad and easy to color. Leave plenty of open coloring spaces around the objects so crayons, colored pencils, and markers move smoothly across the page. A few sunlight rays between the trees bring warmth without heavy shading.
Greens suit the pines, browns fit the trail and picnic gear, and a sunny yellow adds a cheerful touch to the van scene. The clear layout works so well because every detail feels useful without crowding the page. Trust me, soft natural colors make the finished picture feel calm, friendly, and ready for a day outdoors.
16. Sleek Electric Sports Sedan Outline With Smooth Shapes
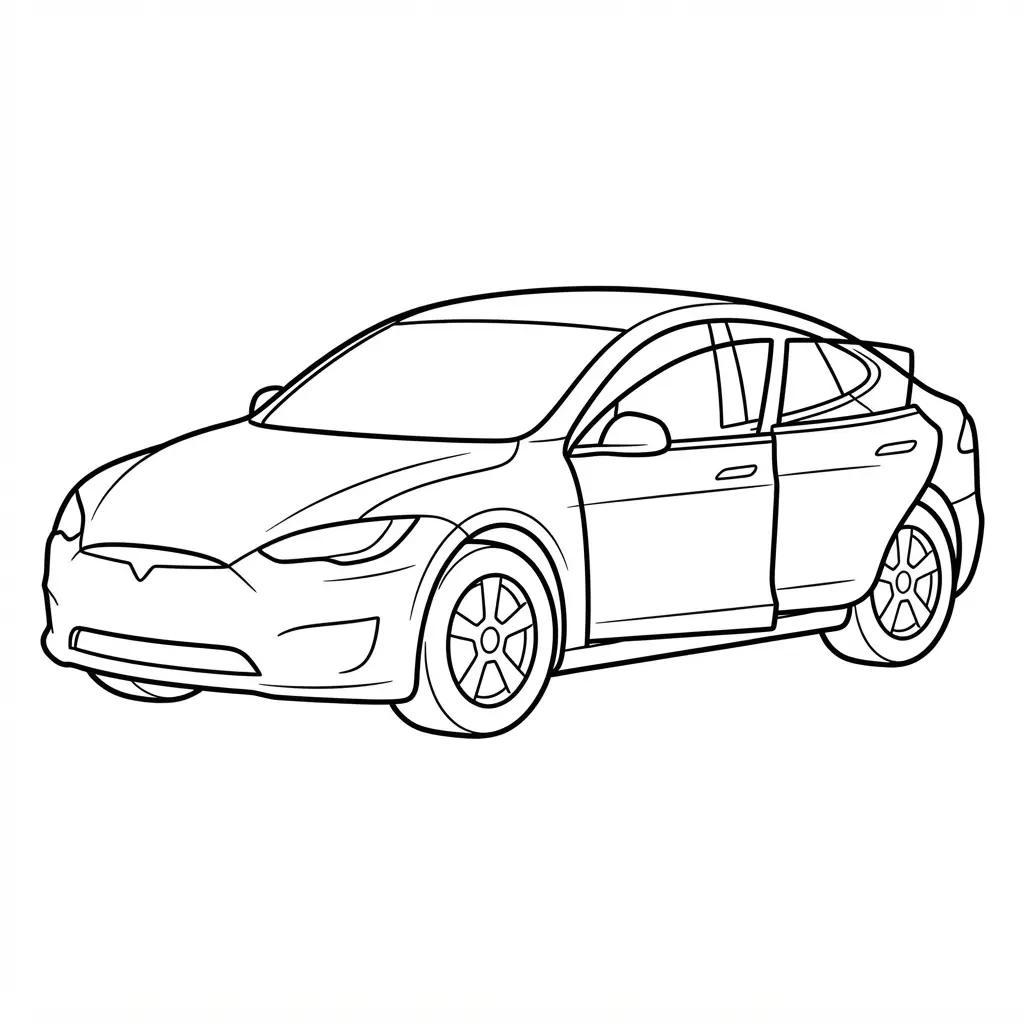
The finished sedan has a low, flowing roof, slim windows, rounded wheels, and a crisp front fascia waiting for color. Ever wondered why this profile feels so modern? I love how smooth outer curves give the car a fast look without filling the page with clutter. Start with the long roofline, then guide the outer body contour from the hood to the rear bumper. Add one clean window shape beneath the roof, followed by sculpted panels, recessed door handles, and streamlined wheels.
Keep each line light and even, with a white background and no shading or text. A bold front end adds character while the four-door layout keeps the vehicle easy to recognize. Focus on balanced side profile so every feature has room to breathe. This outline works well for young artists because its open spaces welcome bright colors, patterns, and personal details. Avoid sharp, uneven strokes or too many tiny parts, since both choices weaken the sleek electric sports sedan look. Use a black outline pen for the final pass, then pick colors for the body, windows, wheels, and trim. Feel proud when those clean shapes come together.
17. Heavy Duty Tow Truck Illustration: Strong Simple Lines
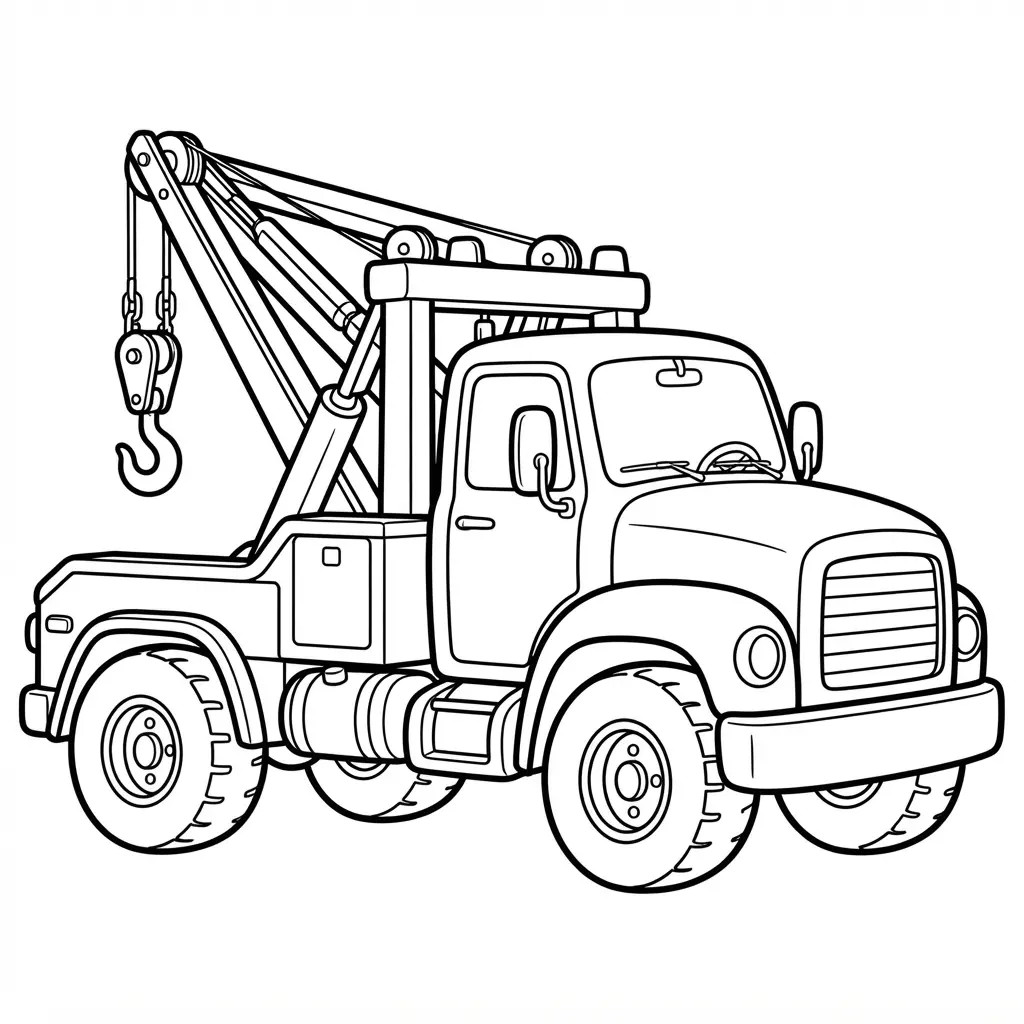
A common mistake with a heavy-duty tow truck is filling every space with tiny mechanical parts. Keep the drawing clean with thick black outlines, so the cab, oversized wheels, bumper, and rear boom stand out at a glance. Sound complicated? It is not. Start with large rectangles and circles, then add a curved boom, a short hydraulic detail, and a clear towing hook. I love how these strong shapes give young artists plenty of room to add yellow, gray, black, or white.
Build the side-view silhouette from front to back, keeping the driver’s cab tall and the main body broad. Make the reinforced bumper easy to see, and leave a small gap between the truck body and the extended boom. The hook should hang at the end of the boom instead of blending into the rear section. For a clean printable page, use a plain white background and remove extra shading, gradients, and crowded lines. Pro tip: trace the main outline last with a smooth black marker, then fill each separate section with care. Your finished vehicle will look sturdy, clear, and ready for a satisfying coloring session.
18. Magical Cartoon Taxi Cab Design With Friendly Details
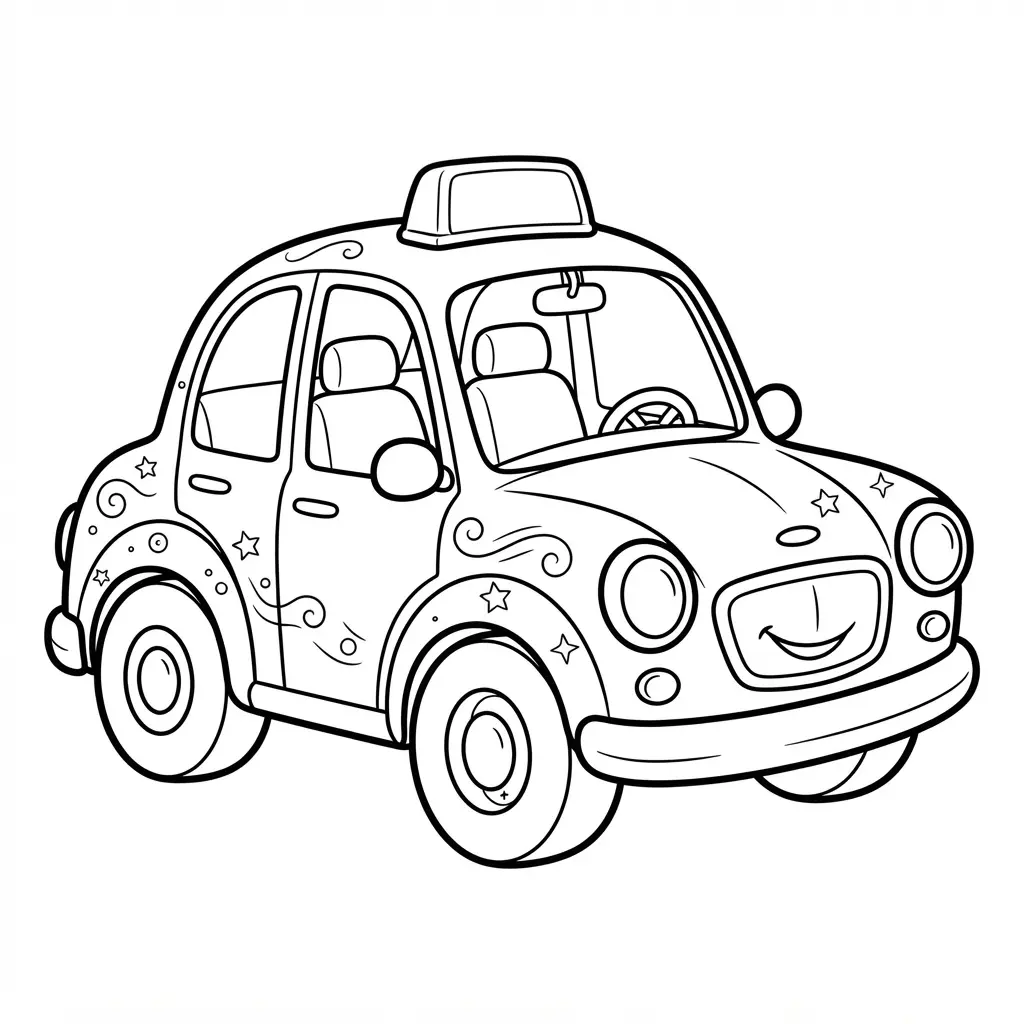
Grab a pencil and start with a rounded taxi body, giving it puffy tires, soft fenders, and a wide lemon-yellow shape. Add large eyes inside the windshield, a smiling grille, rosy cheeks, and pale headlights with tiny star marks. Sound complicated? It is not, especially when each feature stays large and easy to trace.
Place a tiny lantern-shaped taxi sign on the roof, then surround it with sparkles, star decals, and moon symbols. Draw the waving driver and cozy seats through the windows, leaving room for a cheerful “Hop In!” message on the rear door. A trail of golden stars, floating maps, and small luggage pieces gives the scene a playful storybook feeling. I love how these details turn an ordinary vehicle into a friendly character.
Finish with bold black outlines around the windows, tires, decorations, and magical exhaust clouds before adding pastel colors with crayons, pencils, or washable markers. Keep the face clear, and leave open spaces around the sign and side decals so young artists have room to color. Your finished design will feel warm, cheerful, and ready for a colorful adventure, especially when you treat it like premium car coloring pages.
Displaying A Child’s Finished Vehicle Collection
Store finished pages in acid-free sleeves before stacking them, because damp paper often causes sticking, curling, or color transfer. A three-ring binder with protective pockets keeps each vehicle flat and lets your child add new pages without bending older work. Leave a narrow white border around every sheet, since trimming the margin removes space for names, dates, and color notes. For a wall display, clip pages to a cord or place them in lightweight frames with clear glazing, keeping direct sun away from bright marker colors. Group cars by body color, vehicle type, or artist without covering the drawings. Add labels on the back rather than writing across windows or other colored areas. Acid-free sleeves give the collection a tidy home between displays, preserving every car coloring pages masterpiece for years to come.
Conclusion
So how was your creative session? Look at what you have made, from bright racing colors to friendly rescue vehicles. Each finished page shows personal choices, careful effort, and a good sense of fun. Car coloring pages give kids a calm activity with room for bold ideas, gentle shading, and new color combinations. I love how one child picks classic reds and blues while another chooses pink, green, or every color in the box.
We all bring our own style to a simple outline. For the next session, let your child choose one favorite vehicle, print it on sturdy paper, and place the finished page somewhere easy to see. Add a small date or name in the corner so each page becomes a happy record of growing skills. Keep a few crayons nearby, pick a fresh design, and get started whenever the mood feels right. Your next favorite car is waiting on the page.
FAQs
Q: What paper works best for printable car pages?
A: Standard printer paper works well for crayons and colored pencils. Choose cardstock for markers or for pages you plan to display.
Q: Are these vehicle pages suitable for preschoolers?
A: Yes, the bold outlines and open spaces suit preschool coloring sessions. An adult can help with printing and selecting coloring tools.
Q: Which coloring tools work well for car designs?
A: Crayons, washable markers, and colored pencils all work well. Use crayons for younger children and pencils for small details.
Q: How do I print car coloring pages at home?
A: Open the page file, select the print option, and choose a standard paper size. Use the highest quality setting for clean outlines.
Q: How should kids choose a first vehicle page?
A: Start with a vehicle your child already likes, such as a race car, bus, or truck. A familiar subject often keeps the session relaxed and enjoyable.