


Essential Drawing Tools for Creating Candy Illustrations
Successful illustration execution begins with proper material selection. A standard graphite instrument provides reliable, erasable marks for preliminary framework construction. Pair this with a quality eraser and a smooth-surface sketchpad for optimal application. A metal straightedge assists in establishing linear guide tracks, though manual estimation remains acceptable. Permanent ink application requires a dedicated fine-tip marking tool, while layered coloring demands reliable pigment carriers. None of these components demand premium pricing tiers. Understanding how to draw a lollipop becomes straightforward when reliable tools remain within easy reach before beginning.
Preparing Your Canvas for Consistent Proportions
Establishing a controlled workspace eliminates environmental interference during the drafting phase. Select a flat desk surface positioned beneath consistent, diffused illumination. Examine the paper expanse and lightly designate the central occupancy zone, preserving adequate lower space for the linear extension. This preliminary spatial allocation guarantees balanced final composition geometry. Maintain a relaxed grip during initial marking phases to prevent rigid, over-drawn lines. These preliminary framework marks eventually disappear, so prioritize approximate spatial relationships over absolute precision at this stage. Determining how to draw a lollipop requires accurate initial placement to avoid structural correction later.
1. Sketch the Vertical Guide Line for Your Stick

This initial phase establishes a vertical reference track that maintains central alignment for the entire composition, crucial for drawing a cute lollipop. Using an H or 2H pencil with minimal downward force, mark a faint vertical trajectory across the paper surface. Begin this trajectory directly beneath the intended circular housing and extend it downward to match your desired shaft length. Drive the motion from your shoulder joint rather than your wrist to ensure consistent linear flow without accidental jagged interruptions. Keep physical pressure exceptionally light so future removal leaves zero surface abrasion. For optimal geometric alignment, place two terminal coordinates first, then bridge them in a single motion. Studying how to draw a lollipop demands steady vertical control from this opening framework step. Verifying shaft alignment remains critical throughout the drafting process.
2. The Circular Candy Head: Defining Your Main Silhouette
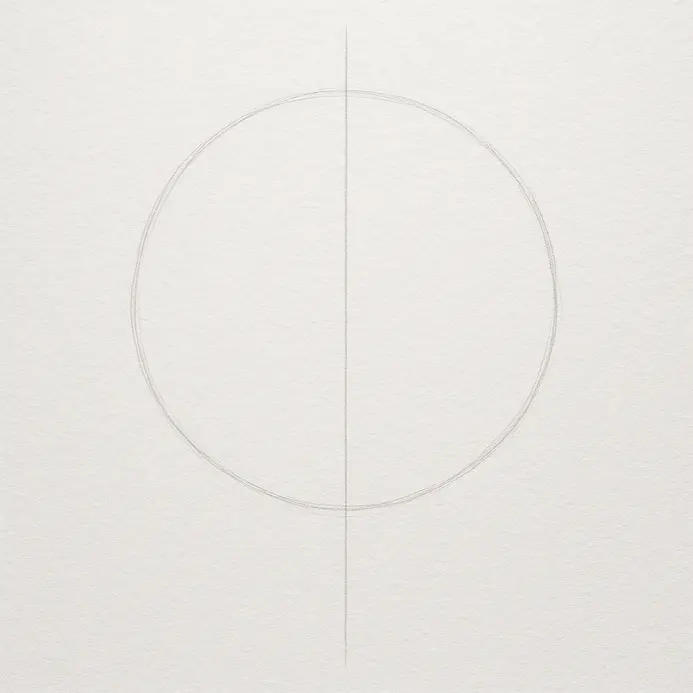
This phase constructs the primary circular housing that anchors all subsequent detailing layers. Hold your marking instrument lightly between the fingers to allow fluid paper traversal, making it easier for kids to follow along. Hover above the upper paper region and initiate a broad, continuous rotational sweep as shown in this easy drawing tutorial. Engage the entire forearm to generate genuine circular motion rather than fragmented wrist arcs. Apply negligible surface pressure so preliminary contour adjustments remain completely reversible. Refine the outer boundary through several overlapping passes until the perimeter appears genuinely symmetrical. Once the circular geometry satisfies visual standards, commit to a single, decisive contour trace around the exterior boundary. Extend a rigid vertical trajectory from the exact lower midpoint to establish the handle foundation. Exploring how to draw a cute lollipop involves mastering this smooth circular transition into a linear extension, as demonstrated in the video. If your perimeter appears elongated, invert the paper to evaluate symmetry from a reversed perspective.
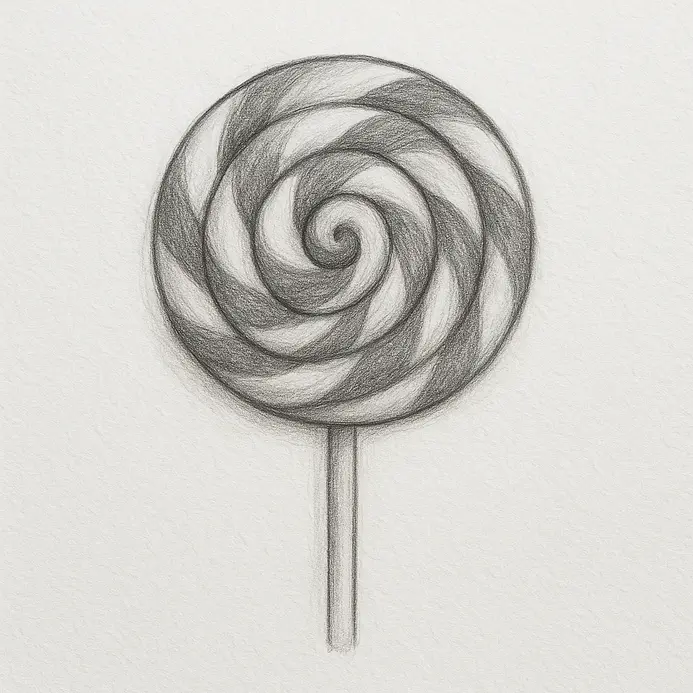
3. Draw the Internal Spiral Swirl Around the Center
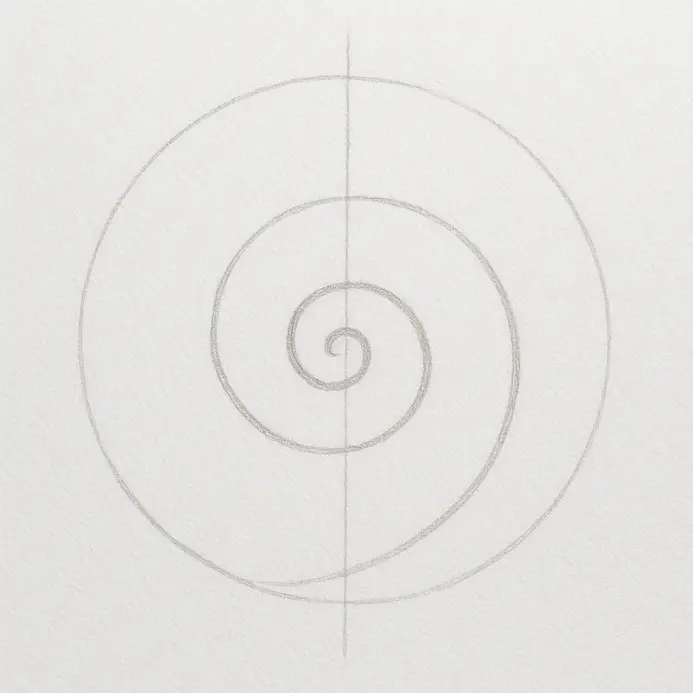
This stage introduces the twisted surface pattern that defines the candy interior. Locate the geometric center and apply firm pressure to establish a distinct focal coordinate, which is essential in art. From that central anchor, trace a continuous curving path outward in an expanding rotational loop. Allow the trajectory to sweep past itself repeatedly, forming an unbroken coil that widens progressively. Reference this resource on how to draw a snowflake to observe comparable center-outward motion sequencing in the context of drawing tutorials. Practicing how to draw a lollipop simplifies significantly when isolating this rotational drafting technique first. Maintaining consistent spacing between adjacent loops ensures professional visual continuity across the entire surface. Rotate your forearm deliberately to preserve smooth curvature throughout the extension phase. Direct application of this rotational mechanics improves your final output when studying how to draw a lollipop under timed conditions.
4. The Refined Sketch: A Clean Foundation for Ink
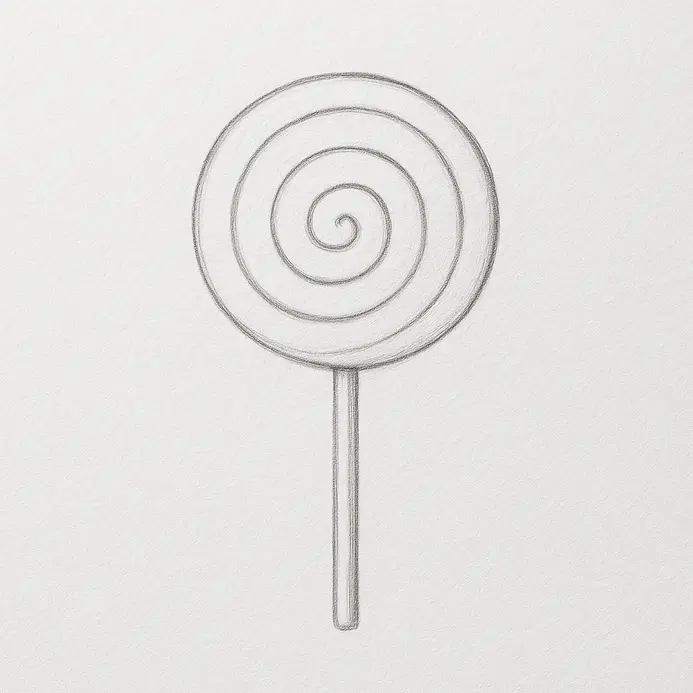
Establish a crisp, finalized layout before transitioning to permanent pigment. A clean structural blueprint eliminates interference during subsequent application phases. Position your working surface and grasp your colored pencils to start your drawing journey. graphite drafting tool near the rear barrel section of the cute lollipop drawing. Lightly trace a mathematically accurate circle across the central paper region. Engage your shoulder mechanism to execute one unbroken, sweeping contour across the page. Drop a straight vertical track beneath the lower perimeter to anchor the handle support structure. Maintain exceptionally light contact pressure throughout this refinement phase so underlying framework remains fully erasable. Studying how to draw a lollipop rewards practitioners who prioritize continuous line flow over fragmented correction strokes. If structural irregularities appear, invert your working sheet to evaluate proportional balance from a fresh viewing angle. For additional foundational geometry repetition exercises, consult this collection on easy drawing techniques for kids. simple drawings to practice.
5. Ink Your Final Lines for a Permanent Outline
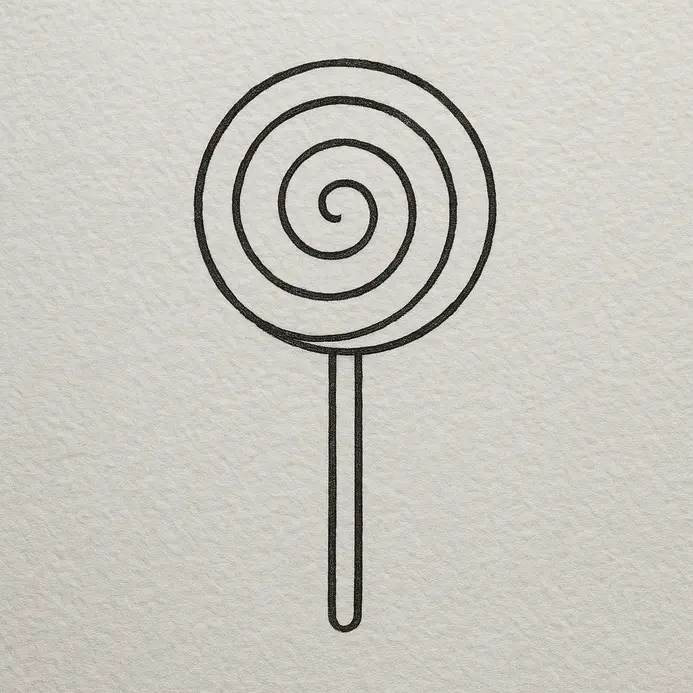
Transition your graphite framework into a durable, archival-quality outline using precision liquid pigment tools. Select a fine-liner pen equipped with a 0.5mm nib diameter. Begin tracing the interior rotational patterns first, maintaining steady, uniform downward pressure along each curve. Proceed systematically outward to the exterior boundary definition. Place the nib precisely at the uppermost coordinate and execute a confident rotational sweep to complete the full perimeter silhouette. Gradually increase nib pressure during the downward arc to simulate natural gravitational shadow weight. Keep the writing arm anchored against the desk to prevent accidental smudging while moving toward the lower paper region. Exploring how to draw a lollipop demands patience during this permanent-line application stage to prevent irreversible layout errors. Allow fresh pigment to cure completely before removing underlying framework marks. Verify the circular seam remains continuous and unbroken across the entire circumference to ensure a polished final art piece. Practicing the rotational motion in empty space before contacting paper surface builds reliable muscle memory. Reviewing anime characters with pink hair drawings highlights how clean line weight elevation transforms flat compositions into dynamic visual statements.
6. Want More Depth? Add Shading Along One Side

Introduce graphite gradients to transform flat outlines into convincing three-dimensional forms. Designate the right exterior quadrant to serve as your primary shadow reception zone. Utilize an H grade graphite stick to deposit tight, parallel strokes that precisely follow the outer curvature geometry. Apply firm downward pressure near the extreme perimeter boundary, then progressively reduce contact force while moving toward the interior center. This deliberate pressure transition generates a seamless tonal gradient without abrupt value shifts. Maintain a relaxed hand posture so strokes naturally mimic the underlying spherical contour. Preventing harsh shadow boundaries ensures realistic light interaction across the surface. Practicing how to draw a cute lollipop benefits substantially from mastering this controlled tonal fade technique found in our tutorial. Examine this spherical rendering guide on how to draw a cherry to observe advanced gradient blending methods. Consistent tonal control directly elevates your results when determining how to draw a cute lollipop for portfolio evaluation purposes, especially in art class.
7. Apply Bright Colored Markers Over Your Candy Base
Apply vibrant surface pigment to convert your structural outline into a finished visual presentation. Select your brightest liquid color carrier tool for the initial deposition layer. Begin coating the interior rotational tracks using the lightest available pigment value. Follow the exact curvature orientation of your established spiral framework with smooth, unbroken directional passes. Confine all pigment strictly within the permanent ink boundaries to maintain crisp edge definition. Allow the initial pigment layer to dry completely before introducing darker tones into adjacent shadow zones. This sequential drying protocol prevents unwanted color muddiness and preserves maximum chromatic intensity. Leave narrow uncolored strips exposed along peak curves to simulate natural light reflection. Mastering how to draw a lollipop requires balancing rapid application speed with precise moisture management across paper surfaces. Maintain constant tool motion to prevent localized pigment pooling in any single area. When studying how to draw a lollipop under exhibition standards, consistent color layering separates preliminary sketches from professional presentation pieces.
8. Final White Highlights That Make the Candy Shine

Deposit precise reflective marks to finalize the glossy optical illusion across your completed surface. Grip your white opaque pen firmly between thumb and index finger to ensure maximum tip control. Visualize a directional light source originating from the upper-left quadrant of your physical workspace. Locate the upper-left exterior curve of your circular housing shape. Press the applicator tip firmly against the dried pigment surface and trace a thin, crescent-shaped stroke that closely hugs the perimeter boundary. Lift the instrument immediately after completing the reflective arc to prevent unintended bleeding. Position a secondary micro-dot reflection on the opposite shaded quadrant to simulate ambient environmental bounce illumination. Maintain unwavering hand stability while applying confident, rapid strokes to ensure maximum pigment opaqueness. Adding these final optical reflections proves essential when determining how to draw a lollipop for advanced portfolio development. If reflective marks appear muted against the underlying color field, verify your shadow gradient provides sufficient tonal contrast reinforcement.
Refining Your Style Through Line Weight and Variation
After completing primary application phases, deliberately adjust stroke thickness to enhance visual hierarchy across the composition. Modulate your instrument pressure to introduce calculated contrast between exterior and interior boundaries. Trace the outermost perimeter using heavier stroke weight to establish clear spatial separation from the background field. Maintain lighter, softer trajectories for all interior spiral patterns to prevent visual overcrowding. This controlled line weight modulation introduces a polished, professional finish and generates deliberate compositional momentum. Implementing this structural awareness improves your technical output every time you explore how to draw a lollipop independently.
Conclusion
Congratulations on completing your vibrant candy illustration workflow! Finishing this composition confirms your established foundational drafting abilities and spatial planning competence. Throughout this comprehensive session on how to draw a lollipop, you applied a reliable structural methodology by establishing preliminary framework guides, defining primary geometry, detailing surface textures, and finalizing with precise pigment layering. Replicate the entire sequence from memory to evaluate your spatial retention capabilities and procedural fluency. Experiment with miniature scale variations or substitute the interior rotational pattern with geometric striping alternatives. Apply identical framework-building protocols to wrapped confectionery subjects or frozen dessert forms using the same structural methodology. Display your finished artwork openly within your studio environment to document technical progress over extended training periods. Mastering how to draw a lollipop establishes a flexible, transferable foundation for countless future illustration projects across multiple stylistic disciplines.
FAQs
Q: How do I draw a lollipop in an easy step-by-step way?
A: Start with a circle for the candy and a straight line for the stick on your drawing paper. Add spiral or swirled lines inside the circle to make it look sweet and colorful. Use simple shapes and follow an easy step-by-step approach: sketch, refine, ink, then color. This method is free and perfect for beginners who want fun results.
Q: What art supplies do I need to draw a lollipop?
A: Basic art supplies are all you need: pencil, eraser, fine liner or pen, and coloring tools like markers, colored pencils, or watercolors. Use good drawing paper to prevent smudging. For a quick tutorial, a free printable template or an easy step-by-step video on youtube can be helpful.
Q: Can toddlers draw a lollipop, and how can I make it toddler-friendly?
A: Yes — simplify the process for toddlers by using large shapes and bold colors. Provide thick crayons, large drawing paper, and guide them with a single circle and a big stick. Keep it fun and short, and try YouTube Kids for simple, kid-safe drawing videos to watch together.
Q: Are there free resources or templates to help me draw a lollipop?
A: Many websites and pinterest boards offer free step-by-step guides and printable templates. You can also find free tutorial videos on youtube that demonstrate drawing and coloring techniques for a sweet lollipop illustration.
Q: How can I make my lollipop drawing look more realistic or 3D?
A: Add highlights and shadows to the candy and stick. Draw a small white highlight and use darker shades on the opposite side for depth. Blending colors and adding a slight gradient on drawing paper will make the lollipop pop. You can watch a youtube tutorial for advanced shading techniques.


