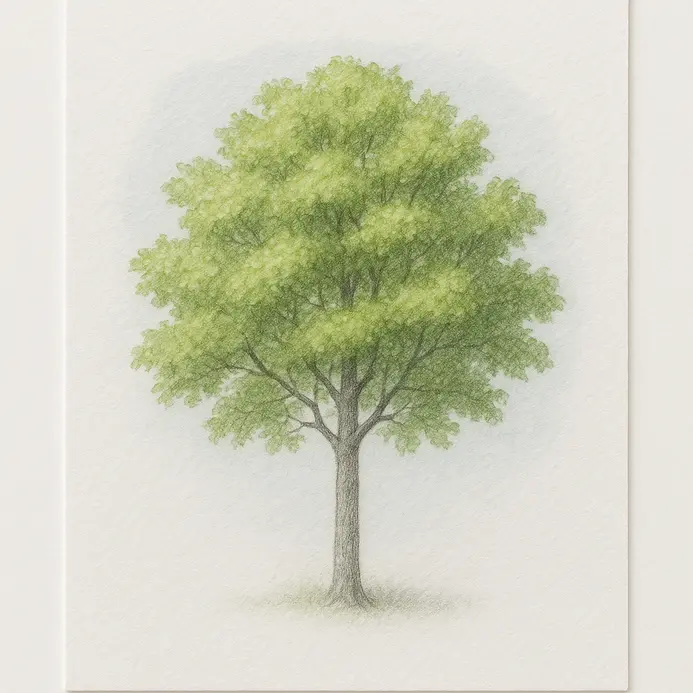


What You Will Need
Gathering basic supplies guarantees a smooth creative session when learning how to draw a tree efficiently. A standard HB or 2H graphite tool works exceptionally well for establishing light guide marks on smooth paper. Pair that writing instrument with a pliable cleanup eraser and a stable drafting surface. You will also appreciate having a precision tip for accurate line corrections before final inking begins. Affordable materials deliver professional results, so expensive equipment remains completely unnecessary.
How to Use This Step-by-Step Tutorial
Follow every instruction sequentially because each stage relies on the previous construction layer. Light preliminary sketching protects the underlying paper and makes future adjustments effortless to execute. You will erase these temporary marks once the final silhouette emerges completely. Rough early lines remain completely normal during this foundational phase. This systematic approach guarantees a recognizable form after every sequential pass. Understanding the exact methodology for how to draw a tree transforms initial frustration into tangible progress.
1. Sketch the Vertical Trunk and Basic Canopy Outline
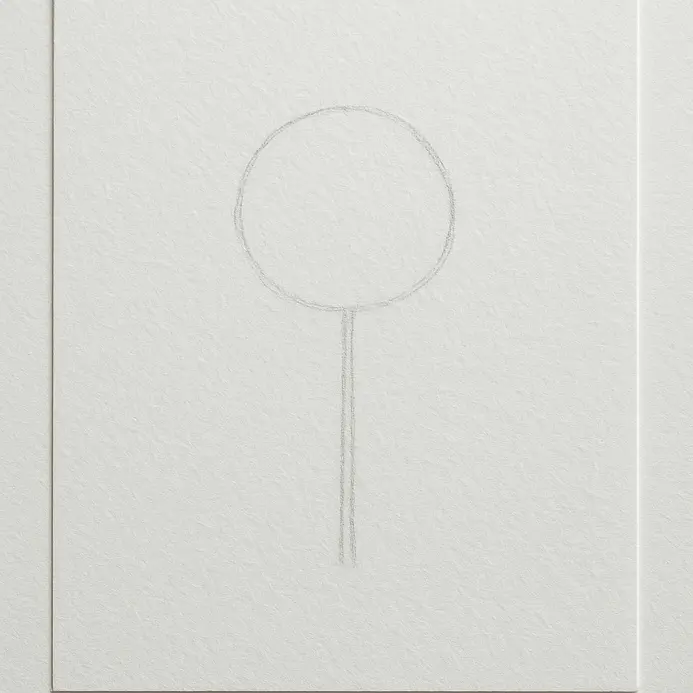
Building a solid armature establishes the framework for every subsequent detail you add later. Establishing a clear central axis makes studying how to draw a tree significantly easier for beginners. Sketch a straight vertical mark lightly to serve as your primary structural guide. Move your hand from the shoulder rather than the wrist for smooth, consistent strokes while drawing a simple tree. Place parallel reference marks on either side to outline the tree trunk width, keeping the base noticeably wider than the top. Gentle curves near the ground line suggest root structures without creating rigid telephone pole appearances. Establishing canopy boundaries requires marking the highest point and the widest lateral edges. Connect these reference dots using loose, undulating strokes instead of perfect geometric circles. Visualizing overlapping cloud formations helps you understand how to draw a tree canopy with genuine organic volume. Varying the left and right proportions mimics natural growth patterns effectively.
2. The Main Branches: Creating the Tree’s Structural Foundation
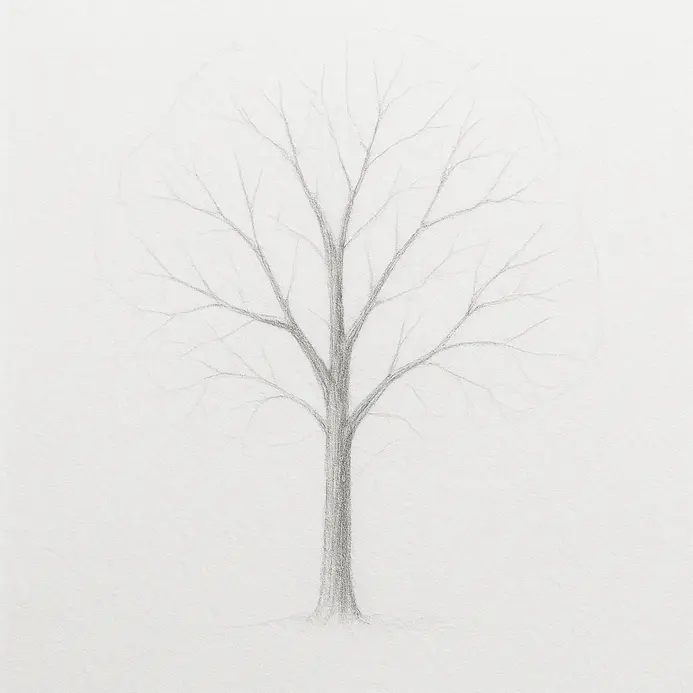
Transitioning from the central shaft to primary limbs dictates the entire compositional balance. Establishing load-bearing branches first guarantees structural accuracy before any shading appears. Extend thick lines outward from the upper trunk area, tapering them gradually toward the outer edges. Vary the directional angles so some reach upward while others sweep horizontally or dip downward. Maintaining distinct spatial separation prevents awkward overlapping and serves as a core principle when learning how to draw a tree armatures. Nature avoids rigid symmetry, so altering branch lengths creates dynamic visual interest across the page. Observing real specimens confirms that sunlight exposure dictates asymmetrical growth patterns naturally. Practicing this structural phase thoroughly improves your overall technique for landscape composition. Confidence during the sketching stage translates directly into convincing final outlines.
3. Want a Full Canopy? Build It with Overlapping Cloud Shapes
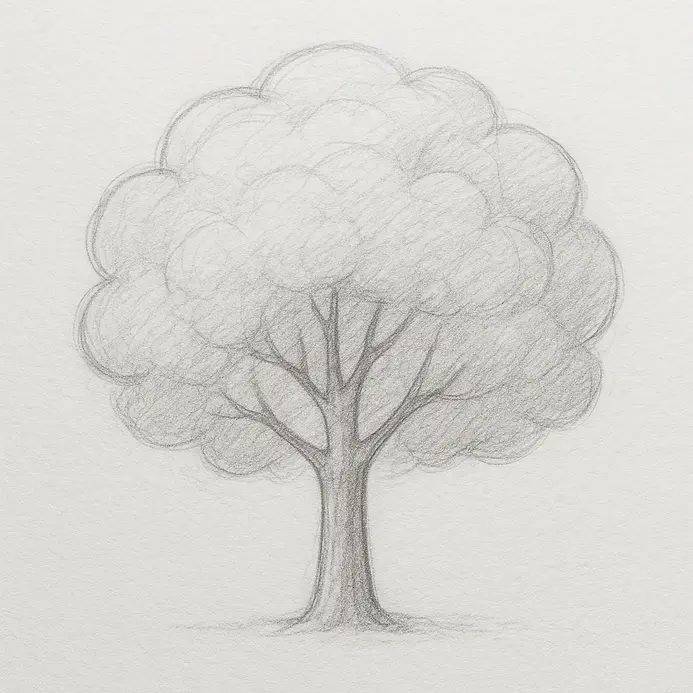
Transitioning from skeletal guidelines to dimensional foliage transforms a flat outline into a living structure. Layering overlapping formations builds mass efficiently while maintaining natural depth across the crown. Begin by sketching large, soft-edged clusters around your central trunk and primary limbs. These background elements establish the initial volume before finer surface details emerge. Add a secondary layer of slightly smaller cloud forms that partially overlap the initial clusters. Understanding depth mechanics remains crucial for analyzing how to draw a tree foliage correctly. This overlapping technique instantly separates foreground foliage from background elements. Clustering varying sizes together prevents monotonous grid patterns and creates a highly organic appearance. Pro artists avoid uniform sizing and equal spacing to maintain visual tension throughout the piece. Grouping small puffs near larger masses produces an interconnected, forest-ready aesthetic instantly. Letting edges merge eliminates harsh boundaries and softens the overall composition. This organic approach guarantees professional results when mastering how to draw trees using layering techniques.
4. Bark Texture: Simple Vertical Lines That Add Realism
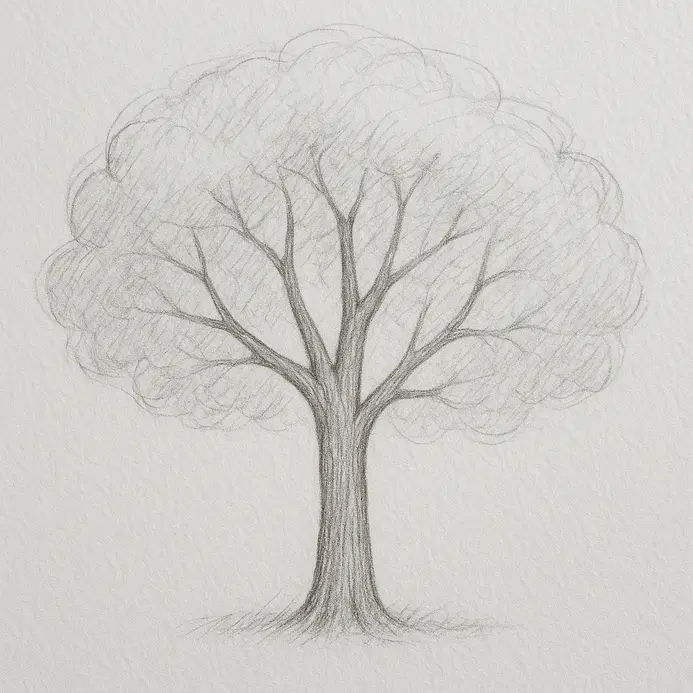
Surface treatment transforms flat outlines into solid, weighty natural objects like a realistic tree that occupy space physically. Establishing consistent grain direction guarantees structural plausibility across the entire wooden shaft. Drag your tool lightly upward to create a subtle base tone before adding dark marks. Switching to a sharper tip allows you to carve deeper vertical fissures with precise control. Irregular line weight mimics the unpredictable nature of aging timber perfectly. Grouping two or three tight cracks together suggests deep grooves between raised ridges. Leaving smooth intervals between rough patches maintains visual balance automatically. Mastering how to draw a tree bark surface requires observing how cylindrical forms wrap around edges naturally. Aligning shadow intensity with your predetermined light source reinforces three-dimensional volume effectively. Darkening crack interiors enhances contrast without overwhelming the surrounding surface patterns. These textural elements complete the core foundation before permanent inking occurs. Practicing these rendering methods repeatedly accelerates your overall artistic development.
5. Add Leaf Clusters to Fill the Canopy Forms
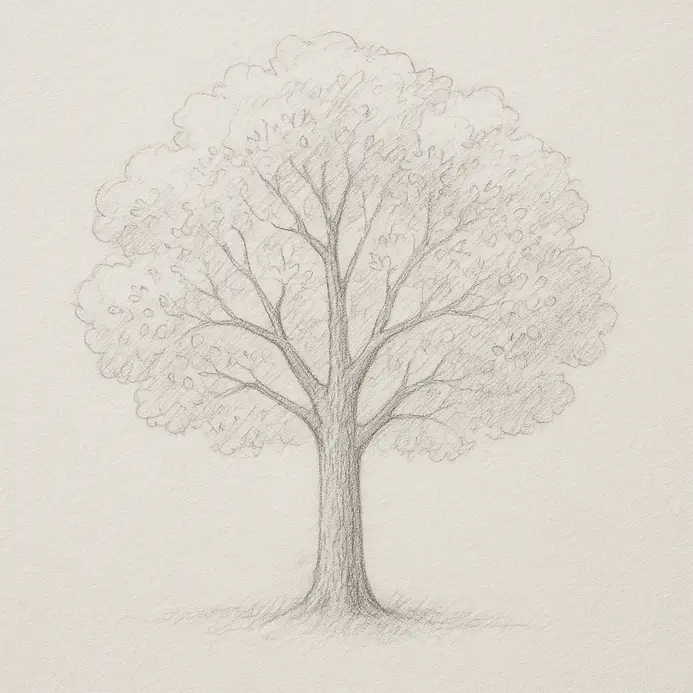
Filling empty zones with grouped foliage creates substantial visual mass and convincing scale. Light directional strokes guide individual leaves outward from exposed secondary limbs efficiently. Broadleaf varieties respond best to flattened, irregular shapes attached along the side of the tree. Needle-bearing specimens require tighter, linear formations extending directly from the branches. Varying the scale and orientation prevents mechanical repetition across the entire crown structure. Connecting minor groups into larger composite structures fills primary zones efficiently. Leaving deliberate negative space exposes the underlying branch architecture of the pine tree for added realism. Applying a strict hierarchy of cluster sizes guarantees a lively composition when reviewing how to draw a tree with complete accuracy.
6. Smaller Twigs: The Details That Bring Your Tree to Life
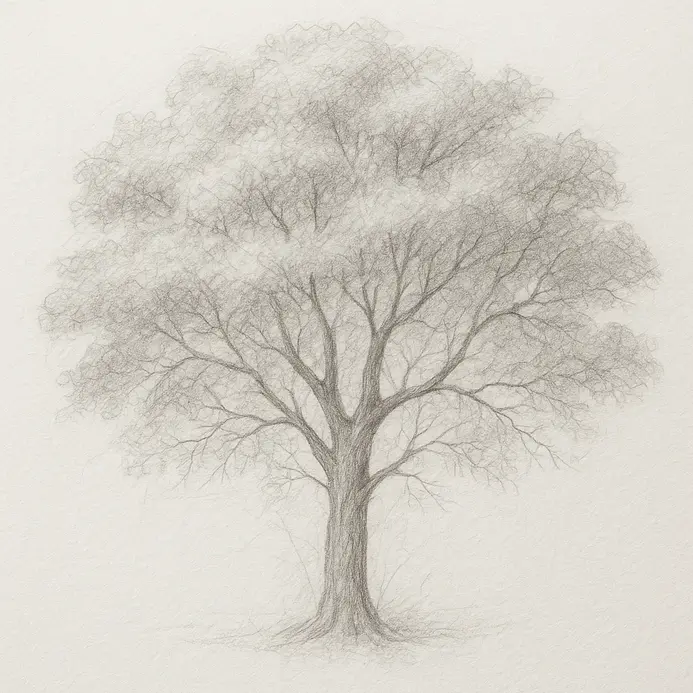
These final structural elements transform a static outline into a living composition on the page. Every delicate mark contributes to a unique identity when studying how to draw a tree with precision. Nature completely avoids symmetrical arrangements, so varying the directions guarantees authentic results. Drawing upward sweeps alongside downward droops establishes natural movement across the outer branches. Maintaining a lighter pressure produces delicate taper lines that fade smoothly into the background. These finer connections capture ambient light and generate complex shadow patterns automatically. Exploring additional composition techniques expands your artistic vocabulary significantly. Understanding how to draw a tree details elevates basic sketches into professional illustration work immediately.
7. Ready to Clean Up? Refine the Silhouette and Erase Guides
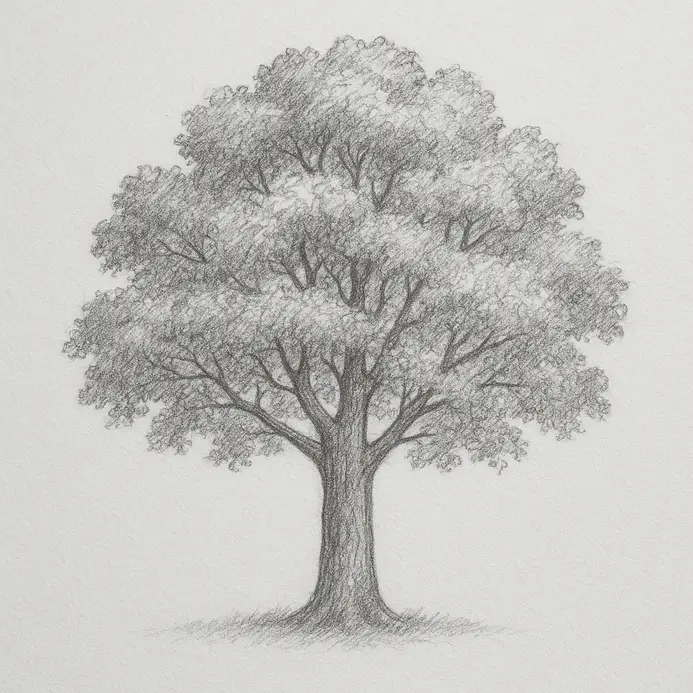
This cleanup phase transforms rough construction into polished outlines ready for final presentation. Setting your workspace correctly guarantees smooth transitions from preliminary draft to final piece. Lightening construction marks with a kneaded tool prevents unintended smudging during the removal process. Drawing the final contour directly over your guides establishes definitive edges across the entire composition. Thickening the lower shaft with heavy strokes contrasts beautifully against thin, wispy branch tips. Avoiding smooth geometric crowns preserves an authentic, weathered appearance consistently. Retaining faint internal lines maintains structural integrity while you refine outer boundaries carefully. This methodical approach defines the ultimate success metric when learning how to draw a tree correctly from scratch.
8. Inking: The Step That Makes Your Drawing Permanent
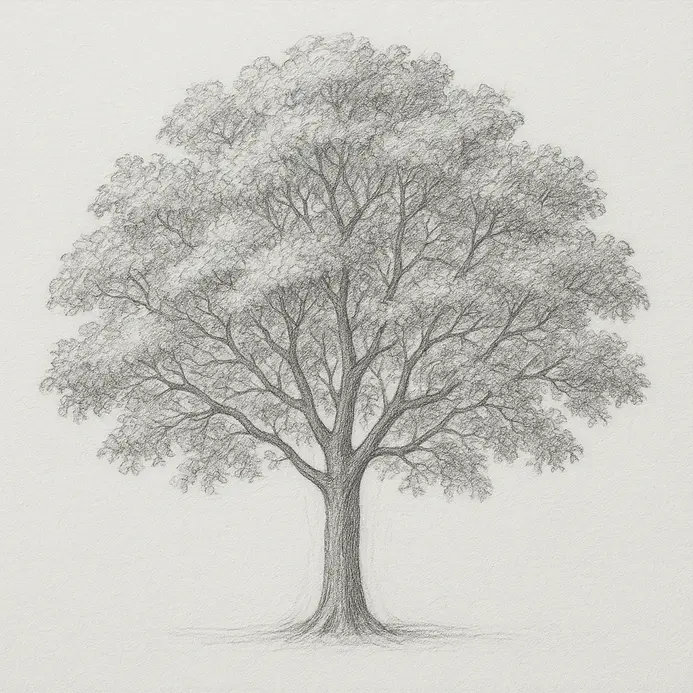
Moving from preliminary planning to permanent commitment secures your composition for long-term display. This defining stage clarifies every construction line into crisp, readable forms efficiently. Lightening the underlying sketch ensures clean tracing paths and prevents muddy outlines completely. Tracing primary limbs and central shafts first establishes visual hierarchy early in the process. Confident, unbroken strokes replace hesitant scribbles to produce professional-looking tree drawing linework reliably. Increasing pressure along the lower edges creates natural shadow weight automatically across the page. Releasing pressure along the upper curves suggests bright sunlight striking the surface effectively. Understanding ink flow dynamics remains essential when mastering how to draw a tree permanent outlines successfully.
9. Add Shading to Create Depth and Define Light
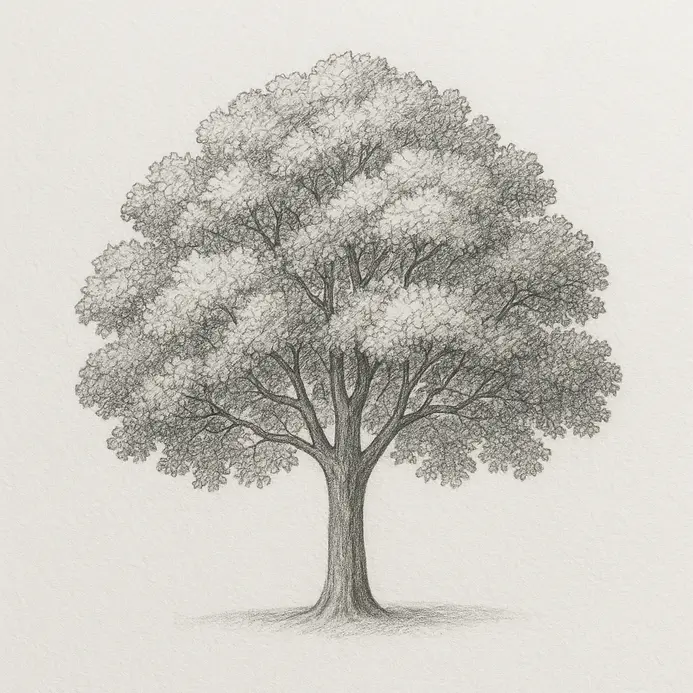
Integrating tonal values transforms flat shapes into convincing three-dimensional forms of a type of tree rapidly. Establishing a consistent light source clarifies which areas receive direct illumination and which remain in shadow. Applying light parallel strokes to the sphere-shaped crown mimics natural curvature accurately. Maintaining vertical hatching along the cylindrical trunk of a realistic tree reinforces its structural roundness visually. Leaving thin, lightened strips along shadow borders of a pine tree demonstrates reflected environmental light perfectly. This subtle contrast prevents heavy, flat areas from dominating the composition negatively. Casting a dark patch beneath the bottom of the tree anchors the entire structure to the ground securely. Implementing these lighting principles guarantees realistic volume and serves as the final requirement for analyzing how to draw a tree under natural illumination.
10. Optional Color: A Wash That Enhances Your Finished Art
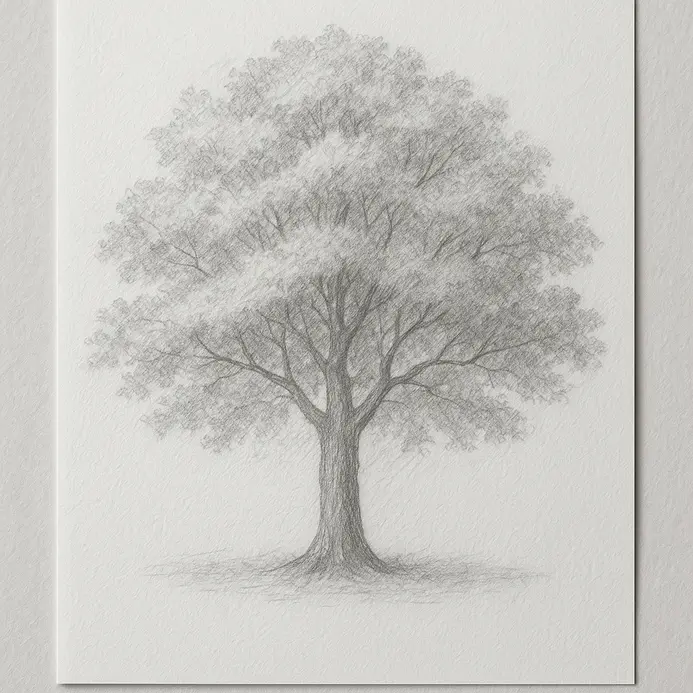
Applying a thin transparent layer unifies all previous graphite marks under a single atmospheric tone. Diluting watercolor or ink creates a gentle tint that acts as a visual filter across the colored pencil surface. Testing mixture strength on scrap material prevents over-saturation and maintains subtle harmony throughout the entire composition. A cool blue gradient establishes a tranquil evening mood while warm sepia tones evoke vintage nostalgia. Ensuring complete dryness prevents accidental pigment bleeding during the application phase effectively. Working quickly with broad, sweeping strokes guarantees even coverage across the entire sheet uniformly. This technique requires patience but delivers gallery-quality results consistently through careful practice. Reviewing your completed piece highlights areas requiring minor adjustments or additional contrast enhancements. Adjusting brush pressure during application controls pigment density without heavy reworking steps. This optional finishing stage completes your comprehensive project and reinforces professional workflow habits effectively. Implementing this final tint layer demonstrates advanced mastery when evaluating how to draw a tree with polished presentation standards.
Conclusion
Completing this artistic journey transforms basic materials into a recognizable natural landscape efficiently. Following sequential construction steps guarantees accurate proportions and convincing textural realism consistently. Revisiting the trunk outlines and refining canopy layers solidifies your foundational skills rapidly. Trying alternative sizes or varying branch angles strengthens muscle memory and improves confidence significantly. Exploring pine variations or forest compositions expands your repertoire for future nature projects successfully. Displaying your finished piece celebrates your dedication and technical progress openly. Ultimately, understanding how to draw a tree opens endless creative possibilities for detailed environmental illustrations.
FAQs
Q: How do I start when I want to draw a tree as a beginner?
A: Begin with basic shapes: sketch a simple trunk of the tree using a slightly curved vertical line for the base of the tree and add a rounded mass or cloud shape for the canopy. This easy guide uses simple shapes and step 1 in a tree tutorial to help beginner artists learn to draw a tree step by step with pencil marks before adding details.
Q: What is the best way to draw the trunk of your tree?
A: Use a pencil to draw the trunk of the tree with a few slightly curved lines to show the trunk’s edges and the base of the tree. Add texture by using parallel lines and thin lines for bark, and vary pencil pressure to create darker values and lighter areas so the trunk looks realistic looking.
Q: How can I add branches without making the drawing messy?
A: Add branches in stages: step 2 is to block in main limbs with curved lines, then subdivide into smaller branches. Keep branches thinner as they extend, and use different line weights—thin lines for small twigs—to create the illusion of depth and a natural tree shape without overcrowding the drawing.
Q: What techniques help draw leaves that look leafy and realistic?
A: Instead of drawing every single leaf, create clusters of leaves and suggest forms with a mix of curved line strokes, darker tones for shadowed clusters and lighter marks for highlights. Use pencil to create varied texture, and add darker green or darker pencil marks where leaves overlap to create enough contrast and make tree’s leaves look lush and bushy.
Q: How do I add depth and shadow to make my tree look three-dimensional?
A: Add depth by placing darker values on the side away from your light source and lighter tones on the illuminated edges. Use shading to add darker areas under clusters of leaves and along one side of the trunk. Creating an illusion of volume through dark and light contrasts and step by step layering will make the drawing process more realistic.