


Understanding Paper Absorption And Grain Weight
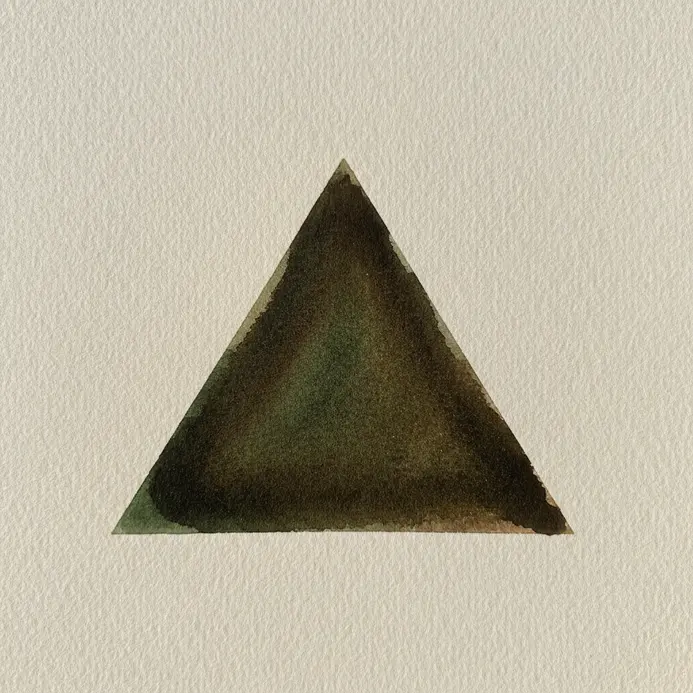
The fastest way to ruin your watercolor experience is using the wrong paper. You need a sheet specifically designed to handle water, not something you would use for sketching. A paper’s cold-press texture provides a perfect balance, offering enough tooth to hold pigment while allowing beautiful, soft gradients. Papers labeled 140lb or 300gsm are your best friend because they resist buckling when wet, giving you a stable surface to work on. Trust me, this single investment changes everything, letting your washes flow smoothly while you explore watercolor techniques for beginner creators without pilling or tearing.
Water Ratio Management In Mixing Wells
Your pigment dilution in the mixing well directly determines the transparency and intensity on the page. Start with a puddle of clean water, then add paint to it, not the other way around. This gives you full control over the saturation. A common struggle is over-mixing, which flattens the vibrancy right out of your colors. Instead, load your brush with a juicy mix for bold washes, or use a drier brush with less water for sharp details. Learning to judge this moisture level is the key when mastering watercolor techniques for beginner artists to build layered depth without creating muddy back-runs.
1. Apply a Flat Wash for Smooth, Even Color
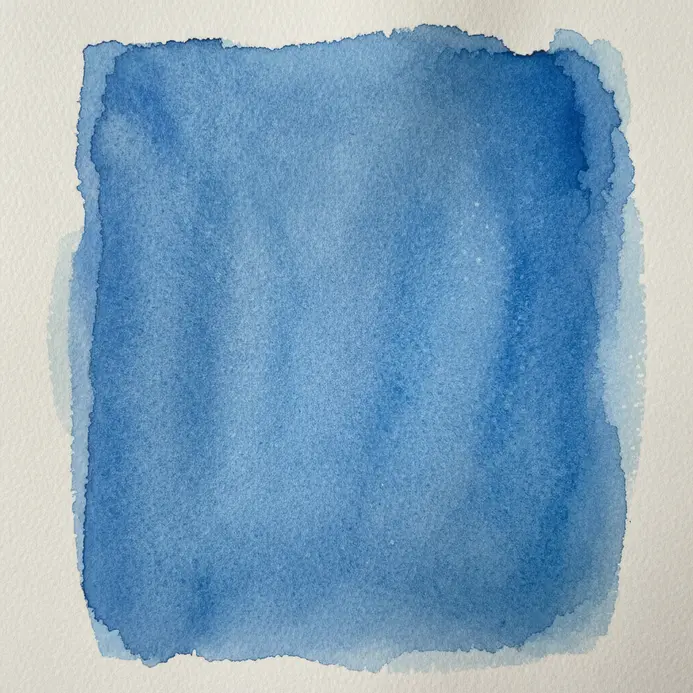
Ever tried to paint a sky and ended up with streaks and puddles? The flat wash is your secret weapon when exploring watercolor techniques for beginner painters. You will need a good amount of 140 lb watercolor paper taped to a board and tilted at a slight angle. Mix your paint to a milky consistency, load a big brush, and pull a confident stroke across the top. The key is to let gravity form a wet bead at the bottom of your stroke, then quickly pick it up with your next pass before it dries. It sounds fussy, but this foundational technique works because that continuous bead of paint prevents harsh lines. Trust me, mastering this makes everything else feel more possible. It is the perfect first step to explore more essential watercolor painting techniques. Feel the satisfaction when you see that perfectly smooth color field.
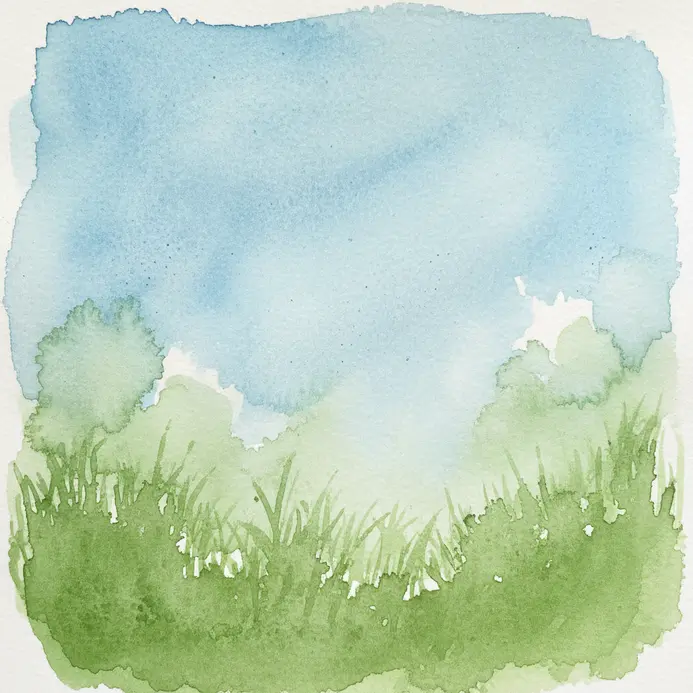
2. Create a Graded Wash: Seamless Color Transitions
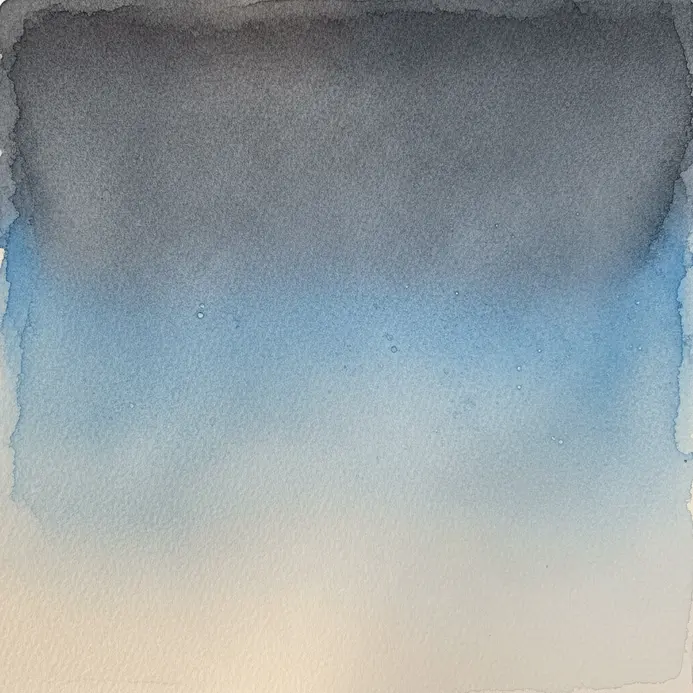
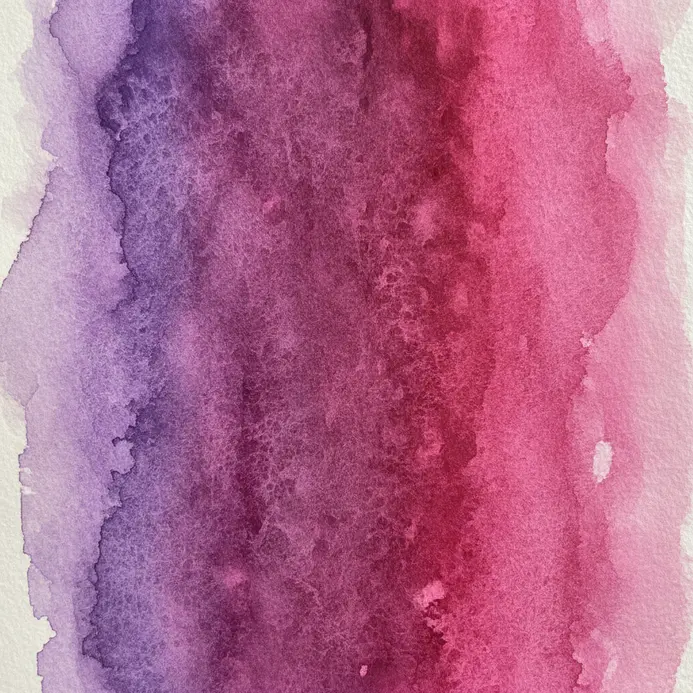
Ever wondered how painters get those perfectly smooth skies? A graded wash is your secret. You will load a large brush with a juicy mix of color and apply it to a tilted, damp sheet of paper. The magic happens as gravity pulls the pigment down, creating a seamless transition from dark to light. This method ranks highly among watercolor techniques for beginner artists who want flawless backgrounds. The technique works because the wet-on-wet surface prevents hard edges, letting the colors blend beautifully on their own. I love using this for creating serene backgrounds. Try it and feel the satisfaction when that gradient appears.
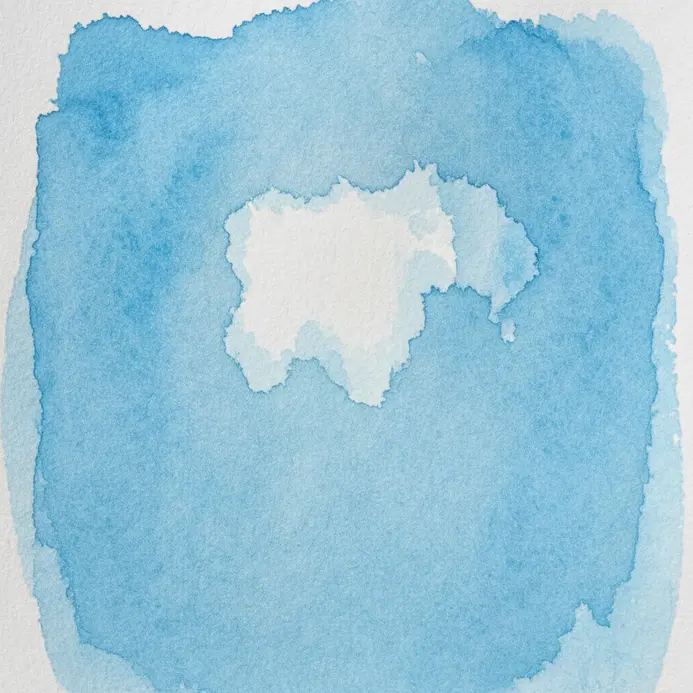
3. Master Wet on Wet Application for Soft Blends
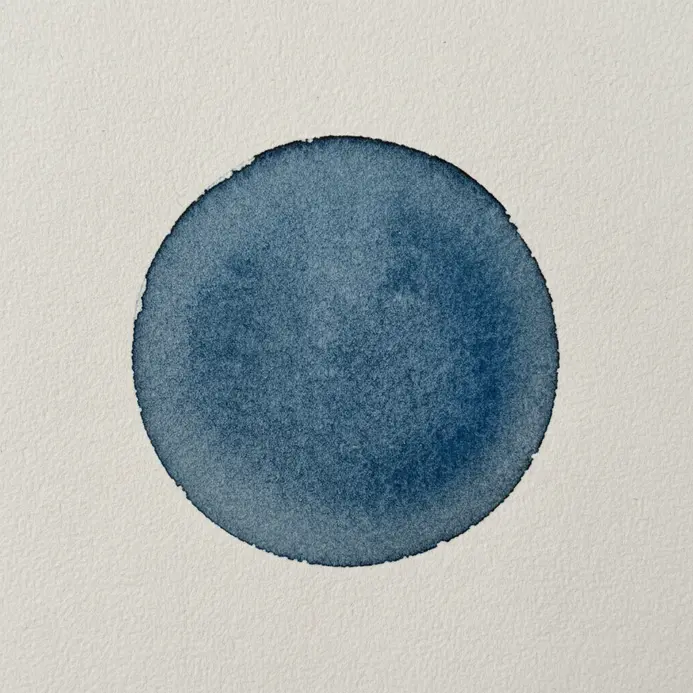
Ever wondered how artists create those dreamy, soft-edged skies and seamless color blends? Wet-on-wet stands out as one of the most forgiving watercolor techniques for beginner painters to attempt. You first wet your watercolor paper thoroughly with a big brush. Then, while the surface is still glistening, you touch it with your loaded brush and watch the paint bloom out in a beautiful, diffused cloud. It feels like magic because the water does the blending work for you. The key is finding that perfect moment when the paper is damp, not sopping wet, giving you a bit more control over the spread. I love using this for atmospheric effects where hard lines would feel wrong. Try it and feel the joy of watching colors merge on their own.
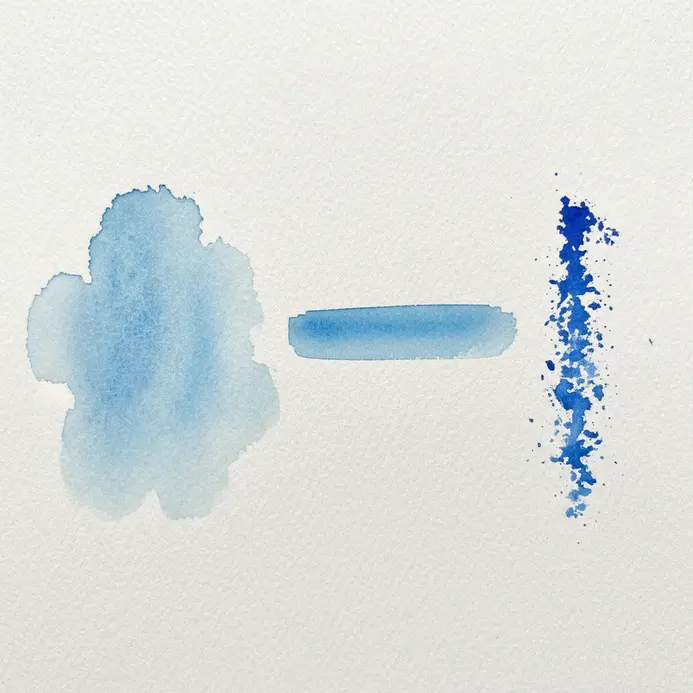
4. Use Wet on Dry Painting for Sharp, Defined Shapes
Ever feel like your shapes look fuzzy or messy? Wet on dry ranks as one of the clearest watercolor techniques for beginner creators seeking crisp edges. You apply paint to a completely dry surface, so it stays exactly where you put it. This gives you total control for painting clean lines and solid shapes. It works because there is no water on the paper to make the paint bleed. I love using a pointed round brush for fine details and a flat brush for straight edges. Load your brush with paint and make confident, single brush strokes for a dynamic effect. This method is perfect for adding final details over dried washes. It feels great to see those sharp shapes come to life. For a softer look that pairs well with this approach, you can learn how to create pastel watercolor effects.
5. Add Dry Brush Detail Work for Textured Highlights
Ever wondered how to make a flat painting suddenly feel more real and three-dimensional? Dry brushing ranks among the most rewarding watercolor techniques for beginner painters wanting instant texture. The trick is to use a brush that is almost completely dry, loaded with just a tiny bit of thick paint. You then drag it lightly over the surface of your cold press watercolor paper, letting it skip over the highest points. It deposits pigment exactly where light would naturally hit, creating shimmering highlights on things like tree bark, fabric folds, or stone. It works because it mimics real light reflection so perfectly, adding depth without needing to meticulously draw every line. The key is to wipe off almost all the paint on a paper towel first, then test your stroke on a scrap piece. Trust me, if you press too hard or have too much moisture, you will get a solid line instead of that beautiful broken texture typical of basic watercolor techniques. Try it and feel the satisfaction when those textured details bring your work to life.
6. Build Color Glazing Layers for Depth and Richness
Ever wondered how artists get those glowing, jewel-like colors in their work? The trick is glazing, and trust me, it is a lot simpler than it sounds. Layering stands out as one of the most luminous watercolor techniques for beginner artists trying to increase color depth. You are essentially painting with thin, see-through layers of color over a completely dry base. Each transparent glaze layer lets the light bounce through, creating a luminous depth you cannot get by mixing on your palette. It feels like magic when those colors start to sing. Success comes down to two things. First, always let your base layer dry completely. Applying a new glaze over a wet layer is the fastest way to make a muddy mess. Second, choose your paints wisely. Look for naturally transparent pigments like Quinacridone Red or Phthalo Blue. Opaque paints like Cadmium Red will just cover up your beautiful work underneath. This method is perfect for adding richness to your next piece, and you can find wonderful inspiration for trying it out in these whimsical watercolor painting ideas. Feel that glow.
7. Practice Lifting and Removing Pigment for Corrections
Ever felt a wave of panic when a brushstroke went a bit wrong on still wet paper? This approach remains one of the most practical watercolor techniques for beginner creators who need an eraser effect. The core idea is simple: you take paint off the paper after it’s down. For a damp brush lift, use a clean, wet brush to gently lift color from a wet wash or to reactivate and blot dry pigment. I love how this turns a mistake into an opportunity for texture and light. It works because the surface is designed to be forgiving, letting you pull pigment back up. Remember, non-staining pigments Earth tones lift much easier than staining ones, making them ideal for various watercolor washes. A perfect next step to practice this is by painting flowers with watercolors, where you can lift highlights on petals. Try it and feel that satisfying control over your painting.
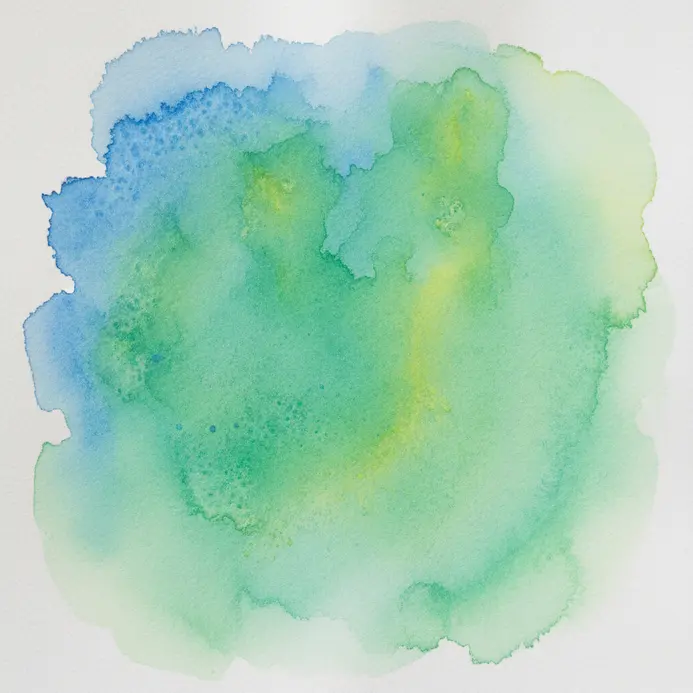
8. Create Cauliflowers and Blooms for Organic Texture
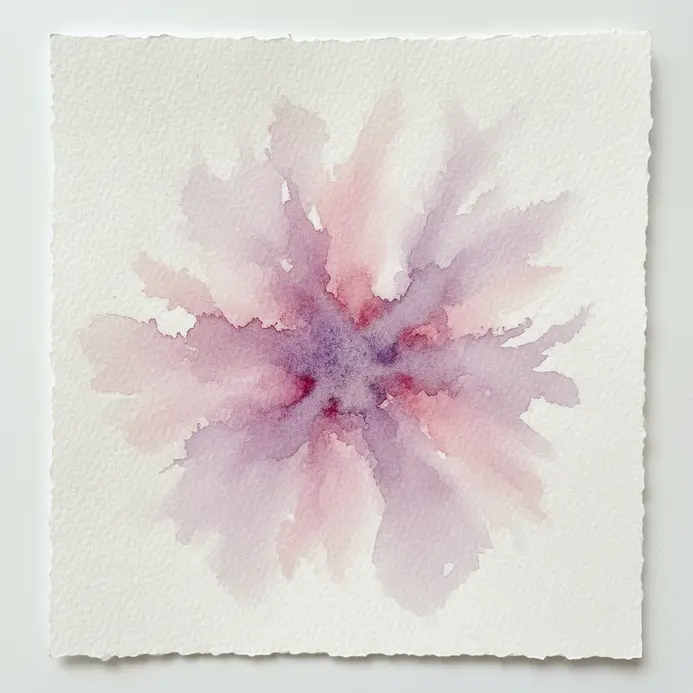
This one looks like a happy accident, but it is a simple trick you can control. Dropping clean water stands among the most fun watercolor techniques for beginner artists to loosen up their style. Load your brush with a juicy mix of paint and drop it onto wet paper. Then, watch as the pigment blooms outward, creating a beautiful, organic shape with the wash of color. The magic happens when you touch a drop of clear water into the center of that wet paint. It pushes the pigment out even further, forming a lovely cauliflower effect. I love this approach for painting clouds, foliage, or abstract backgrounds. It feels less like painting and more like guiding the material where it wants to go. Isn’t that a fun way to relax? Try it and feel the delight of watching the medium do its own beautiful thing.
9. Control Hard and Soft Edges for Visual Interest
Ever notice how some parts of a painting pop forward while others seem to fade back due to the wash technique? That’s the magic of edge control. Hard edges are crisp and sharp, made by a decisive brushstroke or a clean line. They’re your best friend for defining a focal point. Soft edges, on the other hand, are dreamy and gradual. You create them with a wet-on-wet blending technique or a gentle dry brush. This creates depth and atmosphere. Mastering edge control ranks as one of the most vital watercolor techniques for beginner painters to study early on. Why does this matter so much? It’s all about guiding the viewer’s eye. A composition with only hard edges feels harsh, while one with only soft edges looks muddy. The interplay between the two adds life and dimension. Try using soft edges for background hills and sharp edges for a foreground flower. It’s a fantastic way to add realism and direct attention. You can see this principle beautifully at work when you learn how to paint watercolor galaxies, where soft nebulae meet crisp stars. My favorite trick is to play with ‘lost and found’ edges, where some lines disappear into the background. It adds lovely mystery. Trust me, mastering this simple contrast will make your work sing.
10. Paint with Masking Fluid to Preserve White Areas
Ever wondered how artists keep those tiny white highlights so crisp? Masking fluid stands out as one of the cleverest watercolor techniques for beginner creators preserving bright spots. It’s a liquid you paint onto dry paper where you want to reserve the white. Once it dries into a rubbery film, you can wash color right over it. Later, you peel it off to reveal perfect, untouched paper underneath. I love how it lets you paint freely without worrying about tiny details. Apply it with an old brush you don’t mind ruining, or try a silicone tool for sharp lines. The key is letting it dry completely before you add any paint. If you apply it while it’s tacky, you might stain the paper. After your painting is fully dry, gently rub the film away. Isn’t it satisfying to see those clean white shapes appear? This method is fantastic for adding precise details to achieve realistic watercolor effects.
11. Achieve Salt Texture Effects for a Speckled Finish

Ever wondered how artists get those perfect, starburst speckles? Sprinkling mineral salts remains one of the quickest watercolor techniques for beginner artists to try for organic finishes. First, lay down a wash of rich, dark color on your 140lb watercolor paper is perfect for achieving vibrant washes and maintaining the integrity of your brush strokes.. The timing is everything. Wait until that glossy, wet sheen just disappears, but the paint is still visibly damp. That is your moment. Sprinkle your salt right then. I love watching the reaction happen. The crystals pull the pigment away, creating unique patterns with a beautiful wash of color. Kosher salt gives you lovely medium spots, while coarse sea salt makes dramatic bursts. Let it dry completely before you gently brush the crystals away. Isn’t that satisfying? You are left with a beautiful, organic texture that adds so much depth.
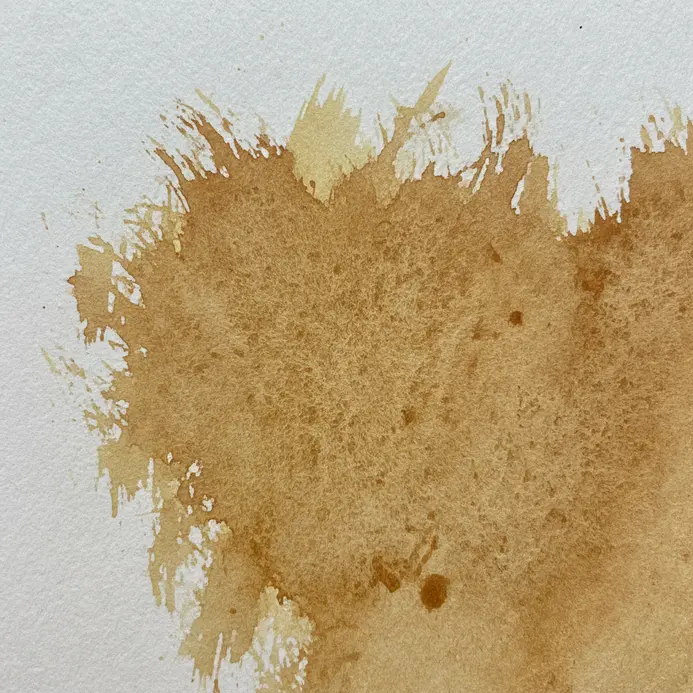
12. Use Splattering Pigment Drops for Energetic Details
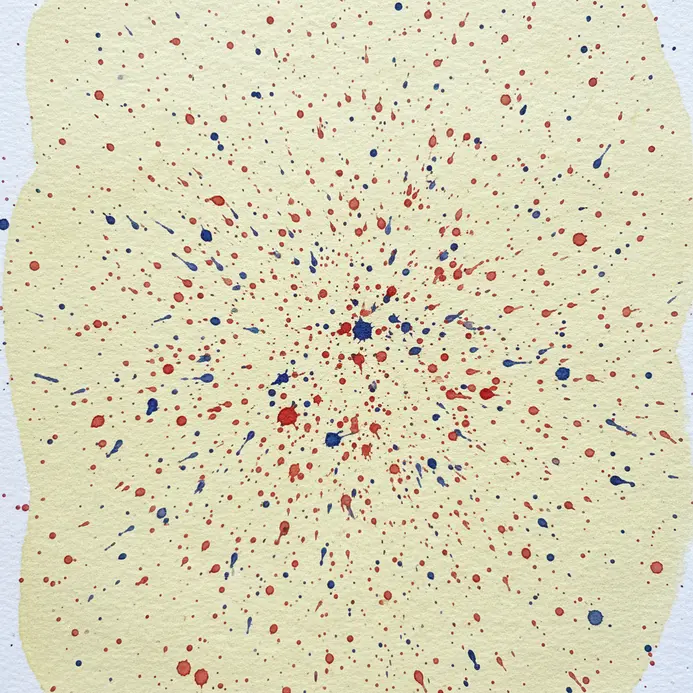
Ever look at a painting and wonder how the artist got those perfect little speckles of color? This technique is your answer, and it’s way more fun than it looks. Splattering adds a burst of spontaneous energy and texture that can make a flat wash feel alive. I love using an old toothbrush for this. Just dip the bristles in your watered-down paint, hold it over your paper, and flick with your thumb. You will get a beautiful, fine mist of dots. For bigger, more dramatic drops, try tapping a loaded brush against another brush. The key is to practice on a scrap paper first to get a feel for the consistency. Too thick and you get blobs, too thin and the splatters vanish. Always protect your workspace because, trust me, this gets messy fast. It is the perfect finishing touch to add a sense of movement or to suggest details like distant foliage or stars in a sky. For a great place to practice this approach, check out these beginner landscape painting tips. Feel the excitement when those random drops create pure magic.
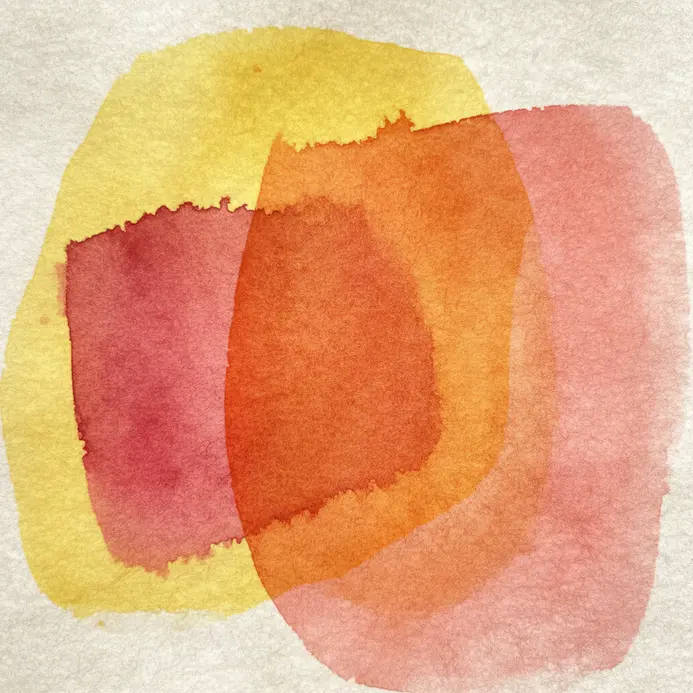
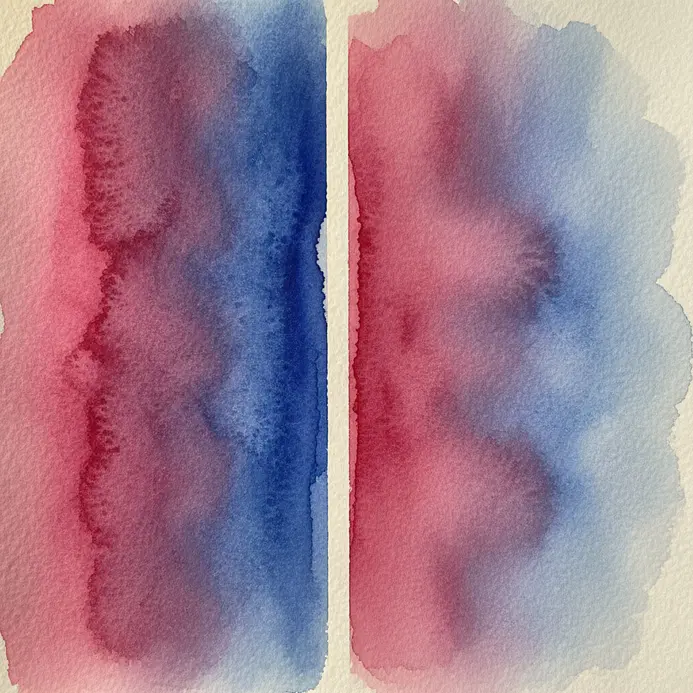
13. Blend Colors on Paper for Smooth Gradients
Ever wondered how artists create those seamless, dreamy color transitions? The secret is blending directly on the paper, and it is surprisingly intuitive once you know the trick. Start by laying down your lighter color with a very light touch, using overlapping strokes. While that area is still damp, gently introduce your second color right into the edge of the first, letting them meet and mingle on the surface. This works because the wet paint naturally flows together, creating a soft gradient without any harsh lines typical of a wash technique. You can control the blend by adding more water to soften it or more pigment to define it. I love watching the colors dance together; it feels like magic every time. For a fantastic project to practice this, you should try abstract painting ideas where smooth gradients really shine. Your key here is patience and keeping your paper at the right wetness. Feel that satisfaction when two colors become one beautiful, smooth transition.
14. Master Controlled Paint Drops for Delicate Shapes
Ever wondered how artists create those perfect little dots and intricate details? This technique is all about precision, and trust me, it is simpler than it looks. The core idea is controlling the paint’s flow so you can place tiny, consistent drops exactly where you want them. It is perfect for adding delicate patterns or filling in the smallest parts of a design. Start by getting your pigment to the right consistency for a smooth watercolor wash. You want it thin enough to flow from your brush with paint but thick enough to hold its shape. Load just a tiny amount onto a fine-tipped spotter brush. Then, gently touch just the tip to your surface and lift straight up. The key is a light, controlled touch. You will see a neat, round dot form. This works because you are managing the surface tension and viscosity perfectly. The payoff is huge when you see those crisp, professional-looking details appear in your work. Feel proud of the precision you can achieve.
15. Understand Water Control and Paper Absorbency
Ever feel like your paint has a mind of its own? It probably does, and it is called your paper. This is the secret conversation between your brush and the surface. The amount of moisture you use and how your paper soaks it up dictates everything from soft, dreamy skies to crisp, clean brush strokes. Think of the surface absorbency as its personality. A thirsty, unsized paper drinks color fast, giving you muted tones and soft edges, while a heavily sized, smooth paper lets the paint sit on top, perfect for vibrant glazes and sharp details. Mastering this lets you predict the paint’s behavior instead of fighting it. For a smooth, even wash, try pre-wetting your paper first. It helps the color flow evenly and prevents those annoying hard edges. Once you get a feel for it, you can confidently tackle any subject, from loose landscapes to detailed botanicals. To practice these concepts, I love applying them to some simple things for beginners to paint. It is the most satisfying feeling when you finally feel in control.
Framing Considerations For Archival Preservation
A finished painting needs protection from light and humidity to last for years. The most effective method is to frame it behind UV-filtering glass, which prevents your pigments from fading over time. Use a mat board made from acid-free materials to create a breathable buffer between the glass and your artwork, preventing any moisture from getting trapped. Always hinge your paper to the backing board with acid-free tape, allowing it to expand and contract. This archival approach is simple but crucial, ensuring the soft-edge gradients and crisp details you worked so hard for stay as vibrant as the day you painted them.
Conclusion
Looking back at your first attempts with watercolor, remember that every bloom of color and every soft edge is part of your unique learning path. These 15 fundamental approaches are not strict rules, but tools for you to explore and combine in your own way. Perfecting essential watercolor techniques for beginner creators will transform your hesitation into daily creative confidence. The most helpful step you can take now is to pick one method, like the flat wash, and practice it on a small sheet of paper until the motion feels familiar. Your next project is already waiting in the confidence you have built today, ready to be expressed with a little water and a lot of heart.
FAQs
Q: What are the basic techniques new to watercolor artists should learn?
A: The basics include wet-on-wet painting, wet-on-dry technique, flat wash technique, painting with a dry brush, and variegated wash. Artists use these foundational methods to control edges, gradients and texture. For someone new to watercolor, practicing flat washes and simple wet-on-wet exercises builds comfort with how much water and pigment to use in the painting process.
Q: How does wet-on-wet painting differ from wet-on-dry technique?
A: Wet-on-wet painting means you apply wet paint onto a wet surface so pigments blend and bloom, producing soft edges and spontaneous effects, while wet-on-dry technique (paint onto a dry surface) gives sharper edges and more control. Both methods are essential: wet-on-wet is great for skies and backgrounds, wet-on-dry for defined forms and details.
Q: When should I use a dry brush on wet paper or dry on dry methods?
A: Dry brush on wet paper creates broken, feathery strokes because the paper already has moisture that pulls pigment irregularly—use it for texture and suggestions of detail. Dry on dry, or painting with a dry brush on dry surface, gives very crisp, scratchy marks ideal for fine detail or rough texture. Experiment to discover how each brush technique changes the look of your strokes.
Q: What is a variegated wash and how do you paint one?
A: A variegated wash blends two or more colors across a wet surface to create gradual color transitions. To achieve it, lay down a flat wash of one color, then while the paper is still wet, introduce a second color and use a clean, wet brush to blend. Controlling much water and the brush to create smooth transitions is key to avoiding unwanted blooms.
Q: How can I add texture using salt, a sponge, or a spray bottle?
A: Using salt onto a wet surface creates starburst textures as salt absorbs pigment and water. A sponge can lift paint or apply pigment for organic textures, and a spray bottle can make droplets of water that push pigments into interesting patterns on a wet paint layer. Techniques will help you add depth in a painting—try each method to see which effect suits your subject.


