


Geometric Precision Through Radial Mapping Techniques
Grab a compass and a sheet of tracing paper to create a radial map before you touch your dotting tool. This simple step, where you draw concentric circles and divide them into equal pie slices, acts as your secret weapon against uneven spacing. We tend to skip it, but trust me, understanding simple mandala art indian style requires this light pencil grid to guarantee your paisley motifs sit perfectly aligned. Beginners often make the mistake of eyeballing the design, which leads to skewed layouts that feel unbalanced. Your dotting work flows naturally from these predetermined spots, maintaining the sacred symmetry that defines this traditional practice.
Palette Selection For Traditional Indian Aesthetics
Deep black, rich navy, or warm terracotta backgrounds make your dot colors pop with festival energy. These high-contrast surfaces are essential for that authentic look, mimicking how henna glows on skin or rangoli powders stand out on a courtyard floor. The good news is you build your entire color scheme from classic textile patterns when exploring simple mandala art indian style. Look to bandhani dyes for your jewel tones like emerald green, sapphire blue, and deep magenta. Use these as your dominant hues, then add accents of gold for highlight marks. Keep your paints separate on the mixing surface to avoid muddy blends, ensuring every vibrant color palette sits proud and pure.
1. Create a Rangoli Inspired Central Dot Cluster
Ever wondered how those layered dot patterns find their exact center? This cluster serves as your starting point, and it remains far simpler than it appears at first glance. You begin by placing a single, vibrant central mark using the pinch and drop method. Surround it with a ring of smaller, equally spaced touches to form a symmetrical anchor. Working through simple mandala art indian style gives you instant visual balance, giving your entire design a strong focal point to build outward. Beautiful mandala drawing ideas await your exploration.
2. Outline Concentric Petals with White Dots
Ever wondered how those perfect, layered patterns come together so neatly? This step is where your layout truly takes shape. Start by marking your central point lightly with a pencil, then draw your first small petals radiating outward from it. Build outward, adding larger concentric circles of shapes, using a measuring tool for guidance if you want perfect alignment. Once your petal structure is sketched, go over it with a steady hand and a fine-tip pen for crisp outlines. I love how this creates a strong foundation for the mark work ahead. The real transformation happens when you add the white paint touches. Place them carefully along the petal edges or in the negative space between layers. This gentle accent brings incredible depth and a subtle shimmer to your layout. Trust me, seeing those clean lines and bright touches come together is incredibly satisfying. Feel proud of your structured, beautiful start.
3. Build Jewel Tone Radial Dot Spokes
Ever wondered how to achieve those stunning, jewel-toned layouts? This one revolves around building a symmetrical pattern from the center outward. Start by marking your center point and using a ruler and protractor to lightly draw your radial guide lines. Pick your favorite rich colors like emerald, sapphire, or ruby, and begin placing touches along those spokes. Practicing simple mandala art indian style creates such a meditative rhythm while your design looks highly complex on the surface. Easy Indian painting ideas offer plenty of direction here.
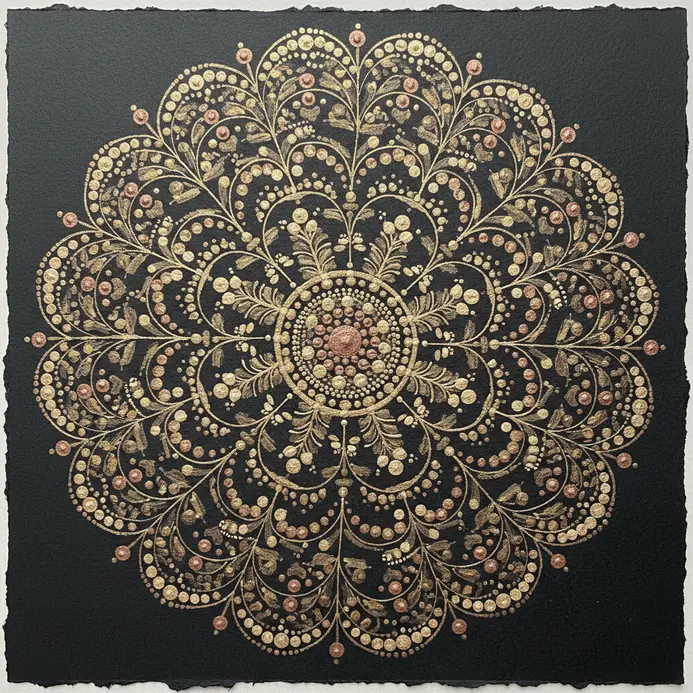
4. Paint a Symmetrical Golden Dot Lotus Motif
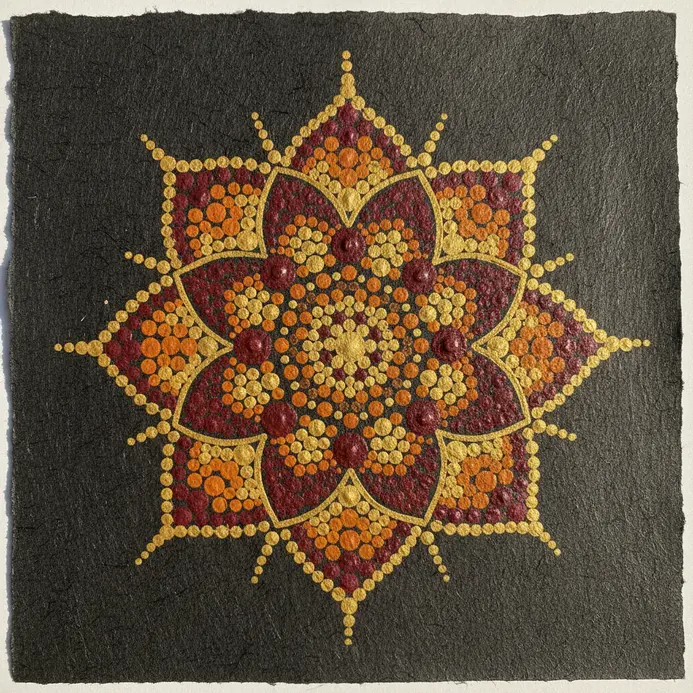
Doesn’t a shimmering lotus feel like instant elegance on a surface? This project looks detailed, but the process flows with gentle repetition. You start with a dark background and lightly sketch guidelines from a central point using a white charcoal pencil. Use a stylus tool to place uniform touches of opaque metallic paint, building out the petals symmetrically. The rhythm of placing each mark is so calming, and the final contrast looks absolutely stunning when you step back. Easy mandala art patterns pair wonderfully with this metallic finish.
5. Apply an Alternating Size Dot Ripple Pattern
Ever wondered how to add a sense of movement to your layout? This technique creates a visual ripple by making marks grow and shrink in a wave-like sequence. You start by picking a center point and placing your smallest touch there. As you move outward, gradually increase the size to a maximum before shrinking it back down. The alternating rhythm makes the design feel alive and hypnotic. I love using a polar grid as my guide for this method. It helps keep everything evenly spaced as they expand from the center in perfect circles. The key is consistent scaling so the transition feels smooth, not choppy.
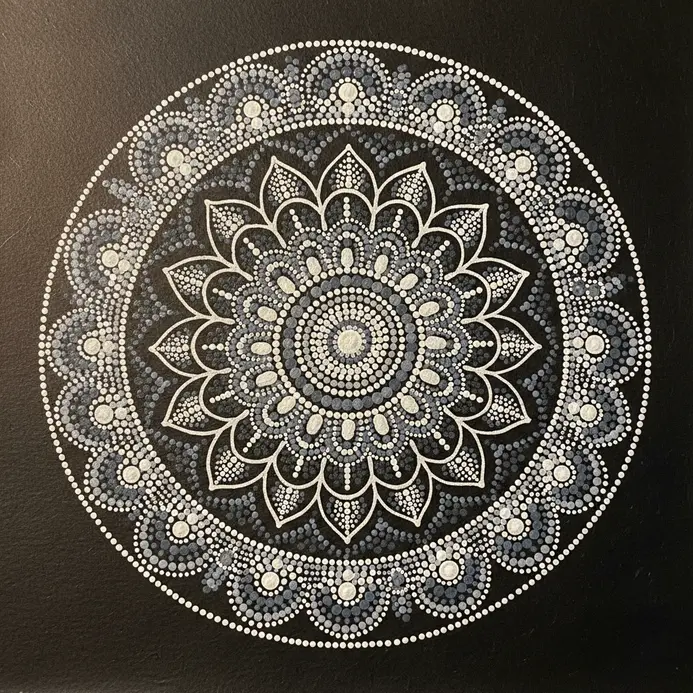
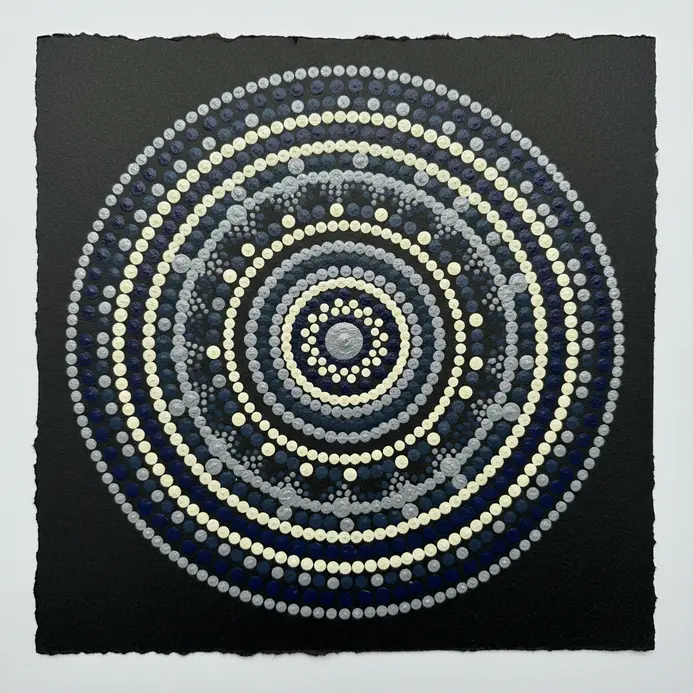
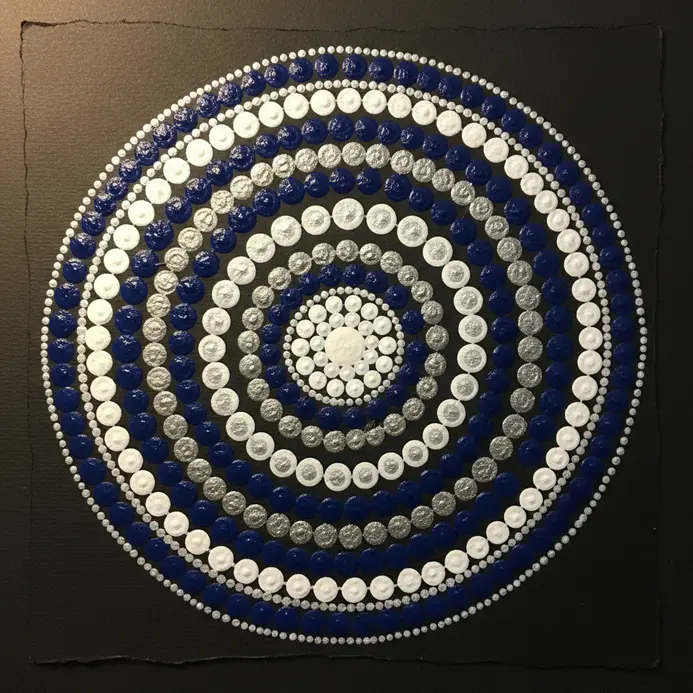
6. Achieve a Minimalist Black Stone White Dots Design
This layout looks incredibly sophisticated, but I love how straightforward it remains once you begin. You will start by applying two perfect coats of a deep black polish as your base and letting it dry completely. Working through simple mandala art indian style requires this clean foundation before adding crisp white marks in a spaced-out sequence. Isn’t it amazing how such a minimal approach creates such a strong visual impact? The magic here relies on restraint and precise pressure. Focus on making your touches uniform and giving them plenty of breathing room on that dark background.
7. Add an Intricate Paisley Border Dot Array
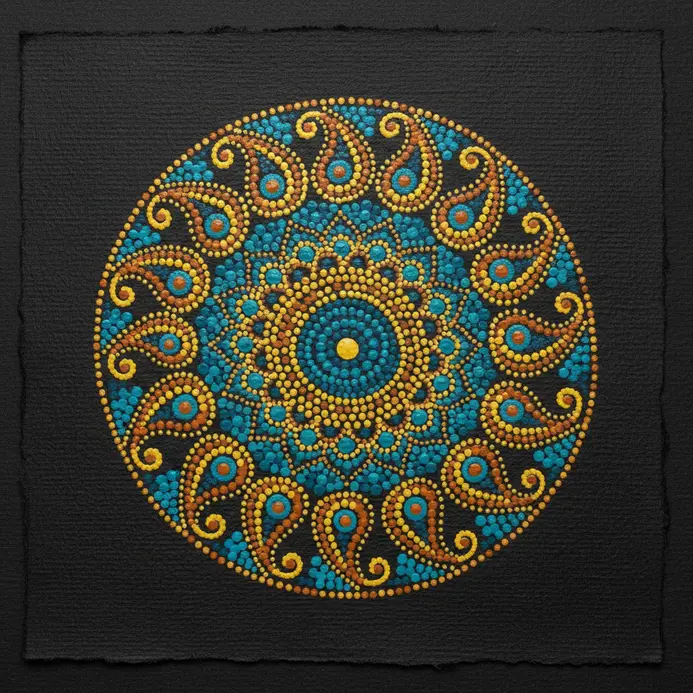
Ever wondered how to capture that classic paisley look without using solid lines? This border makes a striking statement around any layout. You start by mapping out the shape, but instead of filling it in, you construct it entirely from a scatter brush of marks. Keep those internal swirls and curves contained within the teardrop boundary of your mandala design pattern. It adds a layer of traditional complexity while staying true to the mark art aesthetic. For a fantastic way to incorporate other heritage motifs, explore guides to traditional line work. The result is a beautifully framed edge that makes your central design stand out.
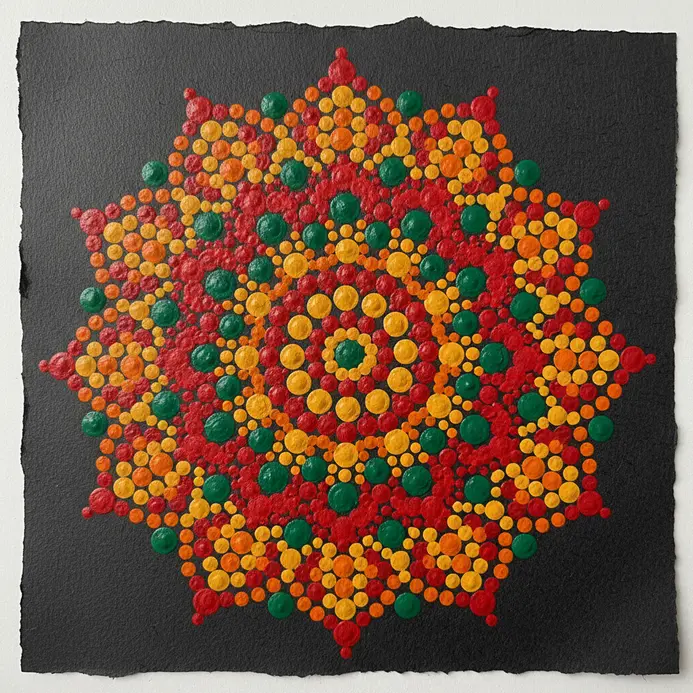
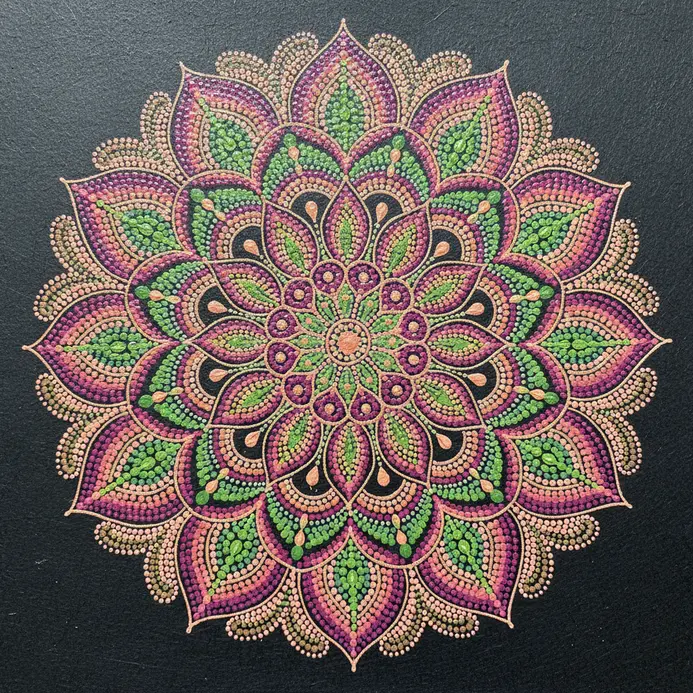
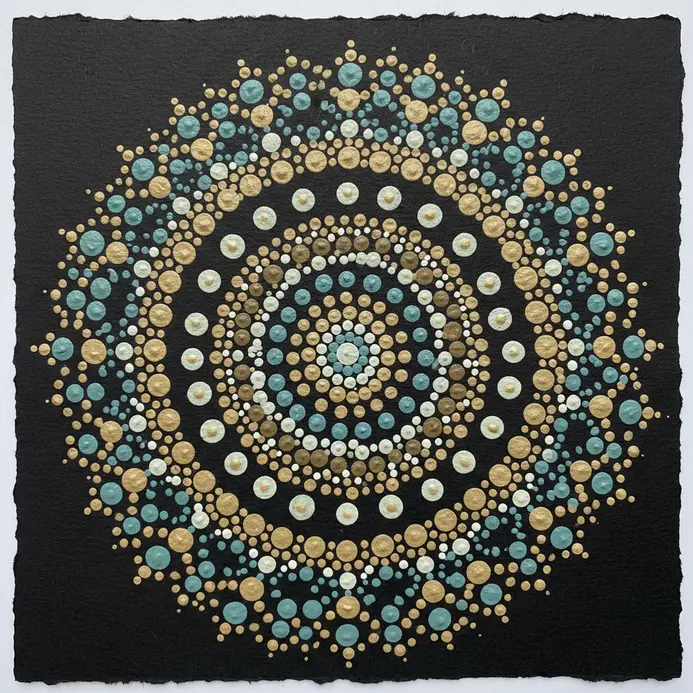
8. Layer a Vibrant Multi Colored Dot Mandala
Ever wondered how to make your layout look like it has real depth? Layering holds the secret to that rich appearance. You start with a foundation of large central marks and build up with smaller touches on top. The key involves letting each section dry fully before adding the next one to prevent blending your beautiful shades. I love planning a dynamic color scheme first, like warm oranges against cool blues. Use a variety of dotting tools to create different sizes as you build upward. The result feels textured, lively, and remarkably complete.
9. Form Stacked Dot Arch Design Elements
This one surprised me since it looks highly detailed but remains built from a straightforward stacking routine. You start by lightly sketching your arch shape, then place your first row of marks along that line. The magic happens as you add more layers beside those initial touches, building the arch thickness with each new sequence. It works so well because the repetitive layering feels meditative and visually rewarding. Remember to use a consistent dotting tool for each row to keep your pattern uniform. For a broader look at heritage styles, you can explore more foundational design references. Doesn’t that layered texture look stunning when you step back?
10. Build a Dotted Geometric Diamond Motif Frame
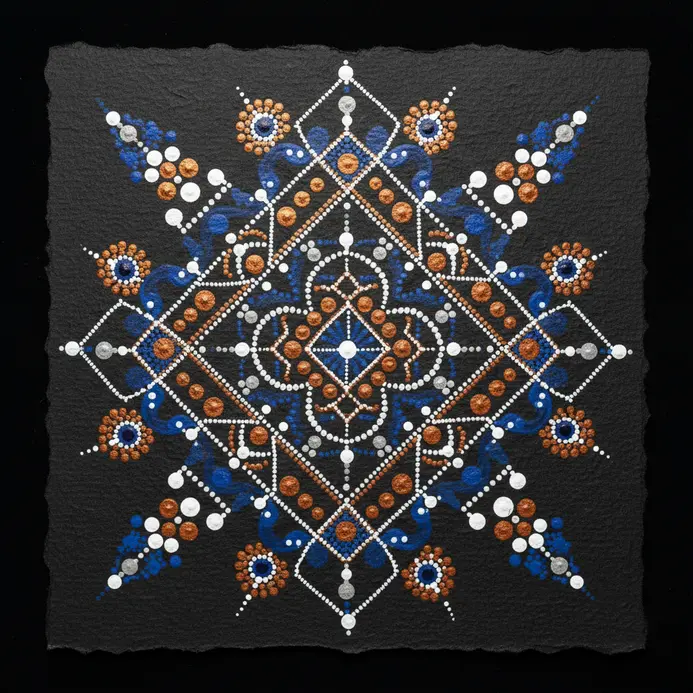
Ever tried a border that feels both precise and meditative in its execution? This one uses geometric diamond shapes as the core structure. You will sketch the diamonds first with a ruler, then replace the straight edges with a series of perfectly spaced marks using a fine-tip pen. I love how this method builds a beautiful boundary from such a simple, repeatable routine. Isn’t it satisfying when those individual touches come together to form a crisp line? Trust me, using your arm to pivot for the long angles will give you much smoother results. Feel proud when that detailed-looking frame finishes.
11. Blend a Gradient Dot Feathered Edge Detail

Ever wondered how digital layouts get that soft, misty edge that dissolves into marks? This technique serves as my go-to method for adding a dreamy quality to defined shapes. You start by applying a layer mask to your element, then use the Gradient Tool to create a smooth fade on that boundary. Next, apply a halftone filter directly to the mask, which converts that smooth transition into a pattern of marks with varying sizes. The result gives a feathered edge with incredible texture, perfect for blending elements into a dotted background. Creative doodle art ideas complement this soft finish nicely. Trust me, once you try it, you will love the gentle effect it produces.
12. Create a Traditional Indian Mirror Dot Mosaic

Ever wondered how those sparkling, highly detailed pieces come together? This approach centers around reflective elements set into a sturdy base like canvas. You then surround them with vibrant mark patterns or decorative stitching. Your key step involves securing each reflective piece with a strong craft adhesive before building your design outward. Try starting with a basic geometric layout to keep your hands steady. The payoff feels immense when you see the light catch your creation. Feeling stuck for a starting position? You can find plenty of easy things to draw to adapt into your reflective layout.
13. Fill Mandala Petals with Detailed Dots
Ever feel like your layout outline looks a bit empty? This stage brings everything to life. Start by planning a color palette for your individual petal shape. I love placing a single, neat line of marks down the center first. Then, build outward by adding rows in different sizes around that central spine. Why does this work so well? It creates beautiful texture and depth, turning a plain outline into something you keep returning to. Trust me, your patience pays off when those layered touches finish.
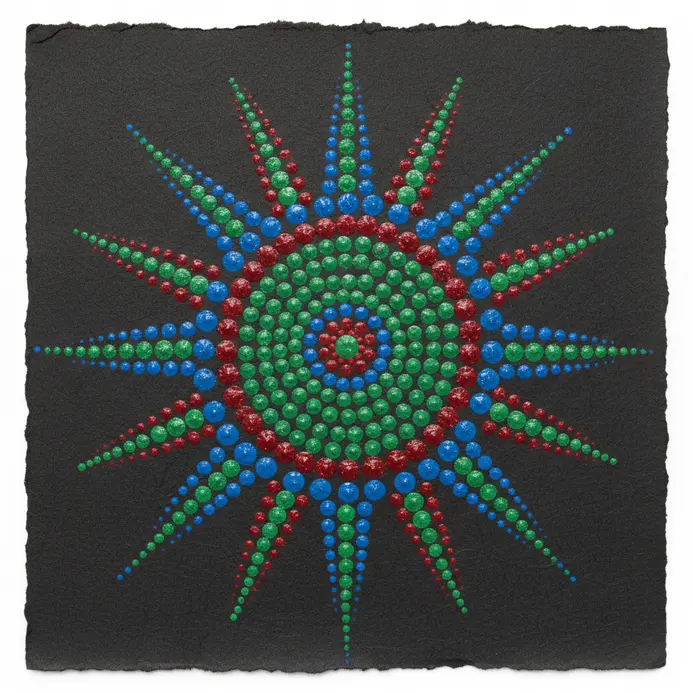
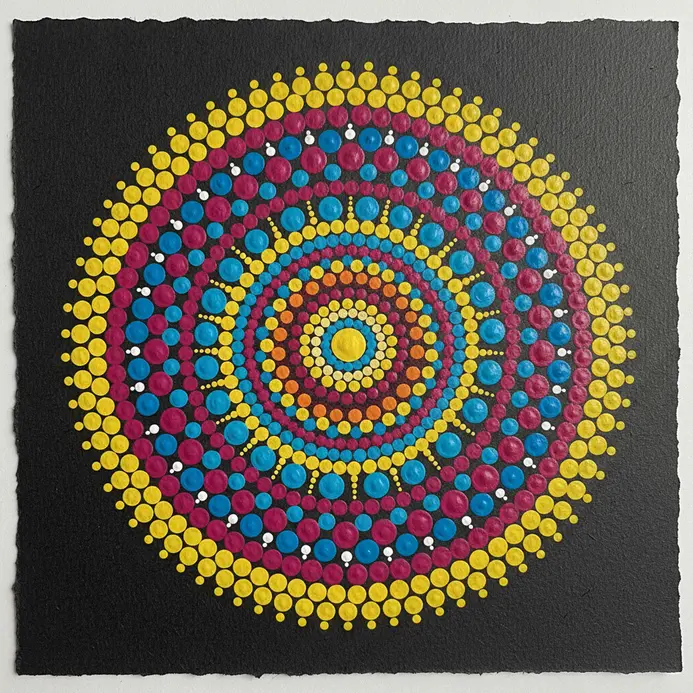
14. Paint a Bold Primary Color Dot Mandala

Ever wondered how to make your layout truly pop on a white background? I love the energetic vibe you get by sticking to pure primary colors. You start with a clean canvas for maximum visibility, then build your pattern with distinct touches of red, yellow, and blue acrylic paint. Keep your paint at a thick, paste-like consistency so each mark stays crisp. It remains a wonderfully calm routine that results in a high-impact layout. If you are hunting for aesthetic drawing ideas to fuel your next session, this palette delivers. Trust me, seeing those solid tones unite feels fantastic.
15. Add a Delicate Metallic Dot Twirl Pattern
Ever wonder how those shimmering metallic swirls take shape? This sequence looks fancy but stays highly approachable for any skill level. You start by creating a custom scatter brush in your preferred software. Set it to a soft metallic shade, like pale gold or silver, and use a gentle hand to draw flowing, curving lines. The real highlight arrives when you add a subtle Bevel and Emboss layer style, giving each tiny mark its own reflective edge. The key involves keeping the touches spaced so the design feels light. Rigid breaks will interrupt the flow, so let your wrist relax into those natural curves.
16. Outline Nested Circles with Dotted Line Motifs
Ever wondered how to make a layout feel light and breathable? This technique serves as my reliable choice for adding subtle texture. You will draw a series of concentric rings, but instead of a solid boundary, you will trace each one with a trail of evenly spaced marks. Think about the size and distance between placements. Uniform touches create a clean rhythm, while enlarging them on the outer rings adds wonderful visual weight. For a strong next practice session, try your hand at easy pencil drawings to refine your spacing accuracy. Seeing those marks align together feels incredibly rewarding.
17. Achieve a Contrast Neon Dot Mandala Design

Ever wondered how to push the visual energy to the next level? The secret relies entirely on bold contrast. Start with a dark canvas, like a black board or painted wood slice, to let those bright shades stand out sharply. Use a measuring guide to lightly sketch your alignment grid for perfect balance. Pick your brightest neon paints and place them right next to each other for maximum vibration. Mastering simple mandala art indian style thrives on this kind of fearless color pairing. The key remains keeping your applicator consistent and your paint thick enough to hold its shape.
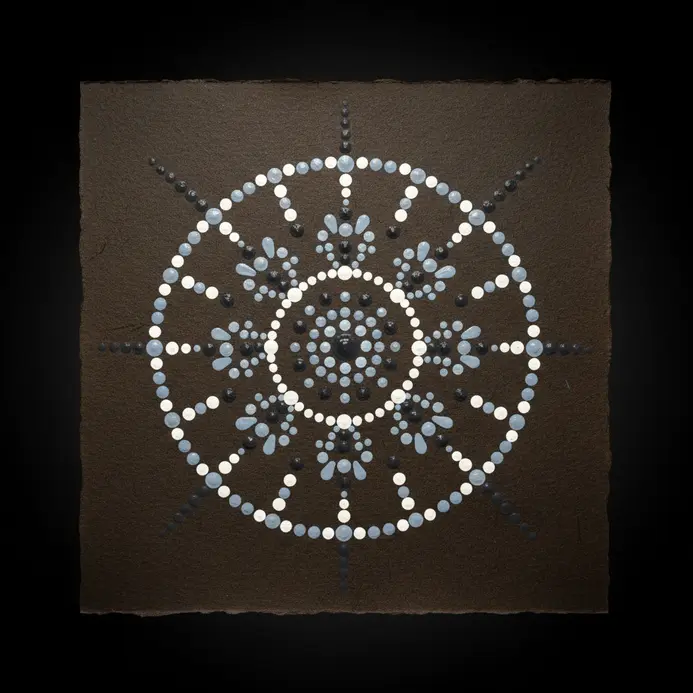
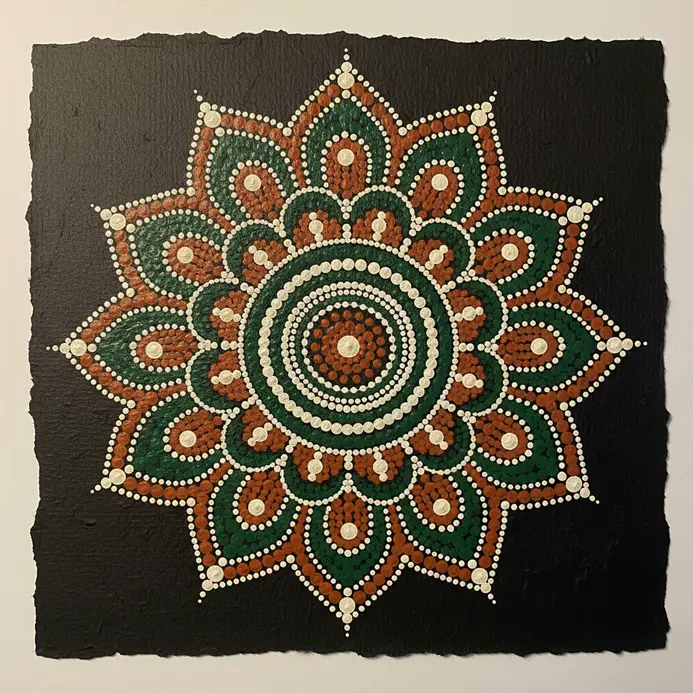
18. Build an Earth Tone Dotted Tribal Mandala
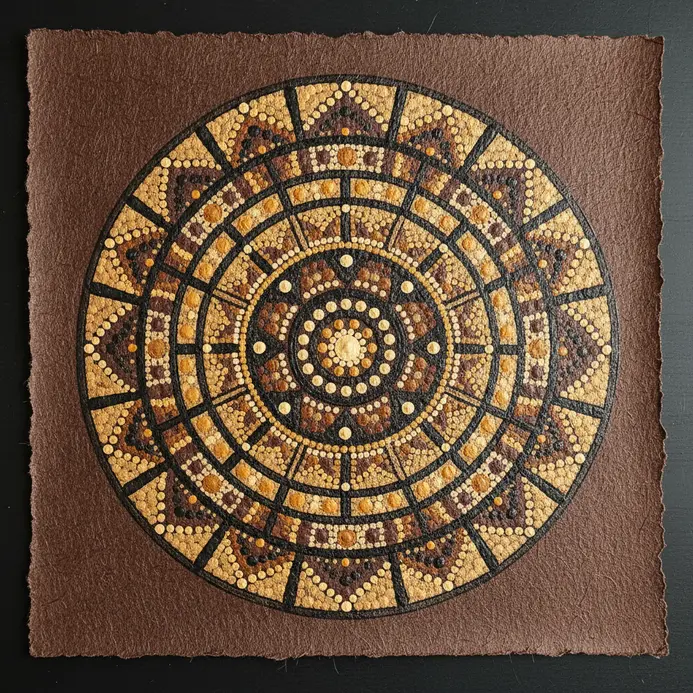
I love how a dark wood slice transforms this layout into something that feels ancient and grounded. Start by lightly sketching your symmetrical layout with a measuring compass. Use your applicators to build sequences with those rich, earthy acrylics like ochre and olive green. The rhythm of placing each mark feels incredibly calming when you settle into the repetition. Practicing this style on natural surfaces brings a raw, organic quality to the finish. Trust me, focusing on the gentle return of those muted shades makes the entire session feel restorative. Your finished piece carries a textured, earthy presence that looks deeply authentic.
19. Form a Floating Dot Cluster Mandala Border
This edge style looks highly detailed, but its secret lies in simple grouped placements. You will create bunches of marks that appear suspended in space, often arranged in a repeating sequence around your layout. I love how this gives the boundary a light, airy quality instead of boxing it in with a heavy line. Start by lightly mapping your outer shape and dividing it into even segments for balance. Using your standard dotting tools, build each cluster with a main touch surrounded by smaller companions. Repeat this unit all the way around, maintaining that lovely, balanced rhythm. Isn’t it satisfying when those separate groups unite to form one harmonious frame? Feel the calm focus this radial sequence brings. Easy Indian painting ideas Indian mandala art often features this exact framing technique.
20. Paint a Symmetrical Dotted Leaf Pattern Center

Ever wondered how those perfectly balanced sequences are mapped out? Start by lightly tracing a simple leaf shape and its central axis line. Fill it using your primary dotting tool, building texture from the center outward and mirroring your placements for perfect alignment. I love how this method feels restorative as you watch the botanical form emerge. It creates a strong focal point because the symmetry reads naturally to the eye. Trust me, the payoff arrives the moment your own textured leaf takes shape on the page.
21. Create a High Contrast Monochrome Dot Art Mandala

Ever wondered how artists grab attention using only two shades? This sequence relies on the purest form of visual weight to make your layout stand out. You will start by lightly tracing your circular framework with a measuring tool. The magic shifts to your applicators next. Use pure black ink on a bright white surface, or reverse the scheme, building up dark zones with dense marks and leaving light zones open. I love how this method forces you to focus purely on spacing and rhythm. Trust me, the final composition feels crisp and thoroughly polished.
Protective Finishing For Long Term Preservation
Wait a full forty-eight hours for your acrylic marks to cure completely before you apply any protective coating. Rushing this step remains the fastest way to ruin days of careful work. Once the paint fully sets, apply multiple thin layers of a matte acrylic varnish with a soft brush, allowing each stage to dry thoroughly. This protective barrier locks in your colors and keeps dust from settling into the textured peaks. A matte finish works best because it removes glare, allowing the radial patterns to remain fully visible. This final routine ensures your work maintains its clarity and charm across many seasons.
Conclusion
Your quiet focus and the steady rhythm of placing each touch transform these patterns into something deeply personal. Returning to simple mandala art indian style proves it is more than a routine; it connects you with balance and heritage through your own hands. For your next layout, pick one color family that speaks to your mood and carry it through the entire piece to watch how harmony emerges from repetition. The true joy lies in watching a complex image appear from such a grounded, meditative habit. Keep your tools ready, and let your next session unfold naturally.
FAQs
Q: What is simple mandala art Indian style and how is it different from other mandalas?
A: Simple mandala art Indian style is a pared-down version of traditional Indian mandalas that emphasizes symmetrical patterns, radial balance, and motifs like lotus petals, paisleys, and the flower as a central element. Unlike highly intricate or geometric modern mandalas, Indian style simple mandalas often draw from cultural motifs and spiritual symbolism while remaining accessible for beginners and quick projects.
Q: How can I get started drawing a simple mandala with an Indian aesthetic?
A: Begin by choosing a central motif such as a flower or small lotus, then lightly draw concentric circles as guides. Add repeating motifs—petals, dots, paisleys—around the center, working outward in rings. Use a fine liner for outlines and keep the patterns simple to capture the Indian style while staying beginner-friendly. For inspiration, you can discover Pinterest’s best ideas and inspiration to see layout and motif variations.
Q: What materials do I need for creating simple mandala art Indian style?
A: Basic materials include good paper, a pencil, compass or round objects for circles, fine-tip pens, and colored pencils or markers. If you want a more traditional look, include metallic gel pens or natural pigments. These simple supplies let you find and save ideas and experiment with color palettes and motifs without a large investment.
Q: Are there easy mandala patterns or templates for beginners that reflect Indian traditions?
A: Yes. Beginners can start with templates featuring concentric circles and simple repeats—petal rings, dot borders, and paisley shapes. Search for ideas about mandala that highlight Indian motifs like the flower center, swirls, and bead-like borders. Using templates helps you learn symmetry and proportion before moving to freehand designs.
Q: How can I use Pinterest to improve my mandala designs and gather ideas?
A: Pinterest is a great resource to discover Pinterest’s best ideas by browsing boards and pins labeled mandala, Indian mandala, or flower mandala. Create a board to save ideas about mandala and related color schemes. Regularly review saved pins to build a personal library of ideas and inspiration for mandala projects.


