
Preparing Natural Nail Surfaces for Adhesive Longevity
The quickest way to guarantee lifting is skipping the nail dehydration step. Your acrylic needs a completely clean, oil-free surface to form that lasting bond, and your own nail plate naturally produces moisture and oils. You want to gently push back your cuticles first to expose the full nail bed. Then, take a lint-free wipe soaked in pure acetone or a dedicated dehydrator and scrub every single millimeter of the nail, including the sidewalls and under the free edge. This process removes the invisible barrier that causes acrylic to pop off in a week. Trust me, spending two extra minutes on this prevents the frustration of a whole set failing prematurely. That clean slate is your foundation for any design, making it a reliable starting point for easy acrylic nail art designs that actually stay put.
Selecting Acrylic Brushes for Precise Artistic Application
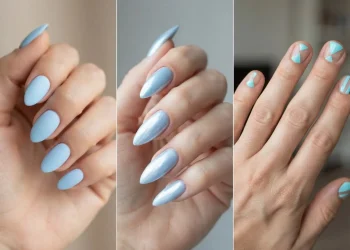
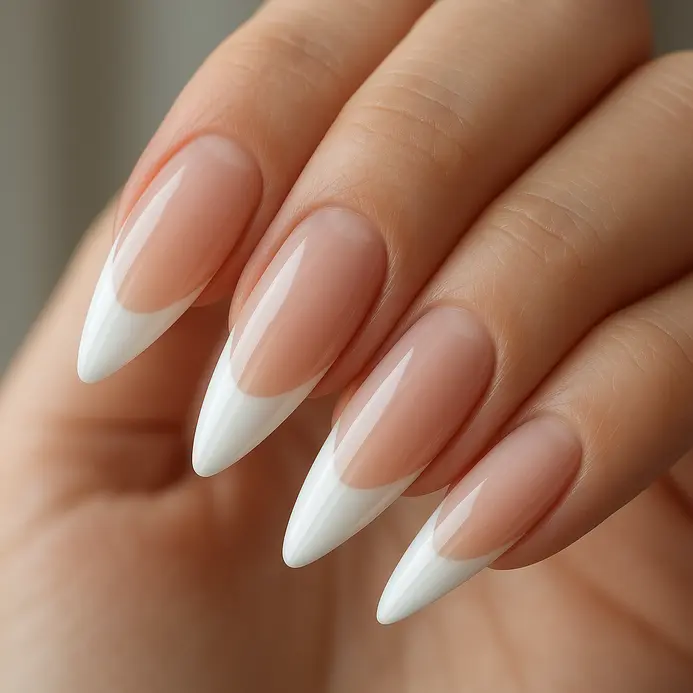
Your control over the acrylic bead starts with the brush tip, specifically its tapered synthetic bristles. A brush that is too stiff or too large will drag the product and create a lumpy surface, which ruins any delicate line work you try to add later, especially when working with gel nails. Look for a medium-length brush with a fine, pointed tip that springs back when you press it, ideal for creating perfect almond shapes. This shape lets you pick up a perfect, manageable bead and place it with intention for easy acrylic nail art designs. You will notice the difference immediately in how smoothly you can build the apex for strength. Keep a small dish of monomer nearby to clean your brush between nails, preventing dried acrylic from ruining those precious bristles. A quality brush is your primary tool for a smooth canvas.
1. Paint a Minimalist White Line French Tip
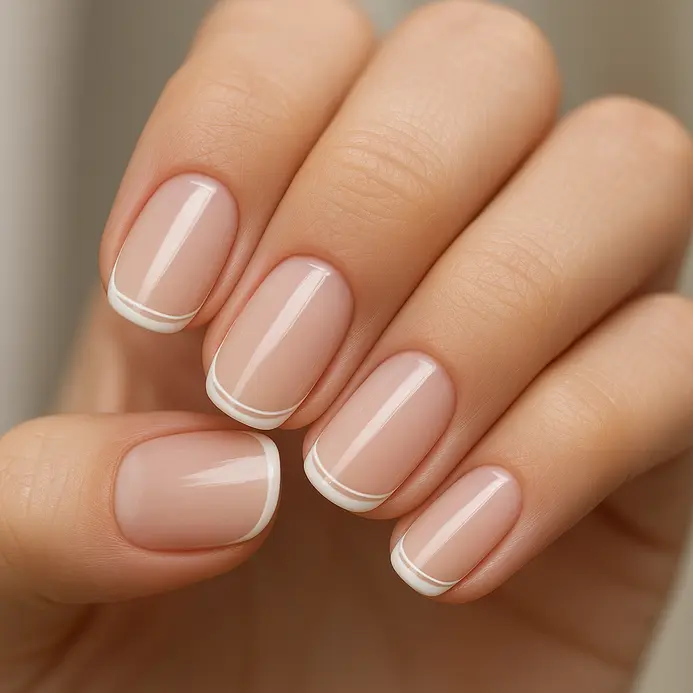
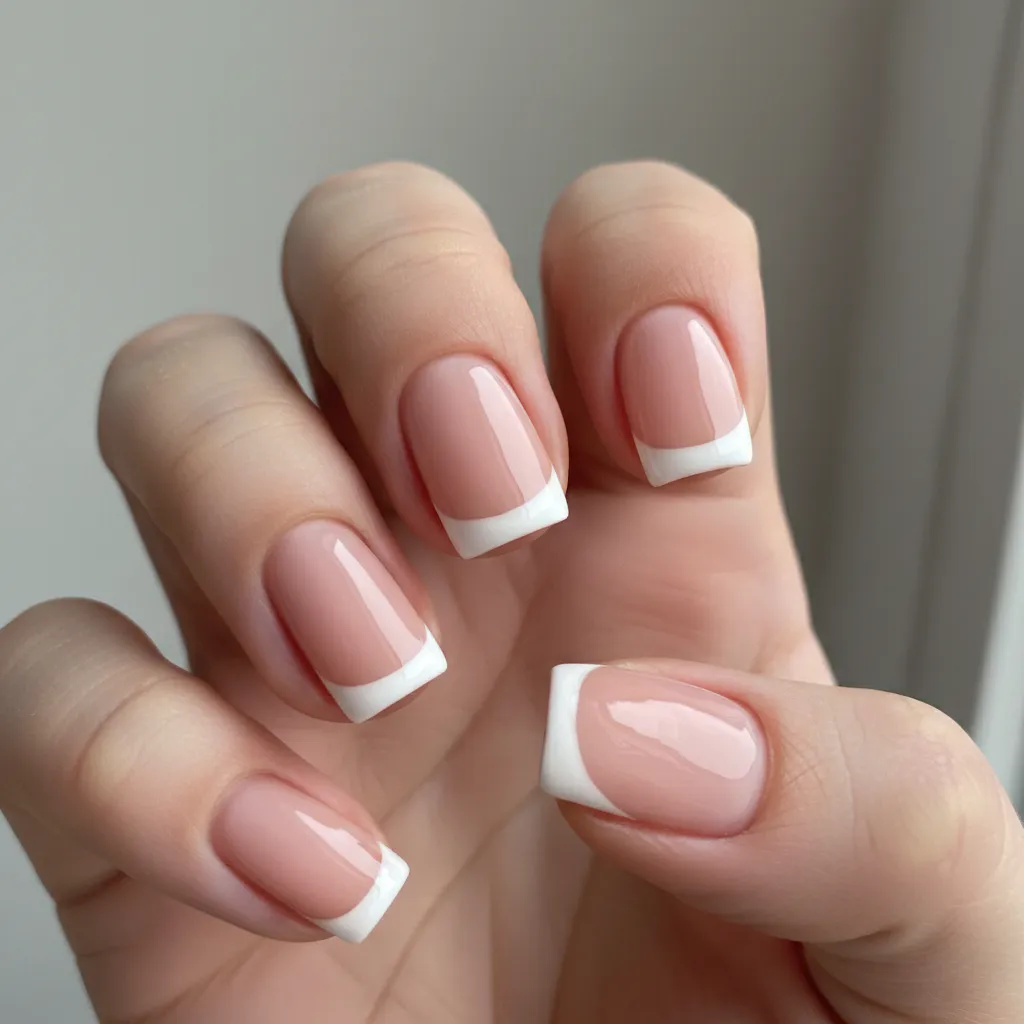
Who would have thought a single, delicate line could feel so chic? This modern take on the French tip proves that easy acrylic nail art designs often rely on minimalism rather than thick coats. You will apply a sheer nude base, then use a fine-tip nail art brush to paint a crisp white line along your free edge. Follow the natural curve of your nail for a subtle, elegant effect. The key is using a highly pigmented white polish that flows smoothly. This design creates the illusion of longer nail beds and works for any occasion. easy crafts for beginners. Does that not look stunning, especially with a chrome finish? It is my go-to for a polished look that is surprisingly low-maintenance.
2. Achieve a Soft Pastel Gradient Ombre Fade
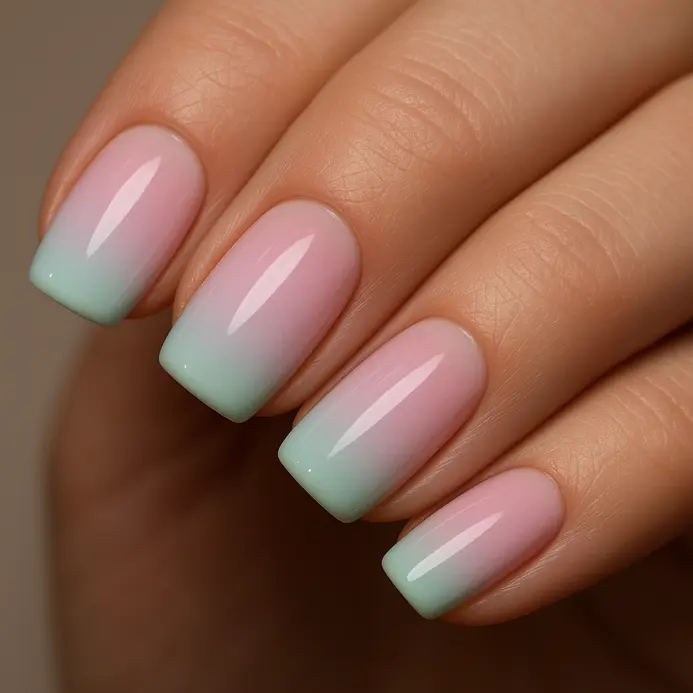
This one is a true favorite of mine. It looks like a professional salon technique, but trust me, you can absolutely do this at home with a little patience. Start with a light base coat, then apply your two chosen pastels so they overlap slightly where you want them to blend. Using a clean, slightly damp brush, gently tap and dab at that overlapping line until the colors melt together. Why does it work so well? The soft, desaturated nature of pastel shades means they mix beautifully without turning muddy. The key is to work with thin layers and build the color up slowly when practicing easy acrylic nail art designs. You will love how this creates a seamless, airy transition that looks stunning on short or long nails.
3. Apply Matte Black With Gold Studs
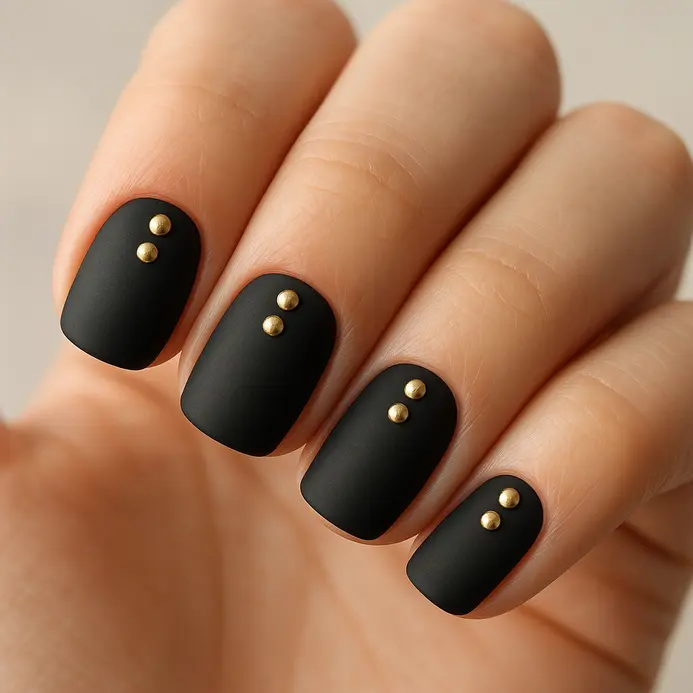
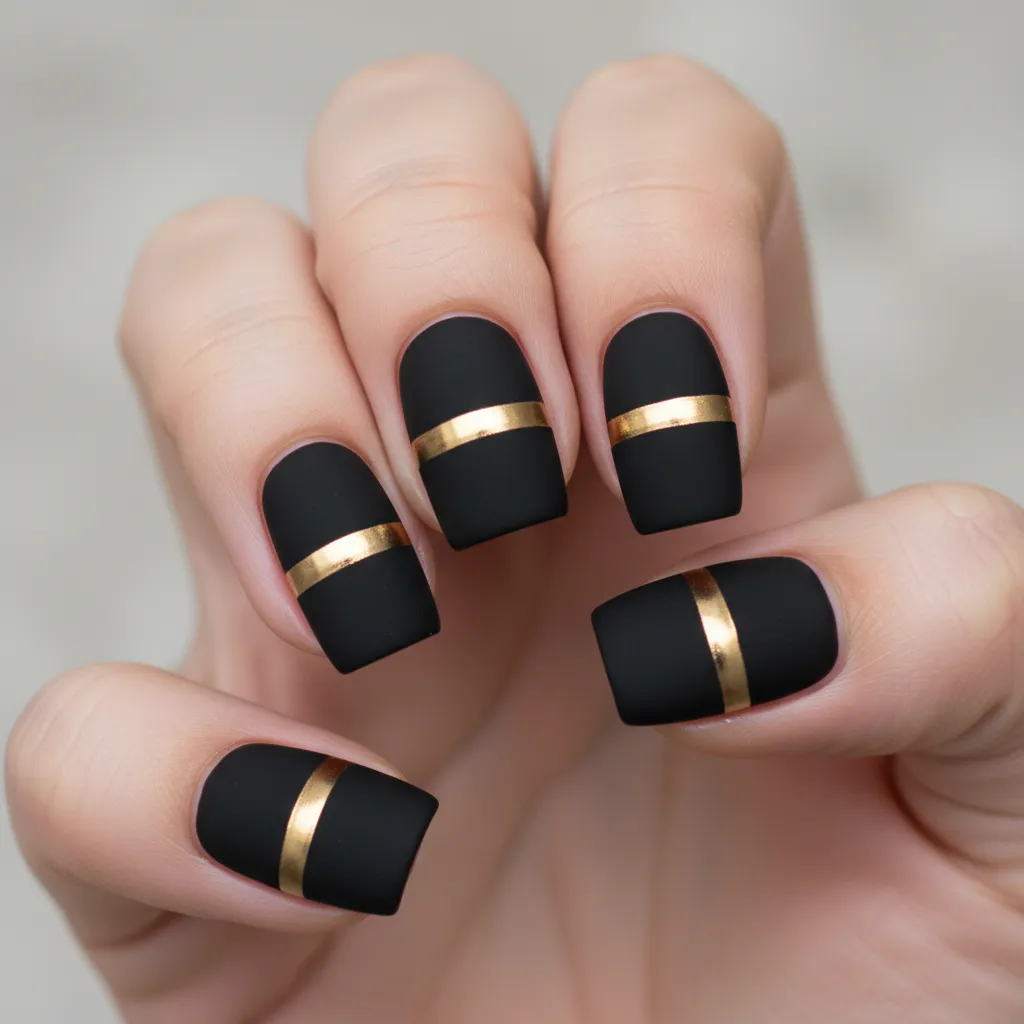
This one is a personal favorite of mine. It looks incredibly high-end, but the technique is surprisingly straightforward. You will start with a clean base and apply two thin, even coats of your matte black polish. Let each coat dry completely to avoid smudging later, ensuring a flawless finish for your nail polish. While the second coat is still a tiny bit tacky, grab a dotting tool or wax pencil to pick up your gold studs. The contrast between the soft matte finish and the shiny metal is what makes easy acrylic nail art designs feel both striking and refined. It feels elegant and edgy all at once. Trust me, patience is your best friend here. Let everything dry fully before you move your hands. If you love this sophisticated look, you might also enjoy trying some simple flower nail art for a softer, romantic vibe. Does that not look stunning? Place your embellishments carefully and enjoy the process.
4. Create a Sheer Nude With Silver Glitter
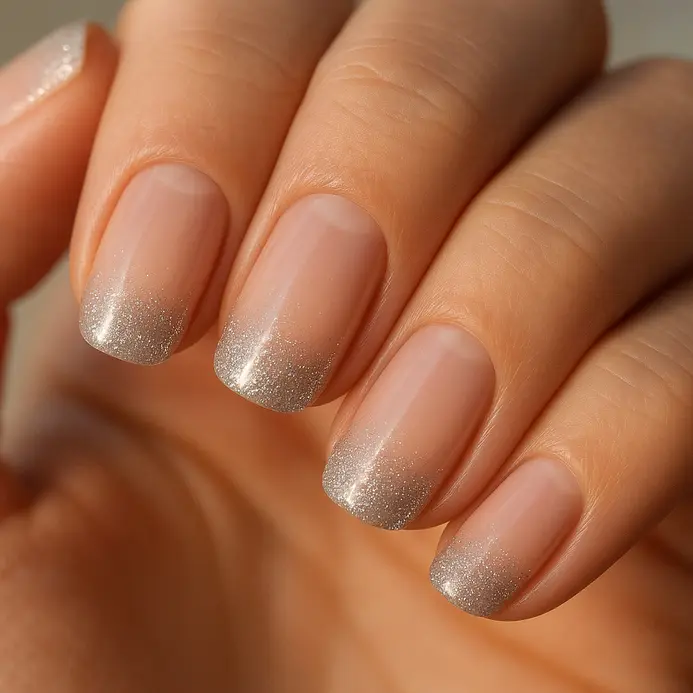
Ever wondered how to get that ‘my nails but better’ look with a touch of sparkle? The sheer nude base is your secret weapon, giving a soft, translucent finish that lets your natural nail peek through. I love applying one or two thin coats, depending on how much coverage you want. Then, the magic happens with the silver glitter topper. Dab it on instead of swiping for the most even, delicate shimmer. This combo works because it feels elegant and understated, yet totally special for beginners exploring easy acrylic nail art designs. Patience between layers is my go-to tip to prevent smudging. Once your glitter is dry, seal everything with a generous layer of top coat to smooth the texture and lock in that shine. You will end up with a chic, versatile manicure perfect for any occasion. Does that not sound stunning? For more ideas on simple designs for beginners, that same careful, buildable approach applies perfectly.
5. Build Clear Acrylic With Pressed Flowers
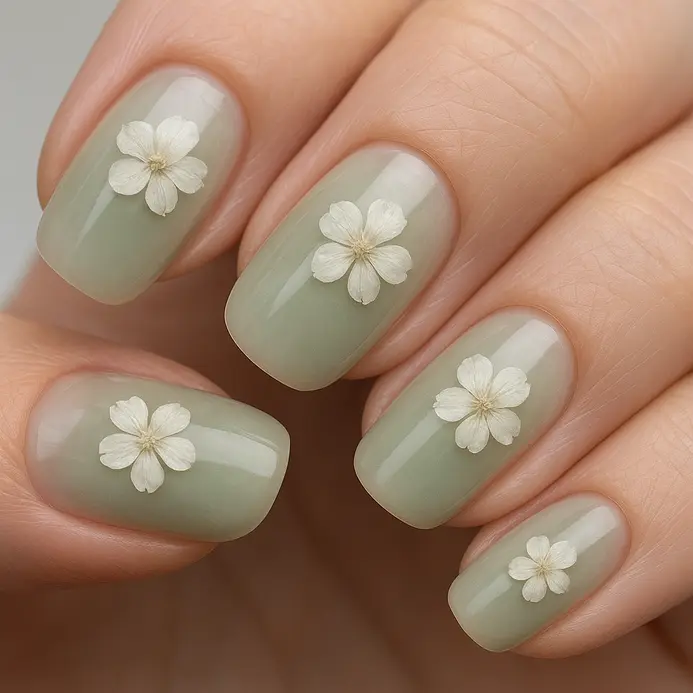
Who would have thought you could capture a tiny piece of a garden forever? You will sandwich your pressed flowers between two pieces of clear acrylic to create one of those charming easy acrylic nail art designs that preserve botanicals perfectly. It is like creating a tiny, personal museum display for your favorite petals. Trust me on this one. The key is using flowers that are completely dry to prevent any mold. Clean your acrylic sheets with a microfiber cloth and alcohol to remove every speck of dust before you start. Then, carefully arrange your flowers with tweezers before applying your chosen resin. Does that not sound like a satisfying way to create lasting art?
6. Add a Deep Red With Single Rhinestone
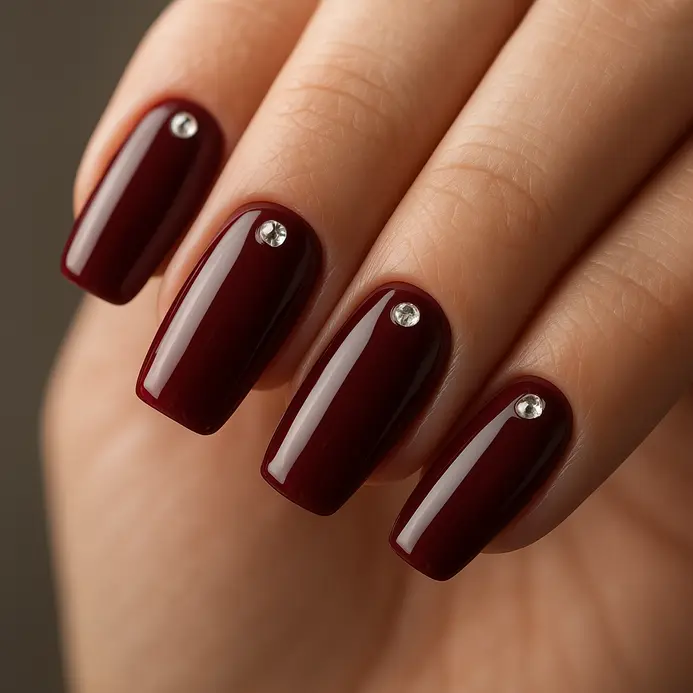
Ever feel like a manicure needs a little extra something, but you do not want to go overboard? This design is your perfect answer when you want to elevate easy acrylic nail art designs without overcomplicating the process. Start with a rich, opaque deep red polish in a shade like burgundy or oxblood. After your base and color coats are completely dry, place a tiny dot of top coat where you want the sparkle. Then, use your rhinestone picker tool to carefully set a single, clear stone right onto that spot. Finish with a generous seal of top coat over everything to lock it in. The contrast between that luxurious color and the singular sparkle creates such a sophisticated, understated glamour. Trust me, the key is patience between coats for a smooth finish and using an accent nail if you are new to this. It simplifies the process and still looks incredibly elegant. beginner-friendly painting projects. Does that not feel like an easy win?
7. Outline Polka Dots on a Nude Base
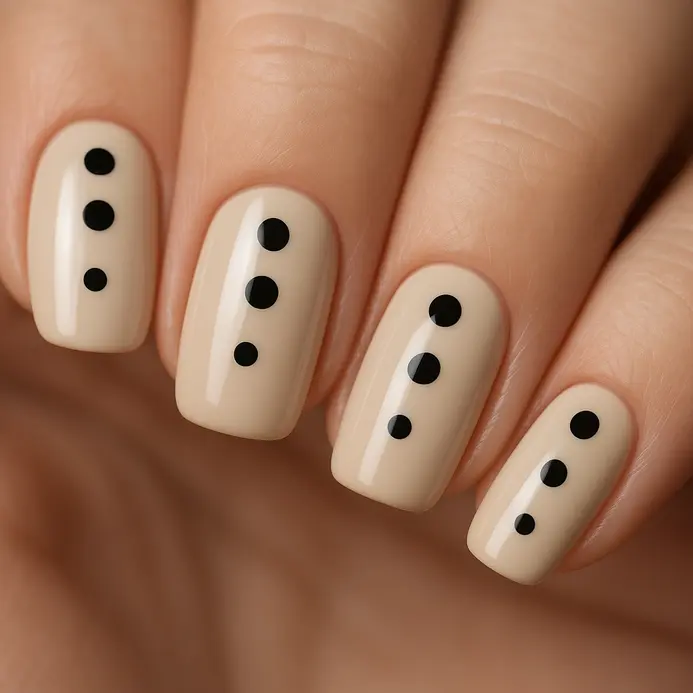
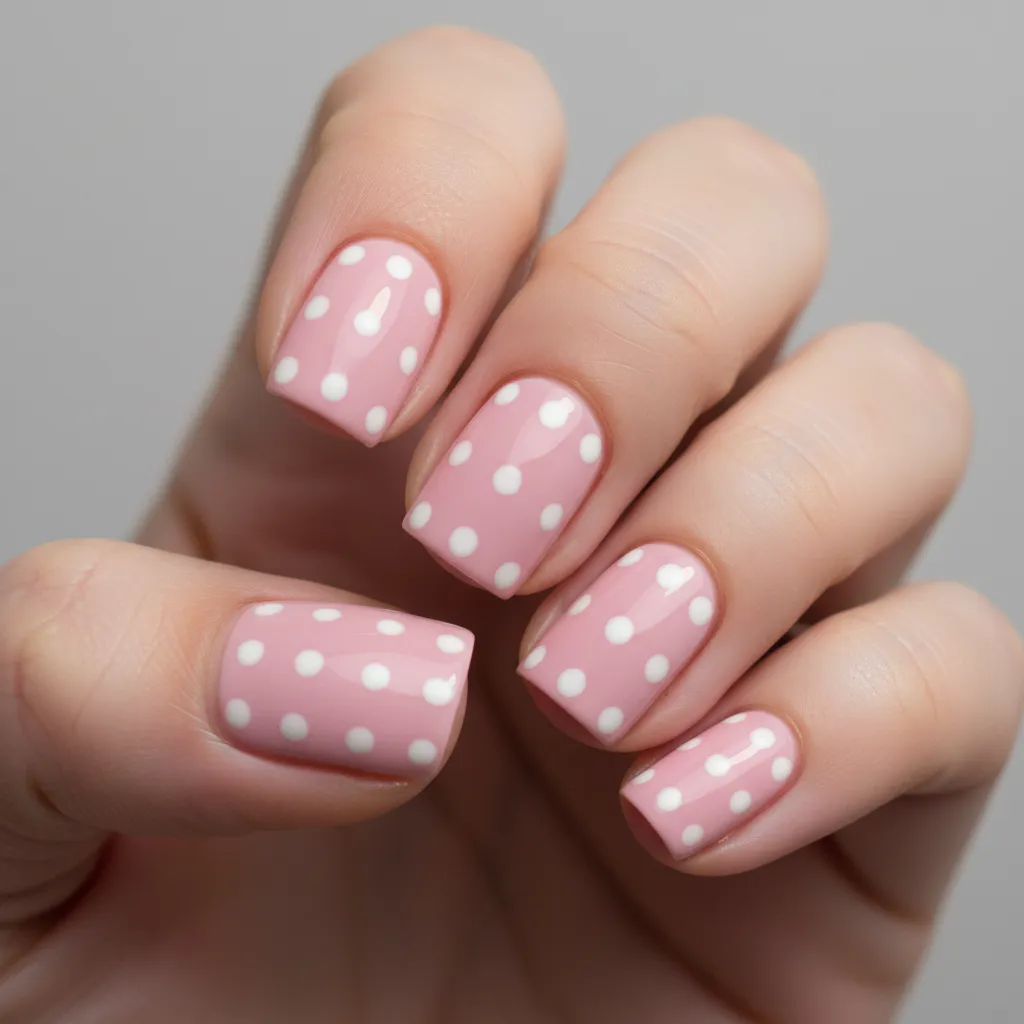
This one surprised me with its timeless appeal that will never go out of style. It looks so intricate, but it is a total beginner-friendly move, especially for those experimenting with gel nails. You start with a clean, sheer nude base. Let that dry completely before applying the next layer of nail polish. Then, use a dotting tool to place your polka dots in a pattern you like, mixing and matching different hues for a unique look. Do not worry about perfection. Once the dots are set, take a fine nail art brush to carefully outline each one with a contrasting color, a simple trick that elevates easy acrylic nail art designs, reminiscent of a classic French mani. The magic is in that outline. It makes each dot pop with a crisp, graphic edge. Why does it work so well? The nude background lets the outlined dots be the absolute stars. It feels so satisfying to see them come to life. For a fun twist, try this with different colored outlines for a playful look. If you are looking for more festive nail art inspiration, this technique adapts beautifully.
8. Style Soft Pink With a Geometric Triangle Accent
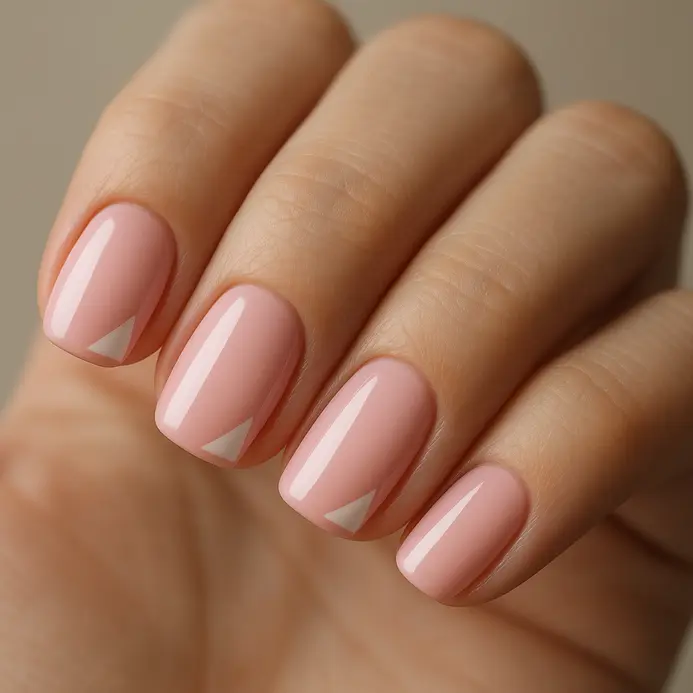
This one surprised me, it looks designer-level but is actually super approachable. You start with a clean, soft pink base, like a blush or dusty rose. The magic here is all about balance when you practice easy acrylic nail art designs on soft pink bases. The gentle pink feels sweet and feminine, while the bold geometric accent adds a cool, structured edge. It is that mix of soft and sharp that makes the design so versatile and chic. My favorite tip? Let your base color dry completely before you apply the tape, it makes all the difference for getting those clean lines. You will love how polished your nails look. Then, using a piece of nail art tape, you create a sharp triangle shape on one nail. Fill it in with a contrasting color, like crisp white or sleek black, for that perfect modern pop.
9. Capture an Ocean Blue Marble Swirl Design
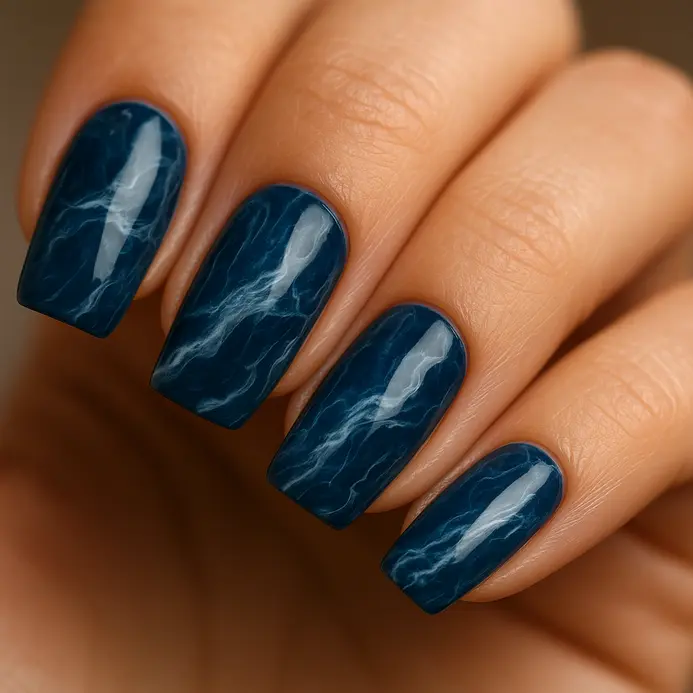
This one looks so intricate, but trust me, it is one of the most forgiving styles to try. You start by applying a base coat of your lightest blue shade. While the base is still wet, you take a small detail brush and pick up your darker blues and white, dabbing and swirling them together. The fluid, watery effect hides any small imperfections, making it look professionally done while showcasing easy acrylic nail art designs that require zero precision. Why does it work so well? The contrast colors blend naturally without needing exact measurements. For a modern twist, check out the latest seasonal nail design trends for color inspiration. Your final tip? Seal it with a glossy top coat to enhance that deep, wet look. Does that not feel stunning?
10. Place a Vertical Metallic Stripe Accent Nail
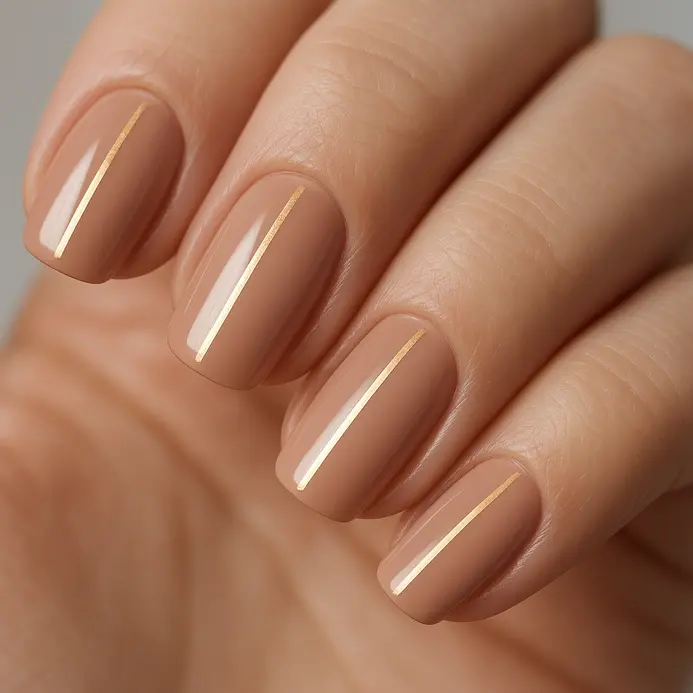
Who would have thought a single line could feel so elegant? This look gives off major minimalist-chic vibes while proving that easy acrylic nail art designs do not need heavy embellishments. The trick is all in the metallic striping tape. Once your base color is bone dry, you simply press a thin strip right down the center of your chosen accent nail, trim the ends, and seal it with a glossy top coat. It creates this gorgeous, elongating effect that makes your nails look instantly more sophisticated. I love how versatile this is, allowing you to explore various acrylic nail ideas. You can pair a gold stripe with a deep burgundy for a luxe evening look, or silver over a soft pink for something fresh and modern. For a clean finish, make sure you apply a generous top coat immediately after placing the tape to lock it in. If you enjoy working with precise lines, you might also find inspiration in simple painting techniques that use similar fine-detail approaches.
11. Layer Lavender With Silver Foil Flakes
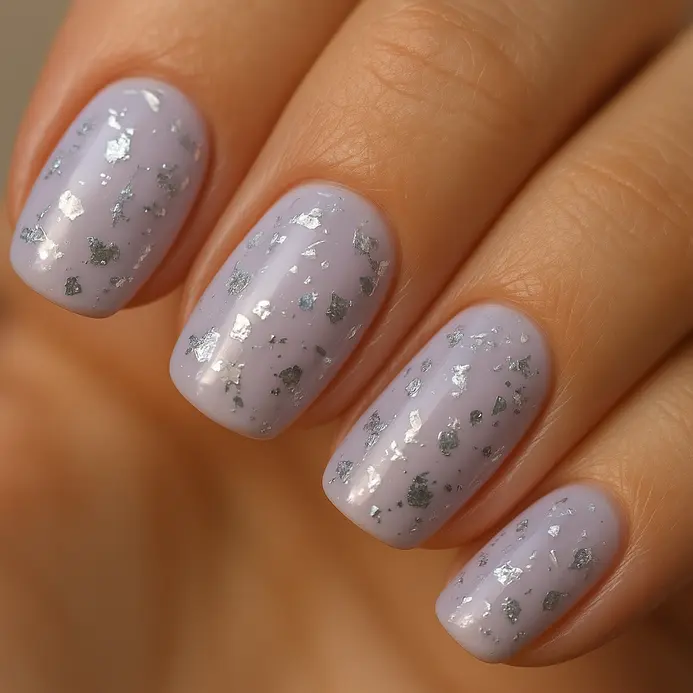
Ever feel like your lavender manicure needs a little extra magic? It sounds fancy, but trust me, the process is super straightforward. You start with a soft lavender base and apply a tacky top coat. Then, you carefully place delicate silver foil flakes onto that sticky surface. I love using a pair of fine tweezers for the most control. This combination creates a reflective sparkle that makes easy acrylic nail art designs feel instantly upgraded and modern. The real secret is in the final seal. You need a generous layer of top coat to fully encapsulate every single flake. This creates a smooth, durable finish that feels as good as it looks. Isn’t that satisfying? The calming color and the reflective pieces feel both elegant and modern. Try it and feel that glamorous payoff.
12. Block In a Diagonal Color Block Pastel Set
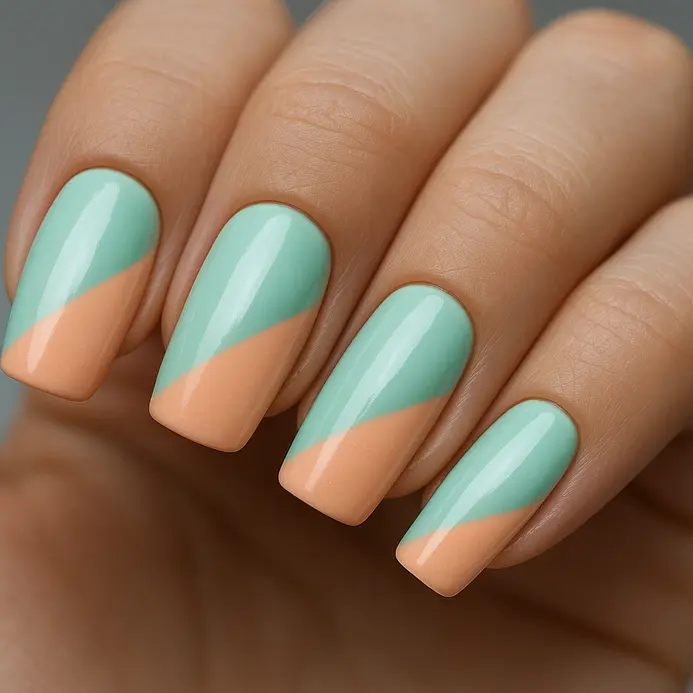
Ever wondered how those chic, modern nails with sharp diagonal lines are done? You start by picking two or three soft, muted pastel acrylic paints that complement each other, like lavender and mint. I love how this design creates instant visual interest without needing intricate details, making it ideal for beginners exploring easy acrylic nail art designs. Using thin nail art tape or a steady hand, you paint distinct diagonal blocks of color on each nail. The key is letting each color dry completely before adding the next. It works because the sharp diagonal line is dynamic and modern, while the soft pastel palette keeps it elegant and wearable. For a perfect finish, try aligning the angle of the diagonal across all your nails for a cohesive set. You will feel so stylish with this fresh, graphic look on your fingertips. If you enjoy working with defined shapes and color, you might also find inspiration in small-scale painting designs.
13. Apply a Bright Neon Confetti Top Coat
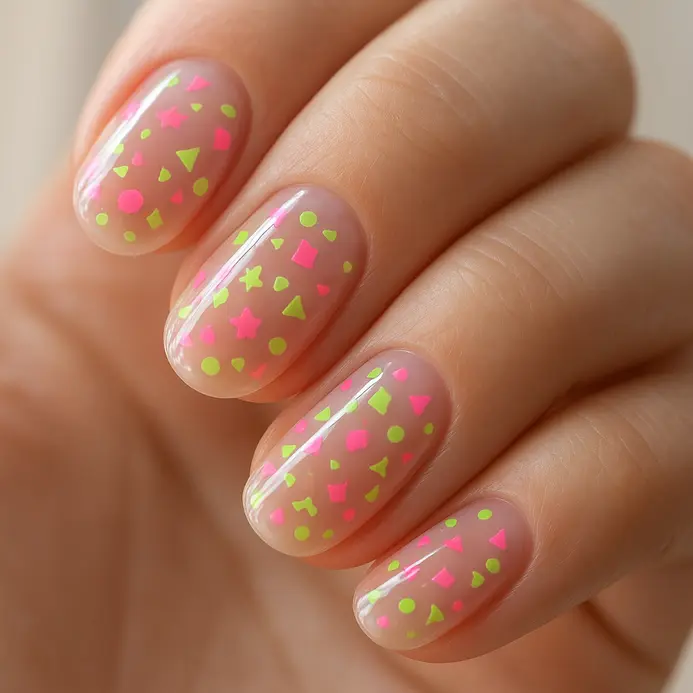
Ever want to instantly jazz up a plain manicure? A bright neon confetti top coat is your answer. It is my favorite way to add a fun pop without needing any fancy tools. You just need to master the floating technique for the best results. Instead, gently drag the loaded brush from your cuticle to the tip, letting the glitter fall into place for effortless easy acrylic nail art designs every time. Do not brush it on like regular polish. This prevents bald spots and gives you an even, playful sprinkle of color, making your acrylic nail ideas stand out. Let that first layer set for a minute before adding a second if you want more confetti density. Always finish with a clear top coat to smooth everything out and lock in the shine. The final look is so vibrant and happy, perfect for adding a bit of that intricate yet simple patterns energy to your tips.
14. Draw an Emerald Green With Gold Line
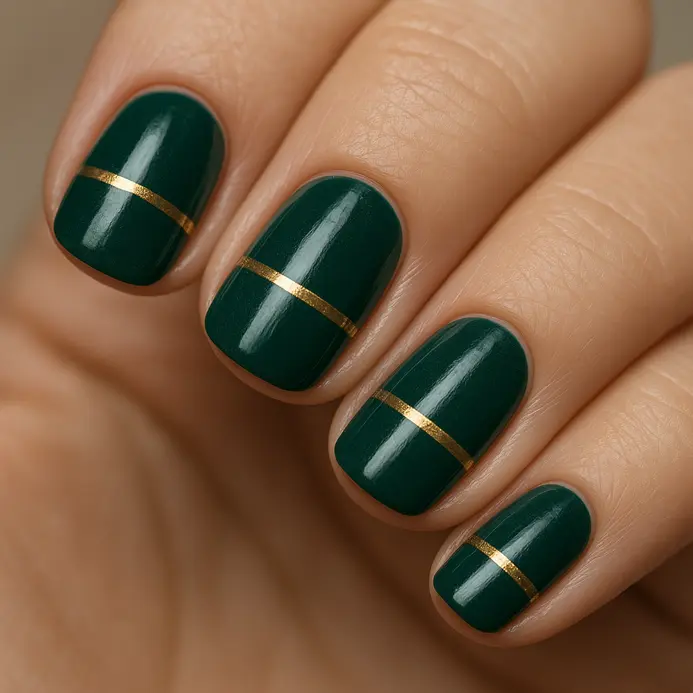
Does a single line feel too simple to be stunning? Trust me, this emerald and gold combo looks far more intricate than the effort it takes. The key is that deep emerald green base – it needs to be completely opaque and dry. Then, take your time with a thin striping brush dipped in your gold polish to draw your line. Rest your hand on the table to avoid shakes, and use less polish than you think you need for a clean, fine line. After your gold line is set, a glossy top coat makes it all pop and last, proving how reliable these easy acrylic nail art designs really are for evening events. Why does this nail art design work so well with the mix and match of different hues? The rich jewel tone and metallic shine create an instant, elegant contrast that feels luxurious. Is that not the perfect mix of easy and sophisticated?
15. Create a Classic French With Heart Detail
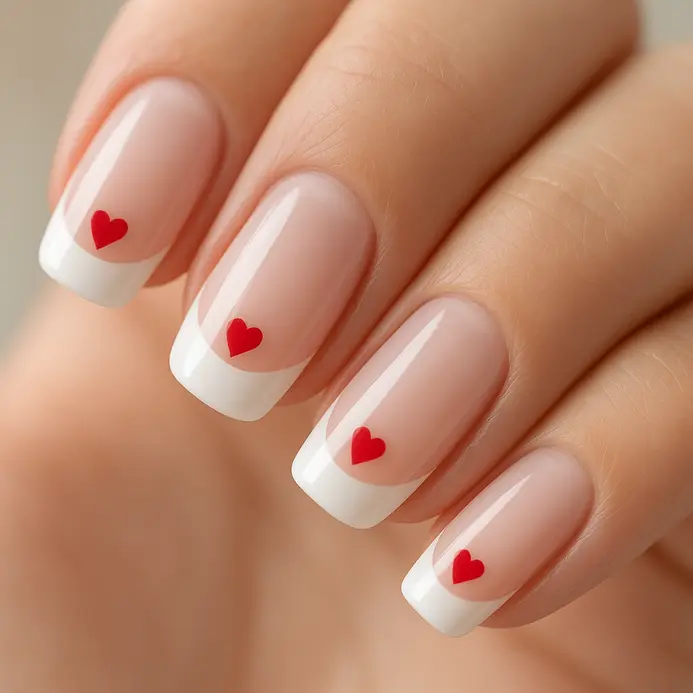
Who knew a tiny heart could transform a classic French manicure into something so personal? This design is all about clean, elegant lines and a sweet little accent. Start by applying your sheer base and using French tip guide stickers for perfect white edges. Then, using a dotting tool or fine brush, create your heart by making two small dots side-by-side and pulling down to form the point. The payoff is a chic look that feels special, especially when you compare easy acrylic nail art designs that use focal accents well. It works because it feels both timeless and uniquely yours. I love how the heart detail adds just a whisper of personality without overwhelming the look. You can find more inspiration for other playful and creative drawings to adapt to your nails. Does that not look stunning?
Sealing Finished Designs for Maximum Surface Durability
A high-shine, non-yellowing top coat is the final shield that locks in your art and prevents smudges. After your design is completely dry, apply a generous but even layer over the entire nail, making sure to cap the free edge. This sealant acts like a clear barrier against water, household chemicals, and daily wear. The good news is this step takes seconds but adds weeks to your design’s life. Choose a top coat formulated for acrylics to ensure proper adhesion without causing shrinkage or dulling your easy acrylic nail art designs over time. You want that glossy, professional finish to stay crisp, protecting all your careful work on the negative space and clean lines.
More Easy Acrylic Nail Art Designs Gallery for Inspiration


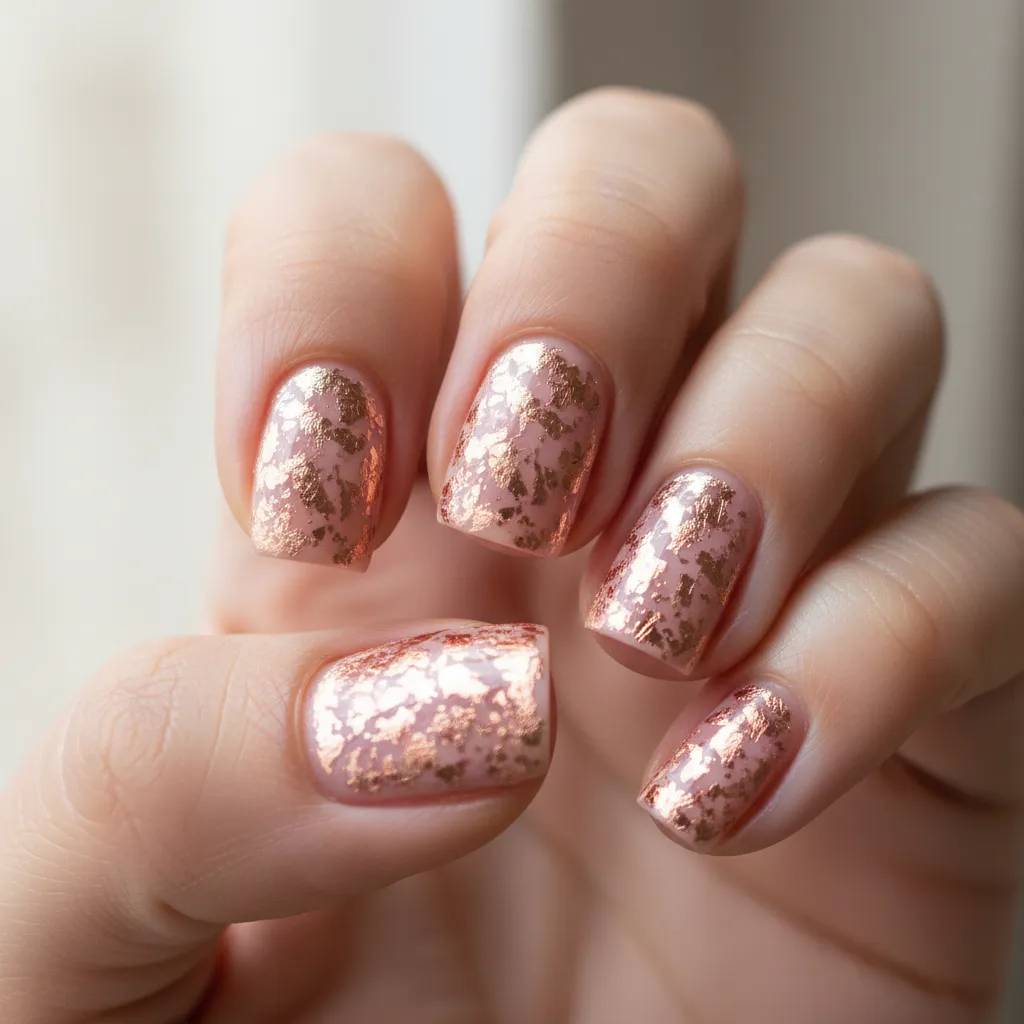

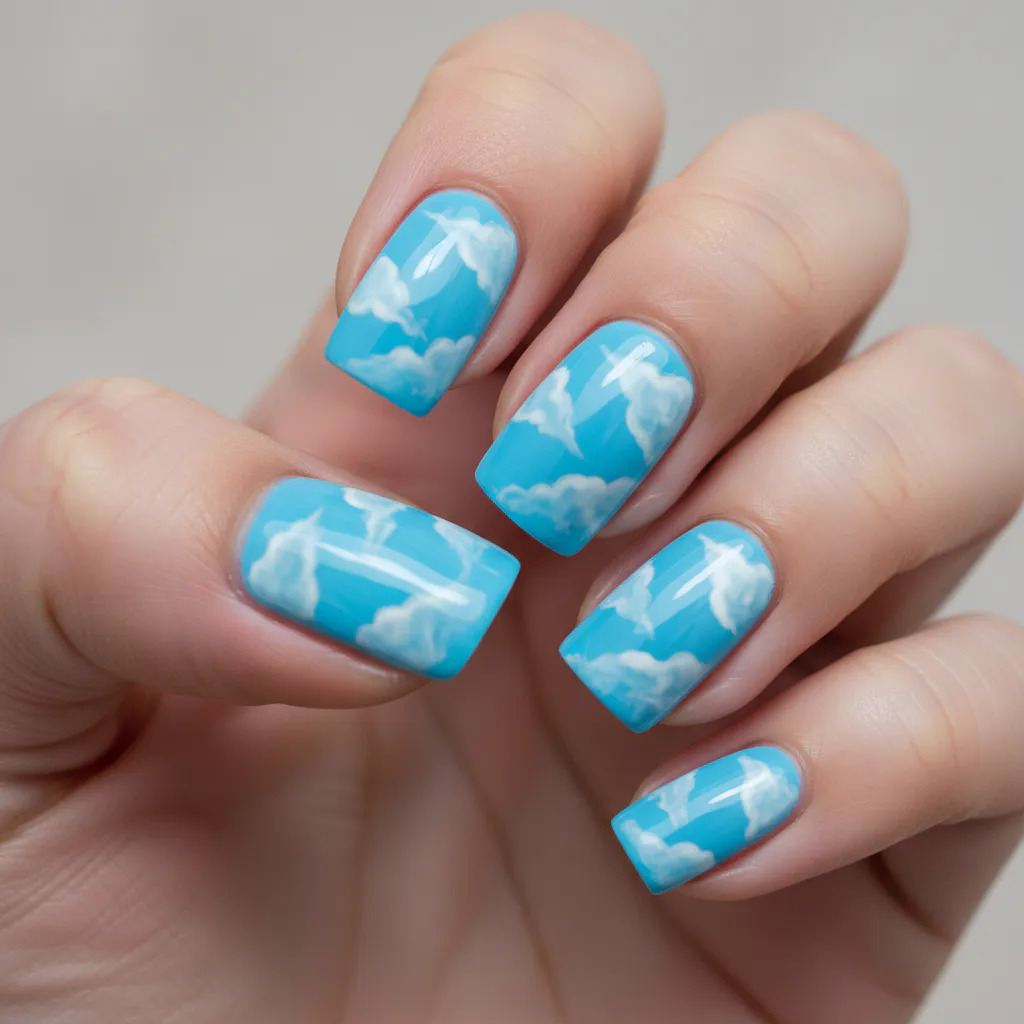


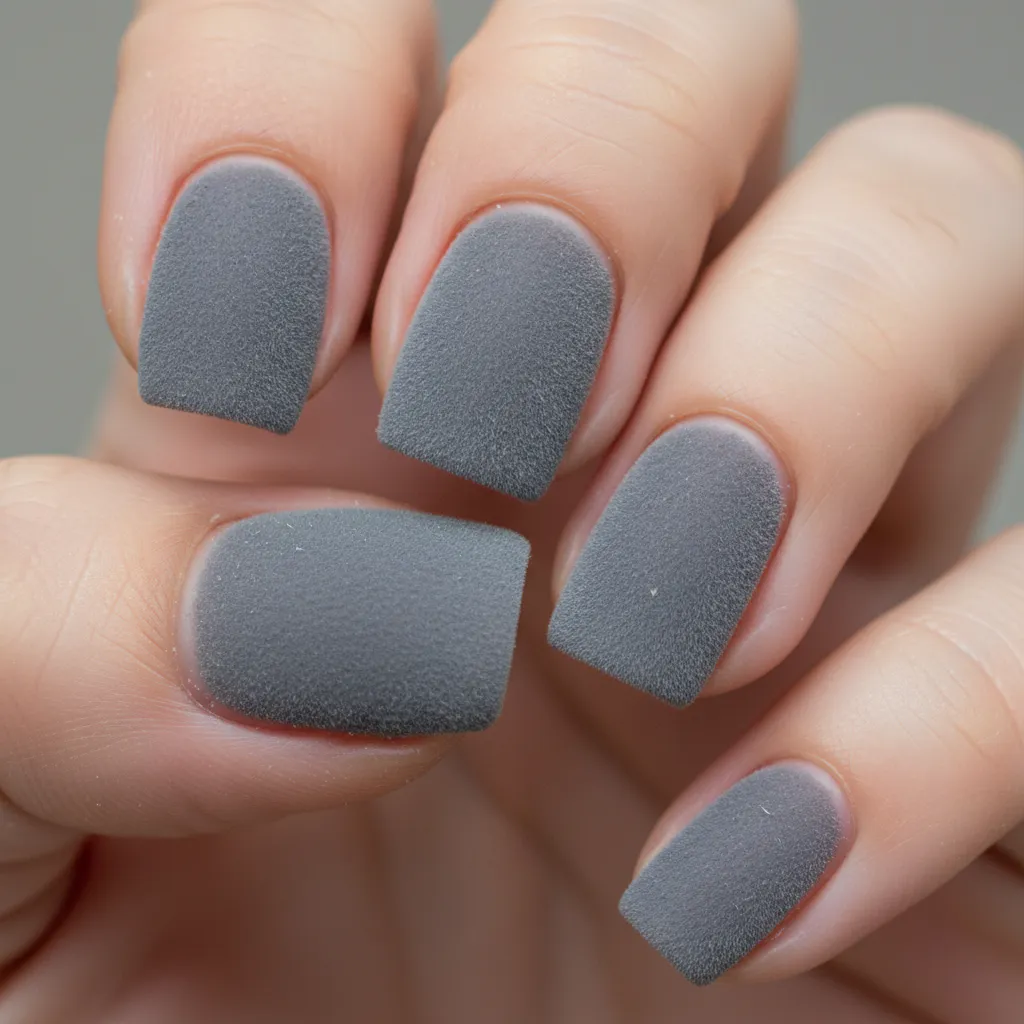

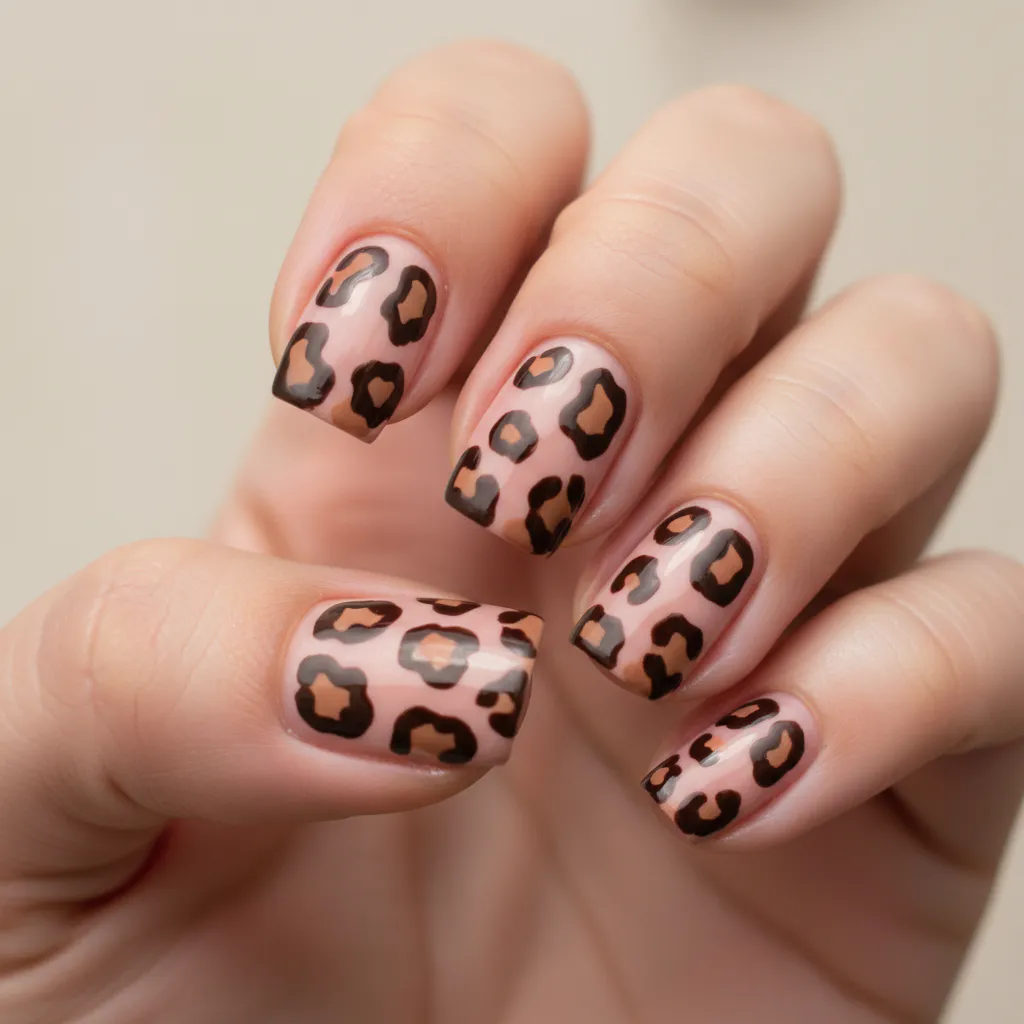


Conclusion
Your nails are a perfect little canvas for expressing your personal style, and starting simple is the best way to build real confidence. Each of these easy acrylic nail art designs proves that a single line, a few dots, or one sparkling accent can make a huge impact. The next time you sit down to do your nails, pick one technique you loved here and play with a new color combination. Remember, a clean base and a steady, thin brush are your best friends for crisp lines, guaranteeing that easy acrylic nail art designs stay flawless. You have everything you need to create beautiful, wearable art right at your fingertips.
FAQs
Q: What are some easy acrylic nail art designs for beginners who want a natural look?
A: Many beginners opt for a nude or light pink base and add simple accents like a single glitter accent, a tiny floral design, or subtle pearlescent tips to achieve a natural look. Short acrylic nails or a shorter nail length with a square shape or almond nails are especially forgiving, and working with a trusted manicurist or following step-by-step tiktok inspo can make getting acrylic nails less intimidating.
Q: How can I make a statement with an acrylic mani without complicated techniques?
A: To make a statement, choose one or two standout nails on each hand—try chrome nails, a bold red nail theory accent, or gold foil on a milky base. You can also take on the trend of cow print or rainbow bright details on a single finger while keeping the rest simple, which gives the effect of an acrylic set that stands out without complex designs.
Q: Are short acrylic nails suitable for popular nail trends like marble acrylic nails or tortoiseshell?
A: Absolutely. Marble acrylic nails and tortoiseshell patterns translate well to short acrylic nails; the key is scale—smaller, less busy swirls or shapes keep the design readable. A celebrity manicurist or local salon can adapt patterns for stiletto shape or square acrylic, but short styles look chic and practical, especially if you prefer a natural look.
Q: What’s the best nail shape to pair with intricate designs like stiletto nails or sweater nails?
A: Intricate motifs can work on any nail shape, but stiletto nails and almond nails give more real estate for dramatic looks like sweater nails or detailed floral design. If you want a more wearable approach, try stiletto shape for statement looks and square shape for everyday wear—both can carry acrylic designs well when applied by a skilled manicurist.
Q: How do I maintain chrome nails, pearlescent finishes, or gold foil on an acrylic set?
A: Maintenance involves using a quality top coat to seal chrome nails or gold foil, avoiding harsh chemicals, and scheduling fills every 2–3 weeks depending on growth. For pearlescent or milky finishes, a gentle buffer and a cuticle oil routine keep the acrylic mani looking fresh. If you’re unsure, ask your manicurist for recommended products based on the finish.