Focus Marks And Camera Distance At Home
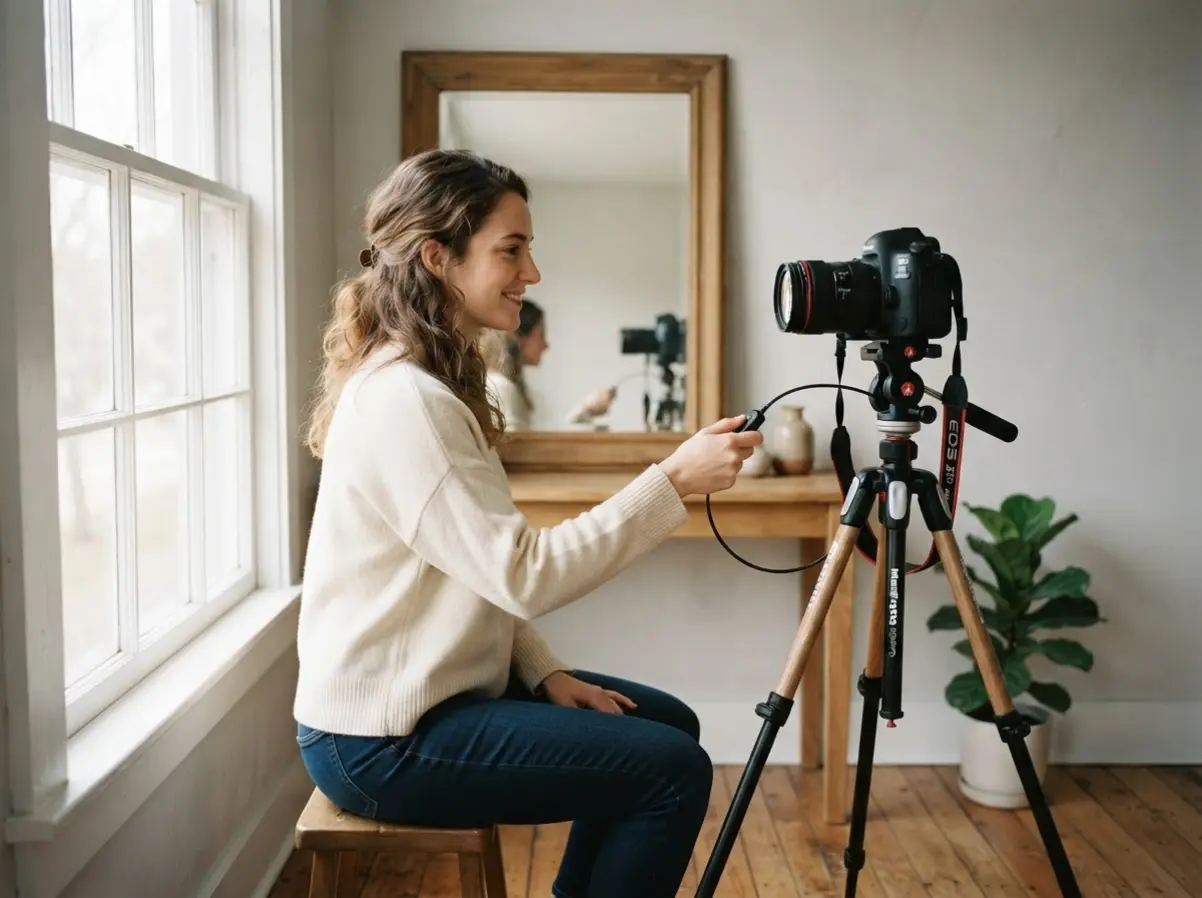
The best trick for nailing focus every time is marking the exact spot on the floor where your eye will be. You place a small piece of tape or a book on the ground, stand there, and then manually focus your lens on a stand-in object like a chair placed in your exact spot, a technique perfectly aligned with DIY self portrait photography ideas. Trust me, this one step saves you from dozens of blurry test shots. With your focus locked, you can step back, check your frame, and return to your mark knowing your eyes will be sharp. This is especially helpful for abstract close-ups where even a tiny focus shift ruins the shot, so it remains a core element among DIY self portrait photography ideas. You will notice your keeper rate shoots up immediately.
Tripod Stability And Safe Household Light Placement
A stack of heavy books makes a surprisingly solid phone holder when you lack a proper tripod, but you must ensure the base is wider than the top. We tend to prop our phone on a single tall book, which is a recipe for a broken screen, yet stabilizing your shot remains vital across all DIY self portrait photography ideas. Instead, build a stable pyramid with the largest books on the bottom. For lighting, always place household lamps on a solid, flat surface away from any curtains or fabrics, a simple safety habit for DIY self portrait photography ideas. The good news is a simple desk lamp with a white foam board reflector can create beautiful, soft light without any fire risk. Just check that the lamp is cool to the touch before you position your reflector.
1. Golden Hour Silhouette Portrait for Warm Natural Light
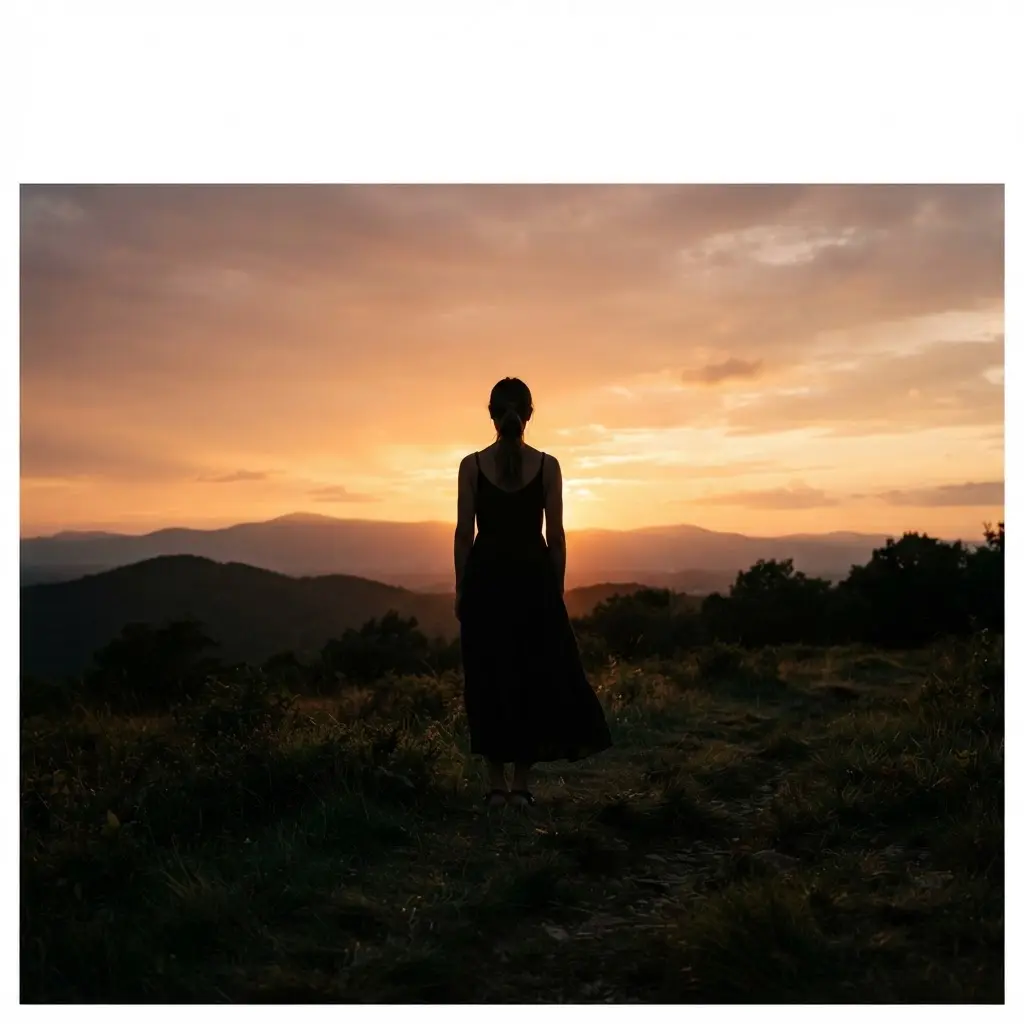
Doesn’t that warm, golden sky behind a striking dark shape just pull you in? For this shot, you set up your camera on a tripod, then position yourself directly between the lens and the setting sun, a setup frequently featured in DIY self portrait photography ideas. You need to tell your camera to expose for that bright sky, not for you, which turns you into that beautiful, bold silhouette. I love how this technique turns a simple self portrait into a dramatic piece of art with just the sun and your timer.
Getting the shape right is everything, so try a strong profile pose or lift your arms to create an interesting outline. A pro tip here is to use manual focus on your background to make sure your camera doesn’t accidentally try to focus on your darker shape. Feeling that creative satisfaction when the final image appears is the best payoff. Before you start, it helps to read up on beginner portrait techniques to build your confidence with composition and timing, which pairs wonderfully with DIY self portrait photography ideas.
2. Window Light Chiaroscuro Effect for Bold Facial Contrast
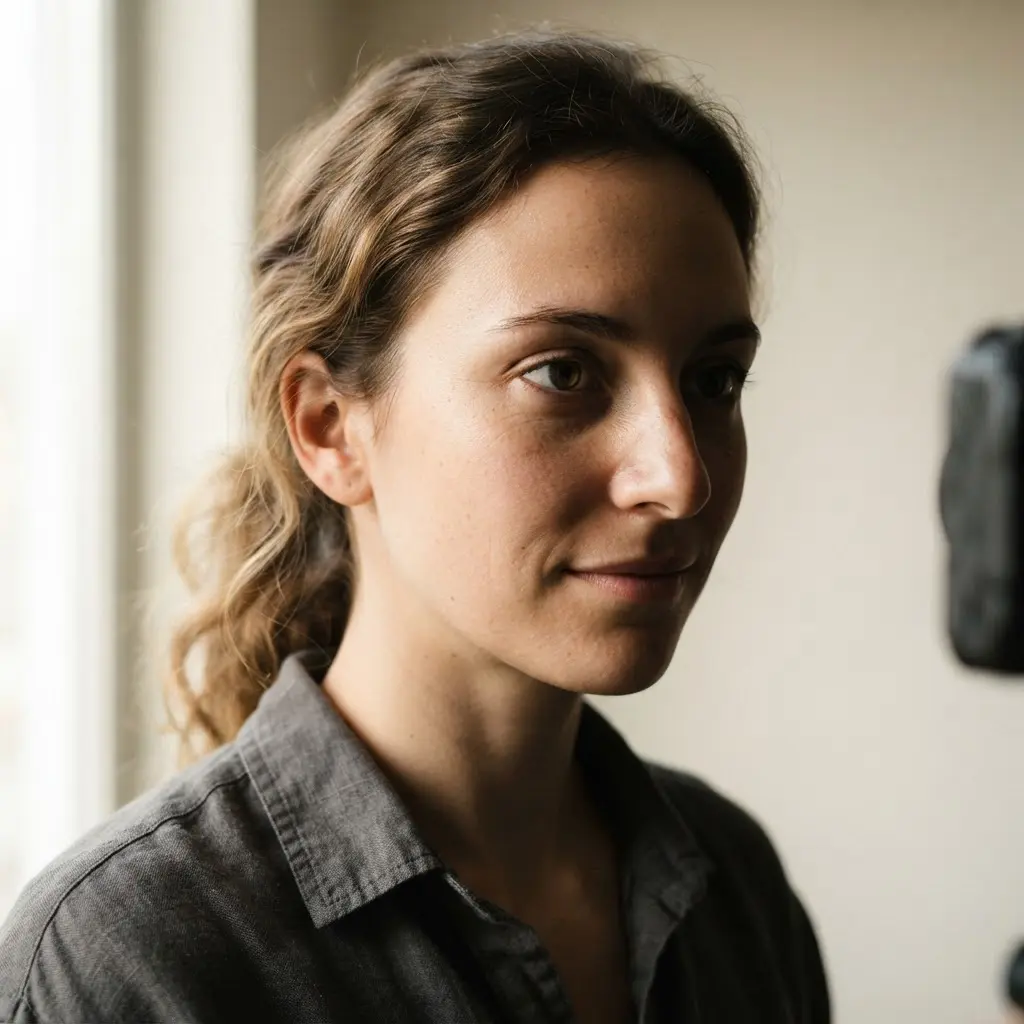
This technique turns a basic window into a powerful portrait studio. Position yourself so light from the window hits only one side of your face, creating a sharp line between light and shadow. I love how this uses Rembrandt lighting to sculpt your features with that classic, artistic triangle of light on your cheek. It feels dramatic and professional, like you stepped into an old painting.
You can deepen the effect with a simple, dark background to make your lit side pop. Sound complicated? It is not. For more ways to master this interplay, read our guide on light and shadow techniques. Trust me, once you see the results, you will feel like a true artist, especially when practicing DIY self portrait photography ideas.
3. Urban Texture Reflection Portrait With Street Detail
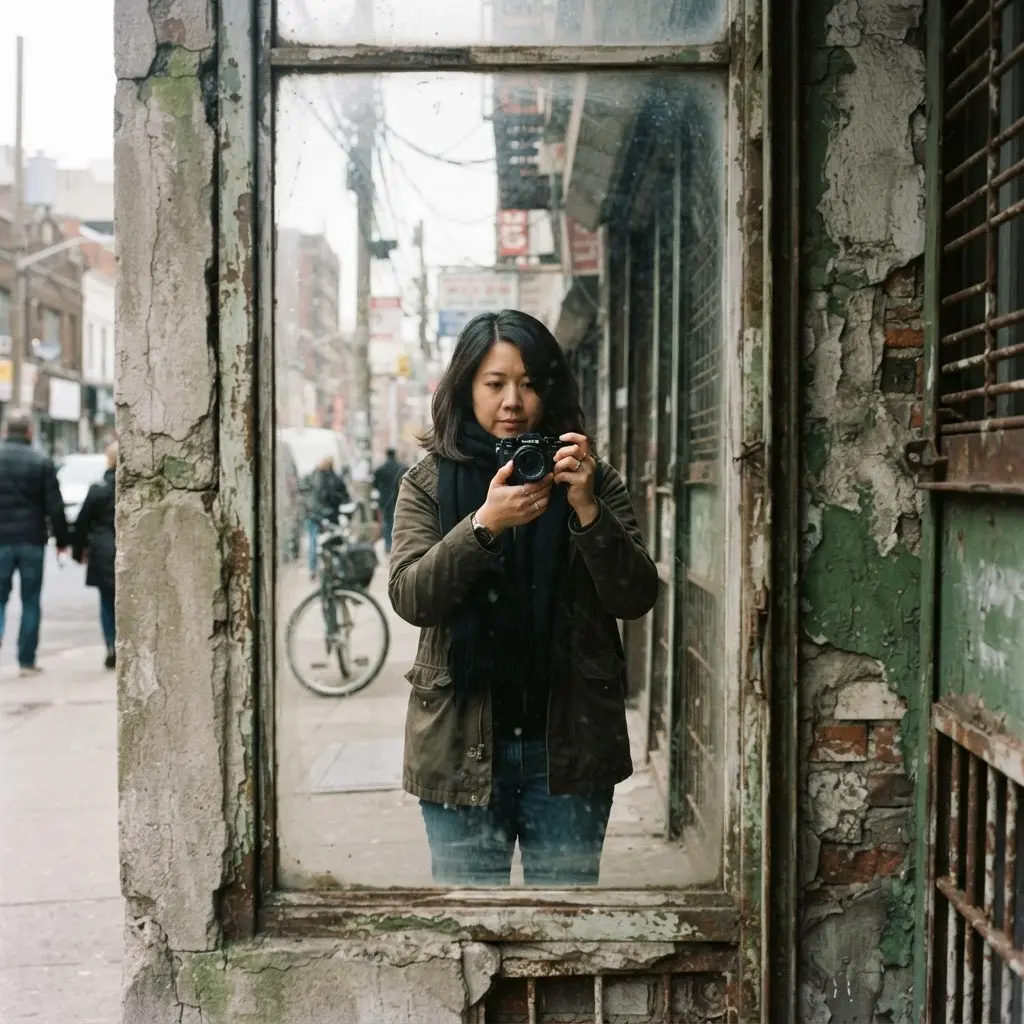
This idea turned a rainy walk into one of my favorite shoots ever. You find a deep puddle or a clean shop window and position yourself so your reflection interacts with the graffiti or brickwork behind you. I love that the city becomes a ready-made studio full of character. Sound complicated? It is really not.
Use your single-point focus to lock onto your reflected face, not the surface, a quick adjustment for DIY self portrait photography ideas. The trick is to expose for your reflection and let those street details blend in naturally. You will get a layered, moody shot that feels like a piece of the city itself.
4. Nature Backdrop Abstract Pose in Soft Greenery
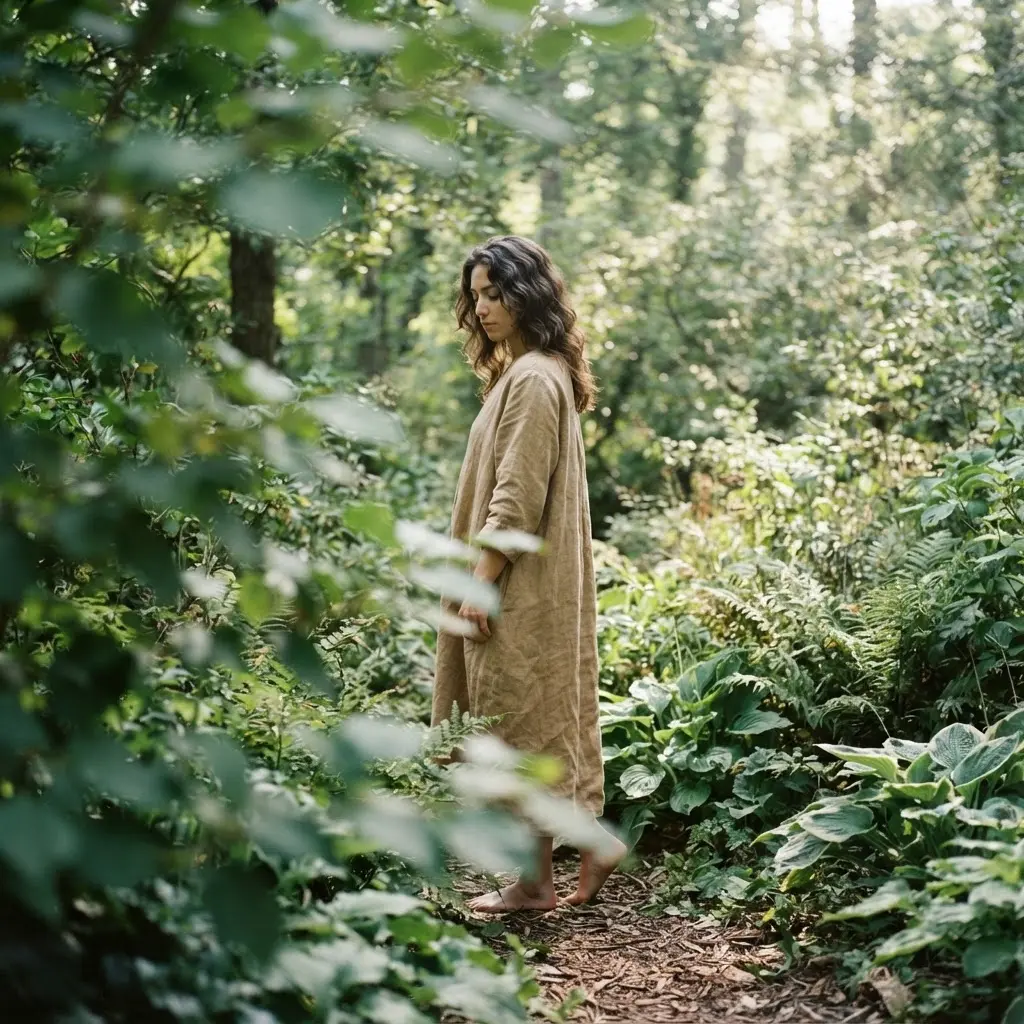
Picture the end result: your figure emerges as a graceful blur of color against a soft wash of vibrant green. You achieve this by finding a dense patch of foliage and using a shallow depth of field. This blurs the leaves into a painterly, soft backdrop, letting your abstract pose take center stage. I love the freedom of this one; you can twist, lean, or create interesting shapes without worrying about a stiff smile, which is a major perk of DIY self portrait photography ideas.
Why does it feel so special? It turns a simple garden corner into your own private, artistic studio. Trust me, you will feel creatively unbound when you try it, and that mindset fuels every successful round of DIY self portrait photography ideas.
5. Low Angle Dramatic Stance for Strong Perspective
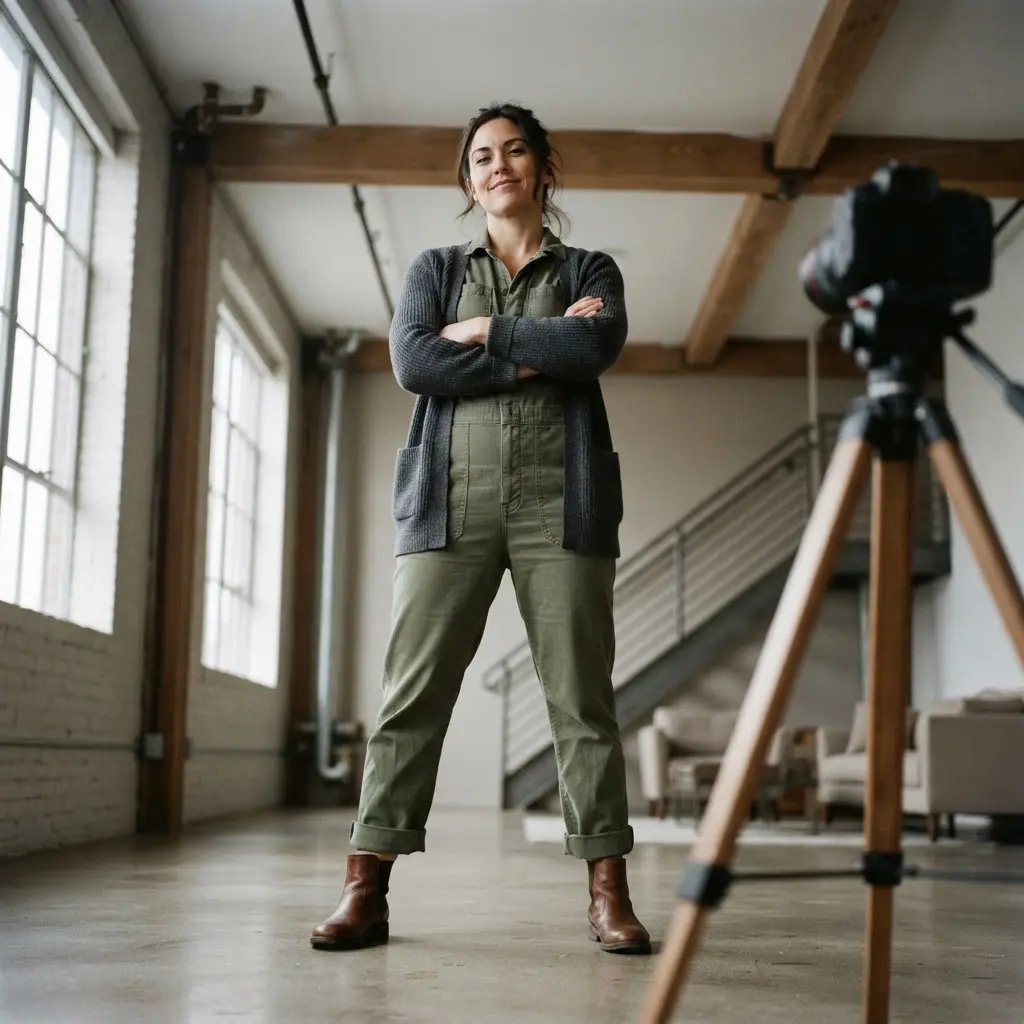
A common mistake is tilting the camera so far it looks unsteady. Instead, you want a strong upward angle. Place your camera on the ground, pose above it with your chin up, and use a wide-angle lens for a truly dramatic feel. This perspective makes you look powerful because it completely changes the viewer’s relationship to your subject. I love how it transforms even a plain patch of grass into a heroic stage. Feel that sense of strength in your final image, a rewarding outcome when exploring DIY self portrait photography ideas.
6. High Angle Vulnerable Gaze in a Quiet Room
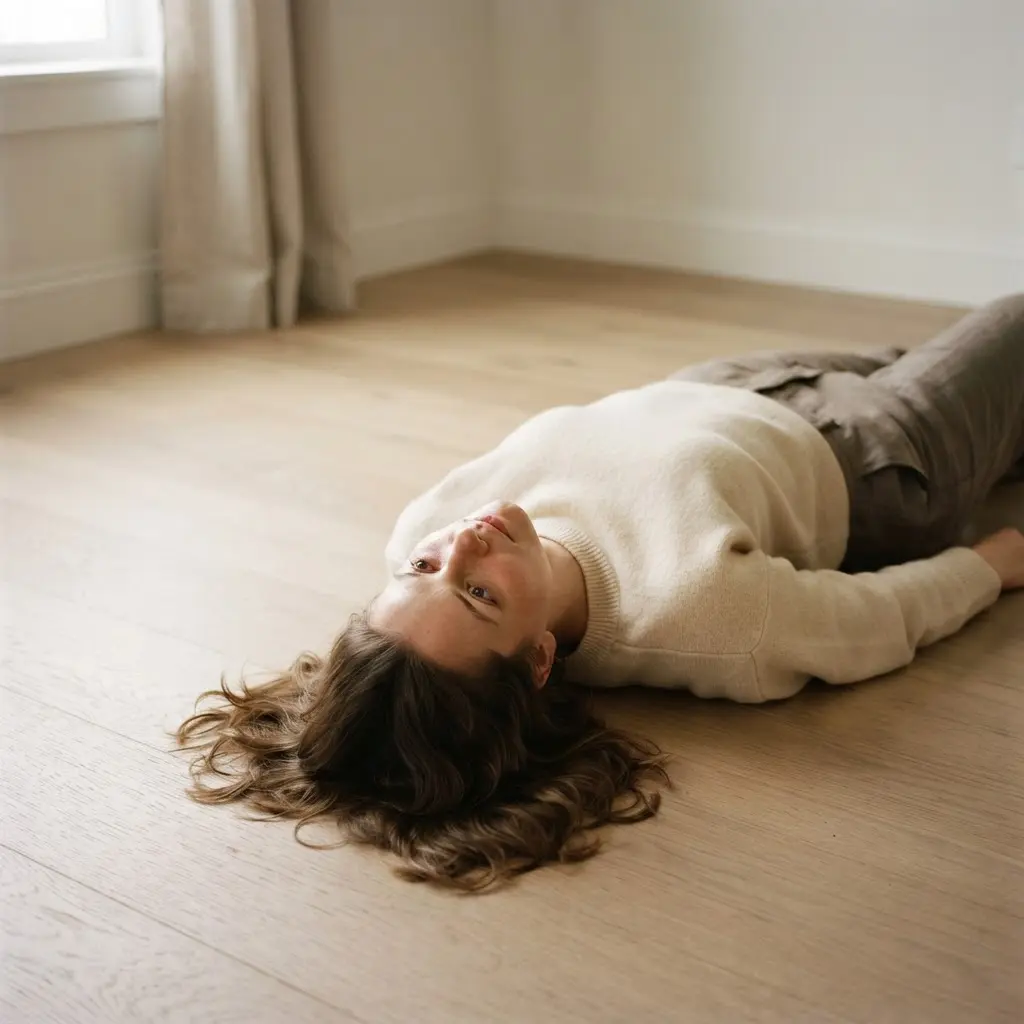
Hold your camera high above your head, pointing it down toward your face. Look up into the lens with soft, open eyes. Keep your chin tilted up slightly to catch the light and make your eyes appear larger, a gentle adjustment often recommended in DIY self portrait photography ideas. I love this simple setup because it instantly creates an intimate, vulnerable feel.
Your room should be quiet and uncluttered, with a simple backdrop. Use soft, directional lighting to shape your features without harsh shadows. Isn’t it amazing how a high angle and a quiet space can turn a simple self-portrait into a moment of real introspection?
Try this technique in natural morning light filtering through a window, a classic choice for DIY self portrait photography ideas. Feel the emotional weight of the quiet room you have created.
7. Close-Up Expressive Eyes With Natural Window Light
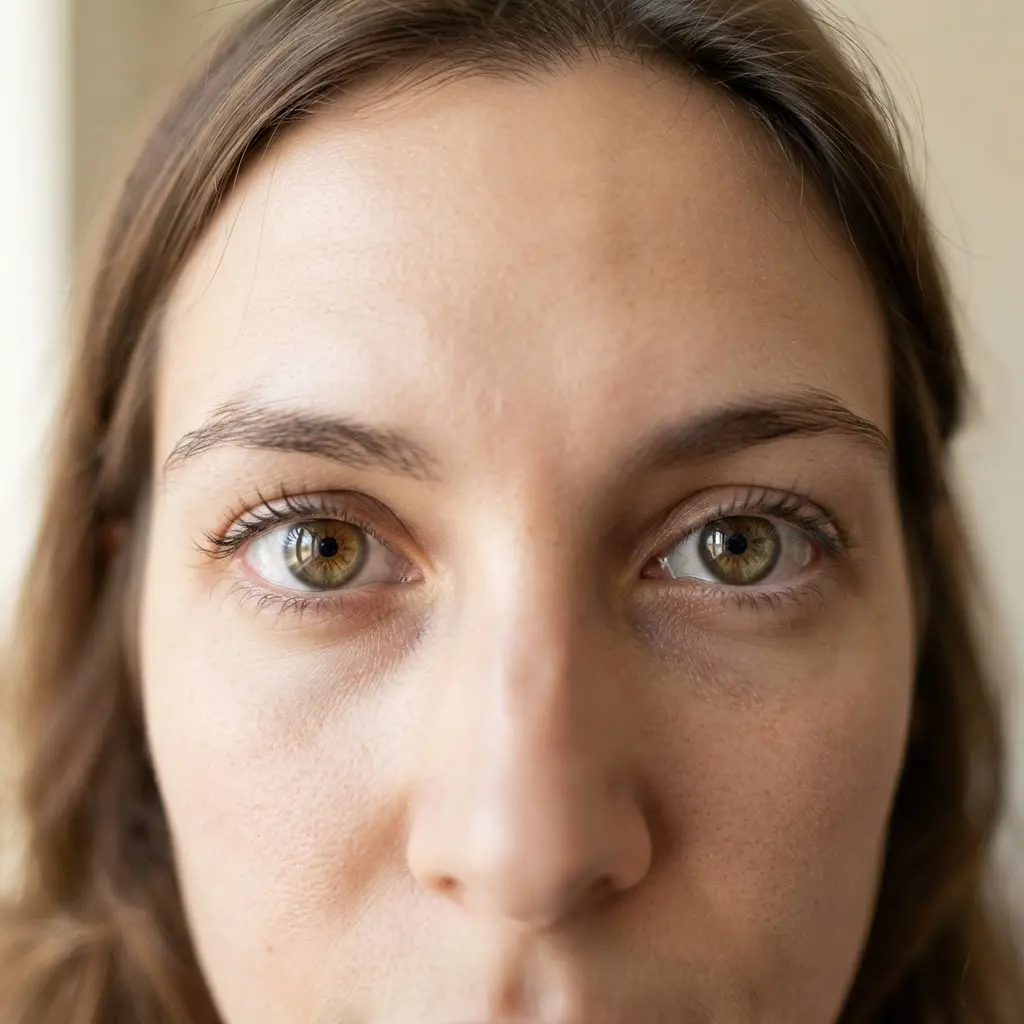
Have you ever noticed how a person’s eyes light up when they talk about something they love? That is the exact feeling we are capturing here, and it remains a top priority among DIY self portrait photography ideas. You position yourself right by a window, turning your face at a gentle angle toward the light. This lights up one side of your face and casts a beautiful, soft shadow on the other, adding gorgeous depth. I love how this simple setup gives you those perfect, glimmering catchlights in the eyes that just feel alive.
To nail it, get as close to the window as you comfortably can, a straightforward habit for DIY self portrait photography ideas. That proximity makes the catchlight bigger and more dominant. Hold a small reflector just under your chin to bounce light back up and soften any shadows. Now, set your focus precisely on the iris. This is my go-to tip. With your aperture around f/2.8, the background melts away, and all the beautiful detail in your eyes stays sharp. Try it and feel the incredible emotion you can capture.
8. Mirror Reflection Playful Pose for Creative Framing
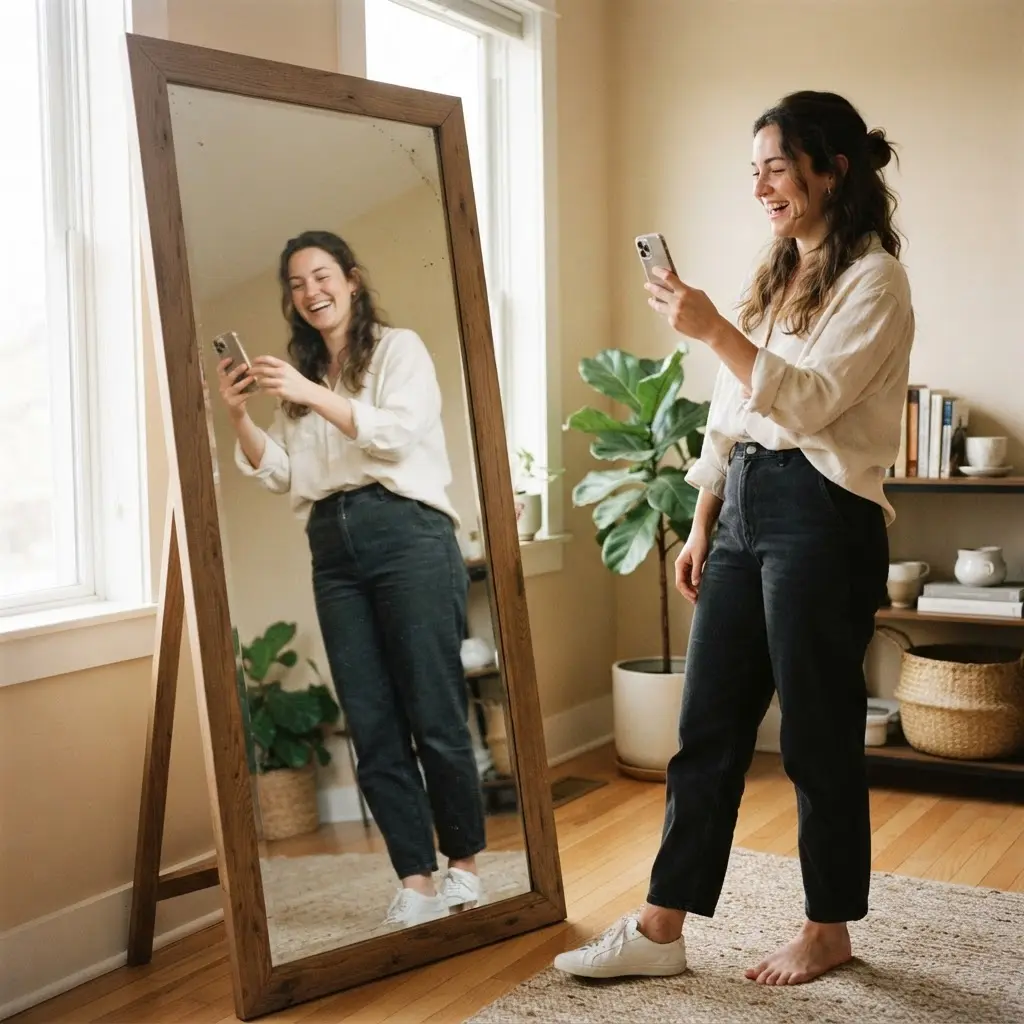
I love this technique because it turns a simple mirror into a whole creative studio. You will position your phone or camera so you can see both its reflection and yourself, using the mirror’s frame to crop your shot in interesting ways. Try shooting from different angles or making playful faces directly into the reflection.
This works so well because you get immediate feedback on your pose and composition as you shoot. It is a fantastic way to build confidence and experiment, which perfectly aligns with DIY self portrait photography ideas. For even more playful creative concepts, you need a proper playful creative concepts to get those imaginative juices flowing.
Trust me on this one. Avoid common pitfalls like glare or letting your camera block your face, and you will create something unique.
9. Light Painting Abstract Figure With Moving Color
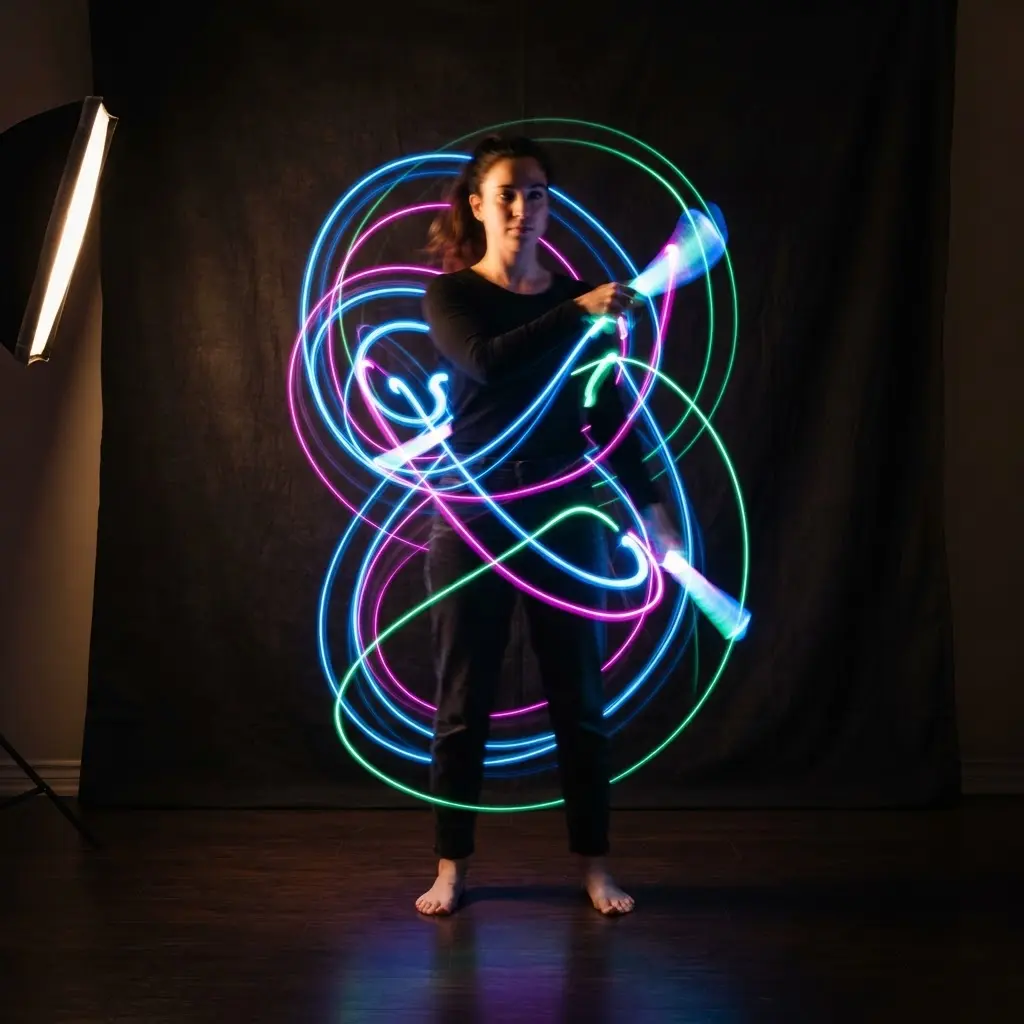
This is one of my favorites because the results feel like magic, but the process is wonderfully simple. Wear dark clothes, stand in a dark room, and trace your own shape with a moving light during a long exposure, a thrilling experiment within DIY self portrait photography ideas. I love using a programmable RGB light tool for this because I can change the color mid-swoop with a tap on my phone.
The key is moving slowly and deliberately to create thick, glowing lines. Set your camera on a tripod for a solid base, use a low ISO, and let the shutter stay open for a minute or more. You will not see your own body in the shot, just the beautiful, colorful light ghost you paint. Try it and feel the pure joy of watching your abstract, glowing figure appear.
10. Floral Frame Serene Portrait Among Fresh Blooms
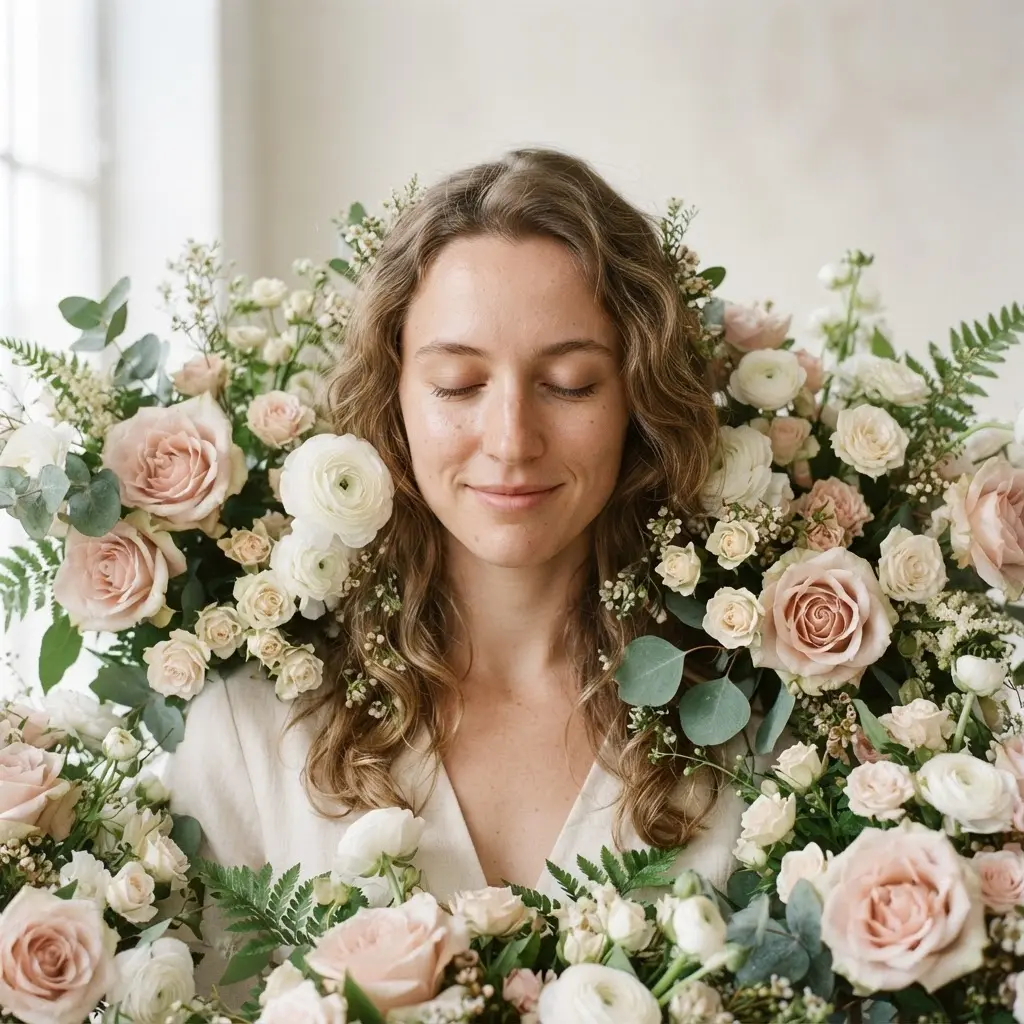
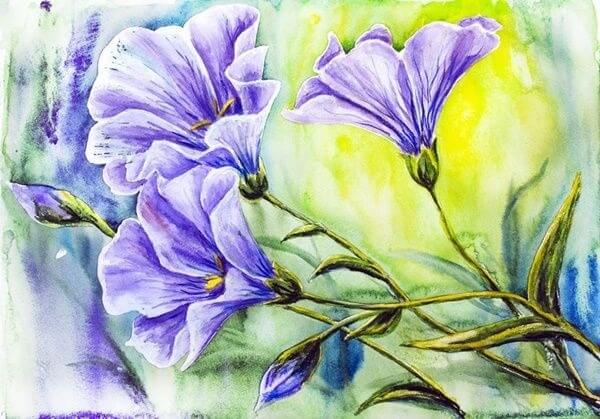
Picture this, you are nestled in a sea of blooms, with soft petals framing your face and a quiet, peaceful mood washing over you. It’s a dreamy look that is easier to pull off than you think, and it ranks highly on lists of DIY self portrait photography ideas. You’ll need to find a spot with lots of flowers or gather a few fresh stems to arrange around yourself. Set up your tripod and use a remote shutter to capture that soft, contemplative gaze while the morning light is gentle.
It’s effective because the natural frame focuses all the attention on your serene expression, making a simple setup look incredibly artistic. I love how it turns a few flowers into such a personal and beautiful piece of art.
11. Vintage Prop Themed Portrait With Old-Fashioned Styling
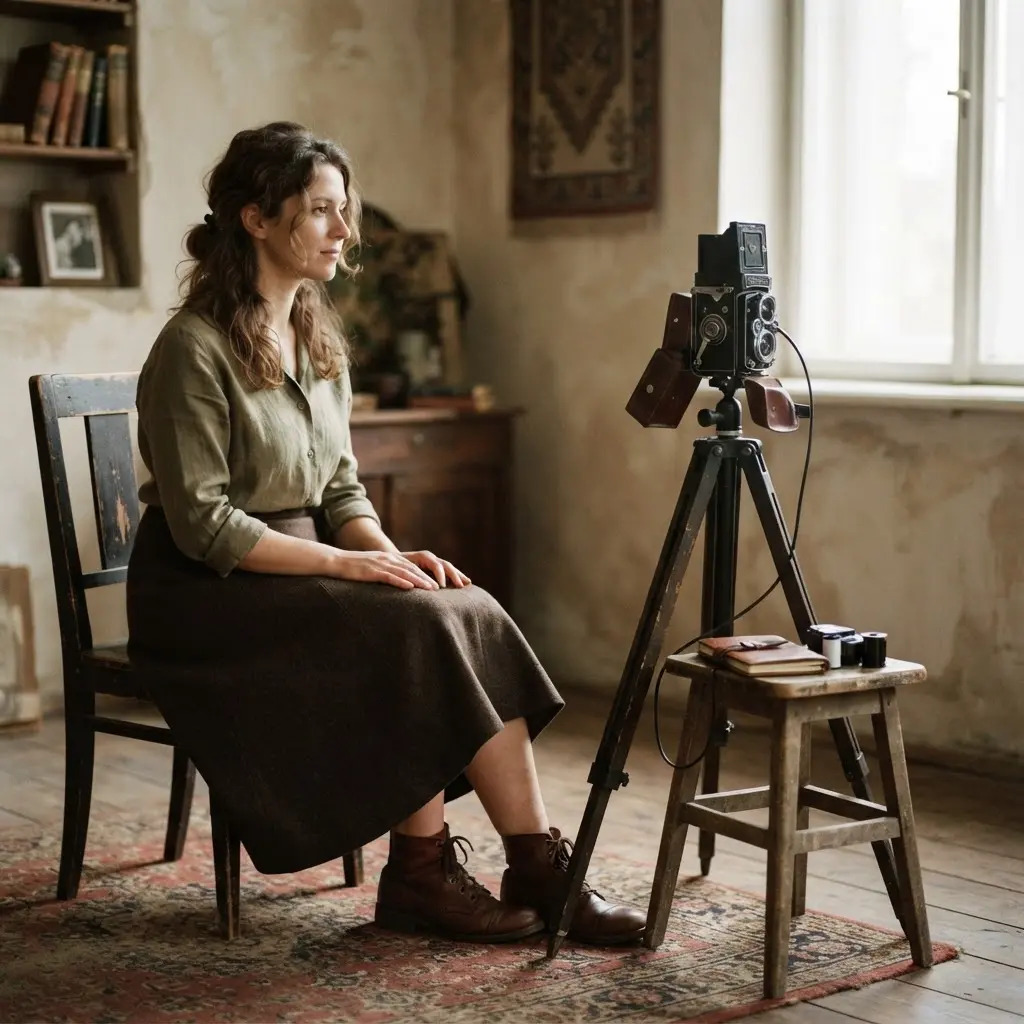
A common mistake is settling for a generic “old-timey” look. The magic comes from committing to one specific era with authentic details. Start by picking a single period, like 1920s glamour or 1970s film warmth. Then, develop a small character story for your portrait.
Your search for vintage props gets much easier when you know exactly what you are looking for. Scour thrift stores for one or two “hero props” that tell your story, like an antique frame or a velvet stool. Keep your backdrop and clothing simple and period-appropriate. I love how this creates a complete, believable world in one image. It feels like stepping into a different time, a timeless goal when curating DIY self portrait photography ideas.
12. Monochromatic Dramatic Lighting for Moody Self Portraits
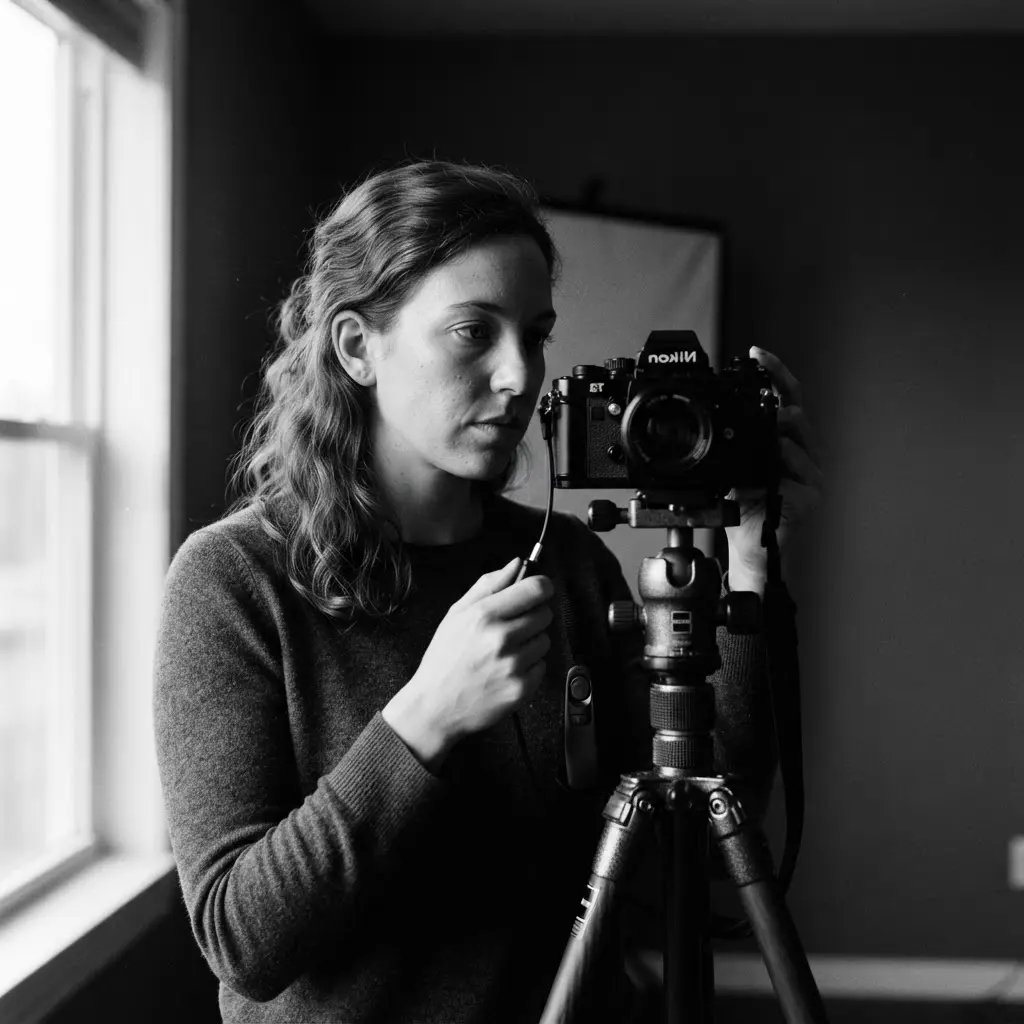
Grab one bare lightbulb and turn off every other lamp in your room. Position it to the side of your face, just above eye level, and watch how the shadow forms a tiny triangle of light on your cheek opposite the light source – that is classic Rembrandt Lighting. You can experiment with split or butterfly lighting for different dramatic effects, but this one always feels the most sculpted to me. Its power comes from stripping everything back to just light and shadow, which lets you pour pure emotion into the frame.
The secret to avoiding a flat photo is in post-processing, where you will aggressively increase contrast to make those shadows sing. You can find more monochrome artistic inspiration for your overall visual theme, but for this photo, focus solely on getting that light angle perfect, a core principle behind DIY self portrait photography ideas.
13. Surreal Environment Composite With Layered Home Scenes
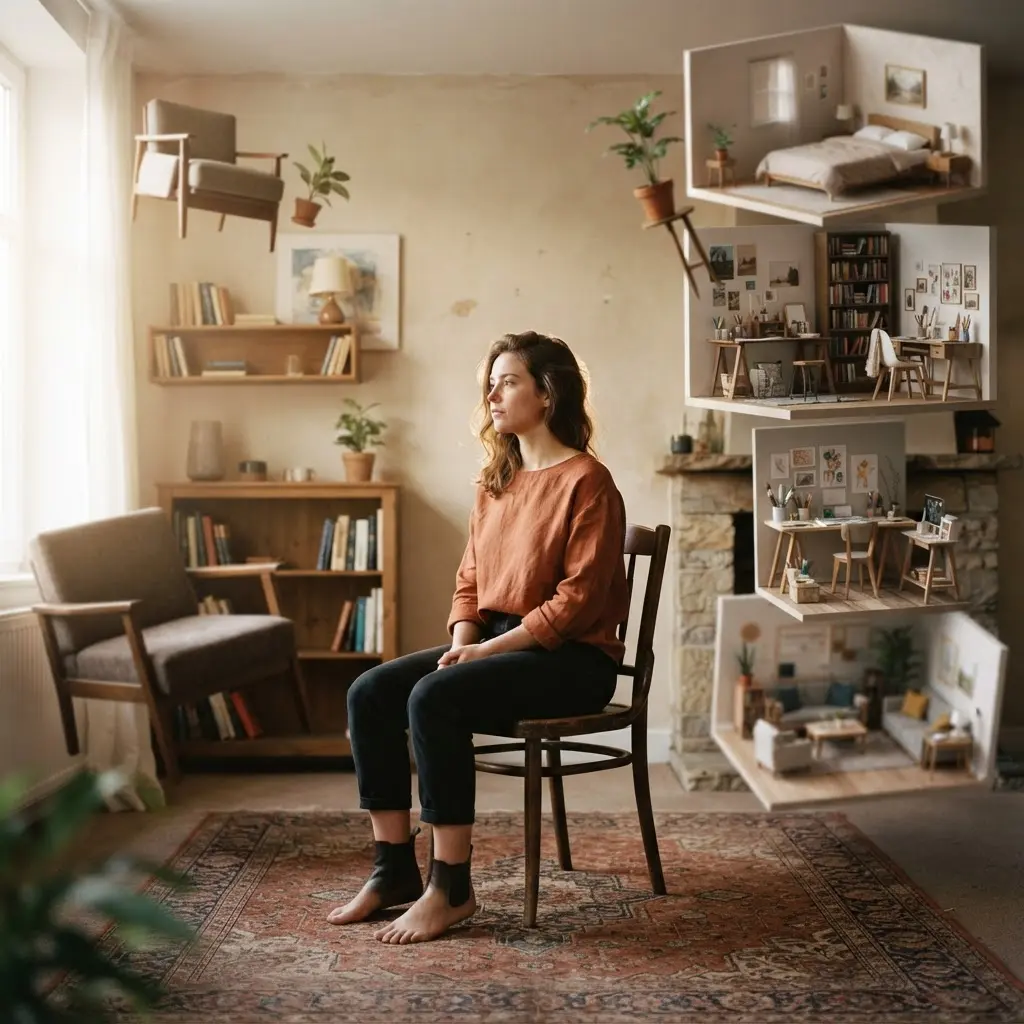
Have you ever looked at a room in your home and pictured a world beyond its walls? This technique lets you bring that vision to life by stacking different photos together into one impossible scene. You will shoot elements like a door, a window, and a tiny dollhouse separately, then blend them with digital layering and masking to create a fantastical cross-section. It feels magical because you’re designing a personal dreamscape from your everyday surroundings.
A bright, hand-painted wall adds wonderful texture, so try some DIY wall backdrop ideas here to make your composites pop even more, blending seamlessly into your DIY self portrait photography ideas.
14. Shadow Puppet Storytelling Portrait on a Plain Wall
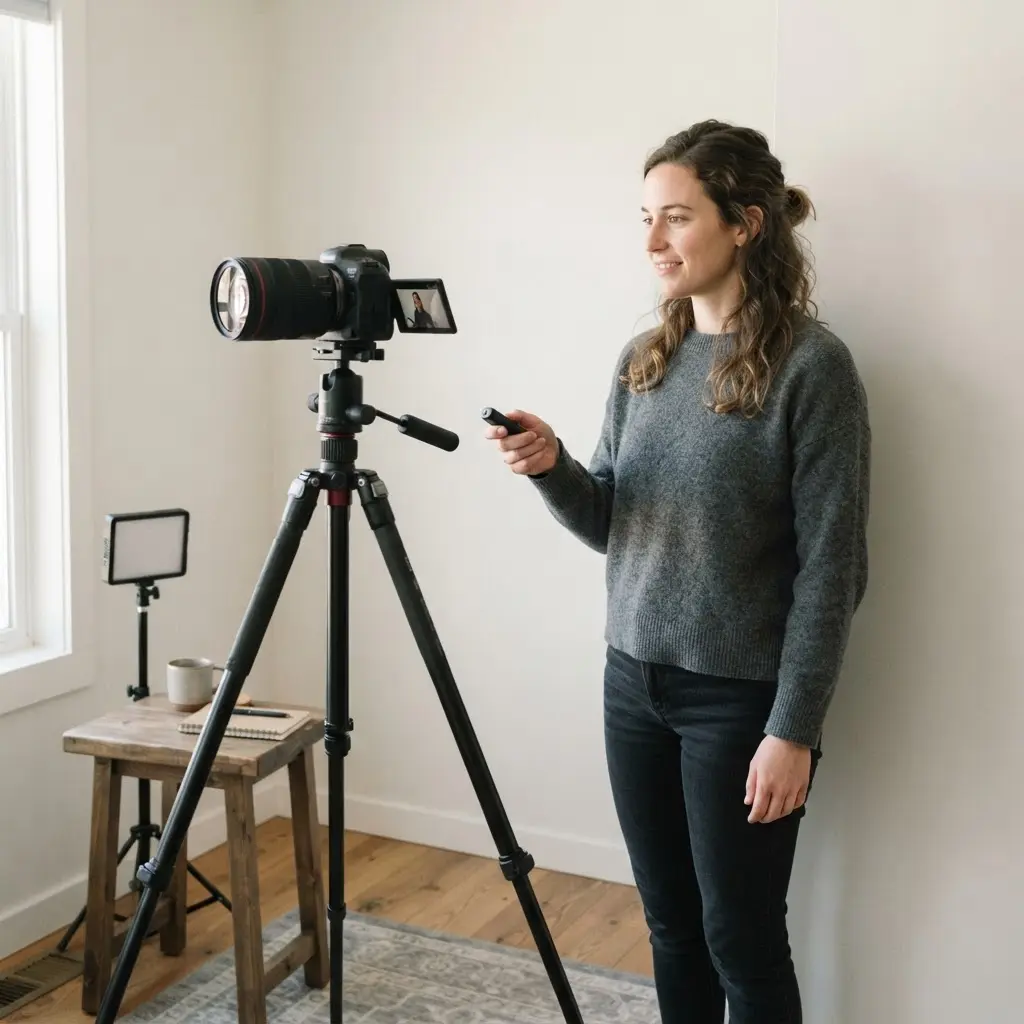
This is my favorite way to turn a blank wall into a scene full of personality. You set up a single desk lamp behind your cut-out shapes, aiming it at a light-colored surface, and watch a crisp silhouette story appear. Then you just step into the frame with your camera on a timer and capture the shadow as your portrait subject.
It works brilliantly because it teaches you to see light and shape in their purest forms, using only what you have on hand. The trick for a sharp image is to manually focus on the shadow itself, not your hands holding the puppets. Once you get the hang of it, pairing this with a related guide on shooting in rainy conditions can open up a whole new world of moody, atmospheric backdrops for your creative work, expanding your portfolio of DIY self portrait photography ideas.
15. Everyday Object Creative Use for Personal Visual Details
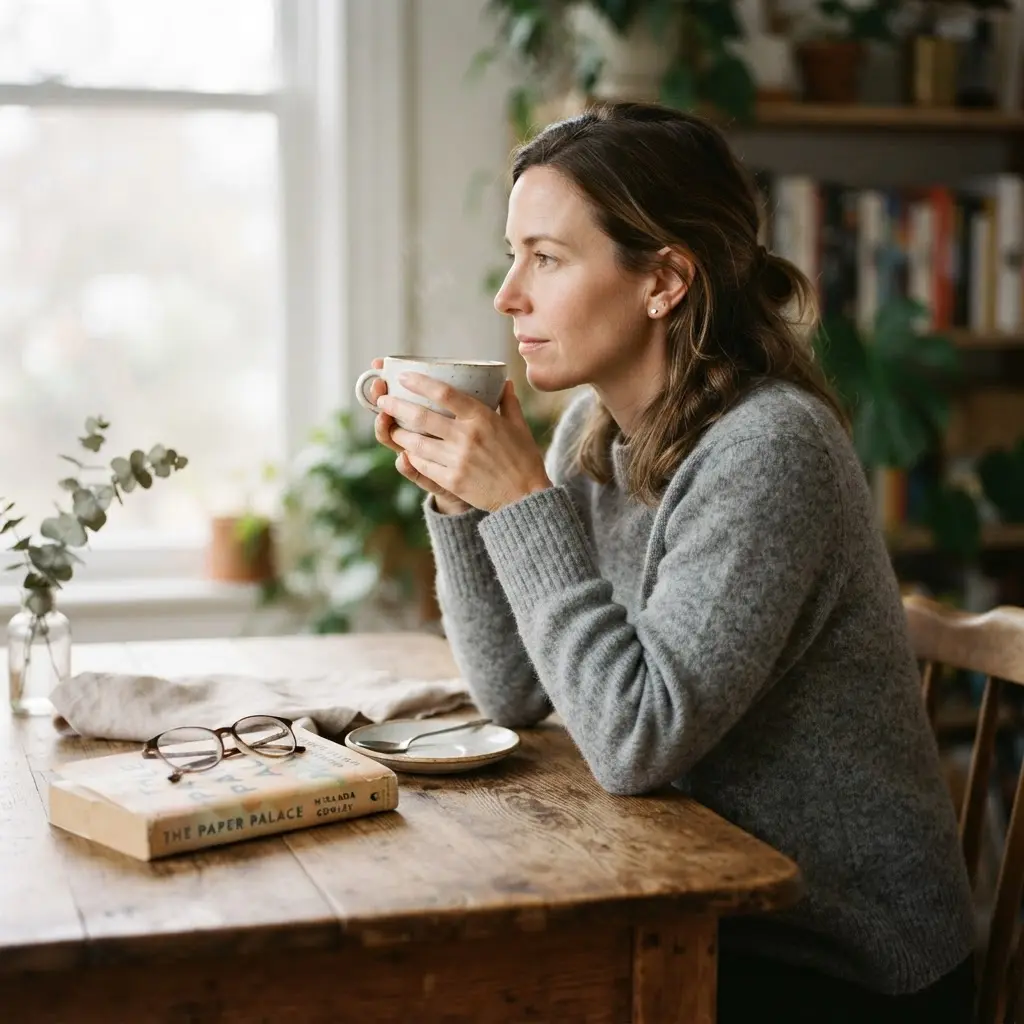
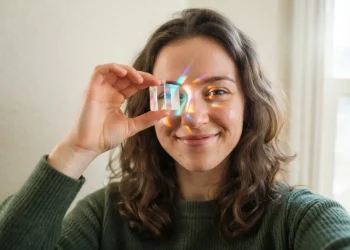
Who would have thought that an ordinary kitchen colander could create such a gorgeous shadow pattern across your face? I adore this technique because it’s pure creative magic with zero special gear. Look around your space for items with interesting textures or shapes like lace curtains, a wire basket, or even a crystal glass. Place the object between your light source and yourself to cast its unique shadow onto your skin or background.
It works because these subtle, personal details turn a simple self portrait into a unique story about your environment. Try focusing on just one object that has meaning to you, like a favorite piece of jewelry or a plant from your windowsill. Get close with a shallow depth of field to make the object sharp while your face softly blurs into the background. This intimate focus on detail creates a feeling of quiet reflection, like you’re sharing a small, personal secret with the viewer. Your everyday object becomes a beautiful character in your own visual narrative, adding personal touches to DIY self portrait photography ideas.
16. Action Shot Dynamic Movement With Motion Blur
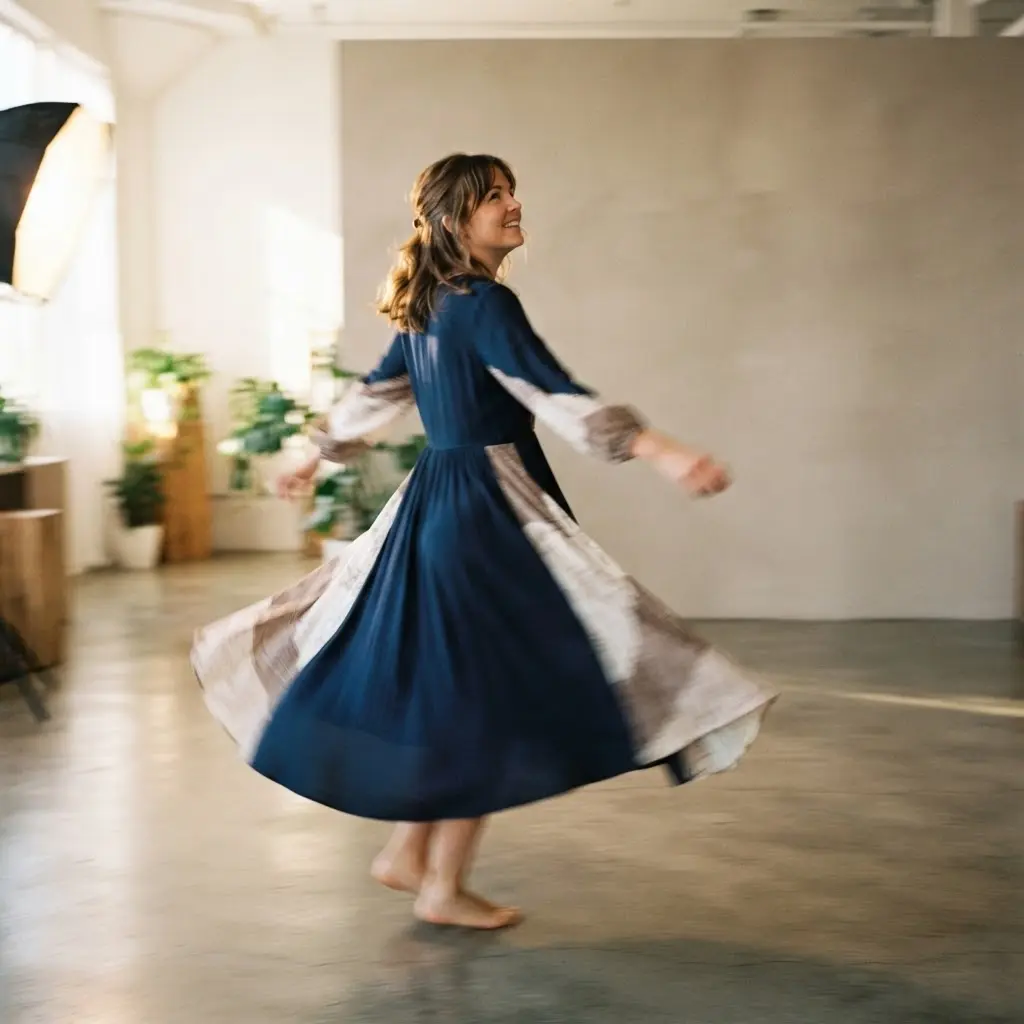
Picture a self-portrait where you are a streak of energy, your hair and clothes trailing behind you like you just ran a sprint. This effect comes from using a slower shutter speed while you move. Switch your camera to Shutter Priority and drop that speed to something like 1/15th of a second. Then, run, spin, or toss your hair during the countdown, and let the camera capture the motion as a beautiful blur.
I love how this turns a static pose into a story with genuine momentum. The key is to keep your focus locked. Use continuous autofocus mode so your face stays sharp while the rest of the movement blurs nicely. Sound tricky? Try it in a space with good light but not direct sun, and you will get the hang of it quickly. The finished shot feels alive and full of raw energy, a hallmark of dynamic DIY self portrait photography ideas.
17. Minimalist Studio Portrait Using a Blank Background
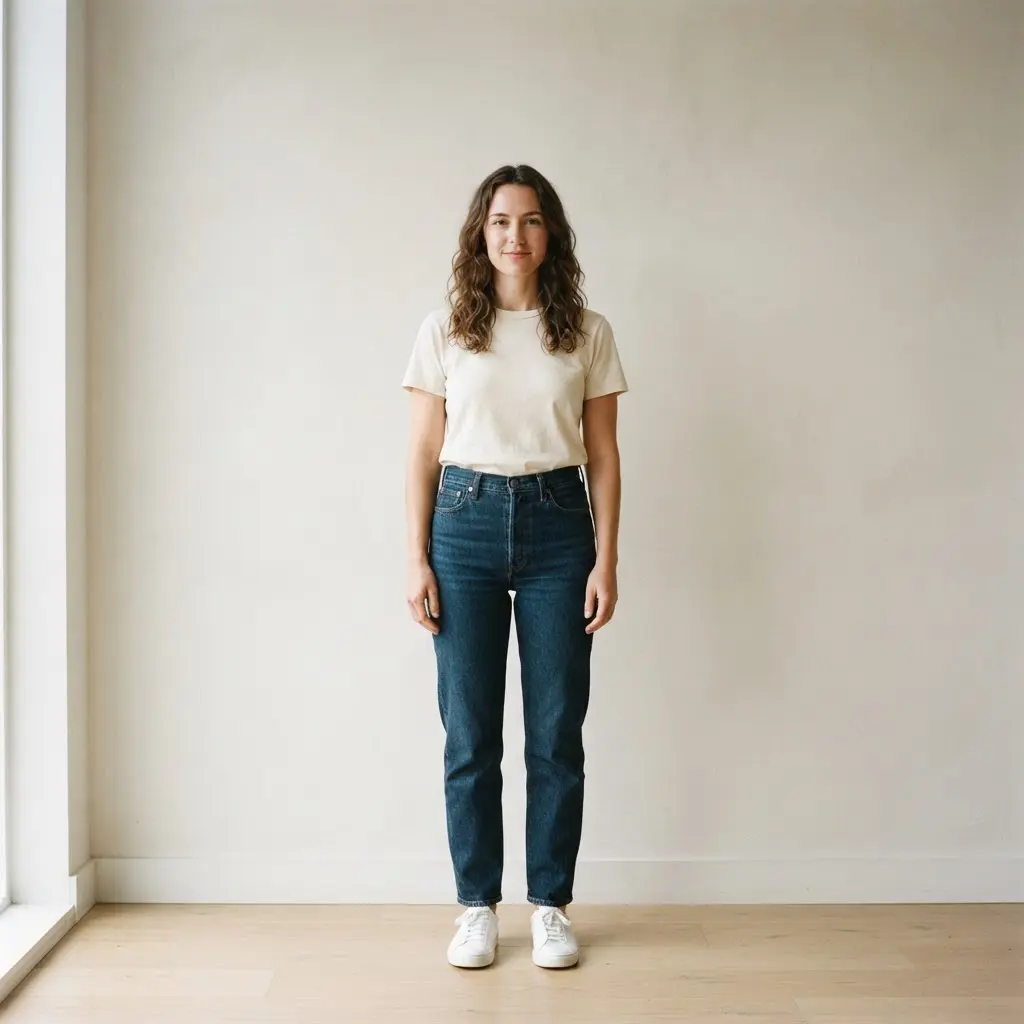
Many beginners think this look comes from expensive studios and tons of equipment, but it is surprisingly simple to do yourself. You need to hang a plain paper backdrop and keep yourself a solid ten feet away from it to avoid shadows. Then, you set up a single large softbox as your main light source, positioned just to the side.
The magic lies in using two extra lights pointed right at the backdrop to blow it out to a pure, clean white. This isolates you perfectly and creates a professional-looking focus on your expression and features. I love how this technique forces you to find meaning in subtle gestures because there is nothing else to look at. It is also a brilliant study for experimenting with minimalist visual concepts, stripping everything back to the essentials, which clarifies the vision behind DIY self portrait photography ideas.
18. Textured Wall Candid Pose With Side Light
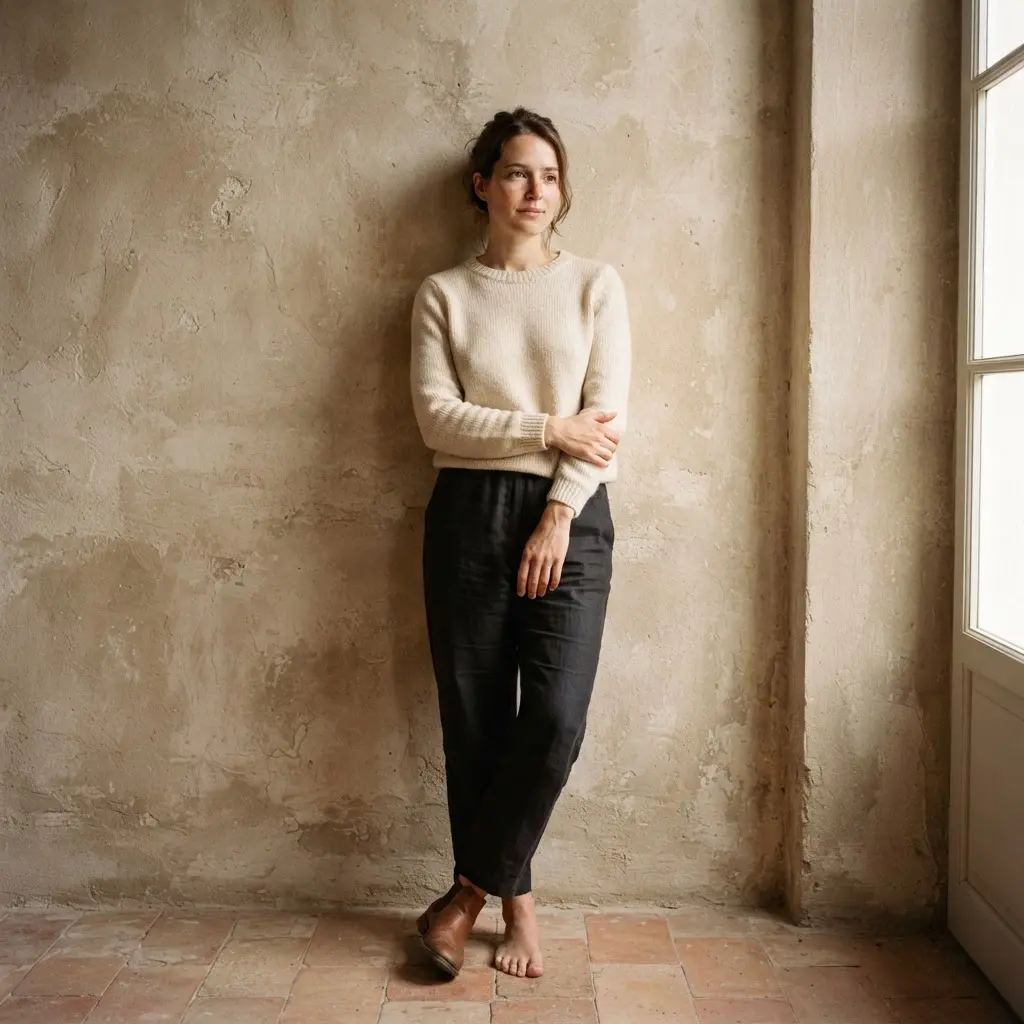
Stand about a foot away from your textured wall and set your main light to the side at a 90-degree angle. This side lighting will sculpt your face and cast beautiful shadows that follow the wall’s surface, making both you and the background look dimensional. I love how this technique creates professional-looking drama with minimal gear. A pro tip for the candid feel: trigger the shutter when you’re naturally glancing away or lost in thought, then review your shots to see that genuine spark.
19. Water Surface Reflection Art With Rippled Details
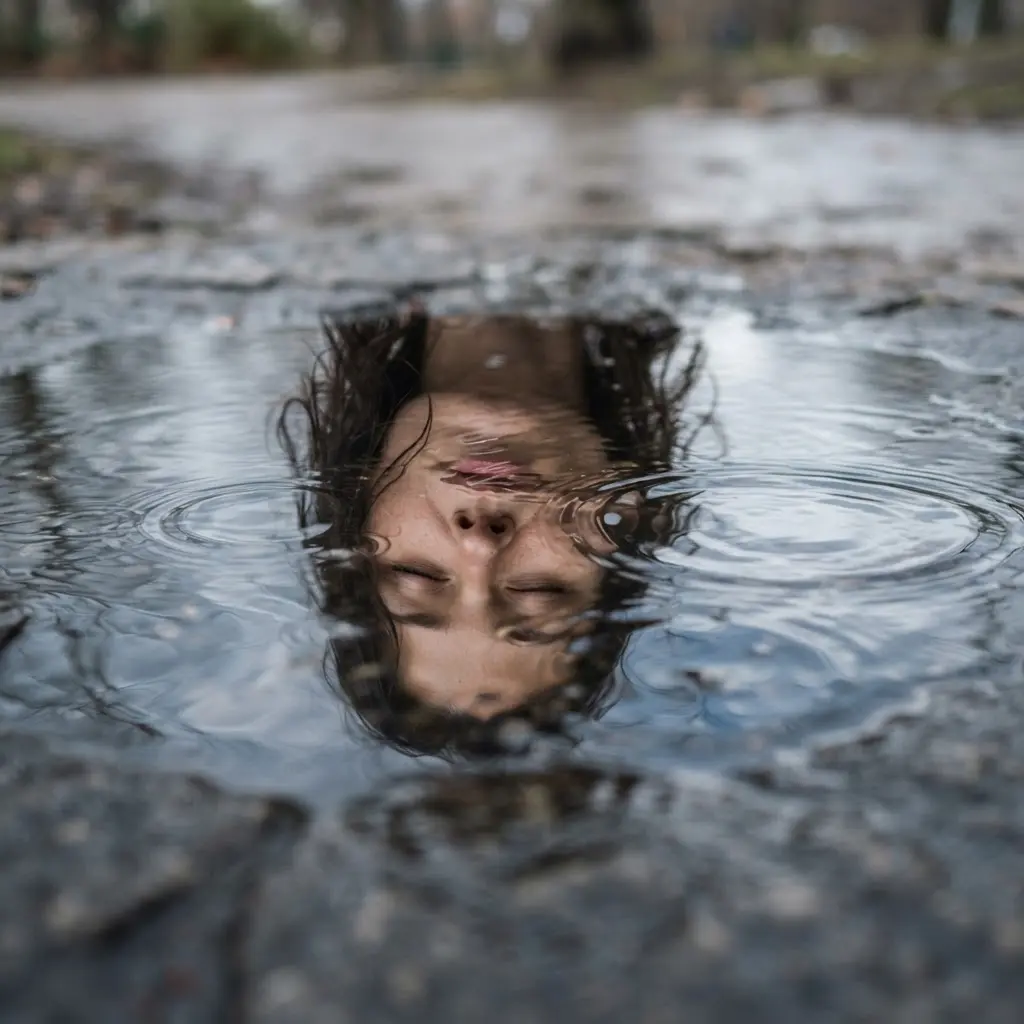
Doesn’t this look complex? I love how this trick only needs a shallow tray of water and some patience. You create a tiny DIY water tank using two sheets of glass in a picture frame, fill it with about a centimeter of water, and drop water in to make controlled ripples. Time your shot to catch the moment the ripple pattern perfectly distorts your reflection, creating gorgeous abstract art.
This works because the ripples turn a simple self portrait into a study of moving light and texture. For the best results, use a hard, focused light source pointed at the water to really make those intricate patterns pop.
20. Fabric Drape Artistic Portrait in Soft Folds
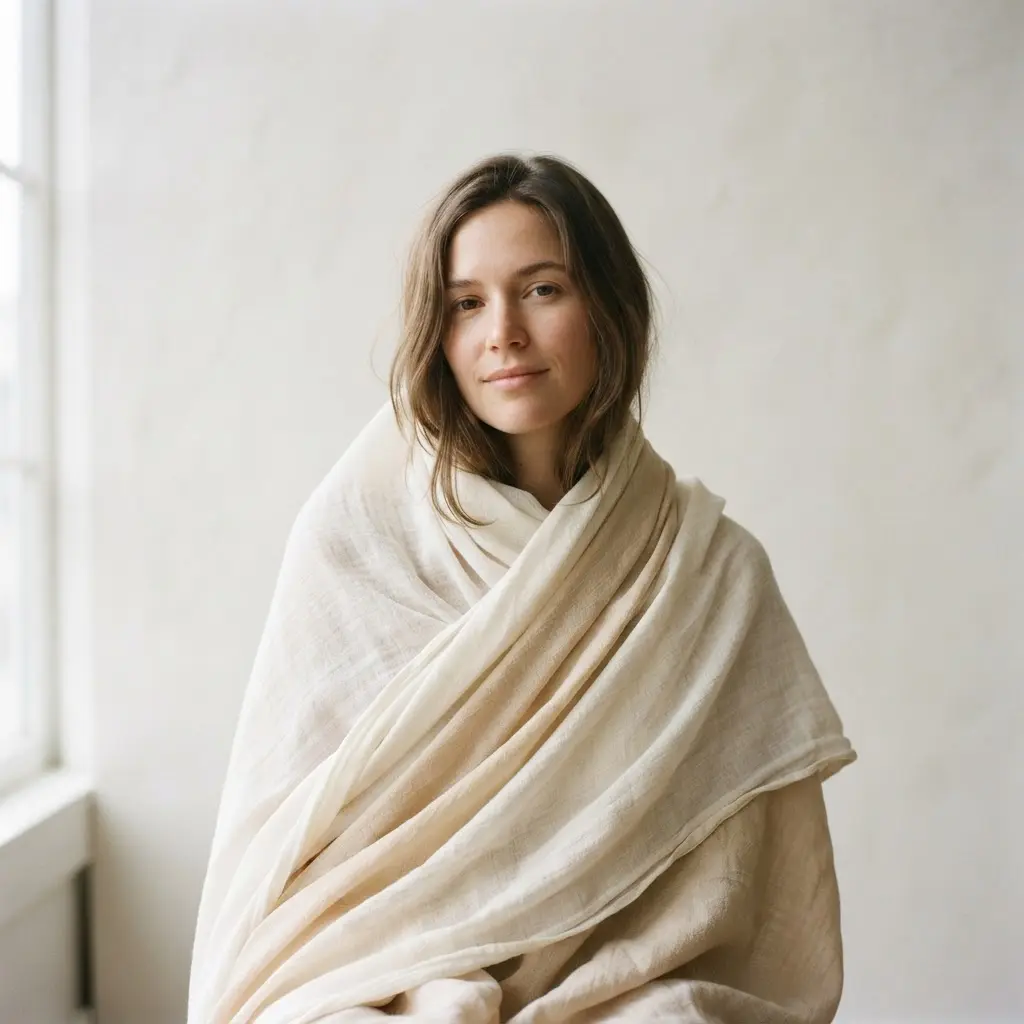
I love this one for the instant drama it creates with simple materials. You hang or drape a piece of lightweight cloth like chiffon or silk around yourself, letting it flow into soft folds that frame your face and shoulders. Your pose should be relaxed to let the fabric move naturally, and you will want soft, diffused light to bring out all the beautiful shadows in the textured drapery.
What makes this idea so satisfying is how those gentle curves add a sense of elegance and movement to a static image. Is that not a stunning way to turn a basic portrait into a piece of art? Give it a try and feel the magic when the light hits those perfect folds.
Selecting And Editing A Connected Portrait Series
Your strongest series will come from choosing images that share a common visual thread, like the same light direction or a repeated prop. Look at your shots and pull the three or five that feel like they are talking to each other, perhaps through a consistent mood or color palette. Resist the urge to include every technically perfect shot if it breaks the story.
A simple matte varnish edit, where you slightly desaturate the colors and add a touch of grain, can tie different images together beautifully. This final curation step is where your individual ideas transform into a personal statement you will love, wrapping up your session of DIY self portrait photography ideas perfectly.
Conclusion
So how was your creative session? You now have plenty of ways to make a personal portrait without leaving home or buying a large kit. DIY self portrait photography ideas help you notice your expressions, favorite spaces, and small details in a new way. Look at what you have made, because choosing a mood and staying with it is real skill right there. For your next session, pick one concept, place your camera at eye level, and take several frames before changing the setup. Review them later with fresh eyes, then keep the frame where your expression feels most natural. I hope one of these ideas gives you a reason to pause and enjoy being both the photographer and the subject. Choose your favorite setup, gather one prop, and start your next portrait today.
FAQs
Q: What equipment do I need for DIY self portraits at home?
A: A phone or camera, a stable surface or tripod, and a timer cover the basics. A window, lamp, or small reflector adds useful light.
Q: How do I take a self portrait without holding the camera?
A: Place the camera on a tripod, shelf, or sturdy table. Set a timer or use a remote shutter, then mark your standing position with tape.
Q: How do I pose naturally in a self portrait?
A: Give your hands a small task, such as holding a cup or adjusting fabric. Take several frames while shifting your gaze, shoulders, and stance.
Q: What camera settings work well for indoor self portraits?
A: Start with a moderate shutter speed, a wide aperture, and a low or medium ISO. Raise the ISO when the room looks dark and keep the camera steady.
Q: How do I edit a DIY self portrait without making it look unnatural?
A: Adjust exposure, white balance, contrast, and crop with a light touch. Keep skin tones and shadows close to what you saw during the session.