
Check Outline Visibility Before Printing
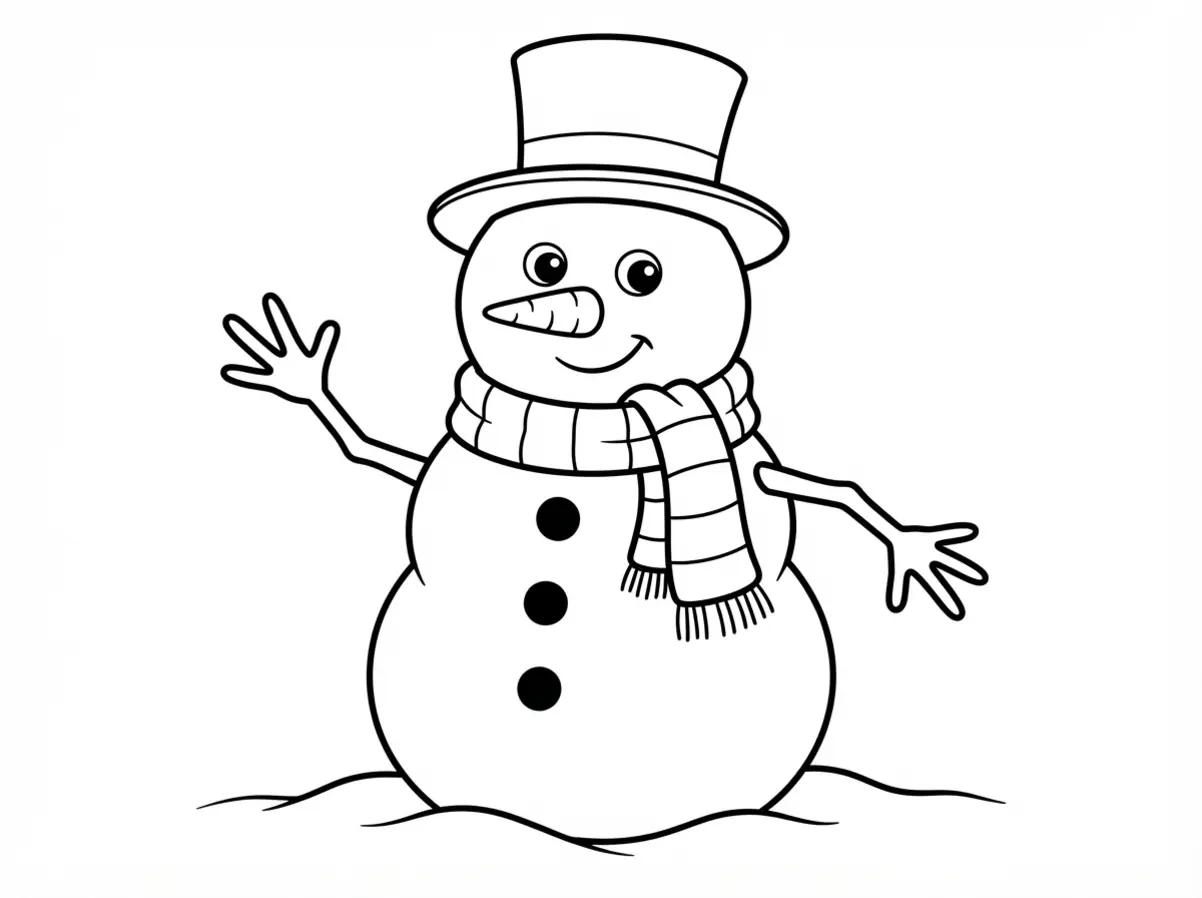
Choose designs with thick, distinct outlines and strong black-and-white contrast when the page will be colored, traced, or cut. Before printing the full set, check the print preview and look closely at small face pieces, accessory edges, fold marks, and scene details.
Faint lines may disappear on a home printer, while crowded details can be difficult for children to follow with scissors or coloring markers. A clear snowman silhouette should remain easy to recognize on white paper, with each shape separated from nearby shapes. This quick visibility check helps you match the template to the child’s age, the craft activity, and the available supervision. Choosing printable snowman templates with bold outlines makes every later step easier.
Plan Finished Sizes for Individual or Group Use
Choose the template scale according to how the finished snowman will be used. A full-page body gives one child a broad area for coloring, tracing, or decorating, while smaller repeated shapes can suit a shared classroom project, paper craft, or display. Look for designs that leave enough visible space around separate accessories and that can be enlarged or reduced without losing their clear outlines. Compare the page preview with the intended activity before printing, especially when using standard US Letter or A4 paper.
Planning the finished size first helps avoid cramped pieces and makes the same collection of printable snowman templates more practical for individual work, group activities, and larger displays.
1. Minimalist Large Snowman Body Outline for Easy Coloring
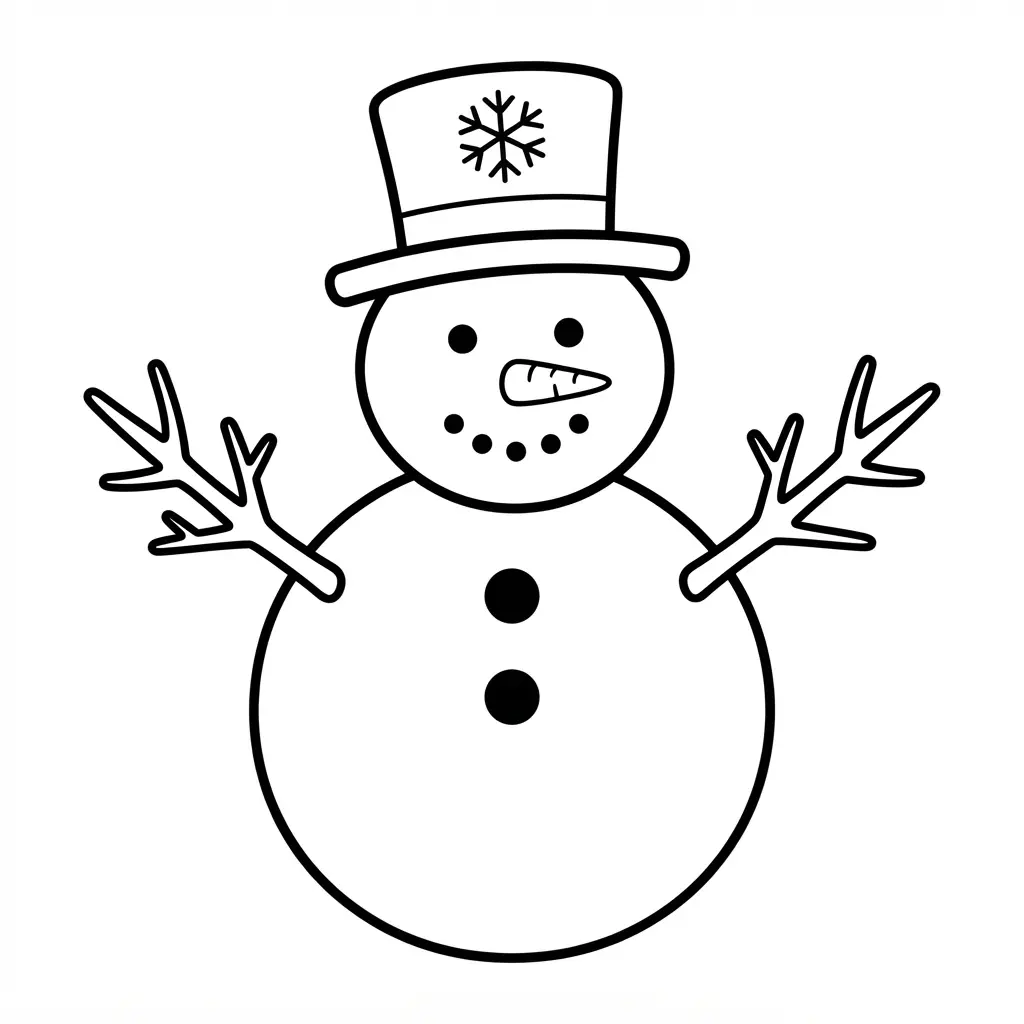
Ever wondered why the simplest snowman outline often keeps young artists happily busy? This large page shows three stacked circles for the head, torso, and base, all enclosed by a clean black stroke. The open sections give plenty of room for crayons, markers, or colored pencils, with no busy details getting in the way.
Start with a black-and-white PDF or coloring page, then print it at the size shown in the file. Color each body section directly on the page, or use the outline as a shape guide for a cut-paper project. Add eyes, a carrot nose, buttons, a scarf, or a snowy background after the main shape is finished. Some files offer separate snowman parts, while others include only the body. These printable snowman templates keep the familiar form easy to follow.
This simple layout works because the familiar form feels easy to follow, even for a first coloring session. Check the print settings before pressing print, since “large” does not promise one fixed measurement. Choose the plain black outline when you want broad spaces and plenty of room for personal touches.
2. Modular Build Your Own Accessories Kit for Snowmen
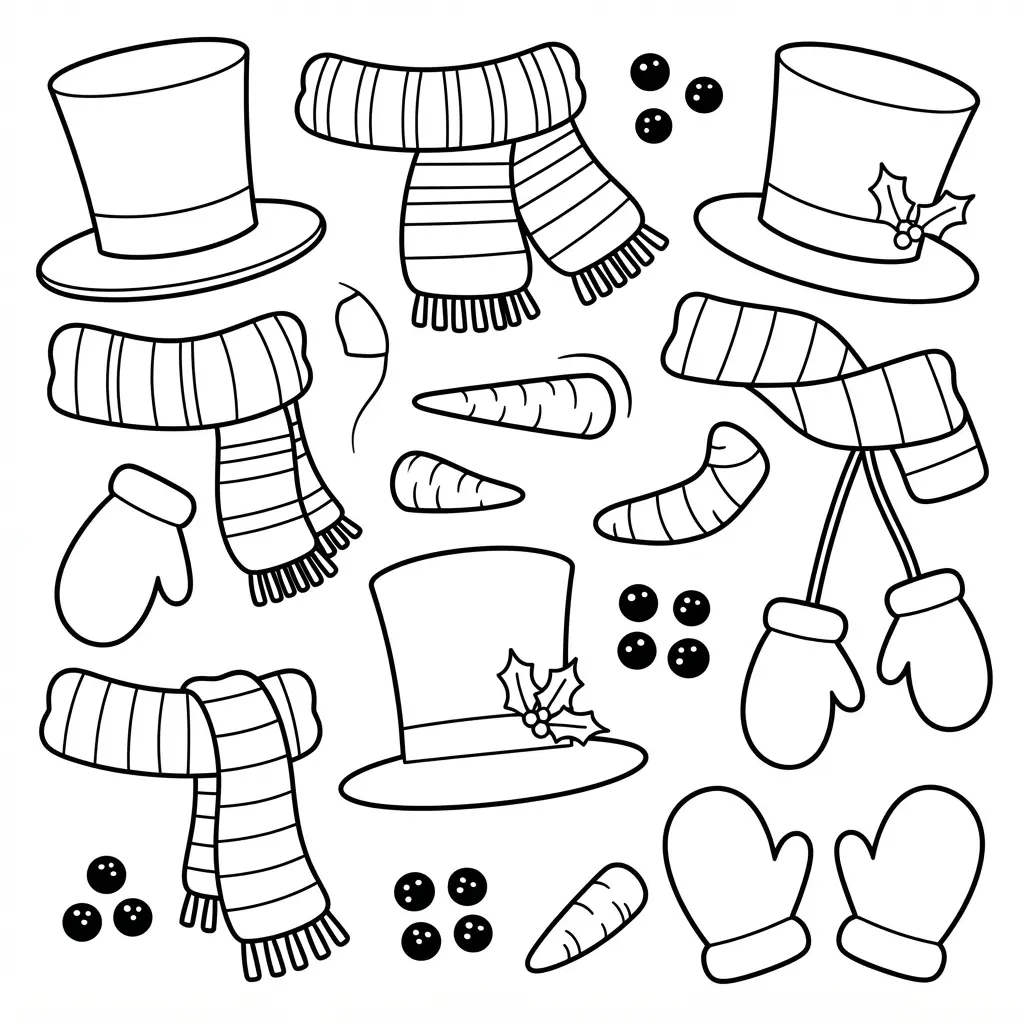
This setup turns one paper snowman into a whole lineup of cheerful characters. Print the body along with separate sheets for hats, scarves, twig-style arms, eyes, mouths, carrot noses, and buttons. Cut out the accessory pieces with child-safe scissors, keeping each group together so little hands find choices quickly. Modular printable snowman templates make this mix-and-match activity simple to prepare.
Place every piece on the snowman before adding glue. Try a tall hat with a striped scarf, then switch to a simple cap and oversized coal buttons.
Leave room around the face, and check the scarf position before attaching anything. A small amount of glue keeps paper flat and prevents wrinkled edges. Larger shapes work best for classroom tables and younger children.
This modular format keeps one activity fresh because each child builds a different character from the same body. It also suits imaginative character printables, since children give each snowman a distinct mood through facial features, colors, and accessories.
For repeated use, attach pieces with removable tabs instead of glue. Keep 3D-printed parts at their intended scale, since tiny accessories made for action figures won’t fit a larger paper figure. The result is a cheerful display filled with personal choices.
3. Detailed Snowman Coloring Page Scene With Winter Trees
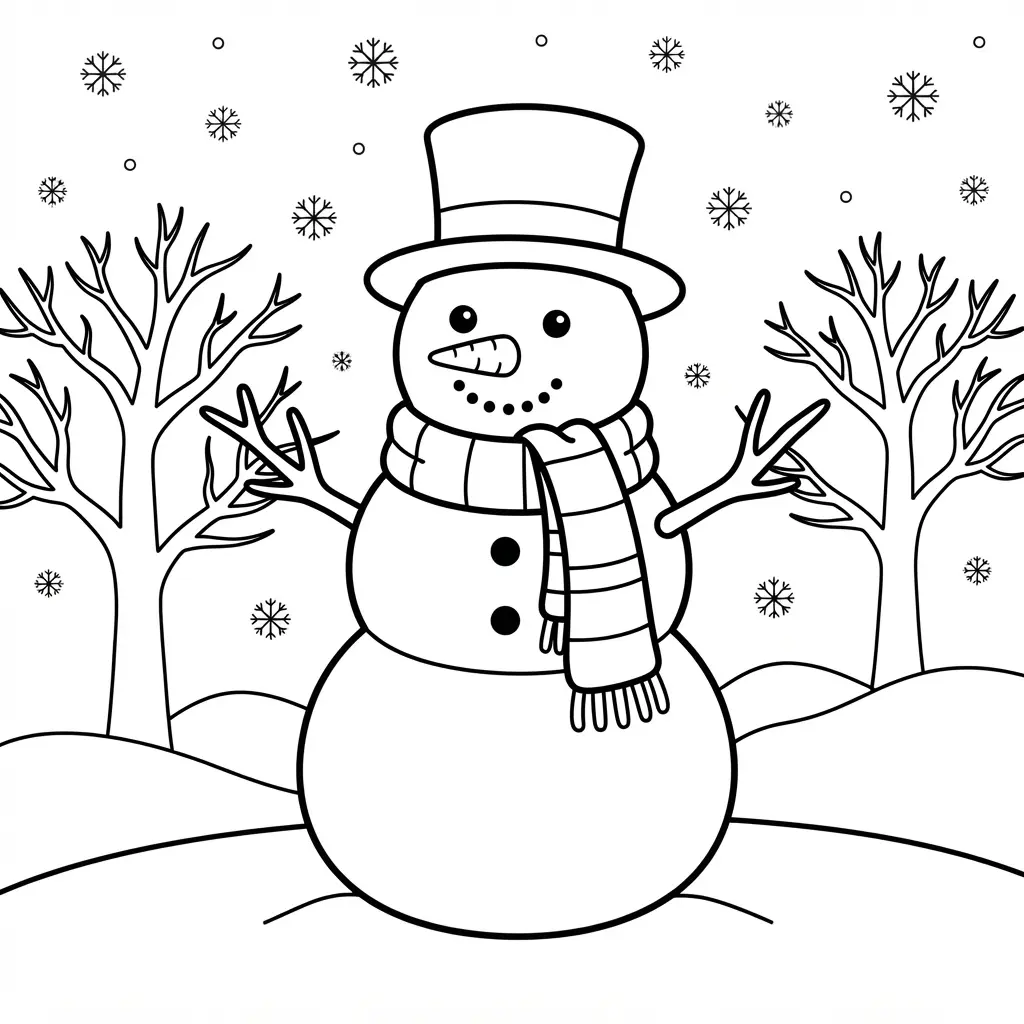
This scene is a favorite because the snowman feels like part of a whole winter moment, rather than a lone figure on the page. Start with the snowman’s hat, scarf, and buttons, giving each accessory its own color. Add warm details to the face, then shade the stick arms and round body with light blue or soft gray.
Next, move outward to the snow-covered evergreen trees. Dark green branches beside lighter snowy tips help the central character stand out, while blue-gray shadows give the snowbanks more depth. Fill the sky with small falling snowflakes, then add a full moon, rabbit, or songbird if those details appear in the design. Detailed printable snowman templates like this one give older children more scene elements to enjoy.
Larger trees and open shapes suit Pre-K and Kindergarten children, while skiing scenes or forest pages with many small details fit children around ages 5–7. Use crayons for broad areas, colored pencils for careful outlines, and white paper for clean printing. The layered setting makes coloring satisfying because every section adds to the winter mood. Check usage terms before making classroom copies.
4. Small Snowman Garland Cutout Shapes for Winter Decor
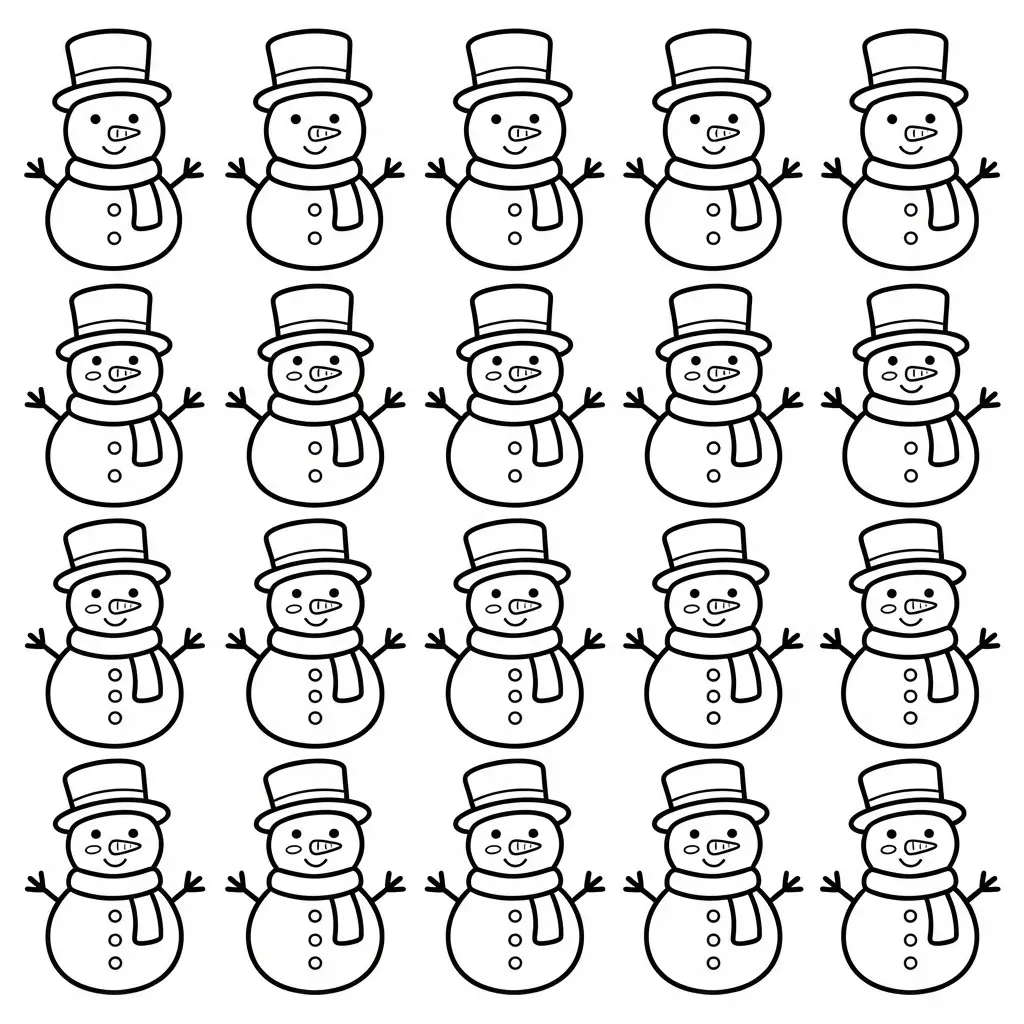
White snowmen lined up across a mantel bring a cheerful winter scene, with round heads, bright buttons, and tiny hats bobbing along the cord. Printable snowman templates make it easy to create a matching row without drawing each figure from scratch. Choose sturdy cardstock for a larger display, or pick foam shapes for a compact classroom or shelf project.
Start by cutting the pieces, then add faces, scarves, hats, or buttons with materials suited to the surface. Punch small holes near each shoulder, or attach the shapes to ribbon with adhesive tabs.
Tin snowmen need drilled holes before stringing, so handle them as a separate option. Arrange each figure at regular intervals along string or garland cord, checking the spacing before securing every piece.
Sizes vary widely, from foam snowmen measuring about 3 by 2.5 inches to cardstock figures around 8.25 inches tall. A pre-strung garland with 10 cardstock snowmen stretches about 118 inches, while packs of 60 pieces suit group activities or a longer wall display. The best part is seeing plain cutouts become one coordinated decoration. Add a final ribbon bow, then enjoy the tidy winter sparkle.
5. Patterned Snowman Clothing Stencil Set for Paper Projects
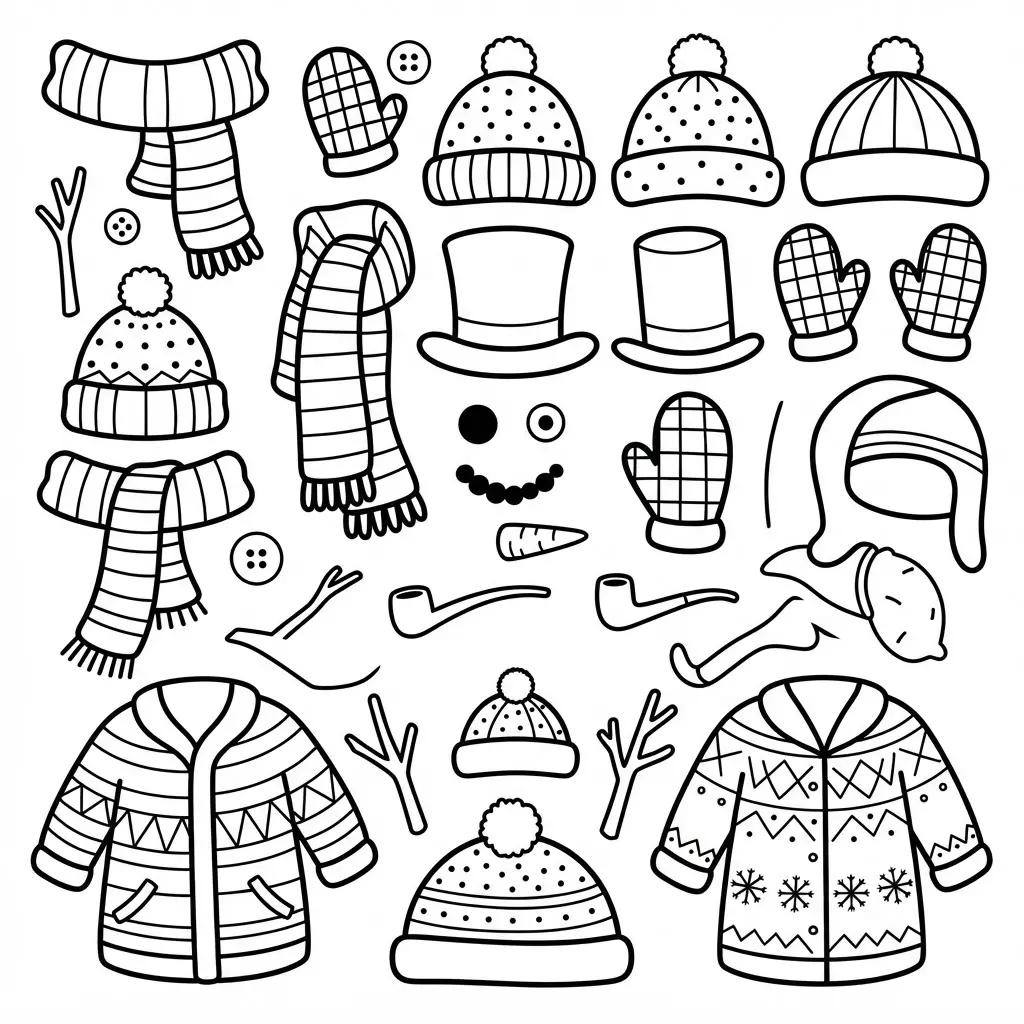
A common mistake is treating every snowman stencil as a card-sized tool. Large 12 × 16-inch sheets suit posters, while a 5.75-inch set fits cards, scrapbook pages, journals, and worksheets.
Choose a basic snowman outline, then place a hat, scarf, coat, or accessory layer over the paper. Hold it still with low-tack tape, test your marker, colored pencil, crayon, ink, or paint on scrap paper, then apply a light layer through the openings. Patterned printable snowman templates like these work beautifully across card, journal, and poster projects.
Lift the sheet carefully once wet color dries, keeping each edge crisp. A clothing-focused set gives children and adults room to mix colors and outfit details instead of repeating one finished figure.
Mylar polyester film and washable plastic suit repeat paper projects because cleanup keeps the openings clear for the next page. Use thin paint layers to stop seepage, and wash the stencil soon after use with mild soap or a wipe. For group activities, choose washable, non-toxic supplies and supervise younger children around small accessories. The mix-and-match process feels satisfying because every snowman keeps its familiar shape while gaining a fresh personality.
6. Festive Snowman Face Expression Variety for Children
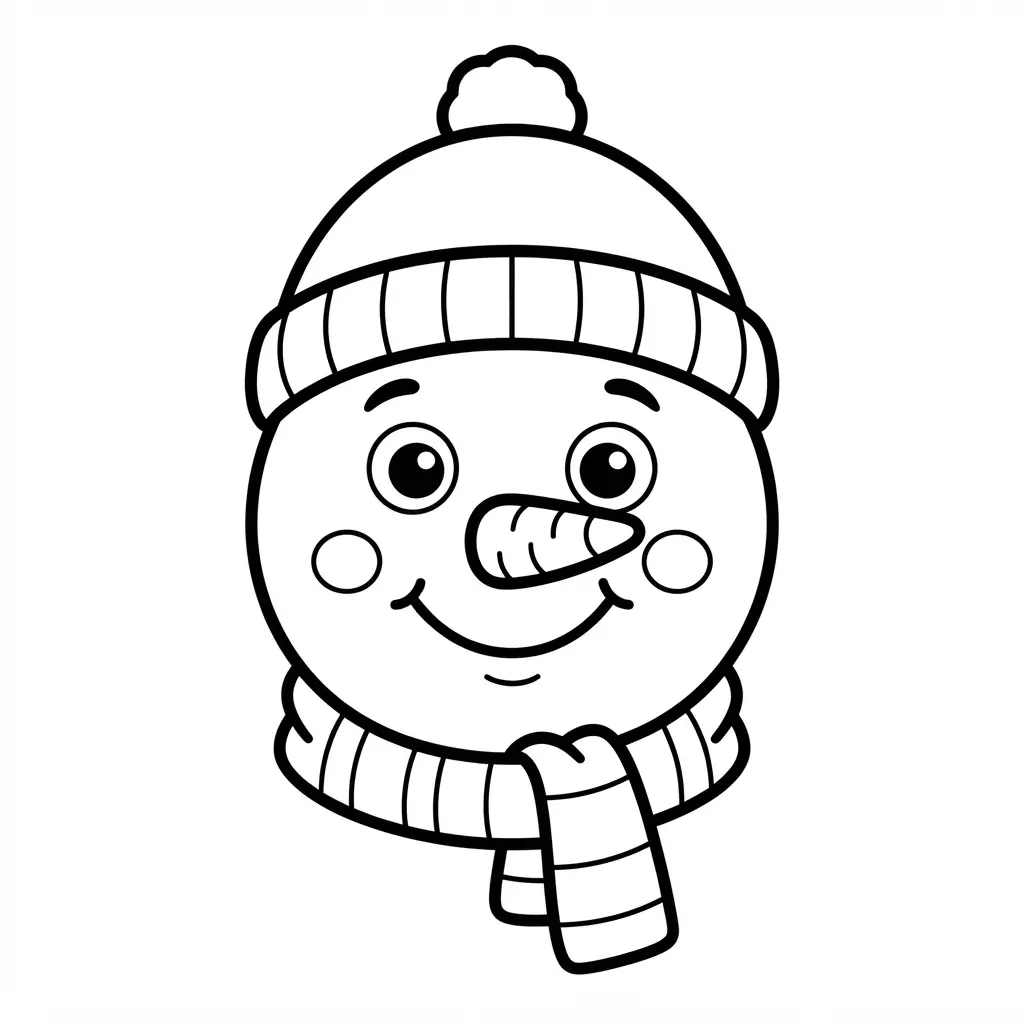
Start by giving each snowman a different face on the printed outline. Draw a wide grin for a cheerful character, then switch one eye to a curved line for a wink or shape the mouth into a round O for surprise. For a silly friend, place the eyes at uneven angles, add a lopsided smile, and draw a tiny tongue peeking out. A few charcoal marks, pebbles, or red berry circles provide easy visual ideas for children working with paper, crayons, or safe found materials. Printable snowman templates with varied expressions make it easy to try several moods on one sheet.
Next, try a gentle face with a soft smile, rosy cheeks, and one raised eyebrow. Add personality with a twig mustache, small goatee, or round spectacles made from simple outlined circles. Let children choose scarves, hats, and mittens to match each mood, rather than copying one perfect arrangement.
This variety works because small changes in feature shape and placement turn matching outlines into separate characters with their own feelings. Keep the faces large and uncluttered, so children have room to color, cut, and glue each detail. A classroom display filled with cheerful, goofy, gentle, and unusual snowmen feels playful from the first look.
7. Three Dimensional Paper Snowman Template With Fold Lines
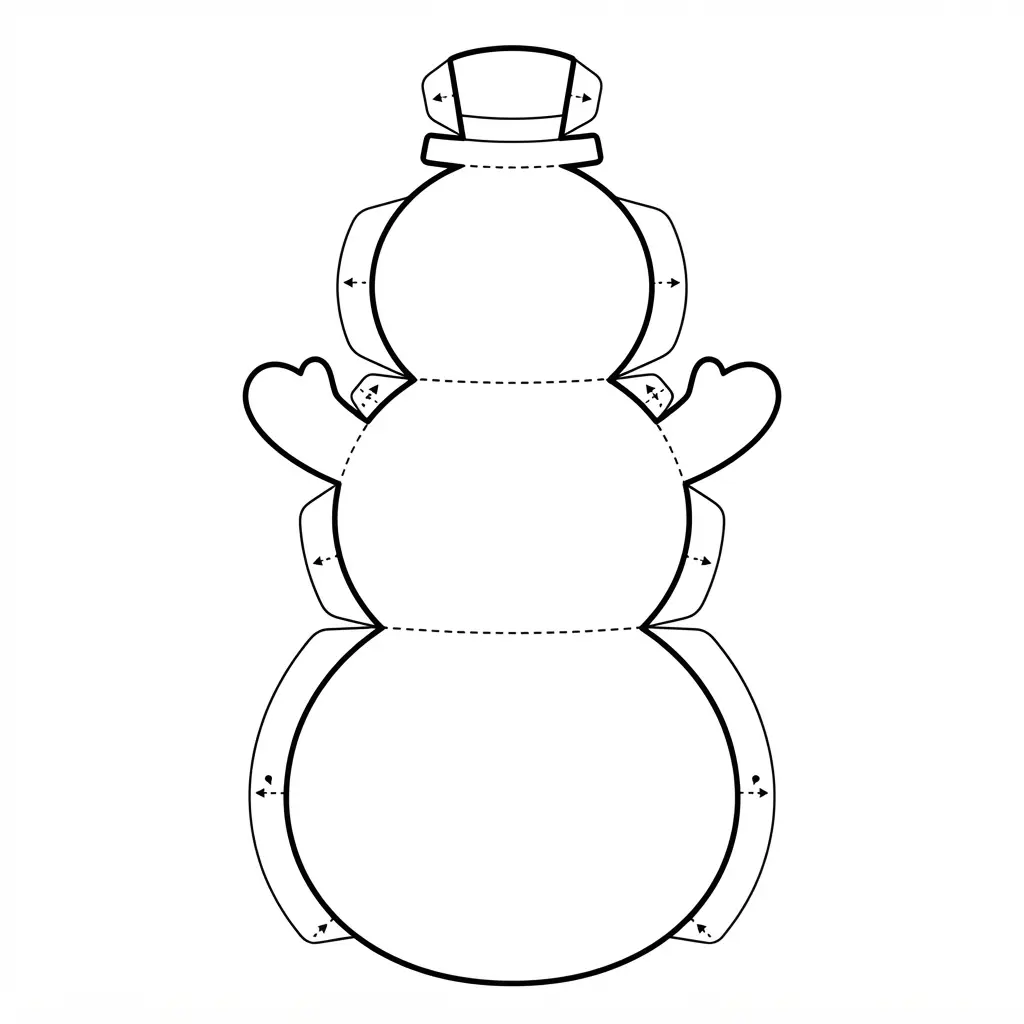
This paper snowman looks flat at first, yet marked fold lines give each piece a clear path into a freestanding winter figure. The head and body often form rounded cylinders or boxy prisms, while separate pieces add the hat, arms, buttons, and carrot-style nose. It’s a satisfying way to see simple shapes become a complete decoration. Three-dimensional printable snowman templates turn a flat page into a project children can display.
Print the pattern on firm paper, then cut around the outer edges and any required slots. Score the marked sections with a ruler and fold them before joining the tabs with glue. Keep cut lines and score lines separate, since cutting a fold line weakens the finished form. SVG or DXF files suit a compatible cutting machine, while a printed pattern works well with scissors.
Build the body first, then attach the head and accessories in the shown order. A straight edge helps create crisp bends, especially on larger versions near 18 inches tall. Set aside enough table space before assembly, and decorate the pieces before closing sections that become hard to reach. Seeing the paper stand on its own feels wonderfully rewarding.
8. Snowman Silhouette Shape for Tracing and Painting
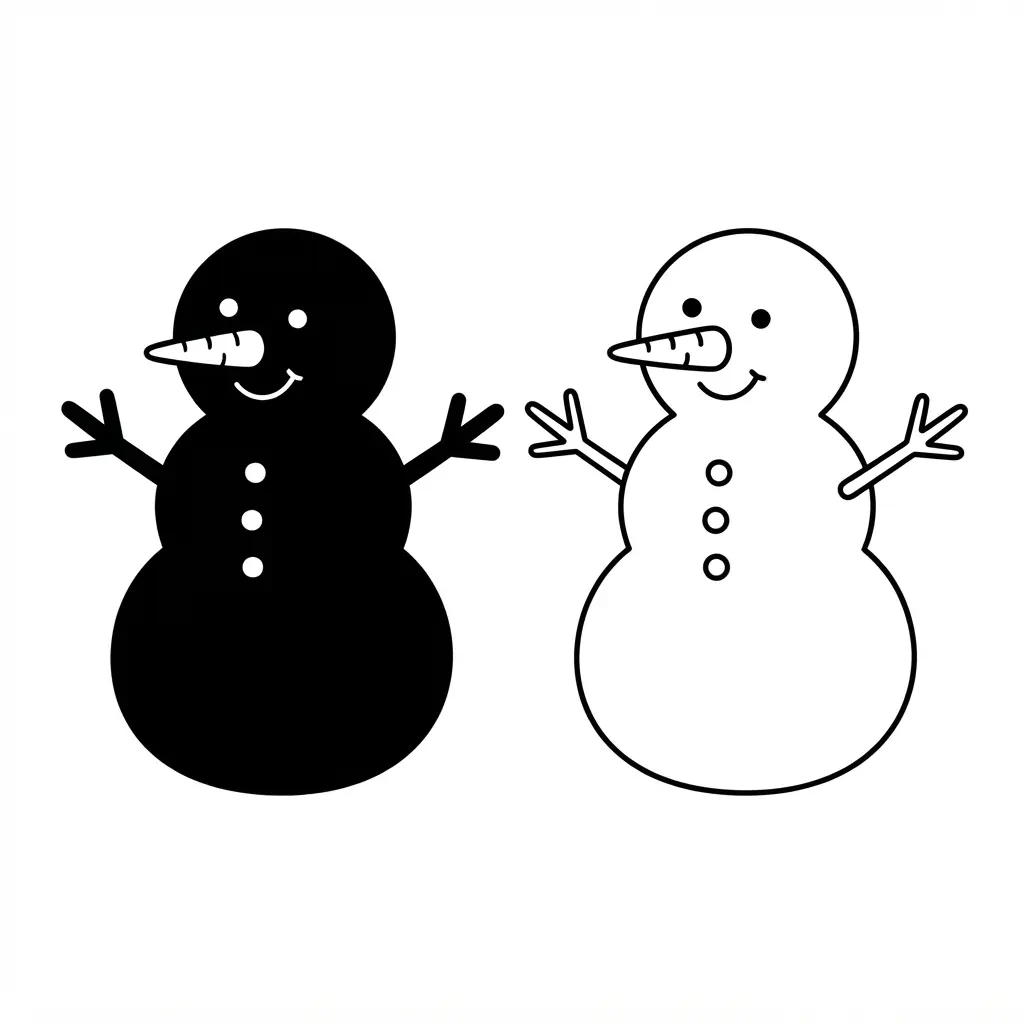
This silhouette gives winter projects a clean starting point, with a rounded head, stacked body, and broad outer edge ready for tracing or paint. Print the template at a size suited to your project, then check the page before cutting around the shape. A larger version suits classroom displays, while a smaller one fits ornaments and greeting cards. Printable snowman templates with a clean silhouette suit tracing, stenciling, and painting alike.
For a reusable physical stencil, place the printed page on card, cut along the outside edge, and position it over paper or another smooth surface. Trace around the opening with a pencil, or brush paint inside the shape for a bold snowman outline. Keep the inner area free from facial features and clothing details until the base layer dries.
The same outline works with compatible cutting software when you use an SVG file instead of a printed page. Add buttons, a face, photos, or seasonal lettering after the main shape is finished. This simple form works so well because its clear edges leave plenty of room for personal touches without requiring freehand drawing. Use card for sturdier decorations, and test the paint on scrap paper first for cleaner edges.
9. Winter Scene Background Frame Template for Displays
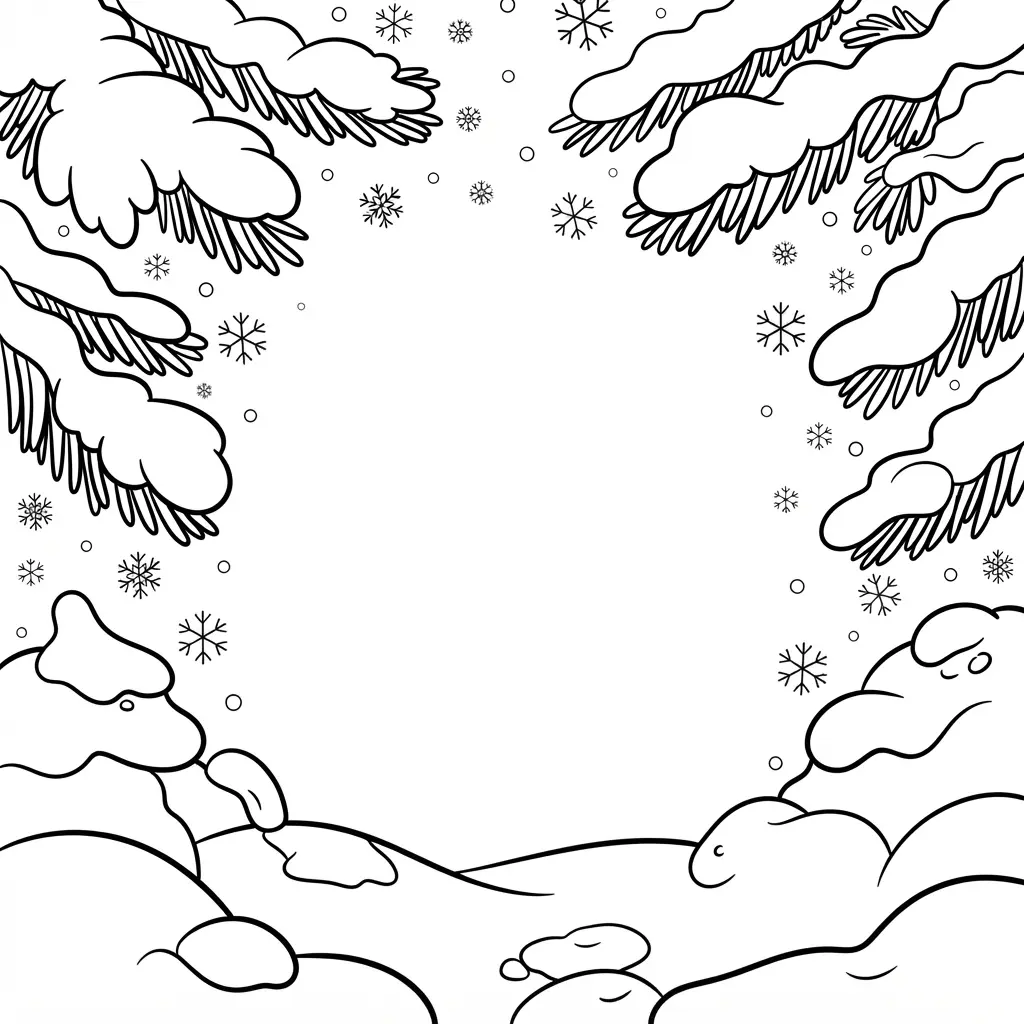
This frame is a favorite for turning ordinary artwork into a cheerful winter display. Snowflakes, frosted branches, fir sprigs, and soft pale backgrounds give the page a finished seasonal look without crowding the artwork. The printable snowman templates in this collection include a winter frame that supports countless projects.
Start with a PNG or PDF frame for quick printing, then place a photo, classroom message, sign, or drawing inside the open center. Resize the added piece to match the frame’s aspect ratio, keeping text and artwork away from the snowy border. A snowflake border suits a simple page, while holly, pinecones, fairy lights, or a snowy landscape bring more detail to a larger display.
This format works so well because one border supports many projects. Parents, teachers, and makers can reuse the same winter scene for student work, labels, photographs, or digital slides. For editable changes, choose a PSD or PSDT file with layers or smart objects.
Check the finished size before printing, especially with 4 × 6 or 6 × 4 inch layouts. A 300 DPI file gives sharper results, while a small test print helps catch cropping or empty space early. Add adhesive or a paper trimmer for a neat finish, then enjoy the polished seasonal touch.
10. Decorative Snowman Button and Coal Set for Faces
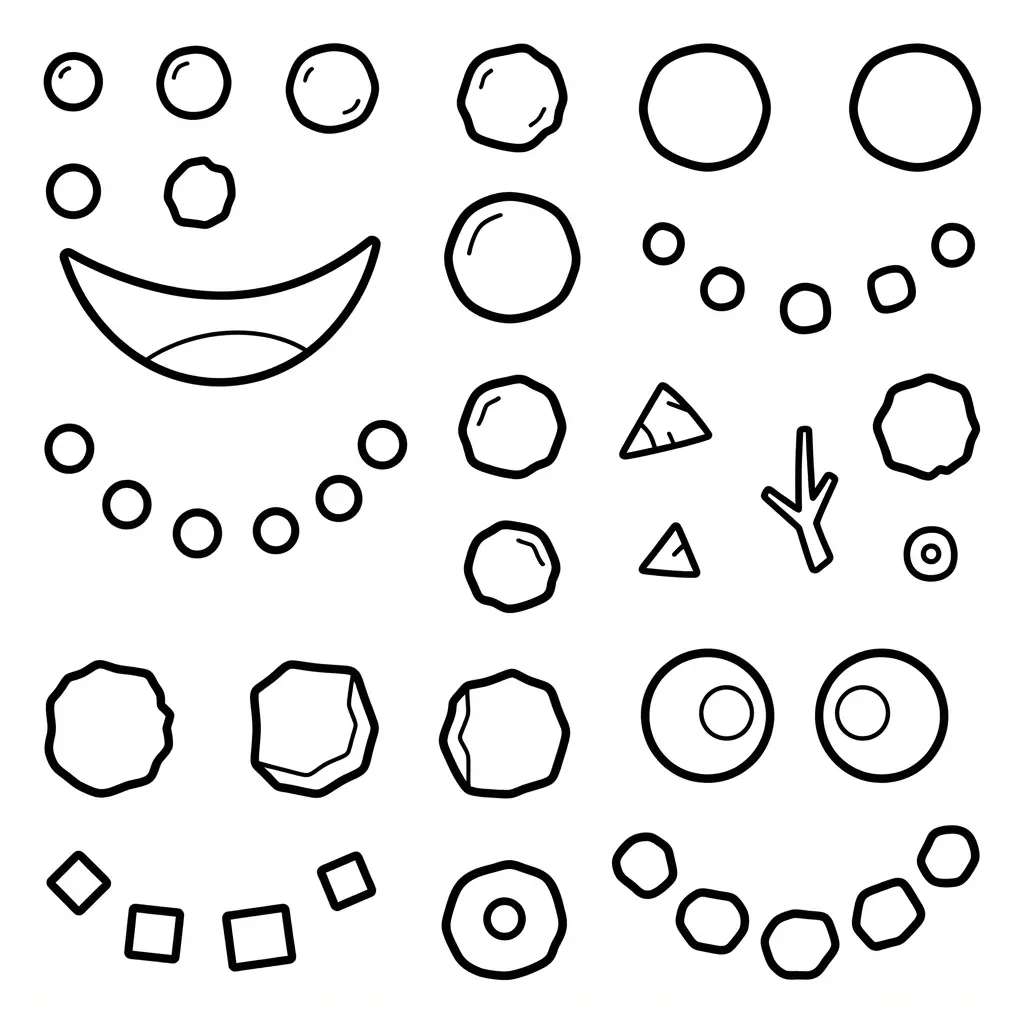
The finished face has a cheerful look, with shiny black eyes, a bright orange carrot nose, and a curved coal smile. Larger buttons down the body add a neat, familiar snowman finish. Each piece stands out clearly against white paper, felt, or a painted background.
Start by placing the black eye pieces near the upper face, then set the carrot nose between them and slightly lower. Arrange the coal shapes in a gentle curve, leaving even spaces for a friendly expression. Check the layout before using glue, since moving pieces after attachment is harder. Printable snowman templates with separate face pieces let children build their own expression from scratch.
Use larger button-style pieces on the body so the facial details stay distinct. This set works well because it turns a plain snowman outline into a hands-on decorating activity, giving children room to choose an expression. Keep plastic or wooden pieces away from cookies and cake pops, and use food-safe decorations for edible projects. A quick placement check keeps the eyes level and the smile balanced, making the finished face feel cheerful and complete.
Conclusion
So how was your winter planning session? A simple snowman page often becomes a coloring activity, a cutting exercise, a classroom display, or a small family project. Printable snowman templates give you room to adjust the activity for toddlers, older children, and mixed-age groups without starting each design from scratch.
Choose one large outline for a shared table, then print smaller pieces for garlands or decorating games. Before you begin, test one page on your chosen paper and place scissors, glue, crayons, and markers within easy reach. Let children select their own faces and accessories so each finished snowman feels personal.
Your next step is simple: choose the template suited to your group, print it, and set out the supplies. There is plenty of room for cheerful winter creativity in one afternoon, and your finished display will show the care you put into it.
FAQs
Q: What paper works best for snowman templates?
A: Cardstock works well for cutouts, garlands, and reusable pieces. Regular printer paper suits coloring pages, tracing, and short activities.
Q: How do I resize a snowman template before printing?
A: Use the print settings to select a percentage or fit the page to US Letter or A4 paper. Check the preview so the full outline stays within the page edges.
Q: Which snowman template suits toddlers?
A: Choose a large body outline with thick lines and few small pieces. Pair it with safety scissors, chunky crayons, and adult supervision. Simple printable snowman templates work best for very young children.
Q: How do I make snowman pieces last longer?
A: Print the pieces on cardstock and add a clear protective covering after coloring. Store the finished shapes in a flat folder between activities.
Q: What supplies pair well with printable snowmen?
A: Gather cardstock, crayons, washable markers, glue sticks, safety scissors, and colored paper. Cotton balls, paper scraps, and stickers add extra decoration.