


Navigating Binder and Solvent Material Compatibility
The quickest path to a muddy, cracking mess is mixing the wrong thinner with your binder when studying different types of painting. You know that oily feeling of linseed oil? That lipid binder wants a solvent like odorless mineral spirits, not water. Watercolors use gum arabic as their glue, so you need clean water to reactivate them. Acrylics dry into plastic, which means once that polymer binder sets, you are stuck with it. The good news is, if you respect these pairs, you control the flow and drying time perfectly. Your painting experience transforms from a fight against the material into a smooth collaboration. Trust me, keeping your mediums sorted by their base chemistry saves every session from frustration.
Selecting Porous versus Non Porous Painting Surfaces
A sheet of printer paper will buckle and disintegrate under a watercolor wash in seconds if you ignore the rules for different types of painting. You need a heavyweight, cold-press paper with enough tooth and absorbency to handle the moisture. For oils, that slick, non-porous feel of a pre-primed canvas lets you move the paint for hours. Alcohol inks demand a completely sealed surface like Yupo paper to let the colors dance and blend. The surface you choose dictates the entire character of your piece. We tend to grab whatever is handy, but matching the substrate to the medium needs is the secret to archival stability. Your finished work deserves that solid foundation.
1. Master Watercolor Transparency and Gentle Wash Techniques
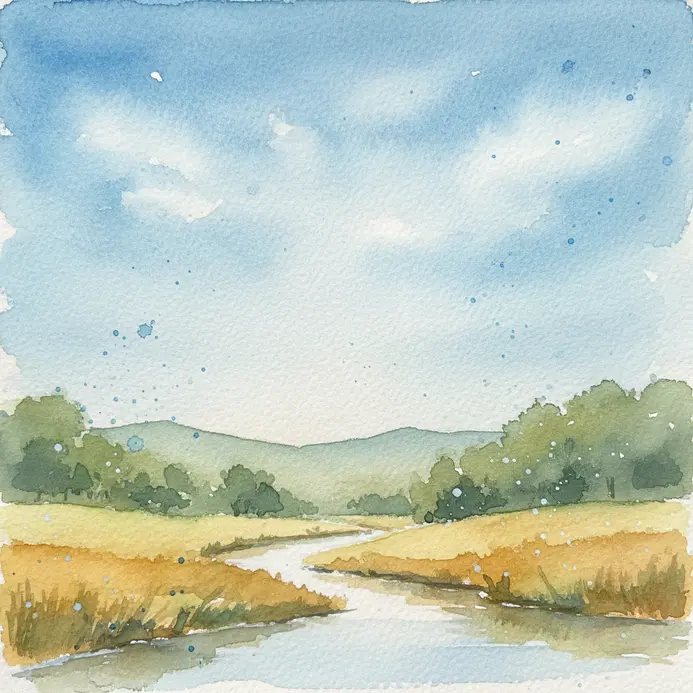
Ever wondered how artists achieve that magical, glowing light when working with different types of painting? The secret is the paper itself. You build color by applying thin, diluted layers of paint, letting the white of the paper shine through for your brightest highlights. This layering creates incredible depth and a luminous quality unique to this medium. The foundation is a smooth, even wash, essential for any artwork. Tilt your paper slightly and use a large, fully loaded brush to apply horizontal strokes, letting a bead of paint pull the color down the page. Isn’t it satisfying to see that perfectly even tone develop? Trust me, mastering this basic technique unlocks the true creative potential. For a beautiful gradient, try a graded wash. Start with a darker mix at the top and add more water to your brush for each subsequent stroke. The key is using high-quality 100% cotton paper to prevent buckling and ensure even absorption. I love how this simple method creates such soft, atmospheric effects, and you can find more ideas in our guide to abstract painting. accessible watercolor painting inspiration.
2. Achieve Bold Color with Opaque Gouache and Flat Application
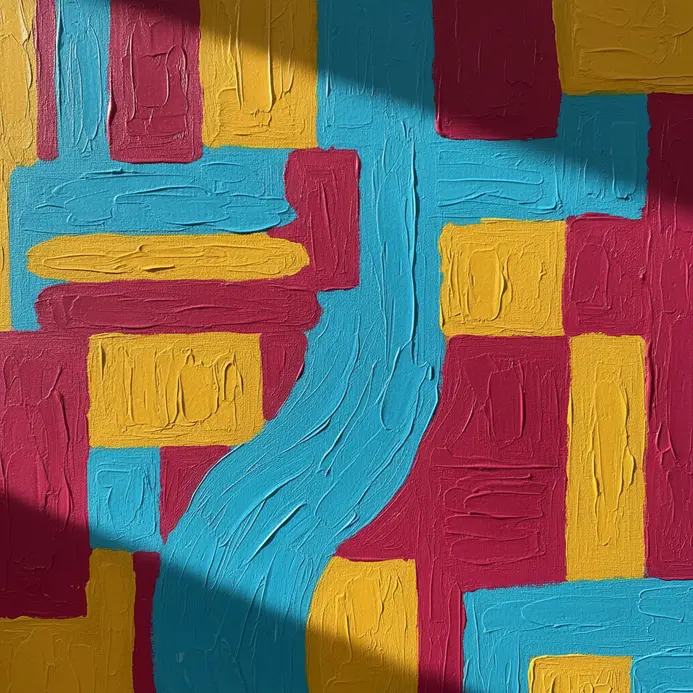
Ever feel your colors need more punch and graphic clarity when exploring different types of painting? Gouache, a wonderfully opaque paint, is your secret weapon. It completely covers what is underneath, letting you paint bright yellows over dark blues without a hitch. The trick is getting the paint to a melted ice cream consistency on your palette. Mix it with clean water until it flows smoothly but still feels rich. Load your flat brush evenly, wipe off the excess, and apply it in steady, overlapping strokes. You will see a solid, velvety block of color form without any streaks. I love this because it gives you total control for crisp shapes and bold designs. Try it and feel the satisfaction of that perfect, matte finish.
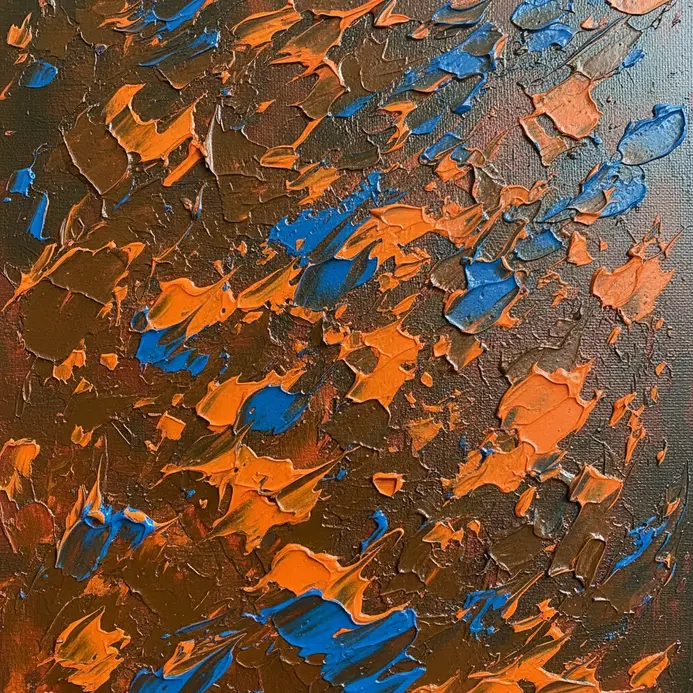
3. Build Dynamic Textures with Fast-Drying Acrylic Polymer
Ever wondered how to get those thick, sculptural layers you see when experimenting with different styles of painting? This medium is pure magic for adding serious depth. The secret lies in fast-drying acrylic mediums. Grab a palette knife and scoop out some heavy gel or modeling paste onto your rigid surface. You can spread it, carve into it, or press found objects like bubble wrap into the wet polymer to create instant, tactile patterns. The best part is how quickly each layer sets, which saves so much time compared to slower mediums. This fast-drying quality lets you build up complex textures without waiting days. You can mix in sand or pumice gel for grittiness, or keep it translucent to let underlying colors glow through. Isn’t that satisfying? I love how this transforms a flat canvas into a landscape you can feel. Explore easy acrylic painting techniques for more inspiration.
4. Create Luminous Depth with Traditional Slow-Drying Oil Glazes
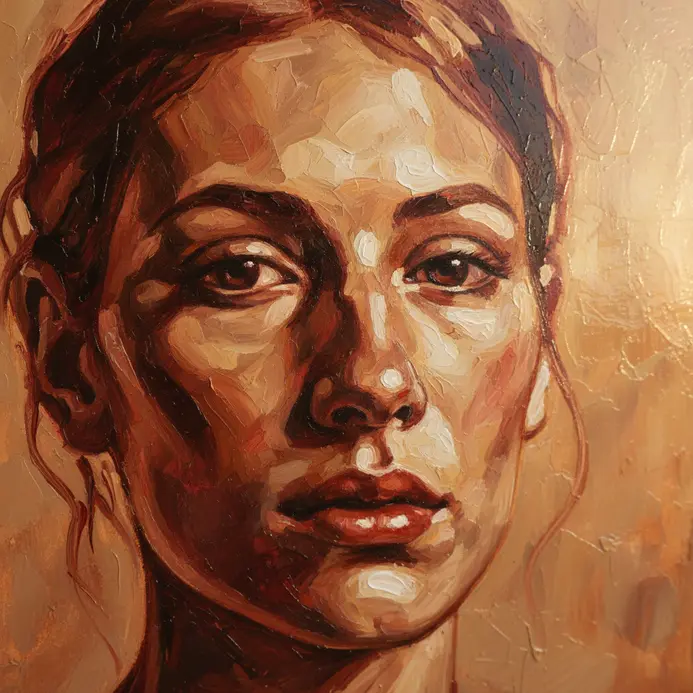
Ever wondered how Old Master paintings seem to glow from within when you study different types of painting? The secret is often Slow-drying oil glazes can enhance the depth of your artwork beautifully.. You apply a whisper-thin, transparent layer of color over a dried underpainting. Light travels through this glaze, bounces off the layer below, and refracts back, creating an internal glow you simply cannot replicate with thick paint. This optical mixing is pure magic. A transparent blue glaze over a yellow base will appear as a vibrant, luminous green. I love how this gives you incredible control to refine colors and tones without repainting the whole section. It feels like adding pure light to your work. The key is using inherently transparent pigments like Alizarin Crimson or Ultramarine Blue, mixed with a painting medium. For a smooth start with these techniques, brush up on beginner oil painting concepts. Trust me, once you see that depth, you will feel hooked.
5. Apply Precise Strokes with the Durable Finish of Egg Tempera
Ever tried a medium that feels more like drawing when you compare different types of painting? Egg tempera, one of the oldest art forms, is exactly that. Its magic comes from mixing pigment with an egg yolk binder to create a paint that dries almost instantly. This forces you to work with deliberate, linear strokes, building up form through fine hatching and cross-hatching on a rigid panel. I love the control this gives you. Each thin, translucent layer adds luminosity, letting the colors underneath glow through. It is a meticulous process, but the payoff is huge. You get vibrant, saturated colors with a velvety matte finish that lasts for centuries without yellowing, reminiscent of classic pop art. Trust me, the satisfaction of laying down those crisp, perfect lines is unbeatable.
6. Capture Expressive Movement with Versatile Ink Wash Styles
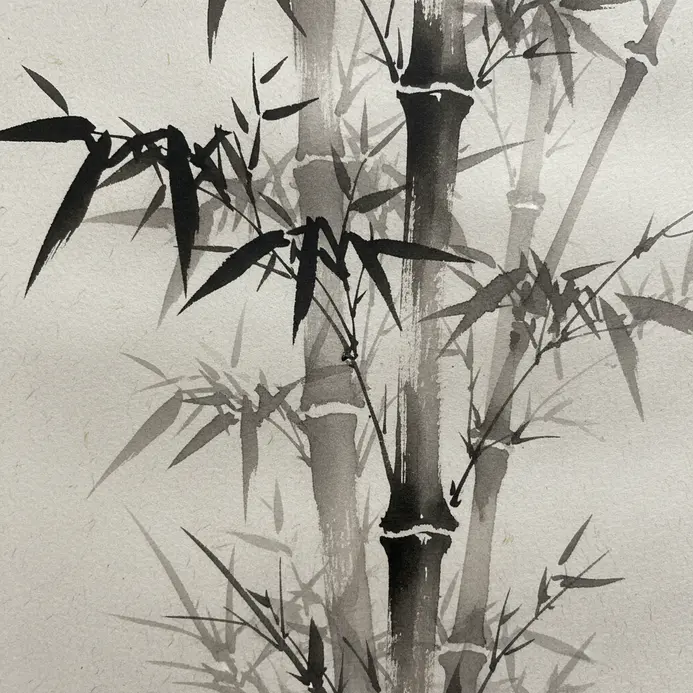
Ever wondered how to make a figure look like it is truly in motion when practicing different types of painting? Ink wash is your secret weapon. It is all about using the fluid dance between ink and water to create soft blends and dynamic shadows. You will apply wet-on-wet washes for dreamy, bleeding edges that suggest speed, then use a nearly dry brush to add textured details that imply energy. This works because you are capturing the feeling of movement, not just drawing every single line. I love how this medium forces you to work with intention and embrace happy accidents. The key is managing your water and understanding your paper absorbency to control those beautiful gradients. For a completely different approach to creating detailed, sparkling art, you might also want to Understand diamond painting as a contemporary form of visual art.. Give ink wash a try and feel the thrill of bringing your subjects to life.
7. Layer Pigment and Wax with the Textural Art of Encaustic
Ever wondered how ancient artists created works that glow from within while exploring different styles of painting? Encaustic is that incredible, textural medium. You work with molten beeswax mixed with pigment, building up translucent layers on a Rigid wood panel is a great choice for various styles of painting.. The key is fusing each new layer with a heat tool, which bonds everything into a durable, luminous surface. I love how tactile it is. You can carve back into cooled wax, embed collage elements, or scrape to reveal colors underneath. It feels more like sculpting with light than traditional painting. Sound intense? The process is surprisingly intuitive once your wax is molten on a heated palette. Just remember, proper ventilation is essential for safety. Trust me on this one, the rich, sensory experience and the jewel-like finish you get are utterly unique. Feel the wax transform under your tools and create something truly lasting.
8. Bond Pigment to Plaster in the Timeless Fresco Technique
Ever wondered how the masterpieces on ancient chapel walls have stayed so brilliantly colored for centuries when comparing different types of painting? The secret is not just painting on the wall, but painting into it through a clever chemical reaction. You apply your mineral pigments directly onto a fresh, wet layer of lime plaster. As the plaster dries, it pulls carbon dioxide from the air and crystallizes, permanently trapping those pigment particles inside the wall itself. This process, called carbonation, is what makes the fresco technique so incredibly durable. The color becomes part of the structure, which is why it resists fading and flaking so well. You have to work quickly and confidently on each giornata, or day section, before the plaster sets. It is a dance with chemistry that results in truly timeless art, offering a satisfying contrast to more temporary methods like various watercolor techniques you might try at home. Trust me, the magic is in that wet plaster bond. Feel the awe of creating something meant to last for generations.
9. Blend Soft Pigments with the Direct Touch of Pastel Application
Ever wondered how artists get those dreamy, seamless gradients when working with different types of painting? It all comes down to the direct touch between your hand and those gloriously soft pigments on the paper. You start by laying down rich color with your soft pastels or pastel pencils. Then, the magic happens. You can gently rub the pigment with a clean finger for broad, atmospheric blends in a sky. For more precise softening, a paper stump lets you merge colors without muddying them. This hands-on approach is so satisfying because you are mixing and building depth right on the surface, feeling every layer come to life. My go-to tip is to know when to stop blending to keep your colors vibrant in your expressionism artwork. And if you love the immediacy of this medium, you might enjoy exploring other direct application methods, like encaustic paint. Exploring spray painting as a unique style of painting for its own unique effects.
10. Stencil Bold Graphics with the Urban Edge of Spray Paint
Ever wondered how street artists get those super sharp, graphic images while experimenting with different types of painting? This one surprised me with its unique approach to visual art. You start by cutting a simple design from Mylar or cardboard, making sure to include little bridges for any floating parts inside letters. Then, you secure it to your surface and spray with light, even passes, perfect for achieving the desired painting style. I love how the spray paint creates a unique, soft texture around the crisp edges, giving it that authentic urban feel. It is the perfect mix of control and creative chaos. Try it and feel the thrill of peeling back that stencil to reveal your bold graphic.
Archival Preservation and Protective Varnish Application
A single layer of matte acrylic varnish applied after your painting is bone dry protects weeks of work from dust and UV light. For oils, you must wait months for the paint to cure fully before using a resin-based varnish, but the wait guarantees no cracks. Watercolors and gouache often live best under glass because varnish can alter their delicate, matte finish. The rule is simple: let the painting tell you when it is ready, then seal it with the appropriate product to preserve different types of painting from environmental damage. This final step locks in your colors and ensures your art lasts, which is the whole point after all that effort.
Conclusion
Your choice of paint is more than just a tool, it is the voice of your creative idea. Whether you are drawn to the fluid spontaneity of water or the bold, physical presence of thick acrylics, each of these different types of painting offers a unique way to express yourself. My best advice is to start small. Pick one medium that excites you, grab a few basic colors, and simply play on a spare sheet of paper without any pressure to create a masterpiece. Notice how the paint moves, how it dries, and how it feels under your brush. That direct experience is the most valuable teacher, and it will guide you confidently to your next, even more exciting, project.
FAQs
Q: What are the most popular types of painting found in the art world?
A: The popular painting types in the world of art include landscape painting, still life painting, portraiture, abstract art (including abstract expressionism), and large-scale painting such as murals and street art. These forms of art appear across fine art galleries and public spaces, reflecting a variety of styles, approaches to painting, and different types of subjects.
Q: How do painting mediums differ and what are common types of painting mediums?
A: Painting mediums vary by binder and solvent: oil on canvas uses oil as the means of painting and permits rich glazing and slow drying; watercolor and acrylic are water-based paint options, with watercolor often diluted with water and acrylics available as water-based paint that dries quickly; tempera paint is a traditional water-mixed medium; aerosol paint (spray paint) is common in street art; and digital painting uses pixels and software as art mediums. Each medium influences the use of color, texture, and the act of applying paint to a surface.
Q: What is the difference between contemporary art painting and traditional painting art styles?
A: Contemporary art often explores new materials, techniques, and concepts, including mixed media, digital painting, and large-scale installations, while traditional painting art styles (such as classical landscape painting, still life, and portraiture) emphasize established techniques and representational forms. The development of art has expanded the art of painting from fine art galleries to street art and digital platforms, broadening the variety of styles and approaches to painting.
Q: How does the form of painting (figurative vs abstract) affect choice of medium and technique?
A: Figurative painting, which depicts recognizable subjects, may favor oil on canvas or tempera paint for fine detail and subtle color blending, while abstract art and abstract expressionism might use acrylics, aerosol paint, or mixed media to emphasize gesture, color fields, and texture. The chosen medium determines the means of painting—whether applying paint with brushes, palette knives, airbrushes, or digitally—and shapes the final visual language of the work.
Q: Can beginners practice painting across different types of painting, and how should they start?
A: Yes—practice painting across various mediums is recommended. Beginners can start with water-based paint like acrylics or watercolor because they are forgiving and easy to clean up, experiment with basic drawing and color theory, then try oil on canvas or tempera paint for more advanced techniques. Exploring different painting types and subjects helps build skills and develop a personal art style within the wider world of painting.


