

Let’s keep the camera settings simple and pay attention to direction, edges, empty space, and timing. Grab a few household objects, find a patch of strong light, and take the plunge with these fifteen ideas.
Reference Boards For Shadow Shape Planning
Use a contact sheet with six to twelve reference images before shooting, so your board compares shadow edges, subject spacing, and highlight placement at a glance. Group examples by light source, such as window bands, foliage patterns, or hard sunlight, rather than by subject type. Mark the direction of each source with a small arrow, since two similar portraits often produce opposite tonal structures, which sits perfectly alongside proven Light and Shadow Photography Ideas.
Leave blank space beside each image for notes about background distance, lens height, and exposure mood. A black rectangle beside each reference helps you judge how much negative space feels intentional. Keep one board focused on a single visual goal, such as a clean silhouette or diagonal shadow, so your session has a clear boundary.
Manual Metering For Controlled Tonal Separation
Set your camera’s spot meter on the brightest important area when you want clean separation between a lit subject and surrounding darkness. This reading protects highlight texture in pale walls, skin, or reflective glass, while the shadows fall deeper without muddy midtones. Switch to manual exposure so shutter speed, aperture, and ISO stay fixed while you refine the composition, drawing directly from Light and Shadow Photography Ideas for better exposure control.
A spot meter reading also gives consistent comparisons when you test side lighting against backlighting. Check the histogram for a compressed cluster toward the left and a controlled peak near the right edge rather than trusting the rear-screen preview. Center-weighted metering suits broader scenes, but it often includes too much dark space and brightens the subject. Record one exposure with a little highlight protection before judging tonal separation.
1. Blind Striped Window Light Portrait — Soft Contrast
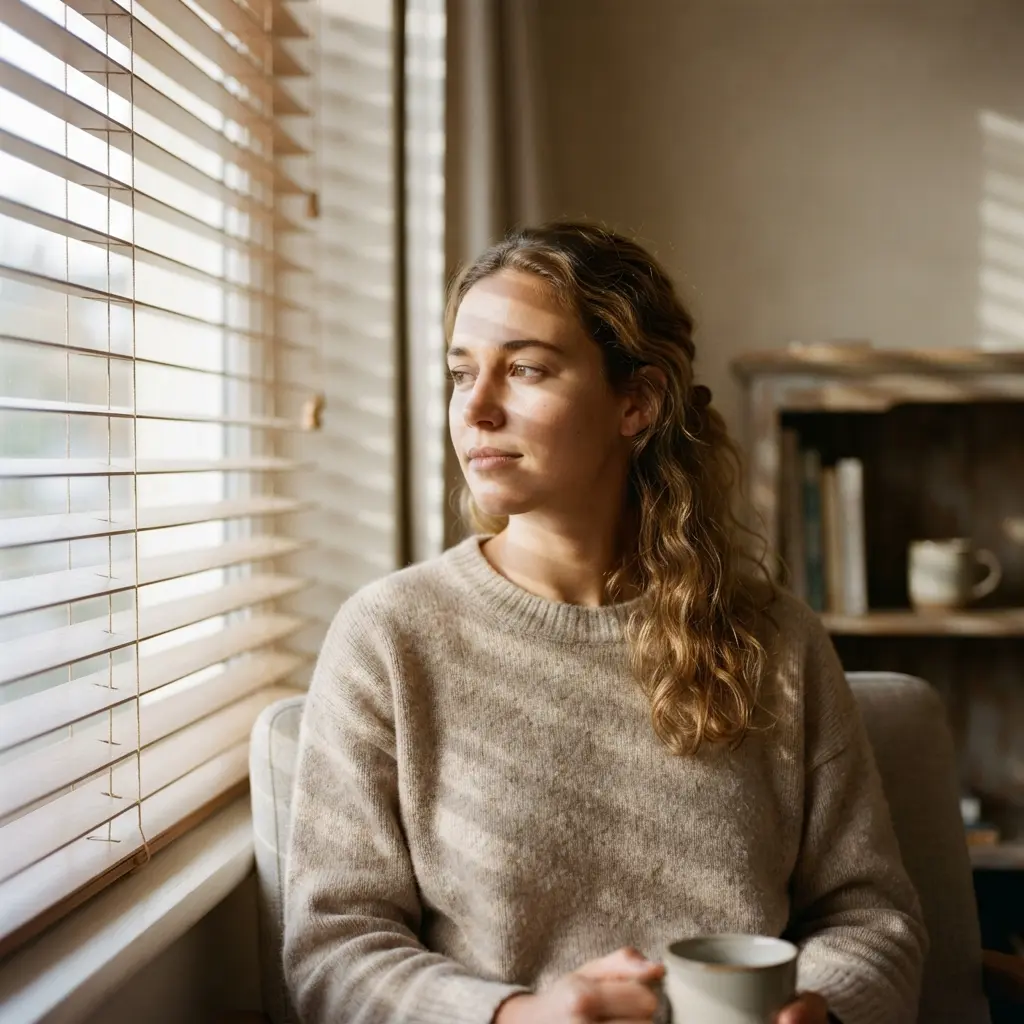
Ever wondered how a quiet window scene turns into a portrait with such graceful structure? Place your subject beside a window fitted with horizontal blinds, then angle the slats until narrow bands of daylight cross the face and shoulders. Use an 85mm lens at about f/2, keeping the background creamy and out of focus while skin detail stays clear, following these specific Light and Shadow Photography Ideas.
Ask for a relaxed posture and gentle expression, with the face turned slightly toward the window. I love this setup because the striped shadows add graphic interest without pulling attention away from the person, especially when testing new Light and Shadow Photography Ideas. Keep the room’s palette close to beige and cream, and watch for warm-neutral skin tones, diffused highlights, and restrained shadow edges.
Avoid closing the blinds too far, since dense bands turn delicate texture into hard lines. My go-to tip is to shift the subject a few inches at a time until the stripes sit lightly across the features, then expose for the skin. The result feels intimate, cinematic, and quietly editorial.
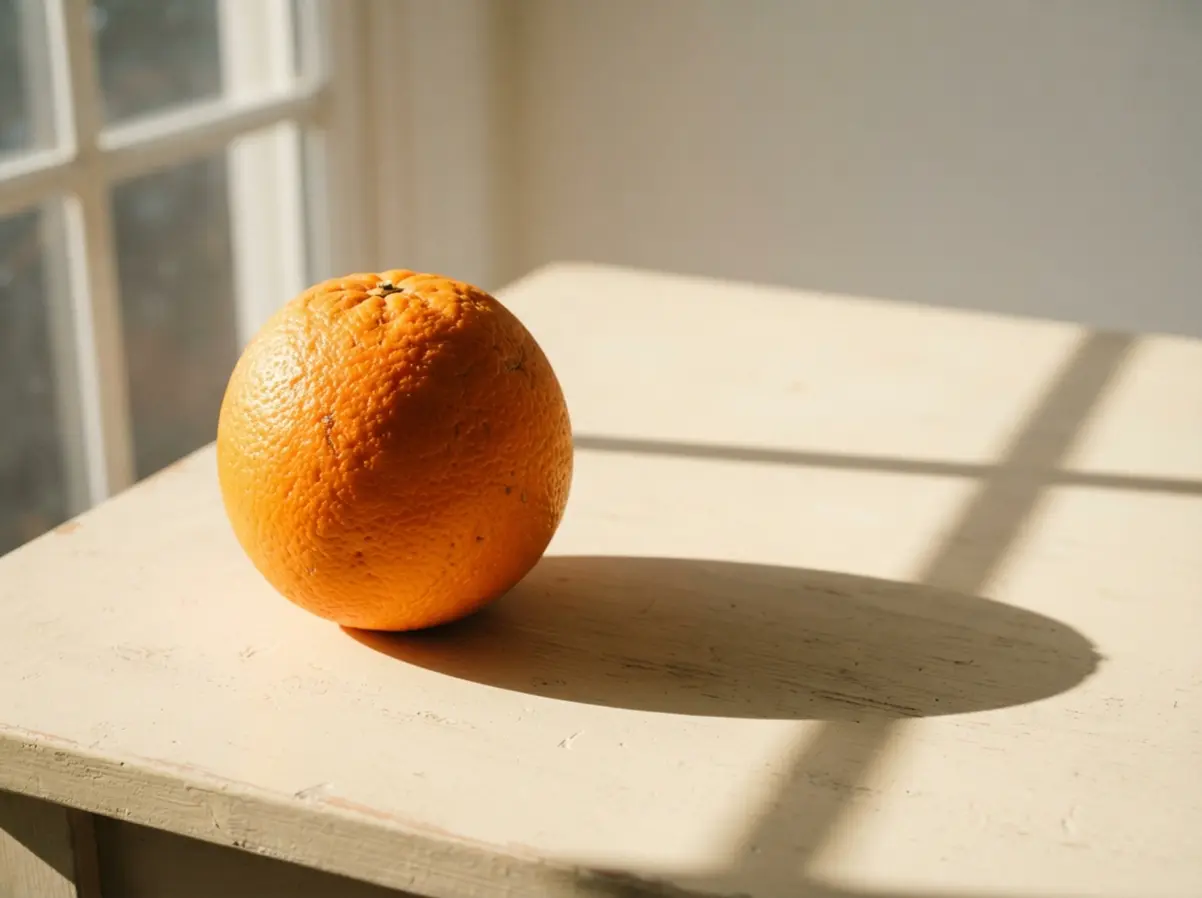
2. Hard Light Citrus Fruit Still Life — Sharp Edges
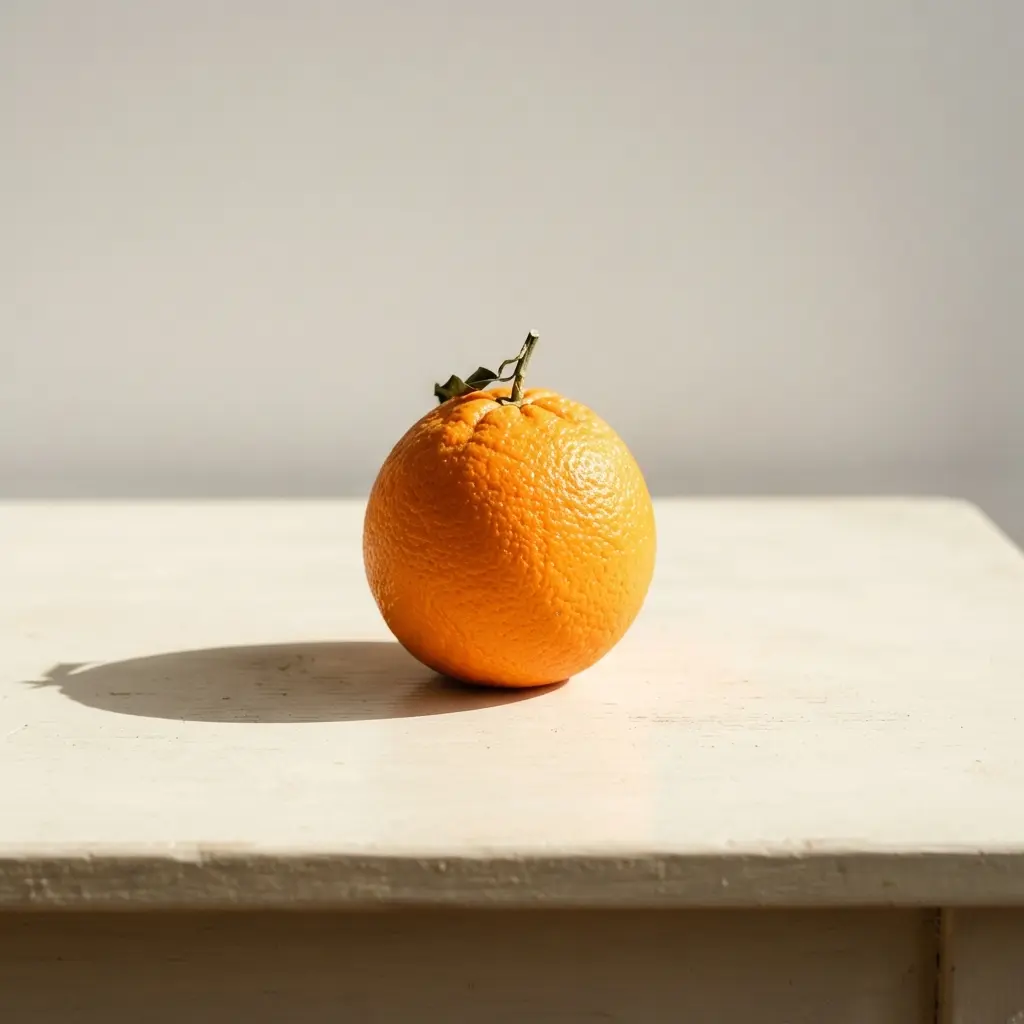
This setup turns ordinary citrus into a crisp graphic study. Place lemon, orange, and grapefruit slices in direct midday sunlight, using a cobalt-blue backdrop to create deep shadows and bright color, which perfectly demonstrates classic Light and Shadow Photography Ideas.
Arrange the slices on a clean geometric surface, leaving generous negative space around each piece. Use strong diagonal lines instead of a flat row, then look for the ruby-pink grapefruit, electric yellow lemon, glossy juice, and textured rinds to carry the frame, aligning with reliable Light and Shadow Photography Ideas. Doesn’t this feel wonderfully clean and bold?
I love this look, and my go-to tip is to keep the camera parallel to the surface while using ultra-sharp focus across the fruit. Finish with scattered droplets and saturated color, then enjoy the fresh editorial feel of the final frame.
3. Geometric Staircase Architectural Shadow Pattern for Depth
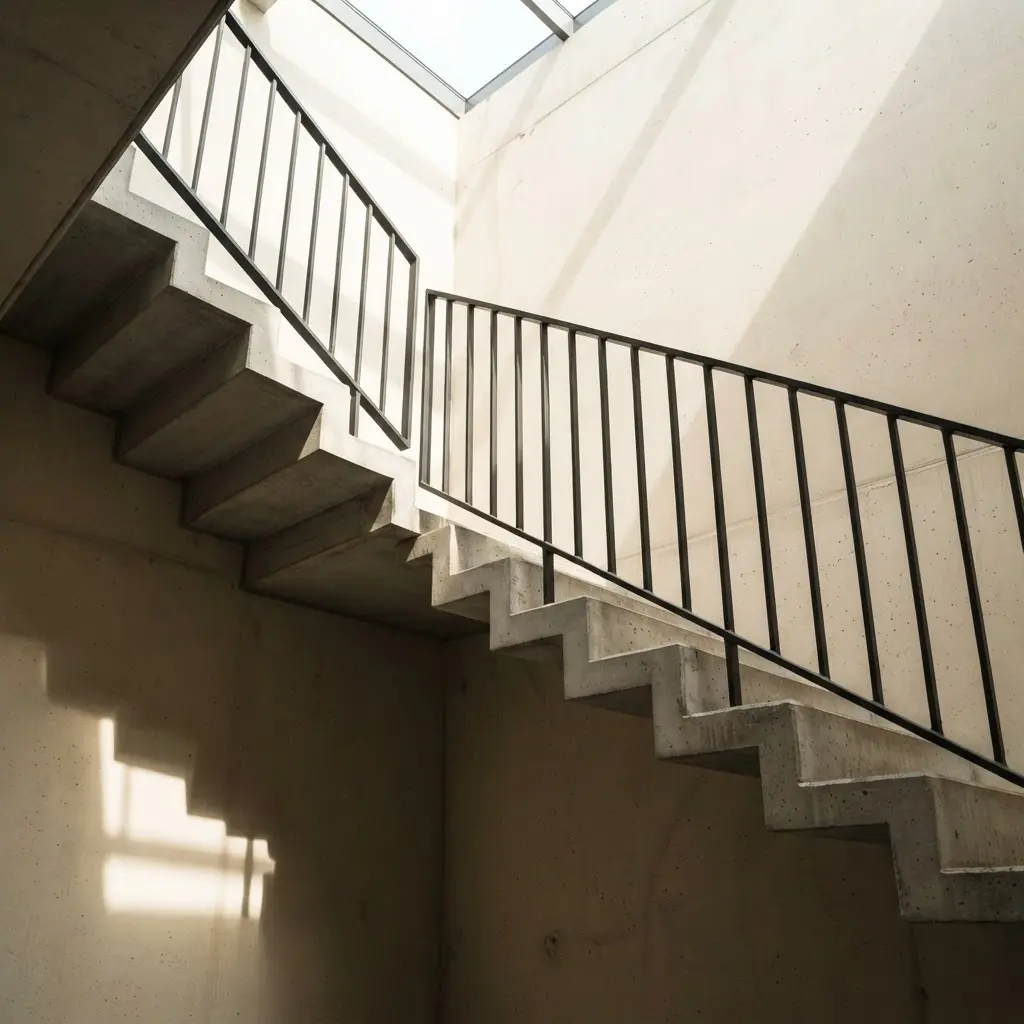
I love this setup because a plain stairwell quickly turns into a study of rhythm and depth. Look for repeated steps, recessed blocks, fins, or folded wall sections made from concrete, stone, brick, wood, or plaster, exactly as detailed in Light and Shadow Photography Ideas.
Visit as side light crosses the structure, then frame the bright projecting planes against darker recesses so each level stays easy to read. Sound complicated? It isn’t, especially with a standard lens and a steady viewpoint.
Set your camera to spot-metering mode, check the brightest surface, and lower exposure enough to preserve its texture without losing every detail in the recesses. Keep vertical lines straight by holding the camera level, then try a lower angle or a tighter crop to strengthen the staircase rhythm. The repeated geometry guides your eye through the frame, showing how Light and Shadow Photography Ideas build clear visual patterns.
While alternating tones give solid walls a clear sense of volume, I often return as the sun moves, since each visit changes the shadow length and direction. Trust me, the best frame appears when bright planes and readable dark sections sit in a clean visual pattern.
4. Backlit Glassware Refraction Shadow Study — Clear Shapes
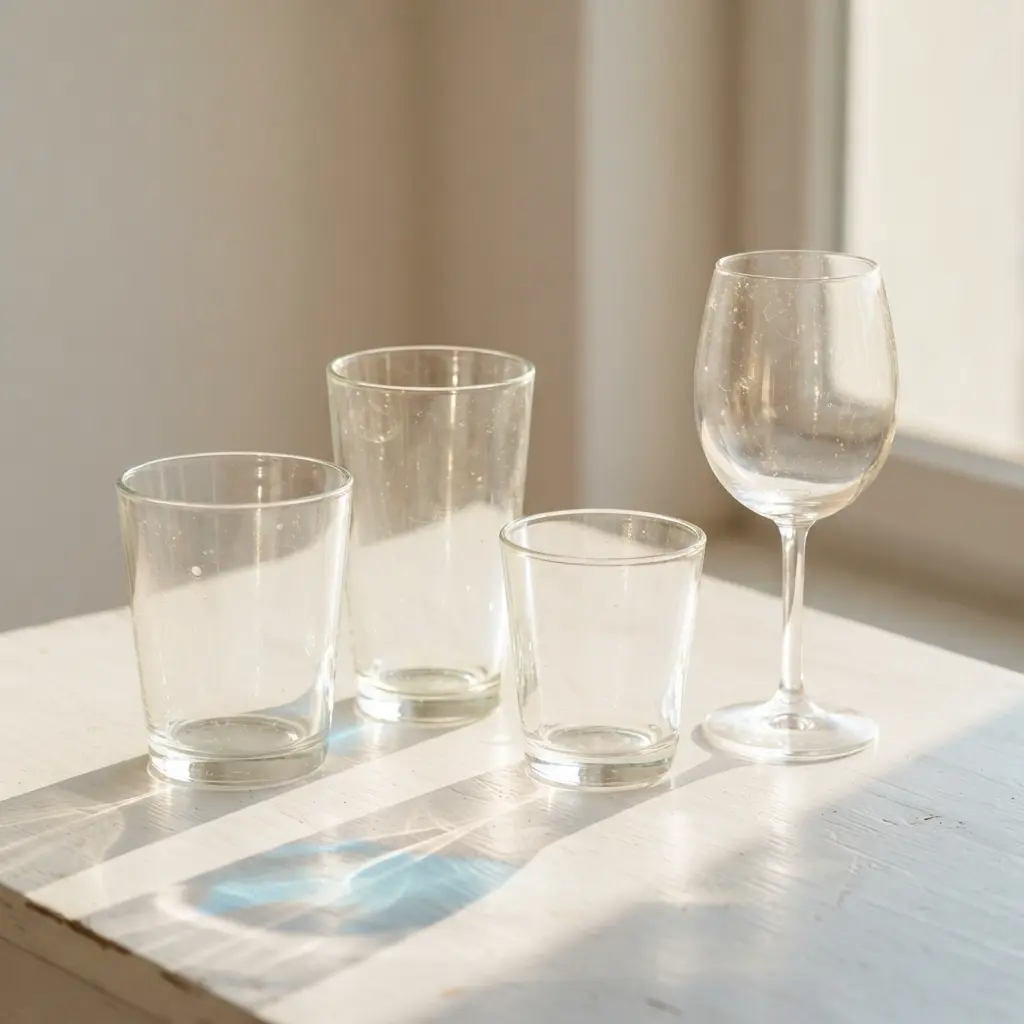
A pale surface fills with crisp glass outlines, soft gray shadows, and tiny flashes of icy blue or amber. Condensation beads catch the backlight, while overlapping circles and ellipses stretch beyond each vessel. I love how quiet and precise this scene feels, making it a favorite among Light and Shadow Photography Ideas. Start with a sparse glassware grouping of tumblers, bottles, or geometric vessels, leaving open space around the projected forms.
Place a large diffused light source behind the arrangement, then shift each vessel until the silhouettes and internal reflections read clearly. A white card supports clean rim highlights, while a dark flag keeps stray light from washing across the pale backdrop, just as trusted Light and Shadow Photography Ideas recommend.
Sound complicated? It is not. The distance between the objects and surface controls shadow softness, refraction strength, and the size of each shape. Move the glassware closer for firmer edges, or farther away for gentler forms.
This is my go-to tip: add a few water droplets before shooting, then keep the shadows extending beyond the frame’s center. The restrained palette and generous negative space give the photograph a clean, abstract finish. Trust your eye, and enjoy those luminous shapes coming together.
5. Urban Pedestrian Silhouetted Street Scene With Strong Contrast
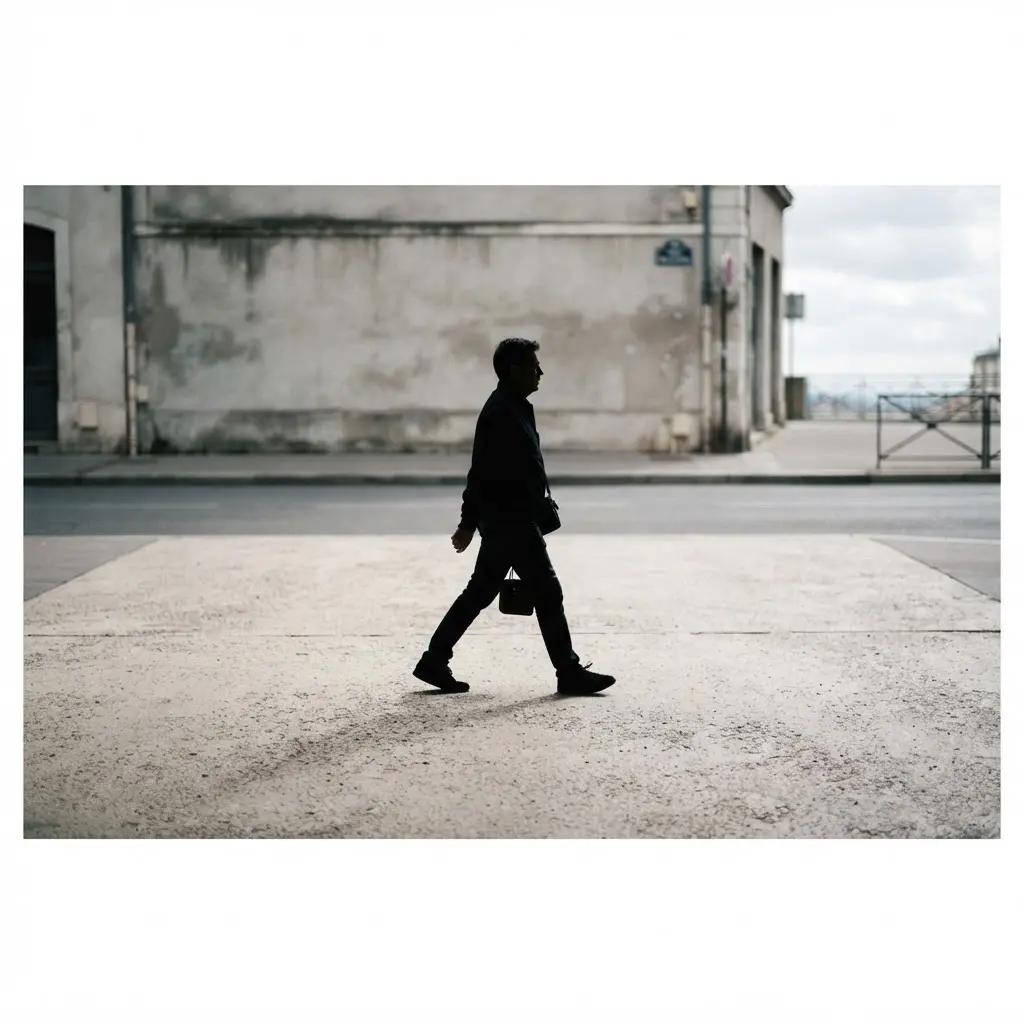
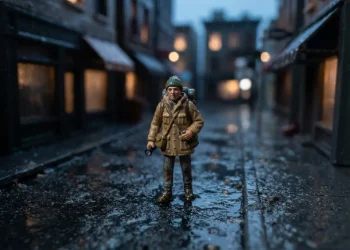
A common mistake is exposing the pedestrian as carefully as the bright street behind them. Keep the person dark by placing them between your camera and a glowing storefront, streetlamp, or neon sign, which aligns with proven Light and Shadow Photography Ideas. Use a wide-angle lens to include tall buildings, blurred traffic, reflective pavement, and the narrow lines of the street.
At dusk, watch for a clean outline rather than a lost figure hidden in shadow. Frame the walker against gold windows or signs, then let long shadows, light haze, and a touch of motion blur add depth without covering the body shape, exactly as Light and Shadow Photography Ideas suggest. A 16:9 frame gives the scene a cinematic feel, while black-and-gold tones keep the image focused and graphic.
Is your background brighter than the subject? Good, because strong backlighting makes each pedestrian instantly readable. I love this approach since an ordinary commute gains documentary energy through simple positioning. Trust me on this one: lower your exposure slightly, check the outline, and leave enough street context around the figure. Feel proud when the reflections guide your eye toward the silhouette.
6. Textured Lace Fabric Projected Shadow — Repeating Detail
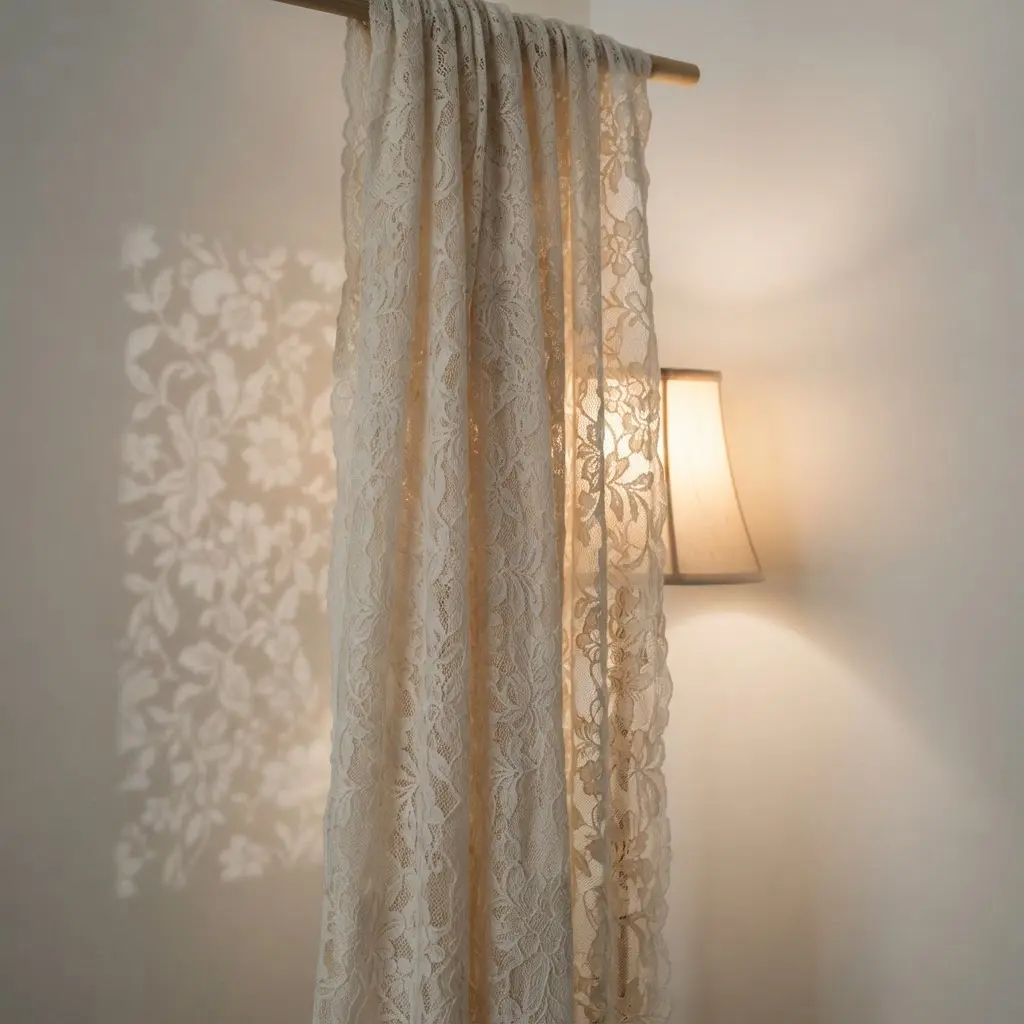
Pin a piece of textured lace fabric between a lamp and a plain wall, leaving enough space for the pattern to spread. Move the lamp closer for a sharper repeat, then pull it back until the openings create a larger, softer design, drawing inspiration from Light and Shadow Photography Ideas. Watch how each loop, flower, and tiny gap appears across the surface, giving your frame a steady rhythm without adding extra objects.
Place your camera on a tripod and use manual focus on the wall or floor receiving the shadow. I love this project because small changes in distance create fresh versions of the same detail, a core principle of Light and Shadow Photography Ideas. Sound complicated? It is not, though a loose fabric edge might blur the pattern or introduce unwanted shapes.
Keep the lace flat with clips, darken the room, and check your frame corners before pressing the shutter. Try a side angle for long shadows, then switch to a straight-on view for a neat repeating pattern.
7. Dramatic Low Key Split Face Portrait for Quiet Tension
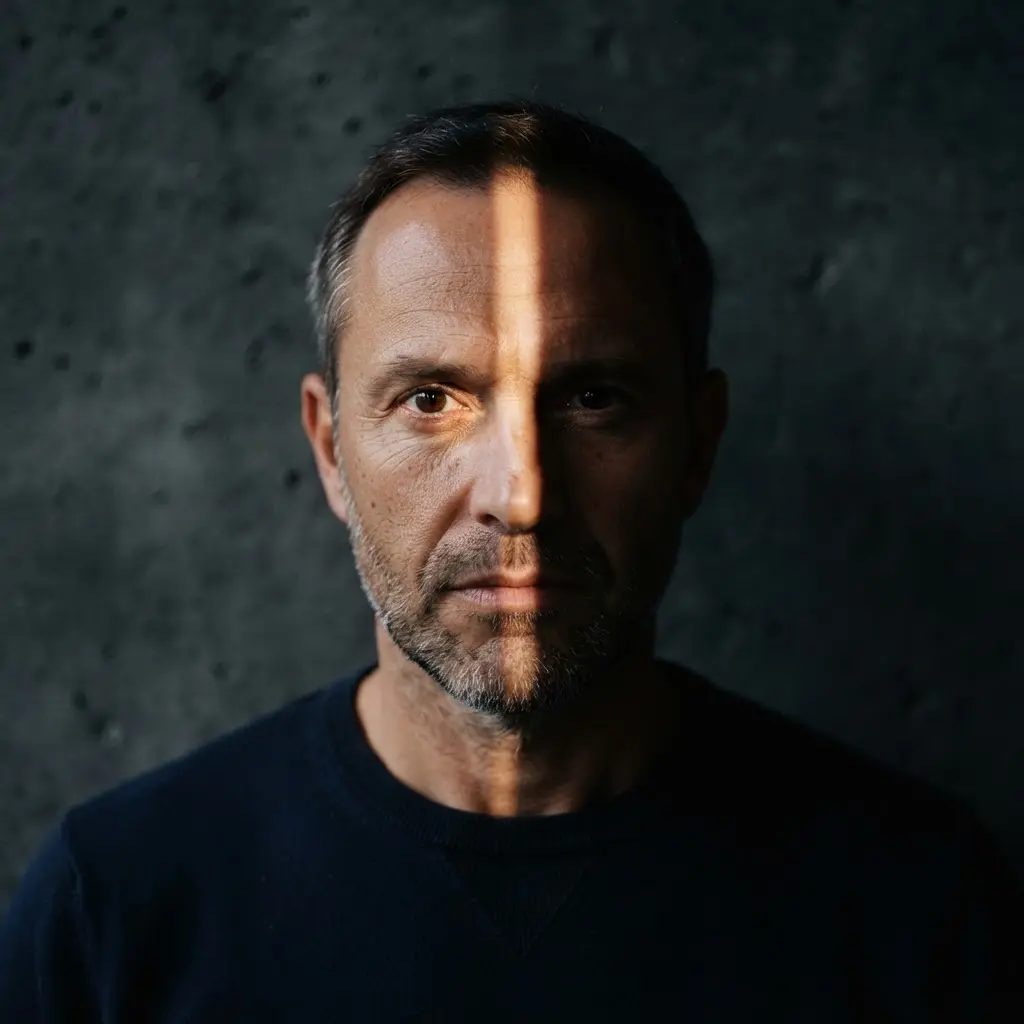
Ever wondered how a face holds attention without a dramatic expression? Exploring Light and Shadow Photography Ideas often begins with asking simple questions about exposure and mood. Start with an intimate close-up using an 85mm lens, framing the subject from the shoulders up or tighter. Keep the visible eye in sharp focus, with shallow depth of field softening the rest of the portrait.
Place a narrow, warm light source close to one side of the face. Let it softly catch the cheek, brow, and eye while the opposite side fades into near-black shadow. A dark minimalist background keeps every bit of attention on the split between light and darkness.
I love this setup because the restrained, unreadable expression suggests inner conflict without a pose or gesture, which many Light and Shadow Photography Ideas emphasize. Muted tones, subtle skin texture, and quiet chiaroscuro give the image an editorial, cinematic mood.
Keep the light gentle rather than overexposed, and avoid bright, even illumination or a colorful background. Ask your subject to relax the mouth and eyes, then check focus carefully on the visible eye. Trust me, small changes in head angle create a striking shift in tension.
8. Minimalist Wall Casting Shadow Profile — Clean Negative Space
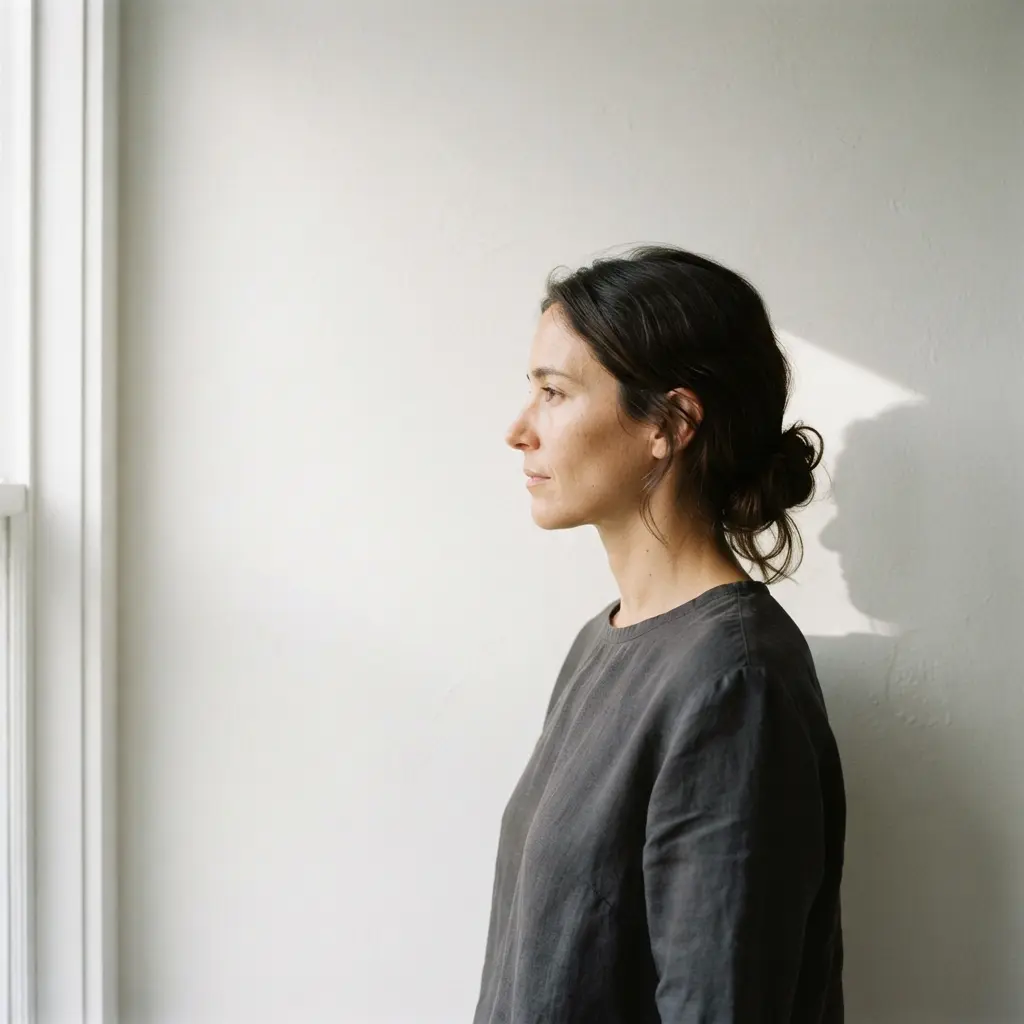
This portrait idea feels calm, polished, and surprisingly easy to stage. Start with a smooth warm-white wall, place your subject in profile, and use a hard directional light to throw a crisp, elongated shadow beside the face and shoulders. Keep the person close to the wall, then shift the light until the nose, lips, chin, and neck form clean graphic edges, a technique highlighted in Light and Shadow Photography Ideas.
Sound complicated? It isn’t. A 4:5 vertical frame gives the pale wall plenty of breathing room, while ivory, soft beige, and charcoal gray keep the scene quiet and refined. A slight turn of the head changes the shadow shape, so make small adjustments between frames.
I love how the shadow adds a second shape without furniture or props, so the image feels architectural and gallery-ready. Leave generous negative space around the silhouette, avoid text and clutter, and check focus along the profile before pressing the shutter. Turn off nearby room lights, since mixed color casts muddy the warm wall and weaken the monochrome finish.
9. Plant Leaf Macro Sunlight Pattern With Natural Contrast

I love this setup because an ordinary leaf turns into a study of light, texture, and calm. Look for a healthy leaf with clear veins, raised ridges, and a few natural marks, which perfectly matches Light and Shadow Photography Ideas. Position yourself where warm sunlight crosses the surface instead of covering it evenly.
Sound tricky? It is easier once you watch how the bright bands move. Use a 100mm macro lens for close framing and gentle background blur. Focus on one detailed section, such as a central vein or a ridged edge, while letting nearby foliage soften behind it.
Keep the glowing sections rich in color, with enough exposure control to preserve the shaded areas. I prefer manual focus here because a tiny shift in focus changes the whole feeling of the photograph. This contrast gives the leaf depth and makes small surface details stand out without losing its peaceful outdoor mood.
Check your highlights before pressing the shutter, since pale patches quickly lose texture in direct sun. A slight change in your camera angle often reveals a cleaner pattern and more balanced tones. Trust me, the finished frame feels fresh, focused, and quietly satisfying.
10. Forced Perspective Small Object Shadow — Scaled Composition
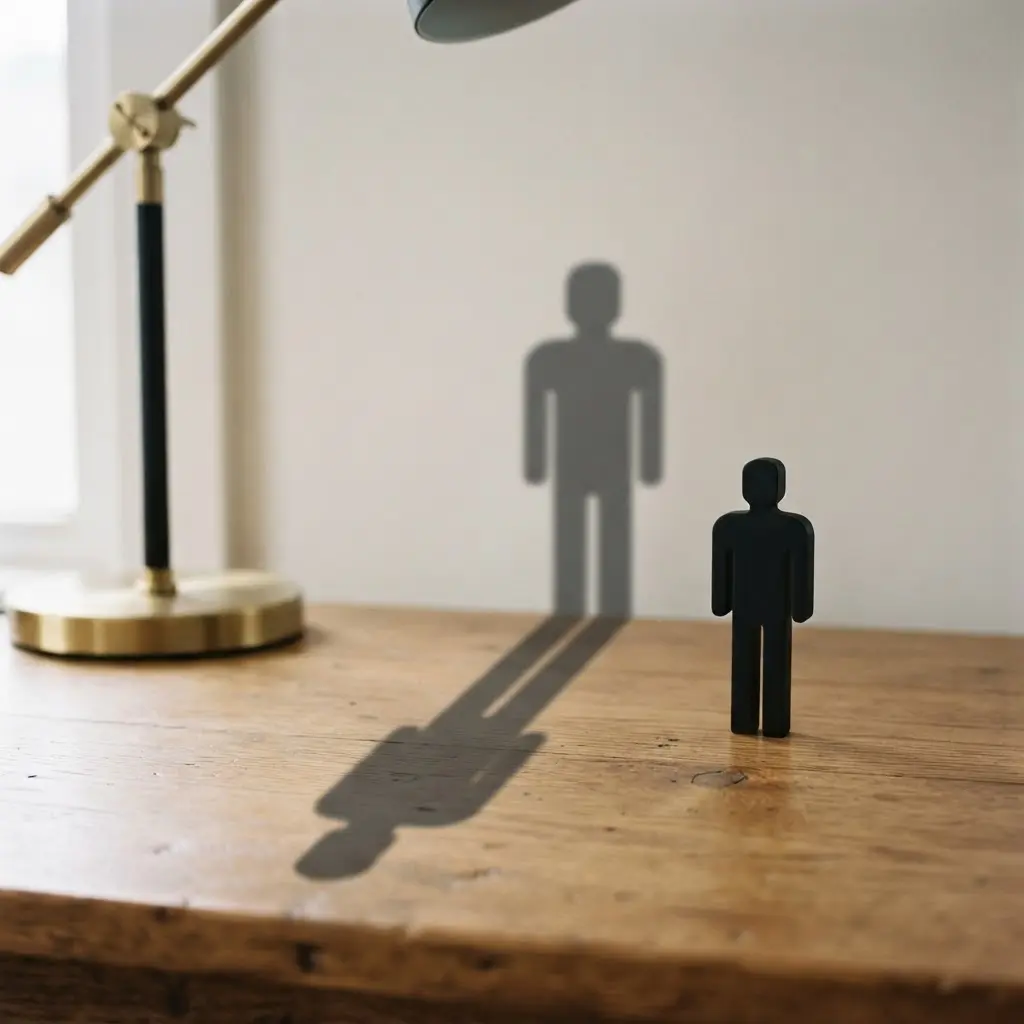
A tiny toy or household object sits close to the camera, while its shadow stretches across the floor and appears far larger than the object itself. Start with a small object near the lens, then place a plain surface behind it for the shadow to cross, following Light and Shadow Photography Ideas for playful scaling. Move the camera until the object and shadow share one clear frame.
Use one lamp from the side or slightly behind the object, keeping the light low enough to create a long shape. Adjust the object’s distance from the lamp to change the shadow size, then shift your camera position until the scale difference feels striking.
I love how this setup turns an ordinary item into a playful scene without needing extra props. Sound complicated? It’s not. Keep the background simple, watch for unwanted glare, and use manual focus so the small object stays sharp.
Take several frames with small changes to the light angle, since a few inches can alter the shadow’s direction and length. Your final image should make viewers pause and question the object’s true size.
11. Color Gel Contrast Portrait Study for Bold Tones
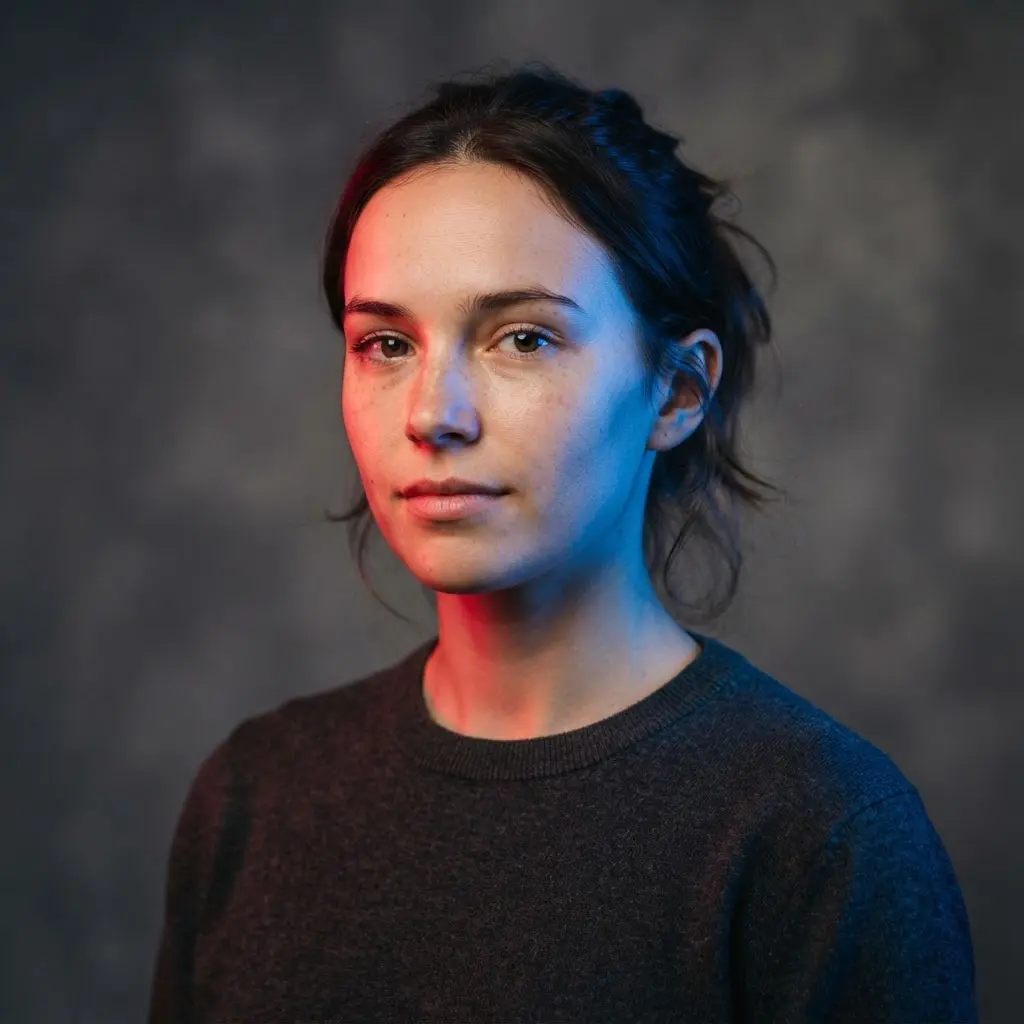
Many photographers assume colored gels should cover the whole face, but bold portraits look cleaner when each hue starts on its own side. Use a cyan and red pairing for an energetic look, or try blue and orange for a cinematic finish. Does the setup sound complicated? It is not, and I love how quickly the face gains clear shape, just as Light and Shadow Photography Ideas demonstrate.
Place one gelled light at a 45-degree angle beside the face, then position the second light on the opposite side. A dark neutral background keeps attention on the eyes, cheeks, and nose while simple clothing prevents stray colors from competing. Move the lights slightly to keep the color zones separate or let them overlap across the facial features for softer transitions.
Shoot with a low ISO setting and capture RAW files so skin detail, saturation, and white balance stay easier to manage. Test hard light beside diffused light, since each creates a different edge between color and shadow. Trust me on this one: controlled overlap gives the portrait extra depth, while a serious expression keeps the bold tones focused and striking.
12. Repeating Fence Post Long Shadows — Graphic Lines
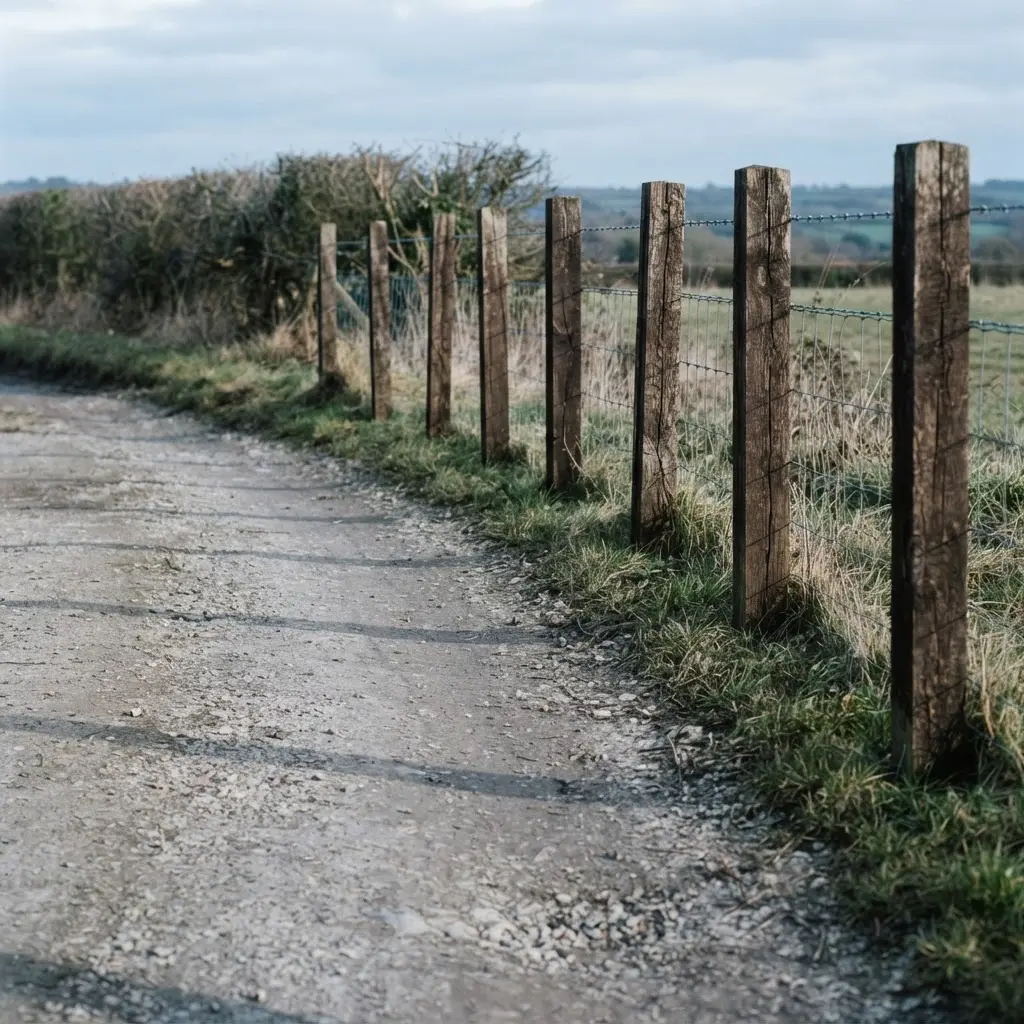
Walk along a fence during low sunlight and watch each post throw a long shape across the ground. Set your camera low, then angle the fence across the frame so the posts form a steady rhythm and their shadows run diagonally toward an edge. Use a sturdy tripod in dimmer light, and choose a wide lens for the full pattern or a standard lens for a tighter view, which matches Light and Shadow Photography Ideas for graphic composition.
Keep the ground simple, checking the frame edges for cars, plants, and bright patches. Expose for the brighter areas while keeping enough detail in each shadow, then adjust contrast and highlights during editing.
A monochrome treatment gives the repeating forms a clean graphic finish. Isn’t it satisfying when an ordinary fence starts looking like a carefully planned design? I love this setup because the posts bring order while the shadows guide your eye through the photograph.
Try an off-center viewpoint rather than lining every post up evenly, and watch how the diagonal lines add movement. Shoot at several times near sunset, since a small change in sun position alters the spacing and length of every shadow. Check your final frame for separation between the dark shapes, fence, and ground, then enjoy the crisp pattern you found.
13. Dynamic Motion Blur Shadow Capture for Movement
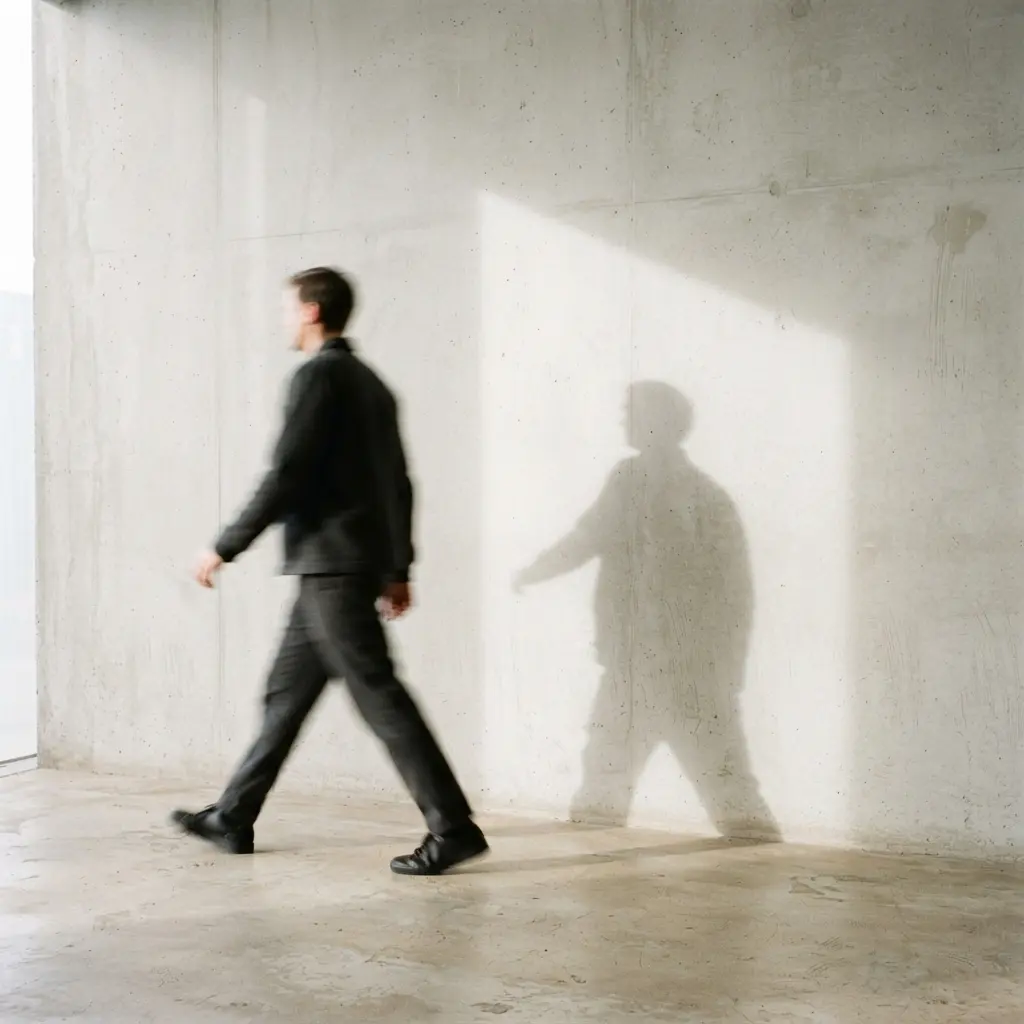
Ever wondered how a shadow could show movement instead of sitting still? Track a moving person, vehicle, or character across several frames, then layer each shadow position into one fading trail, a favorite technique among Light and Shadow Photography Ideas. A temporal buffer stores recent shadow masks, while earlier frames receive lower opacity and soft blur. The result shows speed, direction, and ongoing action through ghost-like silhouettes.
Start with a clear shadow and steady tracking, then compare each frame to follow the subject’s path. Offset older masks along the true movement direction before blending them, keeping the newest shadow darkest and sharpest, exactly as Light and Shadow Photography Ideas recommend. I love how this turns a simple silhouette into a visual record of action without losing the subject’s shape.
Pro tip: match the trail length to the movement speed. Fast motion needs a longer, softer blur, while slow steps look better with a shorter, denser trail. Fade the stored frames after the subject stops, or freeze the sequence for a bold final image.
Add restrained color grading or distortion only after the shadow trail feels natural.
14. Paper Cutout Shape Projection Shadow — Playful Geometry
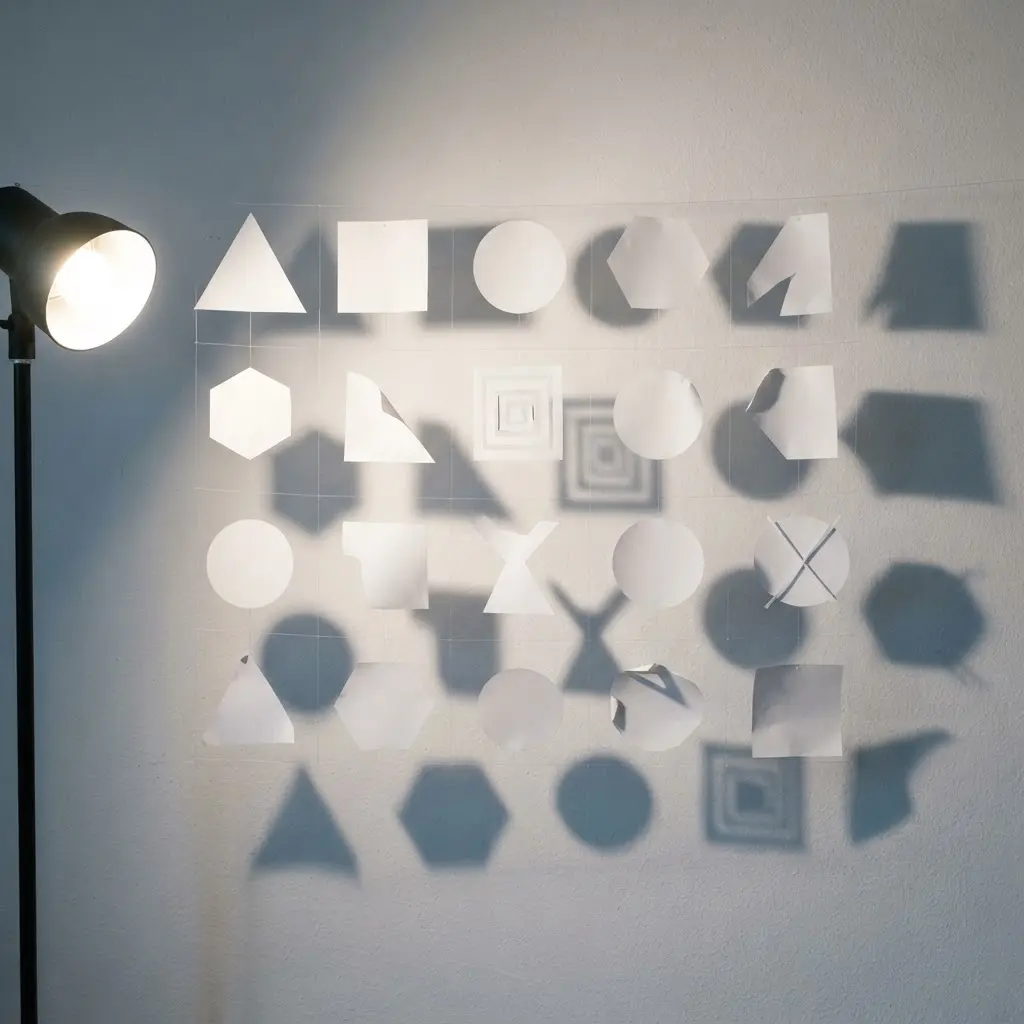
This project starts with flat paper and ends with bold shapes spread across a wall. Cut circles, triangles, arches, stars, or loose geometric forms from high contrast black and white art cardstock, then place them between a desk lamp and a pale surface. Shift each piece closer to the lamp or wall to change its size, angle, and distortion, and overlap a few shapes for one connected silhouette, following Light and Shadow Photography Ideas closely. Fold or suspend pieces to give the projection more depth.
Sound complicated? It isn’t. I love watching a tiny cutout grow into an odd city, creature, or abstract machine as the light moves. Tracing paper, transparency sheets, or color filters add soft layers beside the darker shapes, while a smartphone records the best arrangement before it changes.
The result works because distance turns basic geometry into varied scale, negative space, and surprising depth. Pro tip: photograph the original pieces beside their shadows, then adjust the lamp angle until both views feel balanced.
15. Negative Space Single Object Silhouette With Hard Light
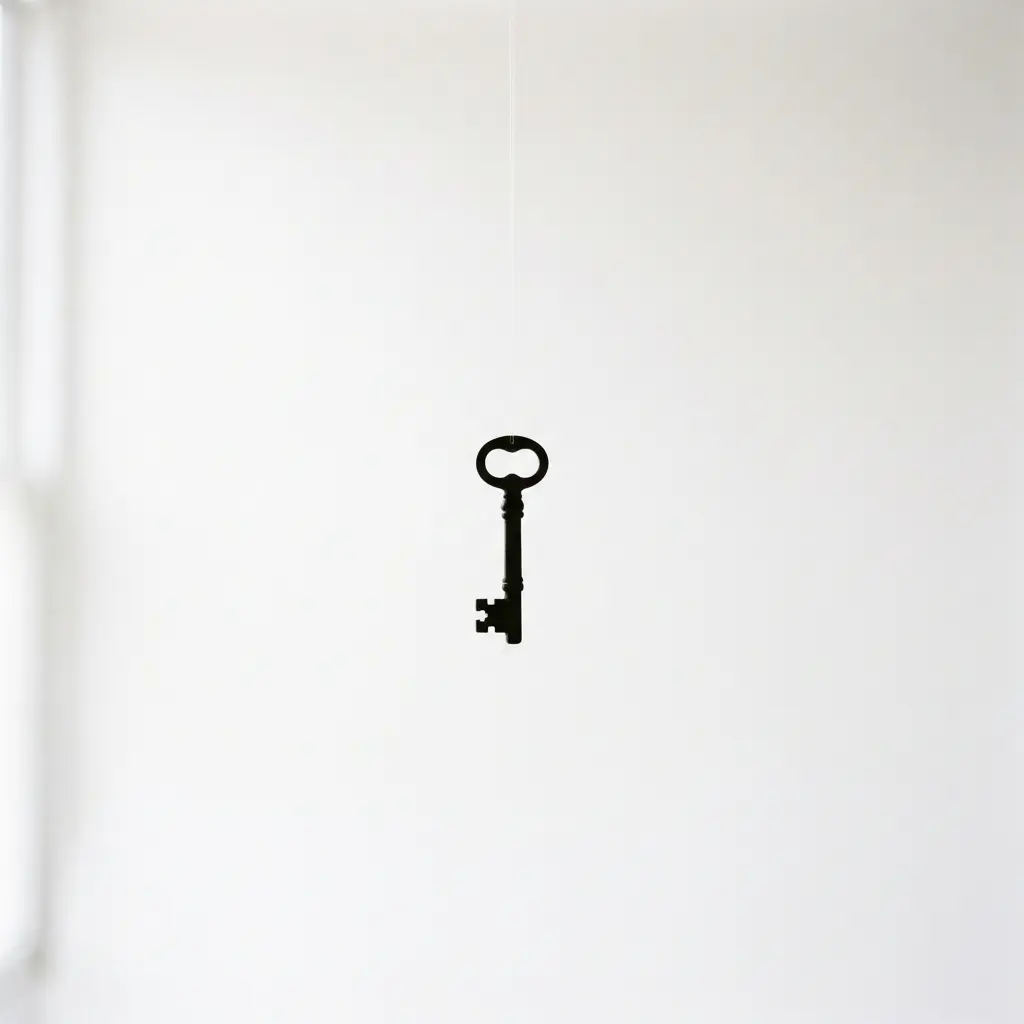
I love this setup because it makes one familiar object feel bold and precise. Ever tried reducing a photo to a single shape? Choose something easy to recognize, then place it in the center of a clean frame with plenty of empty space around it, aligning perfectly with Light and Shadow Photography Ideas.
Use one hard directional light aimed from the side or slightly behind the subject. Adjust the angle until the object becomes a solid black silhouette with crisp edges, while its cast shadow stays visible on the background. Keep the frame free from extra objects, surface texture, and stray highlights.
A monochrome treatment strengthens the contrast between the dark subject and the open background. I love how the empty space gives your eye room to focus, while the sharp outline creates a neat editorial studio-photography feel. Watch your exposure closely, since too much detail inside the subject weakens the silhouette.
Keep the object modest in size within the frame, and use a clean background for an uncluttered result. You will feel proud when the outline and shadow look perfectly controlled.
Print Presentation For Deep Blacks And Highlights
Print a small test strip on fiber-based paper before committing to a final sheet, because its dense surface holds rich blacks while preserving fine highlight texture. Compare a matte and semigloss finish under the same viewing light, since surface reflection changes perceived contrast. Keep the brightest tones below paper white when window detail or pale skin carries meaning.
A black-and-white conversion often reveals blocked midtones more clearly than a color preview. Use a neutral white border to separate the image from a dark mount, then choose a mount board with enough width to protect edge detail. Frame glazing with low-reflection glass helps retain shadow density under room lighting. Avoid glossy placement beside direct lamps, where reflections hide delicate tonal transitions.
Conclusion
So how was your creative session? A plain wall, a glass, or a passing figure probably gave you more visual variety than expected. Look at what you have made. Noticing how light changes expression, shape, and empty space is real skill right there.
Light and Shadow Photography Ideas matter because they help you turn ordinary subjects into personal photographs with a clear mood. For your next session, choose one object, one light source, and one position before you begin. Make five frames while changing only the distance or angle. This small exercise helps you see which shift creates the strongest shadow. I love returning to simple setups because each session brings a different result, even with familiar materials. Pick your favorite idea, make one frame today, and keep a short note about what caught your eye.
FAQs
Q: What light source works best for beginners?
A: A window, desk lamp, or flashlight works well for a first session. Start with one source so its direction stays easy to read.
Q: How do I get sharper shadows indoors?
A: Move a small hard light closer to the subject and remove diffusing materials. Place the subject near a plain wall for cleaner edges.
Q: What camera settings should I use for shadow photos?
A: Begin with a low ISO and adjust shutter speed for the available light. Check the brightest area often so highlights stay controlled.
Q: How do I photograph silhouettes without losing the subject shape?
A: Place the subject in front of a brighter background and keep the outline uncluttered. Ask the person to turn sideways for a clear profile.
Q: How do I edit light and shadow photos?
A: Raise contrast slowly and lower distracting highlights before adding a small amount of clarity. Keep skin tones and important bright areas natural.