Establishing Developmentally Appropriate Creative Workspace Environments
The quickest route to a frustrated young artist is a piece of heavy-weight drawing paper that ripples and tears under wet paint. Trust me, that 98lb paper is your best friend in the art room because it handles the enthusiastic, watery brushwork kids love without falling apart. Keep a stack of paper towels and a small cup for dirty water close by in the art room to encourage clean-up as they go. This simple preparation makes the whole experience less stressful for you and more engaging for them, perfectly supporting structured art lessons for kids while letting their tactile exploration run wild without the mess feeling overwhelming.
Selecting Non Toxic Media For Optimal Developmental Success
Non-toxic liquid tempera paint gives immediate, vibrant feedback that makes color theory an exciting discovery, not a lecture. The good news is this paint is designed to be washable, but its bold pigment still allows for satisfying blending and high-contrast work on those darker papers. Pair it with chunky oil pastels for drawing geometric shapes and making bold marks that don’t require fine motor precision, which perfectly fits into hands-on art lessons for kids. Always check for the AP or ACMI safety seal to ensure everything is certified non-toxic, because you want their focus entirely on the joy of creation.
1. Create a Tempera Painted Handprint Animal Canvas
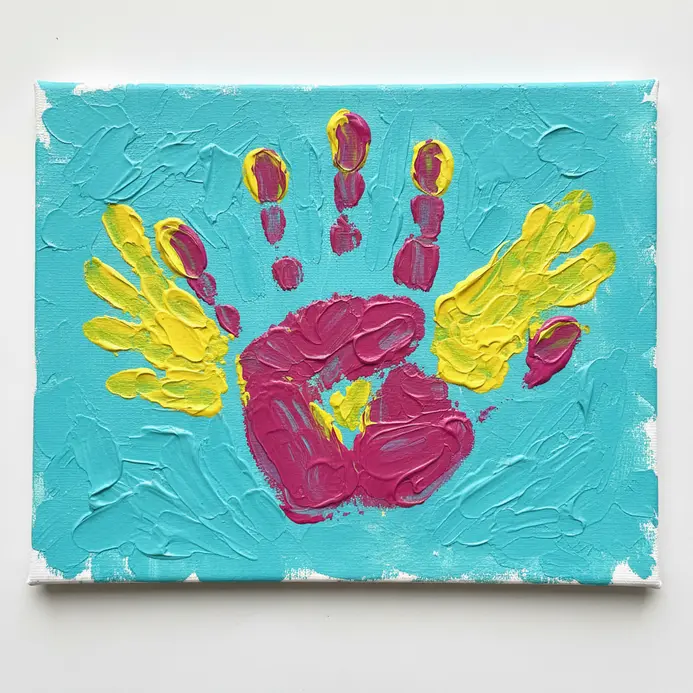
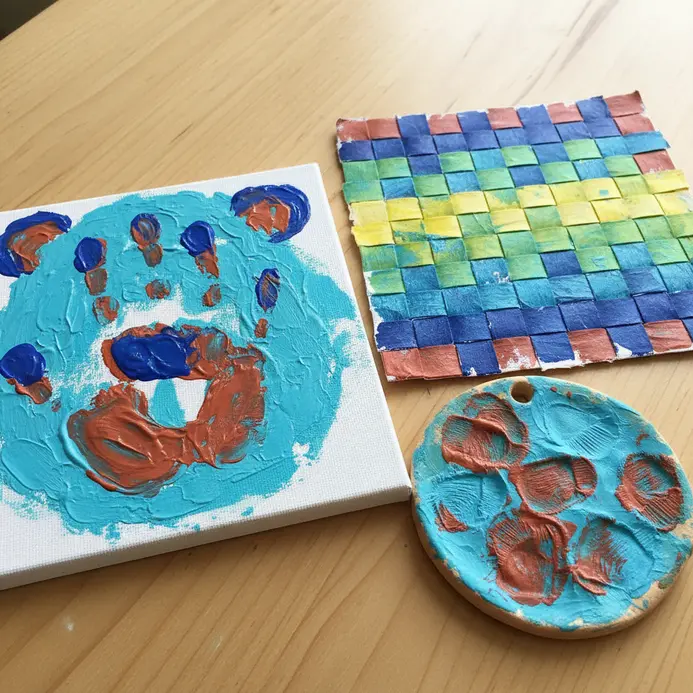
Ever wondered how to turn a simple handprint into a colorful animal during your weekend art class for kids? This project is a classic for a reason. You start by evenly applying washable tempera paint to your child’s hand and pressing it firmly onto a canvas. Once the print is dry, you add details like eyes and a mouth to transform it into a creature. I love this one because it is a tactile and personal keepsake. The vibrant colors pop, and the hand shape makes every animal unique. Trust me, you will feel proud when you see the final piece hanging on the wall. For more simple and fun ideas, try some easy canvas painting for kids. It is a great way to build confidence with paint and create lasting memories.
2. Paint a Watercolor Resist Autumn Leaf Motif
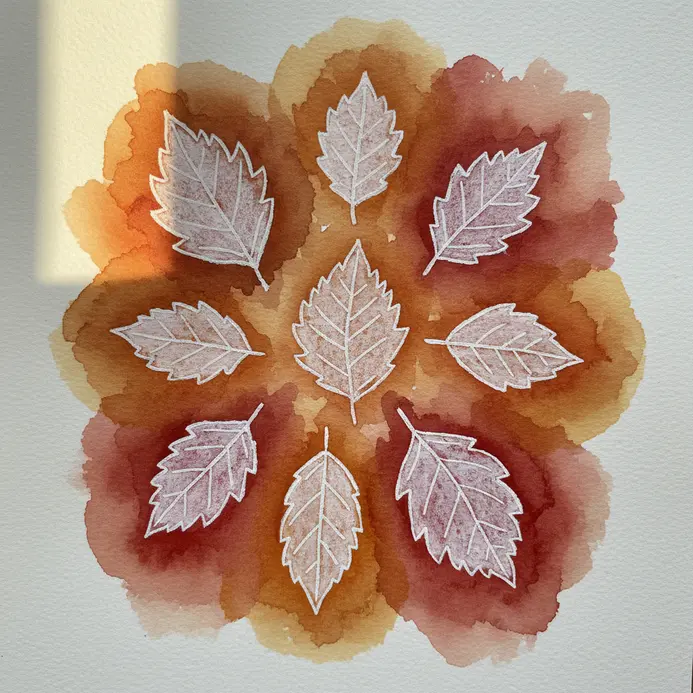
This one always feels like a bit of magic to me, making it a favorite among art lessons for kids. You start by drawing your leaf veins on watercolor paper with a Using a white wax crayon can enhance your art class experience.. It feels like you are drawing with an invisible pen. Then, you wash over it with all those beautiful autumnal watercolors. The paint flows around your crayon lines, leaving the delicate vein pattern perfectly crisp and white. It works because the wax crayon creates a simple barrier that the watery paint cannot stick to, making it a fun art project. You get those intricate details without having to paint carefully around them, which is perfect for keeping a young artist’s focus on the fun part. My favorite tip? Press down firmly with that crayon to make sure your resist is strong enough for the art project.
3. Build a Recycled Cardboard Robot Assemblage Sculpture
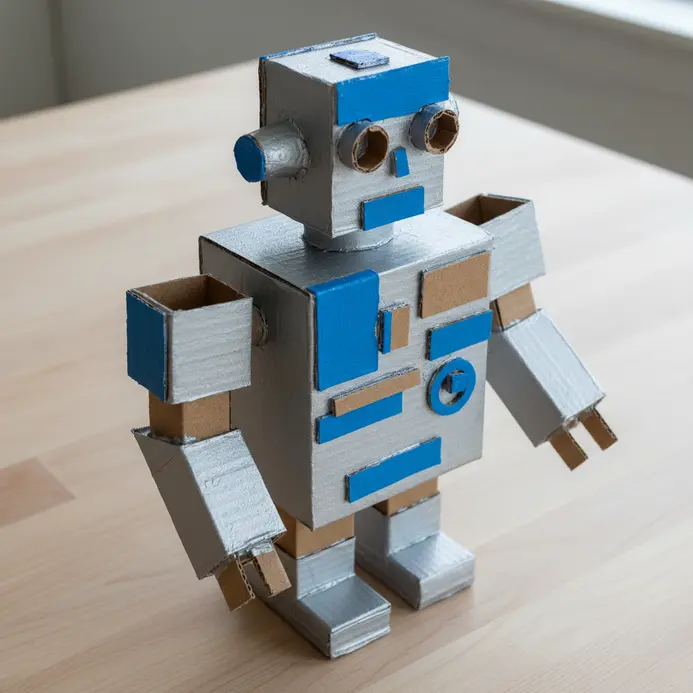 found objects.” width=”800″ height=”600″>
Ever look at a pile of old boxes and see a quirky robot friend? This project transforms ordinary recycling into a centerpiece for art lessons for kids. You start by sketching your robot’s persona. Then, you cut and shape your cardboard pieces to bring that vision to life. The real magic happens in the assemblage phase, where you join all the parts to create art. A hot glue gun is your best friend here for strong, quick bonds. Trust me, taking time to plan the structure makes your final sculpture much more stable and fun to play with. Add personality with bottle cap eyes, foil armor, or wire antennae. This is a fantastic way to promote sustainable practices and results in a unique decorative object. For another project that transforms simple materials, try these fun clothespin crafts for kids. Feel proud of your new recycled robot pal!
4. Make a Crayon Rubbing Texture Nature Collage
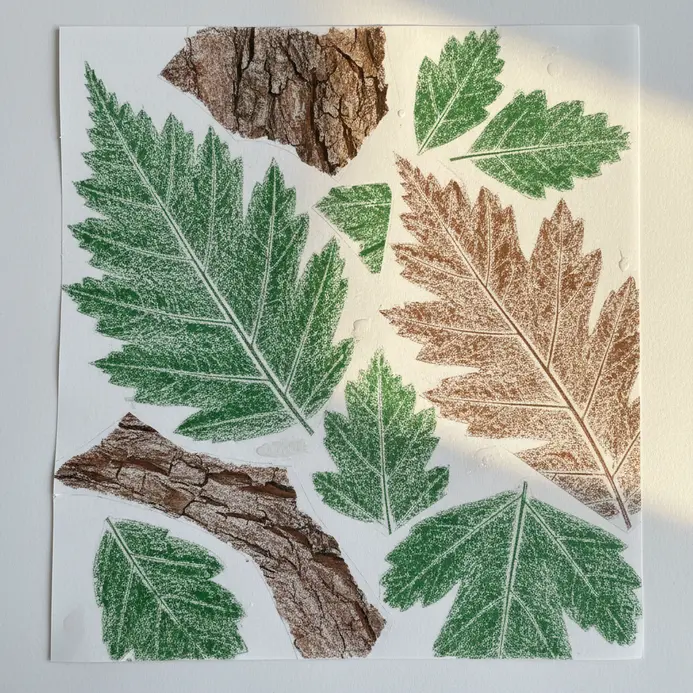
This project looks like a complex art technique, but it is wonderfully simple and tactile. You will go on a little nature walk first to collect interesting leaves, bark, and seed pods. Back at your table, you will place a leaf under a piece of paper and gently rub the side of a peeled crayon over the top to magically reveal its detailed texture. Try using different colors and varying your pressure to capture each object’s unique pattern. I love how this activity turns a simple walk into an artistic treasure hunt that parents use in outdoor art classes for kids. The final step is cutting out your best rubbings and gluing them onto a background to create your own textured collage. It is a fantastic way to connect with the outdoors and create something beautiful, much like the process to make a suncatcher craft.
5. Form an Air Dry Clay Textured Keepsake Ornament
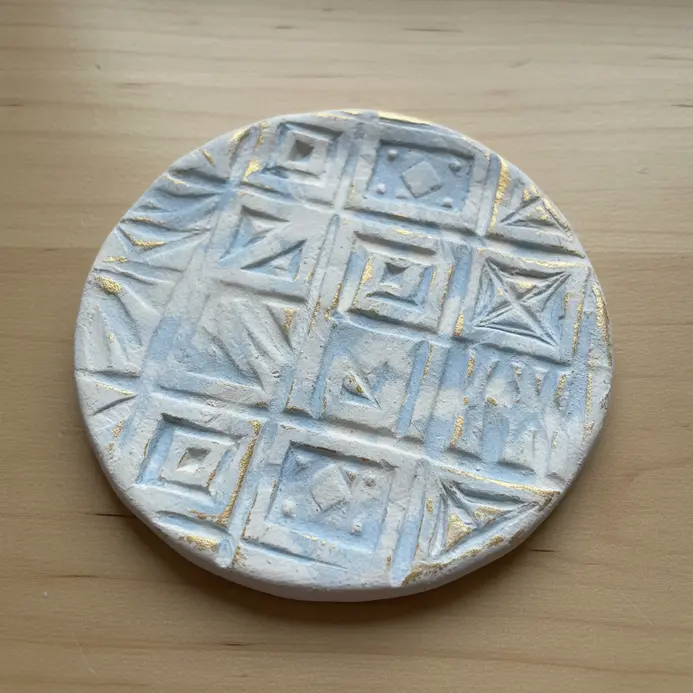
Does the idea of making a keepsake sound complicated? It is really not, and it serves as a wonderful foundation for tactile art lessons for kids. Roll out your air dry clay to about a quarter inch thick. Press a leaf, some lace, or even a button into the clay to leave a beautiful impression. Cut out your shape with a cookie cutter and remember to poke a small hole for string before it dries. I love this one because the textures from ordinary items look amazing. Let your ornament air dry for a full day or two. This slow drying prevents cracking and gives you a solid, personal treasure. Try it and feel proud when you hang your finished piece.
6. Weave a Paper Strips Rainbow Mat
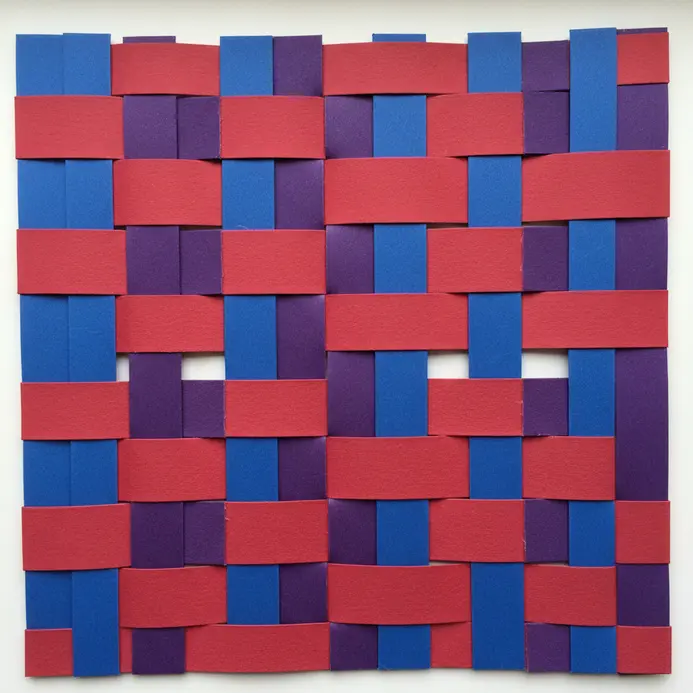
This project looks intricate, but trust me, it’s a wonderfully tactile introduction to weaving for structured art lessons for older kids. You’ll start by preparing a simple paper loom. Draw margins on a sturdy piece of art supplies. cardstock, then cut vertical slits between them, making sure not to cut all the way through. Next, you weave strips of rainbow-colored paper through these slits in an over-and-under pattern, alternating the start for each new row. Isn’t it satisfying to see the tight, colorful pattern emerge? This activity is fantastic for developing those essential fine motor skills and results in a beautiful, textured mat your child will be proud of. You can find more wonderful ideas for easy crafts for kids at home to keep the creative fun going.
7. Craft a Salt Dough Star Shaped Pendant
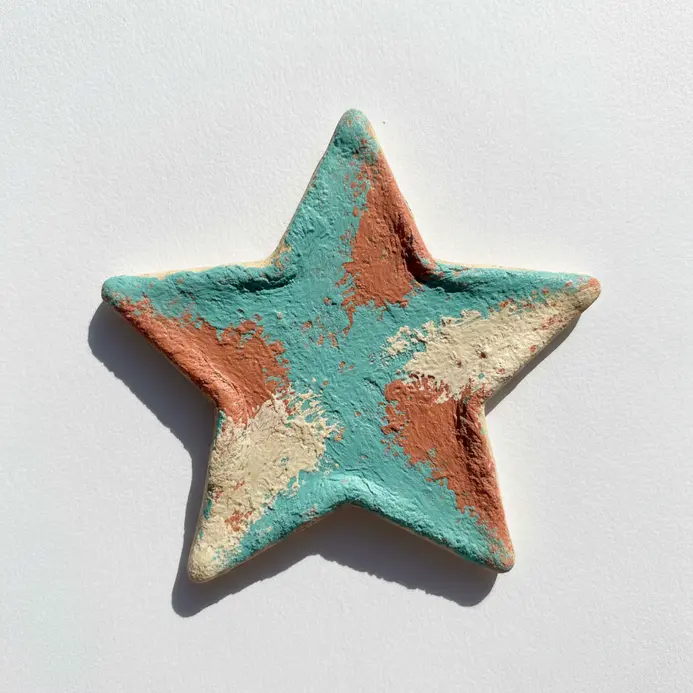
Ever thought making jewelry was too advanced for young artists? This project proves it is not and stands out in sensory art lessons for older kids. You start by mixing a simple dough from all‑purpose flour, fine salt, and warm water. Roll it out, cut your star shapes, and remember to poke a hole for the cord before it dries. Once your pendants are hardened, the real fun begins with decorating. I love this part because it lets everyone’s personality shine through. Use bright acrylic paints and small brushes to add color and patterns. After the paint dries, seal your work with a clear acrylic varnish to protect it. This is such a satisfying activity for fine motor skills. Your child ends up with a personal treasure they can wear or give as a gift. Feel proud of that handmade sparkle.
8. Assemble a Felt Scrap Mosaic Tapestry Piece
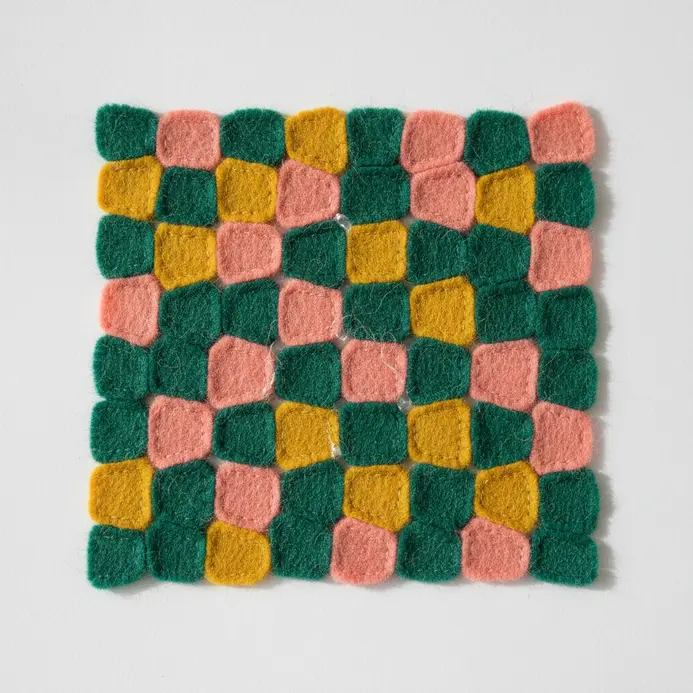
Does a mosaic sound complicated? It’s really just a beautiful puzzle of color and texture, perfect for visual learning in art lessons for kids. You start by sorting your felt scraps and picking a theme, like a rainbow or a favorite animal. Then, you arrange and glue the pieces onto a larger felt backing to build your picture. I love this one because it turns leftovers into art. The key is to use a thin layer of fabric glue to avoid stiff, sticky patches. Let the shapes be a bit irregular for that charming, handmade look. You will feel so proud hanging up your unique tapestry. For another project that uses simple materials in a fun way, check out these creative popsicle stick crafts.
9. Frame a Found Object Pressed Flower Display
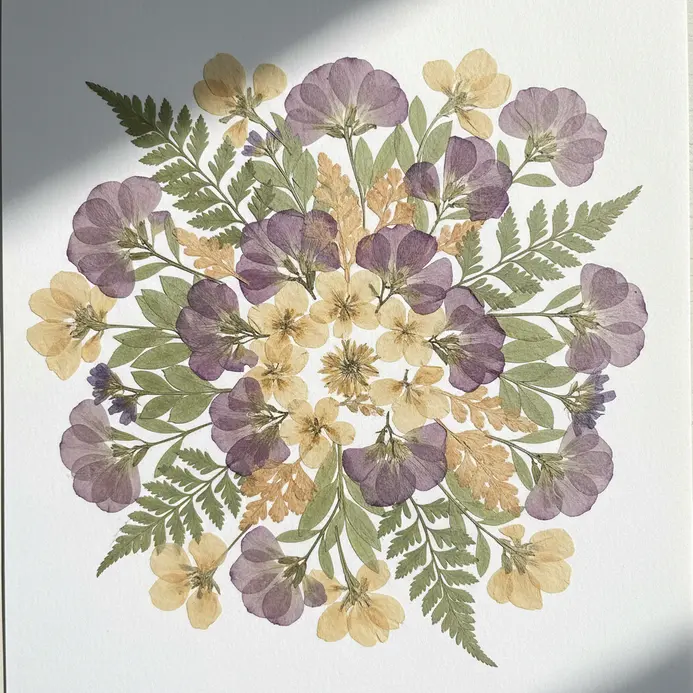
Ever find a tiny treasure like a pretty button or a special key and wish you could keep it on display? This nature-focused project elevates your nature-themed art lessons for kids. You will start by picking your favorite found object and pressing some flowers until they are flat and dry. Then, you arrange everything on a piece of cardstock or directly onto glass, letting the object be the star of the show. I love how this turns a simple collection into a beautiful piece of art you can hang on the wall. The trick is to not fill every single space leave a little room for the eye to rest. Once you have your perfect layout, a tiny dot of glue holds each piece in place. Feel the pride of creating a unique keepsake that tells a story. For another way to bring floral beauty into your projects, you can also decorate flower pots creatively.
10. Paint a Marbled Paper Swirled Pattern
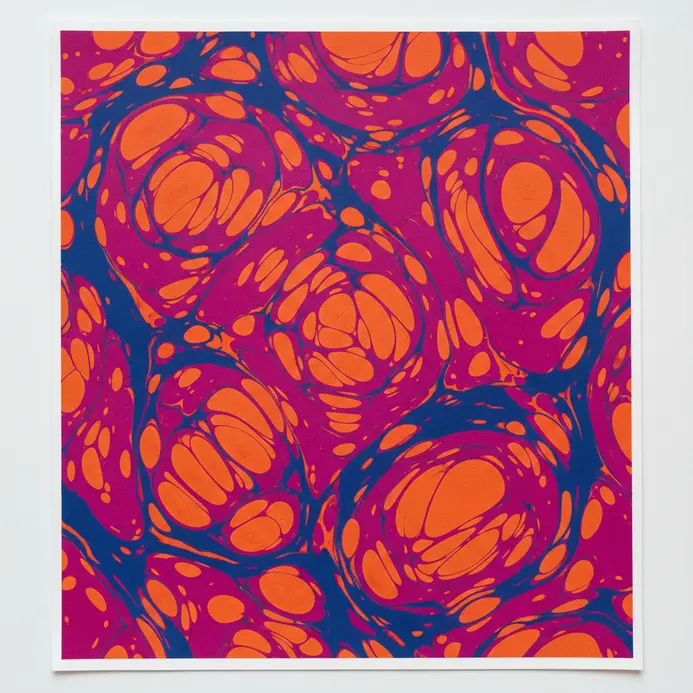
Ever wondered how those gorgeous, swirling patterns are made on paper? It is a process called marbling, and it brings a splash of fluid creativity to art lessons for kids. You will start by preparing a shallow tray with a thick liquid called marbling size. Then you drop special floating paints onto the surface and swirl them with a stylus or comb to create your design. The key is using alum-treated paper to pick up the paint. This ensures the vibrant colors stick permanently. I love watching the paint dance on the surface before making the transfer. It is a fantastic way to explore fluid dynamics while making something beautiful. Your one pro tip? Always skim the size surface clean between prints for the crispest patterns. Trust me, seeing your unique swirled design appear in an art video is incredibly satisfying.
Preserving And Curating Childrens Artistic Portfolio Collections
Let each piece dry completely on a flat rack before you even think about stacking it, an essential practice when wrapping up art lessons for kids. I use a simple, large portfolio case or a clean mailing tube for storing larger works on paper to prevent creases and dust. For a more formal display, a matte acrylic spray varnish applied in a well-ventilated area will protect the surface from smudging and fading without creating a glossy glare. Label the back with their name and date in pencil, and take a digital photo as a backup you will treasure. This curation shows them their work has value and creates a beautiful timeline of their developmental journey through new art fundamentals.
Conclusion
The best part of these projects is watching a child’s face light up when they hold their finished artwork. That moment of pride is what makes the planning and the clean-up worthwhile. For your next session, consider letting the child pick their favorite project to make again, perhaps with a new color palette or a different found object. These art lessons for kids are about more than the final piece; they are about building a lasting love for making things with their own hands. Keep encouraging that creative spark.
FAQs
Q: What are the best online art lessons for kids and how do they compare to an art teacher in person?
A: Online art lessons for kids can be the best option for families who need flexibility: many offer step-by-step video art lessons, printable project ideas, and guided feedback. While an art teacher in person provides hands-on correction and immediate encouragement for little artists and advanced artists alike, quality online lessons can still teach techniques like shading, 1 point perspective, and color mixing using chalk pastels or colored pencils. For homeschool families or kids and adults alike learning together, combine online videos for kids with occasional in-person workshops for a balanced art experience.
Q: How can I find free art lessons that are still exciting and kid-friendly?
A: Many community centers, museums, and education sites provide free art lessons or printable step-by-step guides specifically for elementary aged children and 5th graders. Look for fun art lessons that use common supplies like white paper, construction paper, Crayola crayons, black paint, and a sharpener for colored pencils. Free video art lessons and printable project ideas can give kiddos exciting art lessons such as winter art scenes, Monet-inspired landscapes, or easy art exercises to explore different textures and wavy lines.
Q: What supplies should young kids and 8 year old students have for beginner elementary art lessons?
A: Keep supplies simple: white paper, construction paper, a basic set of colored pencils and crayons, chalk pastels, a black paint, a sharpie for bold outlines, a sharpener, and a white crayon for resist techniques. These supplies support fun lesson plans like drawing favorite art scenes, experimenting with shading, and learning how to create depth using 1 point perspective. Kid-friendly materials help little artists feel confident while exploring famous artists like Monet and Matisse through student artwork studies.
Q: How do I structure homeschool art lessons so my kids actually want to draw and create?
A: Structure homeschool art by mixing short video art lessons, printable worksheets, and hands-on projects. Start with a warm-up doodle, introduce a new art lesson with a famous artists slide (Van Gogh or Matisse), then provide a step-by-step demonstration so kids see how to draw everything from simple shapes to landscapes. Offer choices—fun art lessons, winter art, or a favorite art challenge—to keep kiddos engaged. Rotate between easy art activities for young kids and more advanced projects for older elementary or 5th graders.
Q: What are some easy art project ideas for classroom K-5 that show improvement in student artwork?
A: Try progressive projects where each grade adds complexity: K-1 focus on bold shapes and wavy lines using crayons and construction paper; 2-3 practice shading and layering with colored pencils and chalk pastels; 4-5 work on perspective basics like 1 point perspective and mixed-media pieces using black paint accents and white crayon resist. Displaying student artwork from each step shows growth, and offering printable templates and videos for kids helps reinforce techniques across grade level abilities.