


Essential Drawing Supplies for Character Design
When you learn how to draw a mermaid tail, you need only a few simple items. Grab a pencil, an eraser, and some paper. A standard HB pencil is perfect for light lines. A ruler assists with straight guides. Later, you might want a black pen for final lines and colored pencils for fun. Do not worry about fancy gear. You have everything you need to start.
Foundation Concepts: Simplifying Shapes Before Detailing
Before figuring out how to draw a mermaid tail, we will break this down. We will build the tail from simple lines and shapes first. Start by sketching lightly. Those initial marks are merely guides, so they do not need to match perfectly. We will refine them step by step until your design takes shape. This method makes even complex curves feel easy.
1. The Center Line: Your Guide for Perfect Curves

Image Source
This first step for how to draw a mermaid tail creates the backbone for the entire piece. Everything else you draw will follow this single curve. Pick up your hard pencil when practicing how to draw a mermaid tail and press gently. Start your line where the hips would be. Draw one long, smooth curve down the page. Let your arm move from your elbow to make the line flow. Do not worry if it is uneven. You are only making a light guide.
Pro tip: Studying how to draw a mermaid tail gives you a solid first shape, but reading up on easy drawing ideas for beginners helps you get comfortable with basic forms first.
2. Outline the Tapered Shape of the Tail
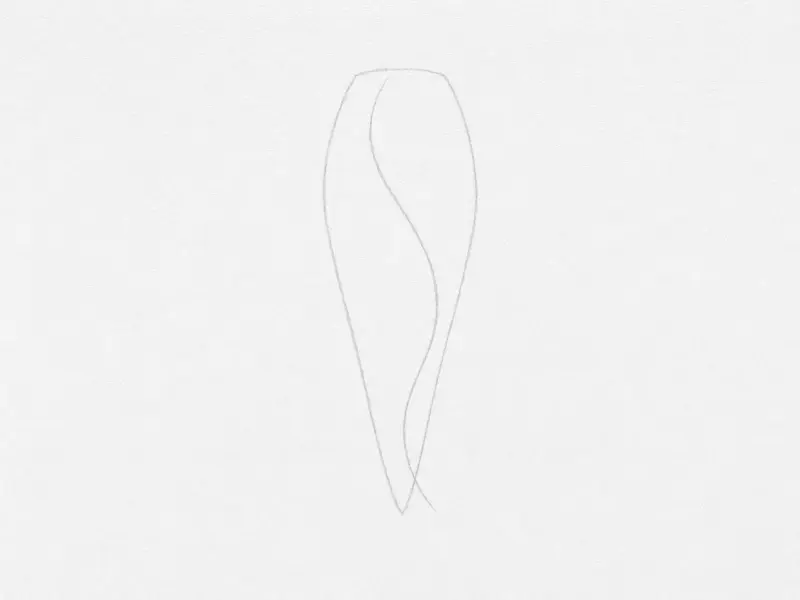
Image Source
As you learn how to draw a mermaid tail, you already have the upper section mapped. Now let us sketch the long, tapered shape that creates a swim-ready silhouette. Pick up your pencil while figuring out how to draw a mermaid tail and press lightly. Start at the bottom of the section you mapped earlier. Draw a long, smooth line that curves outward slightly, then back inward. Stop when the line reaches double your starting length. This forms one side. Return to the top and draft a matching line on the opposite side. Allow both edges to meet at a gentle point below. You are doing well! This technique establishes the basic fish-like structure.
Pro tip: If you are new to drafting smooth arcs, complete a few practice sheets beforehand. This approach strengthens your pencil control.
3. Draw the Fan-Like Structure of the Fin
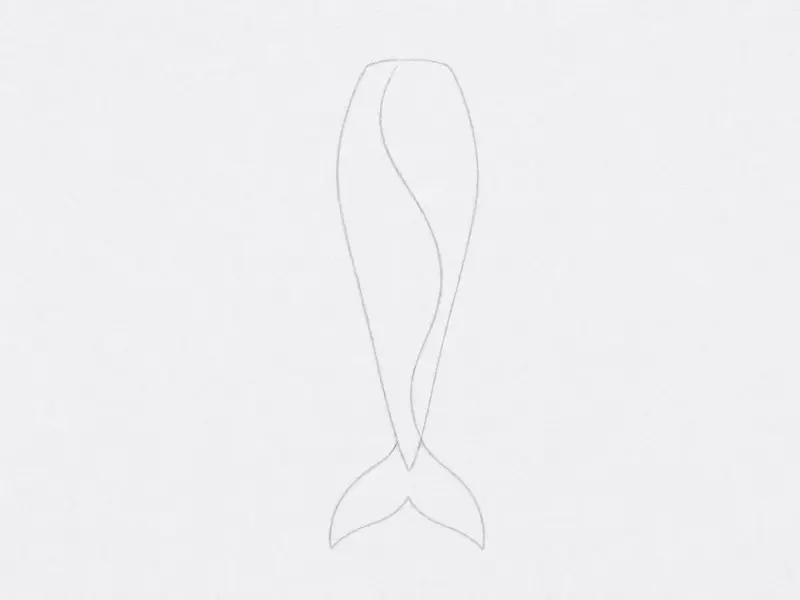
Image Source
Now that you grasp how to draw a mermaid tail, this stage adds the beautiful wide fan below. This element gives the illusion she swims effortlessly. Find the lowest point when learning how to draw a mermaid tail. From that tip, sketch a broad, soft U-shape reaching upward and outward to the left. Mirror the exact same U-shape on the right side. You have established the outer boundary. Inside that boundary, draft four or five sweeping lines from the base upward to the outer rim. These represent the main fin ribs. Join the upper tips with a gentle, wavy stroke to complete the top edge.
Pro tip: Checking how to draw a mermaid tail symmetry reveals if your fan tilts. Flip your paper upside down to spot imbalances instantly.
4. Erase the Guide and Refine Your Lines
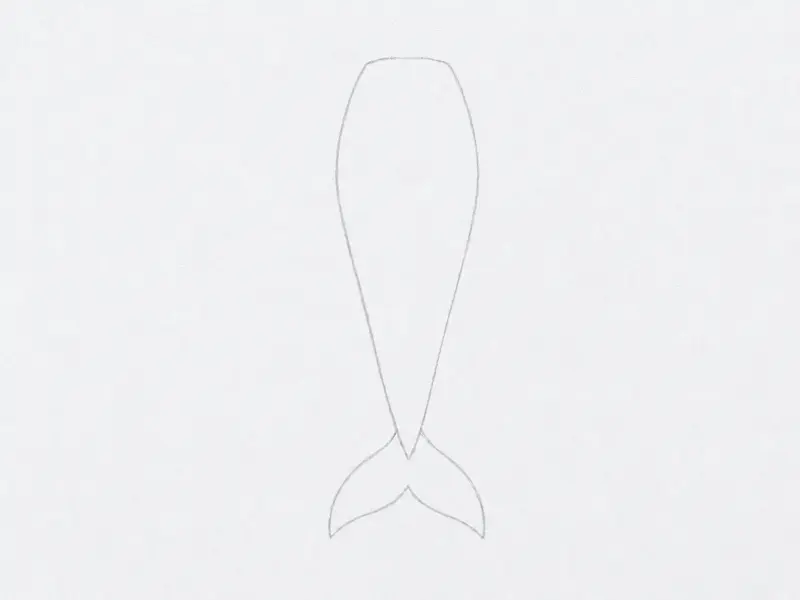
Image Source
Whenever you practice how to draw a mermaid tail, clean up the basic framework next. This phase transforms your rough sketch into a polished silhouette. Pick up your eraser while learning how to draw a mermaid tail. Gently remove all construction marks you placed earlier. Retain only the main contours. Next, take your graphite and apply slightly firmer pressure. Retrace the outer edges with smooth, confident strokes. Ensure every arc stays uniform. You are making solid progress. Imperfection remains normal.
Pro tip: If you want a sharp finish when following how to draw a mermaid tail tutorials, trace your final lines with a fine-liner pen. This moment is perfect for experimenting with simple, cute styles, so explore kawaii drawing ideas for beginners for extra inspiration.
5. Ink the Final Outline for a Crisp Look
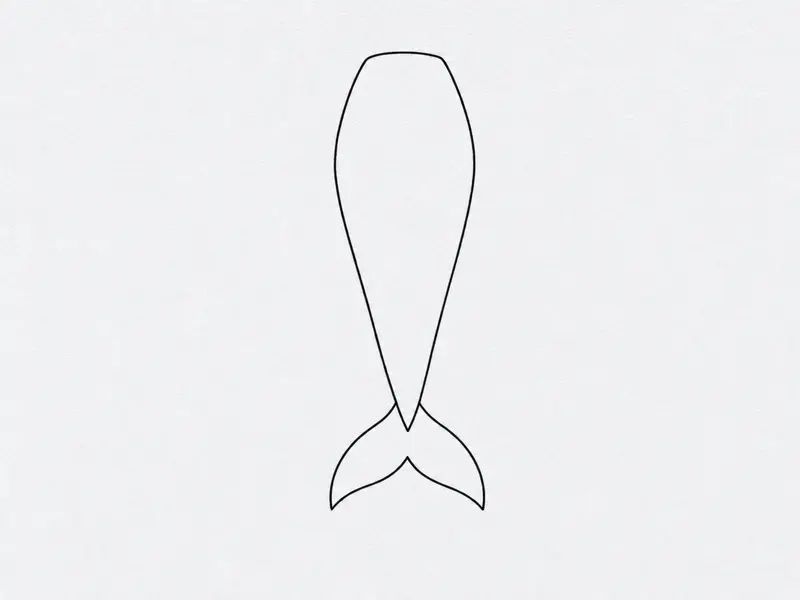
Image Source
Now that you master how to draw a mermaid tail, focus on locking the sketch with permanent marks. Grab your fineliner pen and rest the tip on the sheet. Carefully trace the main boundary of the form you drafted earlier. Follow the identical path your graphite traveled, applying steady pressure. You are tracing directly over older strokes. Maintain hand stability and navigate curves slowly. Excellent progress! This technique sharpens the overall appearance.
Pro tip: If you understand how to draw a mermaid tail consistency, you know a single wavy stroke looks superior to multiple choppy marks. For precise, sharp angles like those on aquatic fins, practicing your how to draw a star improves your control.
6. Add Soft Shading for a Rounded Effect
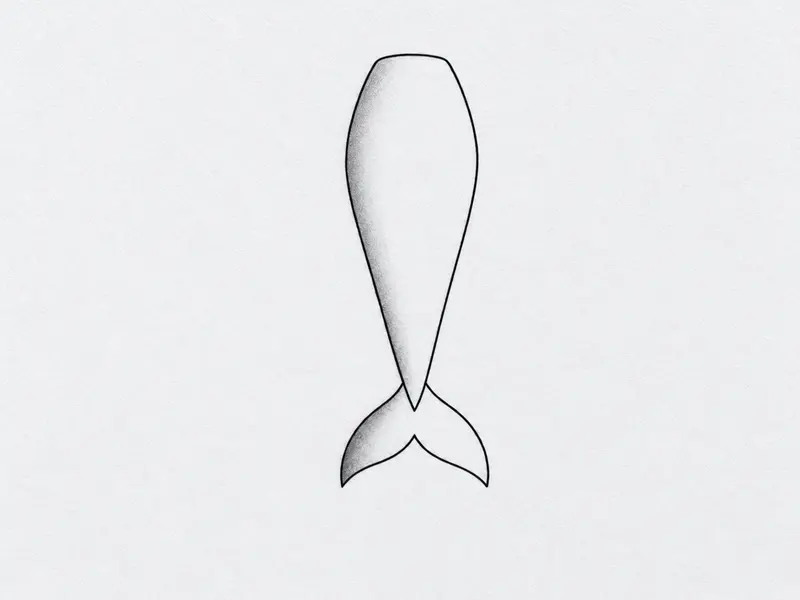
Image Source
When you study how to draw a mermaid tail forms, apply gentle shadows to create volume and realism. You are doing great! Choose a direction for your light source to strike the design. On the opposite flank, press softly with your soft pencil while learning how to draw a mermaid tail depth. Sketch tiny, overlapping circles across the shaded area. Avoid heavy pressure. Layer the same zone repeatedly with light touches to gradually darken the value. This technique builds tonal richness. Apply a blending stump or a clean fingertip to sweep the graphite circles into a seamless finish. This process eliminates gritty textures.
Pro tip: If your gradient appears too heavy or uneven, lift some pigment with your kneaded rubber and restart that zone using lighter passes.
Refinement Techniques: Adding Depth Through Shading and Texture
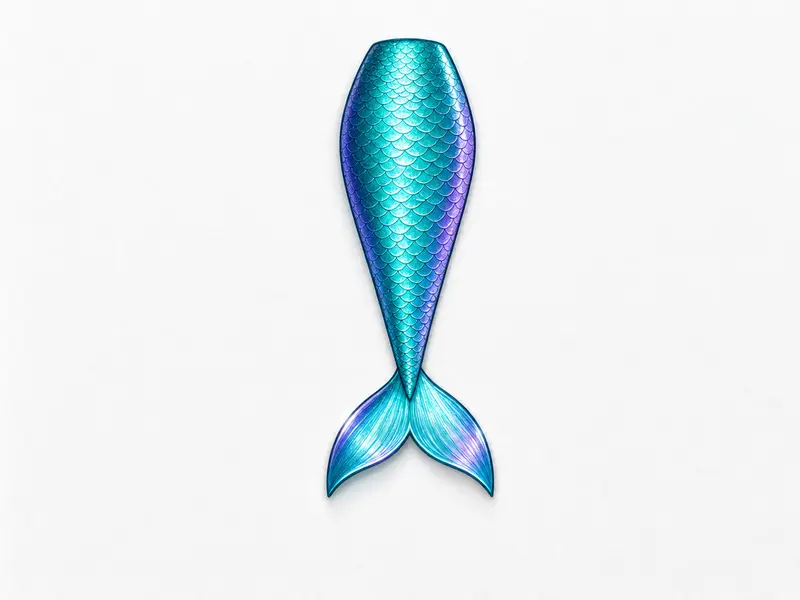
To finalize how to draw a mermaid tail projects, enhance the visual impact. Trace your preferred edges with a black pen for a sharp finish. Next, establish a hypothetical light source and apply subtle graphite shading along one side of the structure. This technique produces a rounded, three-dimensional appearance. Suggest scale patterns with gentle, sweeping strokes instead of rendering each individual detail. Finally, step away from your workstation and review the completed artwork.
Conclusion
You did it! You just mastered how to draw a mermaid tail shapes. That marks a fantastic milestone. You initiated the piece with a simple guide arc, constructed the full boundary, and sealed it with crisp lines and soft gradients. Building artwork from light framework to polished details remains an essential strategy for any illustration project. To advance further, recreate the piece from memory or alter its proportions. Your next project might feature a full aquatic figure or another marine animal like a dolphin. Display your finished piece somewhere visible and enjoy the progress.
FAQs
Q: What kind of pencil should I use for sketching?
A: A standard HB pencil remains the top choice. It deposits faint marks for initial frameworks yet produces darker values when you increase pressure.
Q: Should I skip the inking phase?
A: You can absolutely proceed without ink. Your graphite sketch stands alone beautifully. Adding permanent ink simply strengthens the final edges and extends the artwork lifespan.
Q: How do I make the tail look curved and not stiff?
A: Prioritize that initial ‘S’ shaped framework. Allow your wrist to glide smoothly to establish a natural arc before constructing the surrounding anatomy.
Q: How long does it take to draw a mermaid tail?
A: This session requires roughly 30 minutes. Pace yourself during each stage, especially during the initial framework and tone application.
Q: How do I add shading to make the tail look rounded?
A: Visualize a directional light hitting one side. Apply gentle graphite strokes to the opposite flank, then blend smoothly with your fingertip or a tissue.


