

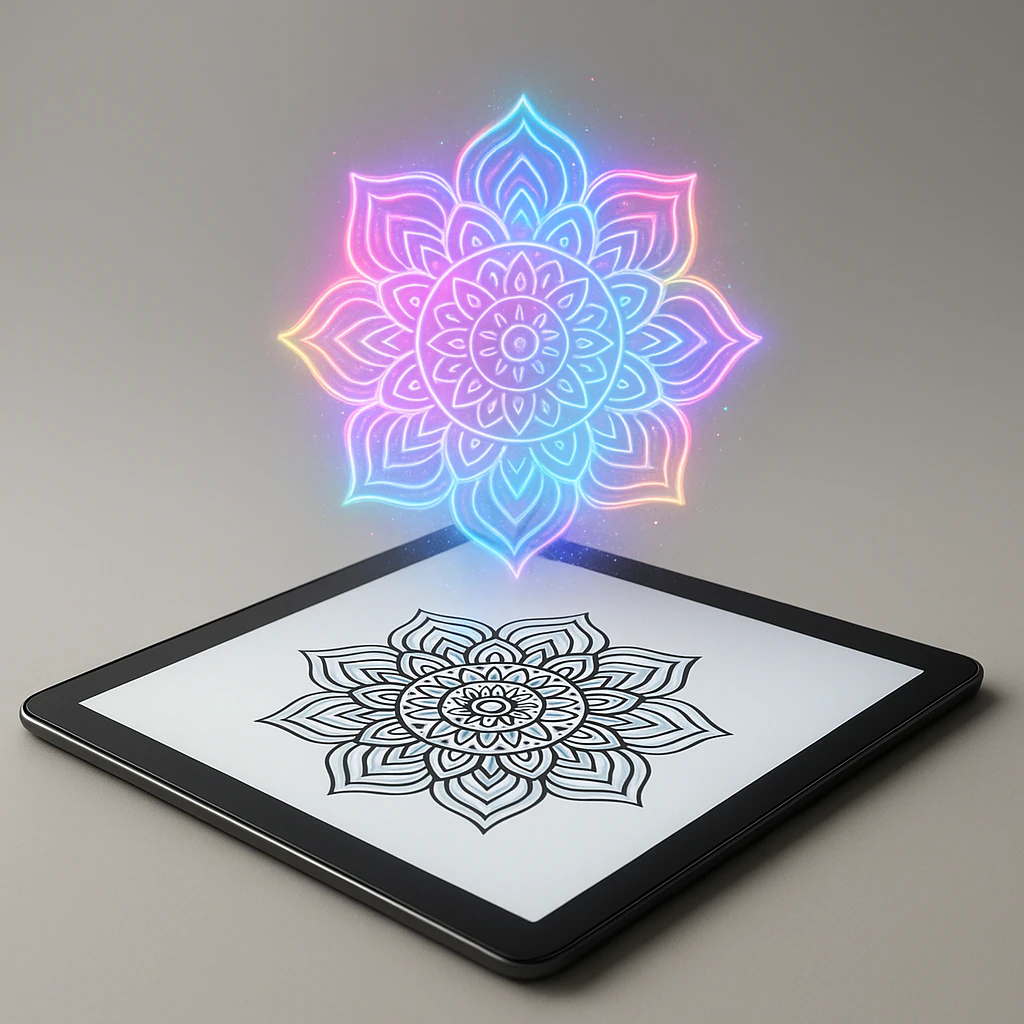
Choosing Your Mandala Canvas: Paper Types And Surface Preparation
Your choice of surface deeply affects your final result and painting process. Thick paper works best for a mandala drawing because it easily handles erasing and multiple layers of ink or color. Get a sketchbook with heavy paper so you can keep all your practice drawings in one convenient place. For detailed ink work, use smooth bristol board. The surface takes fine lines without bleeding. Prepare your paper by cleaning it with a soft cloth to remove natural oils from your hands. Tape the corners down with artist tape to keep the paper flat while you work. This basic step ensures your regular patterns remain flawless.
1. Essential Drawing Tools For Precise Mandala Patterns

To create an easy mandala art pattern, gather your specific drawing tools before you start. You need an HB or 2B pencil for sketching and a kneaded eraser that lifts pencil marks without smudging your art. You need a compass for drawing perfect circles. A standard school compass works perfectly for a basic tutorial. You need a ruler for straight lines and a protractor for dividing circles into equal sections. For final lines, use fine-tip black pens (sizes 0.1, 0.3, and 0.5 work well). Keep all your tools within reach to make the creative process smooth. Get ideas from images or tutorials, and remember to make your design with inner details and free forms. Learn more with our beautiful mandala drawing ideas for beginners. Check out easy things to draw for beginners for practice, or explore doodle art ideas for fun inspiration.
2. Understanding Basic Symmetry Structures For Your Mandala

Symmetry means balance. In a mandala, shapes repeat around a central dot. Think of a bicycle wheel where the spokes radiate from the hub. Your easy mandala works the exact same way. You divide your circular canvas into equal parts and draw the same shape in each part. This creates instant harmony. The human eye finds symmetry deeply pleasing. When you understand this basic structure, you completely control the final look of your art. You get to decide exactly how many sections to use for your complex design.
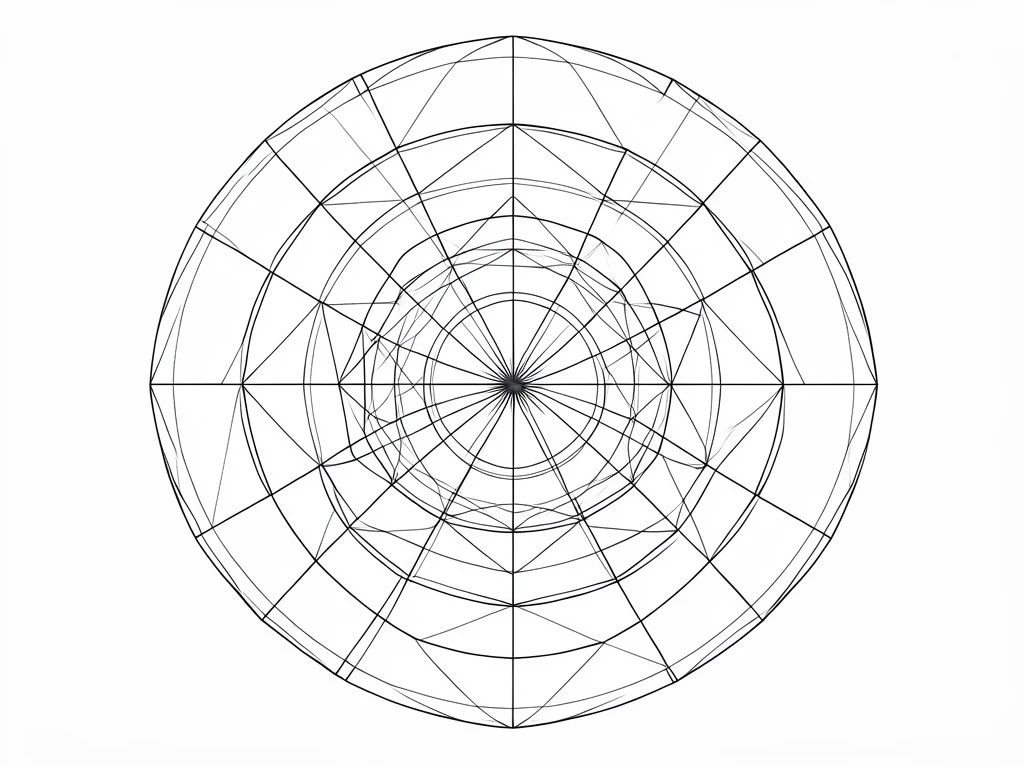
3. Step-By-Step Circular Grid Creation Techniques
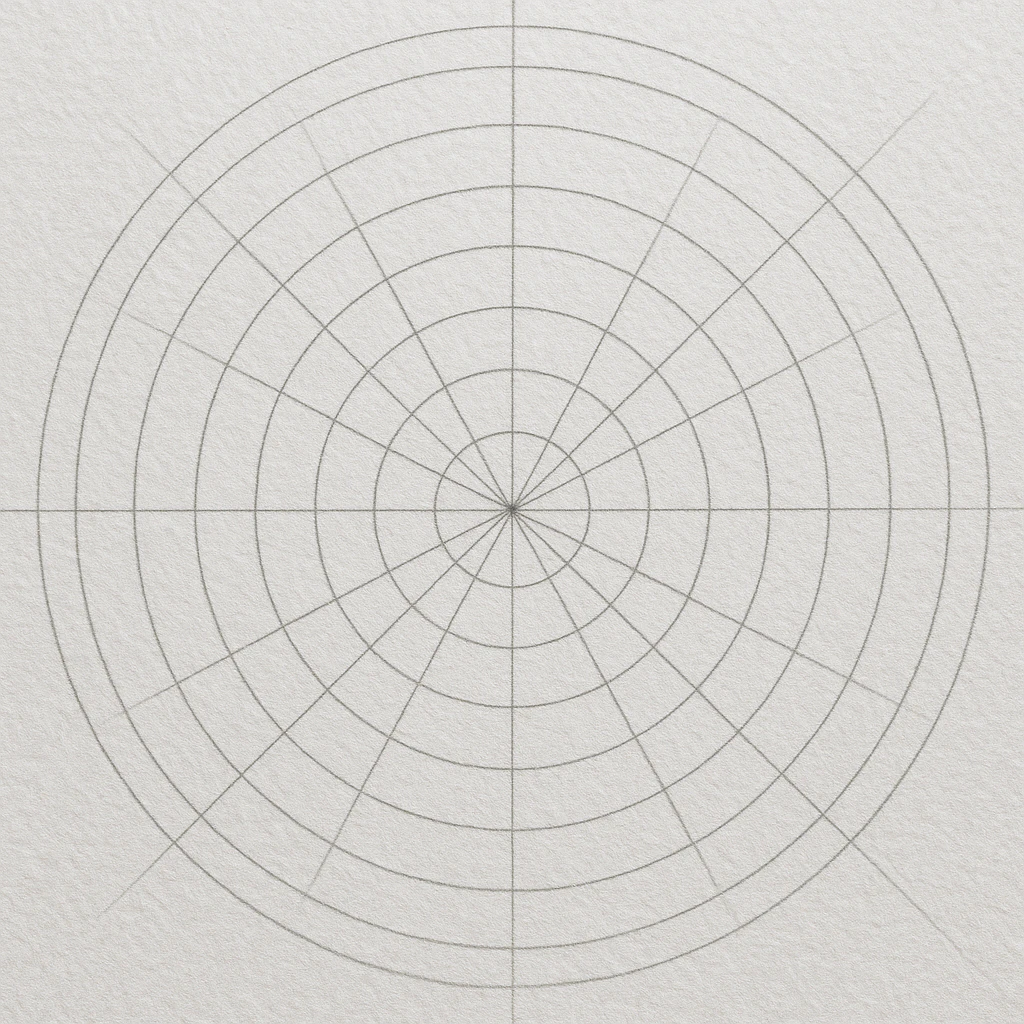
Draw a dot in the center of your paper. Set your compass to a small radius and draw a circle around the dot. Increase the compass radius and draw another circle around the first. Repeat this process until you have five or six concentric rings. These regular rings are your primary guide lines. Now, divide the circle into sections. Use a protractor to mark degrees around the edge. Mark every 30 degrees for twelve sections, or every 45 degrees for eight sections. Draw straight lines from the center to each mark. You now have a perfect geometric grid.

Actionable Takeaway: Always draw your grid lines very lightly with a hard pencil (like a 2H) so they can be easily erased once your ink outline is completely dry.
This basic method works for other projects too, like glass painting designs.
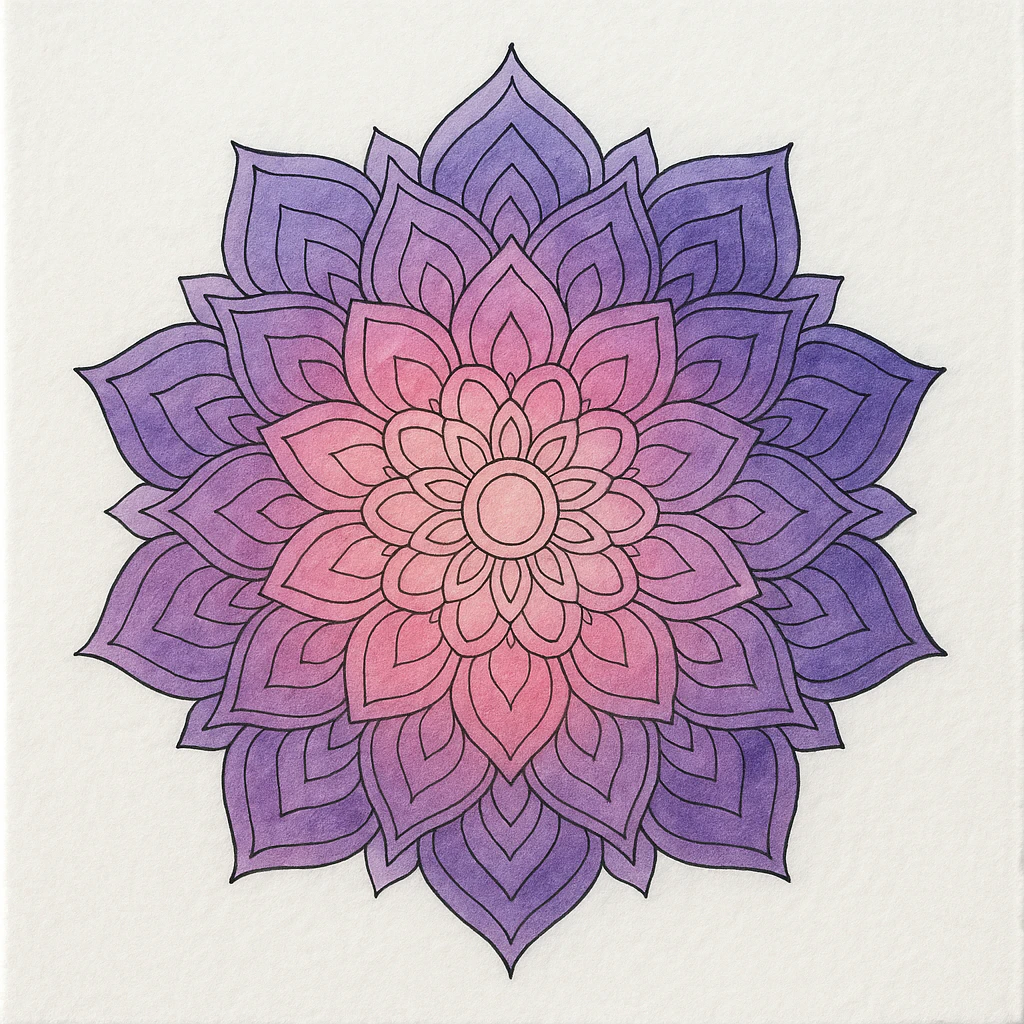
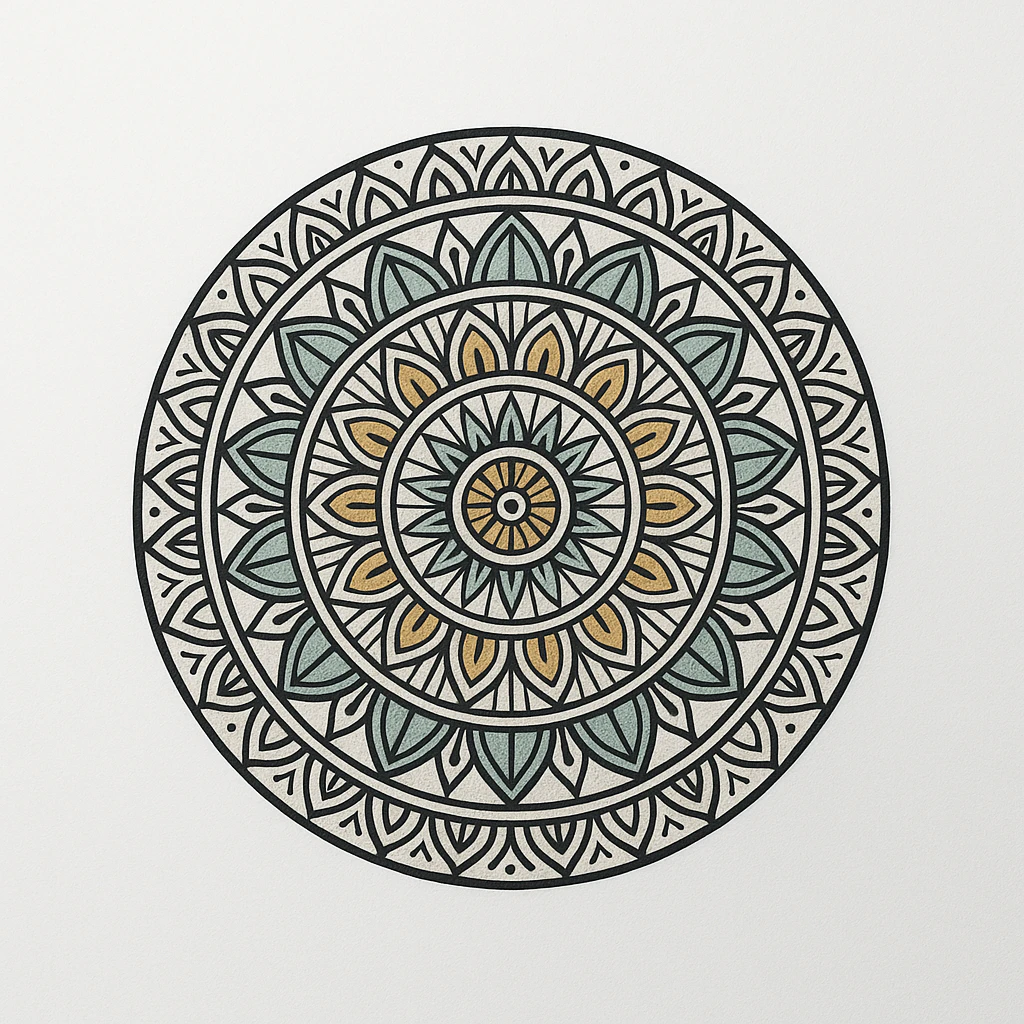
4. Fundamental Lotus Flower Mandala Construction
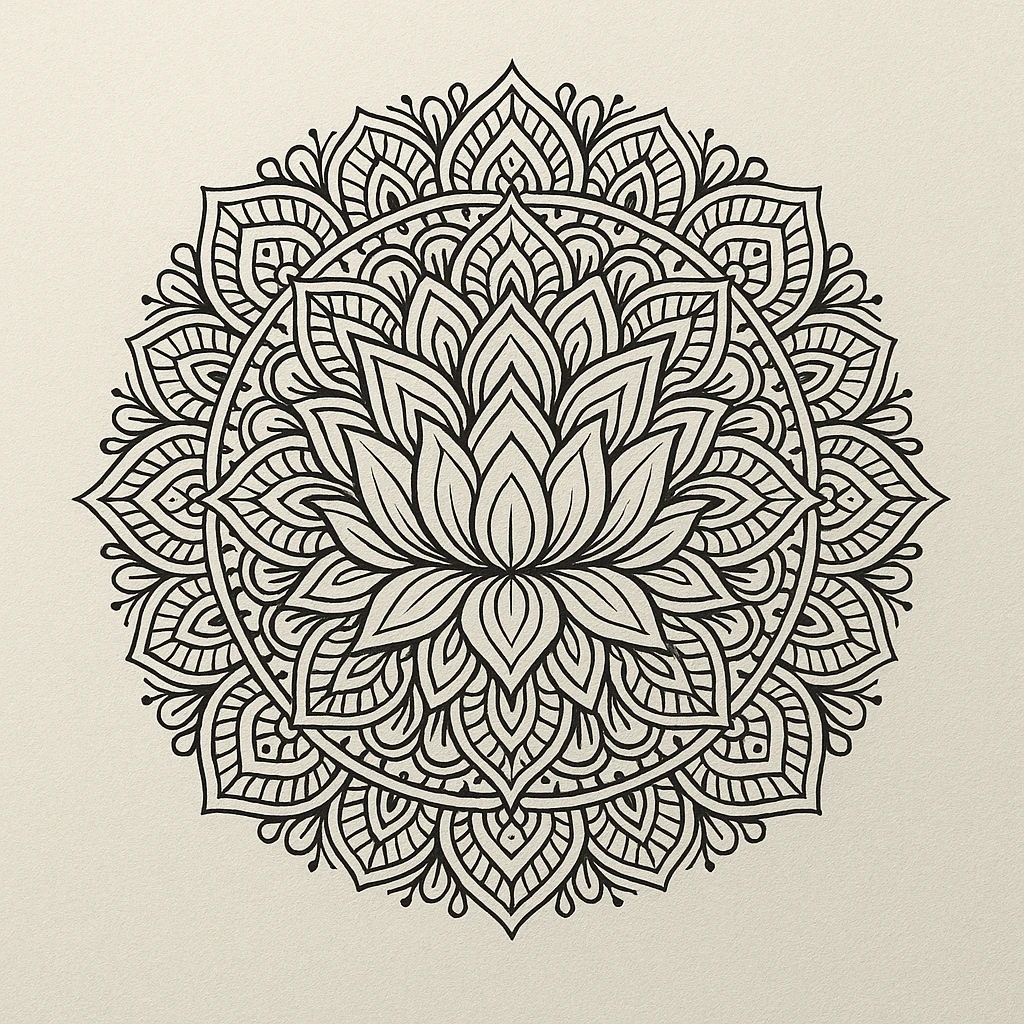
Build your lotus mandala from a strong circle. Draw a small circle in the center to act as the flower’s core or seed. In the next ring, draw simple petal shapes. Each petal is a basic U shape where the round bottom touches the center circle and the open top points outward. Draw one petal in each grid section and keep the size consistent. In the next ring, draw thirty-two larger petals. Offset them so they perfectly sit between the first row of petals. This strategic overlapping creates a beautifully layered lotus flower look. Fill the outer ring with sixty-four tiny petals to build a full, complex border. This creative exercise teaches radial symmetry wonderfully.
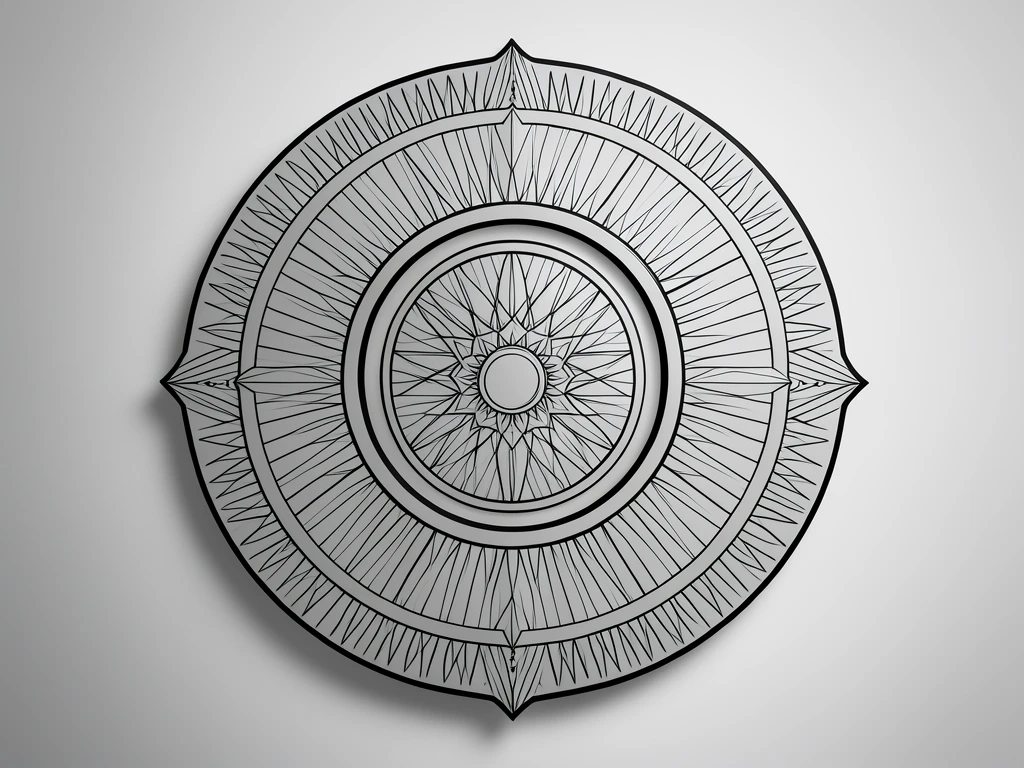
5. Sunburst Pattern Variations For Dynamic Designs
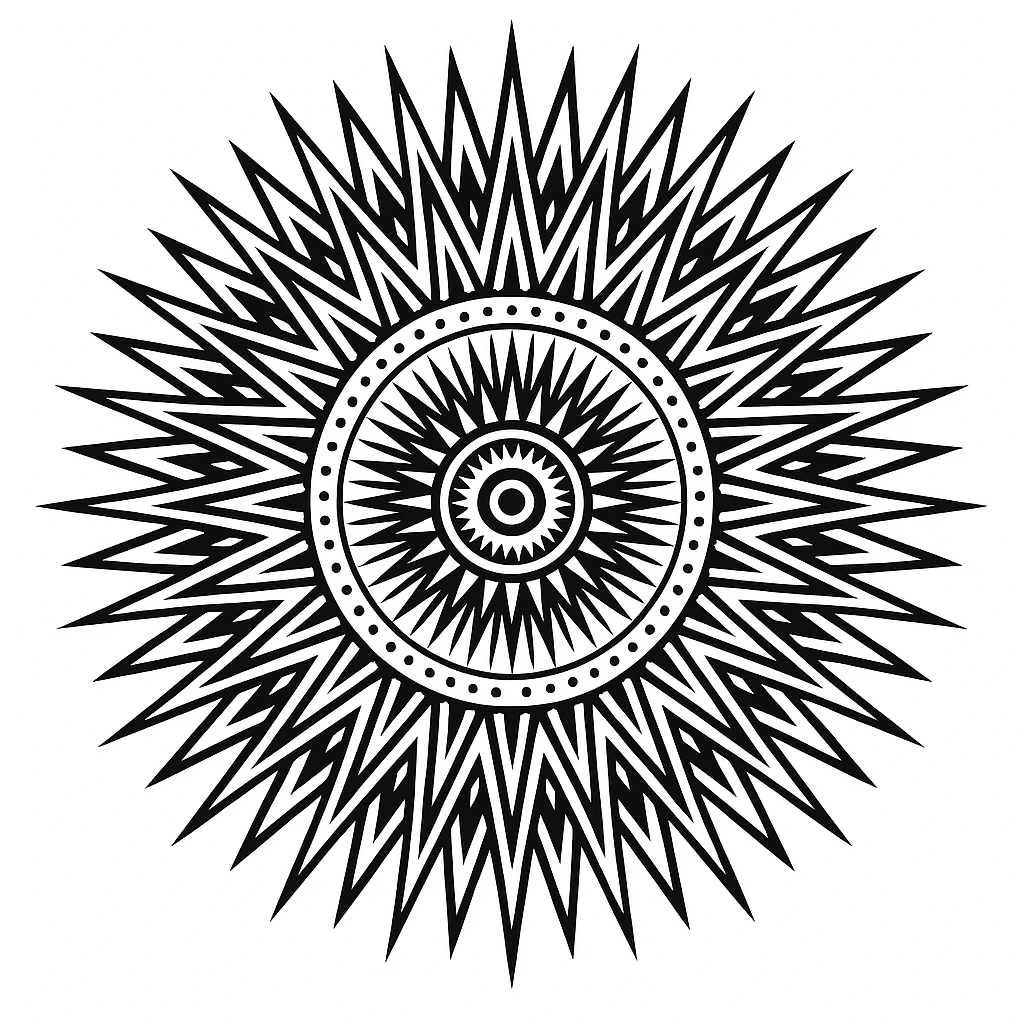
A sunburst pattern makes your mandala art feel alive and highly energetic. It uses straight lines radiating from a central point to create dynamic movement. Draw a small circle in the center. From the edge of this circle, draw triangles pointing outward. Each triangle has its base on the center circle and its tip in the next ring. In the next ring, draw longer triangles. Alternate the tips so they fall directly between the first row of triangles. Add color to your sunburst for impact; try a monochromatic scheme or apply a vibrant gradient. This easy mandala art pattern builds a strong foundation in positive and negative space.
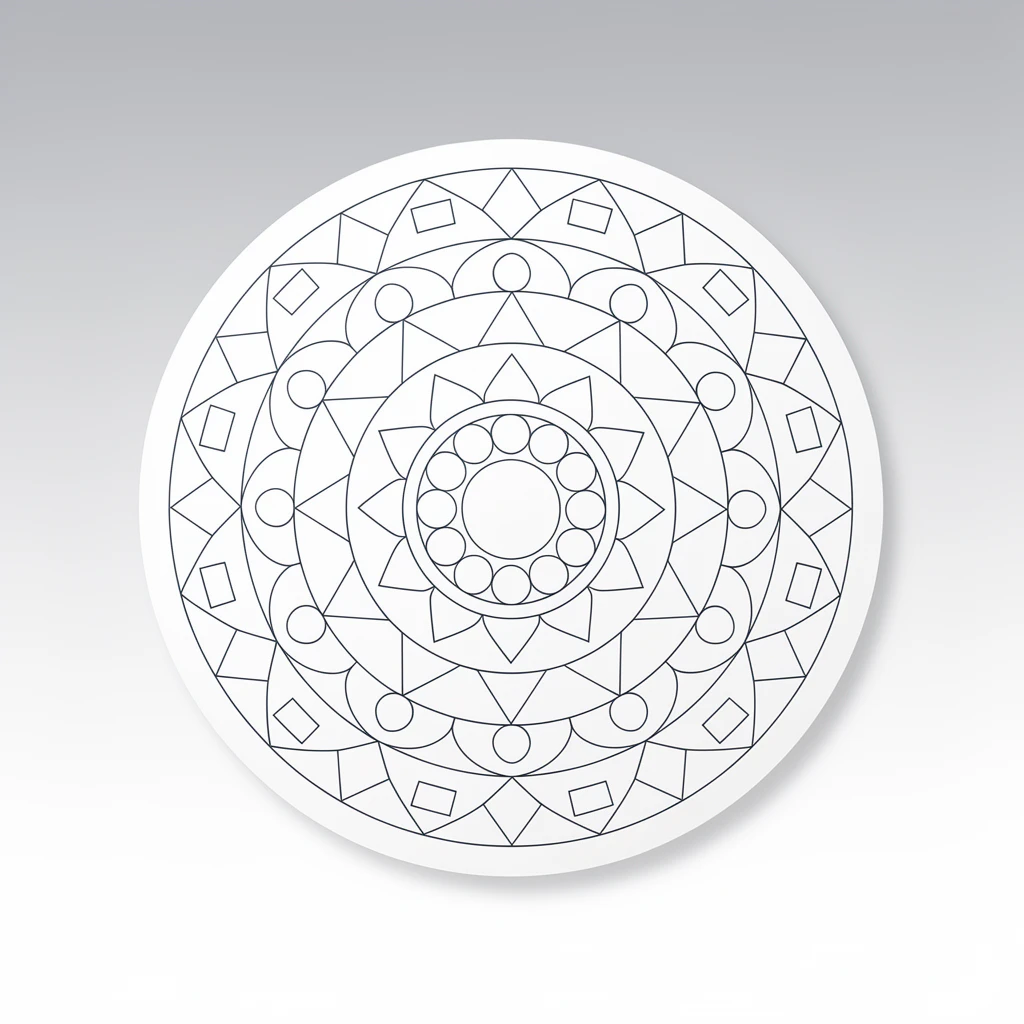
6. Geometric Triangle-Based Mandala Frameworks
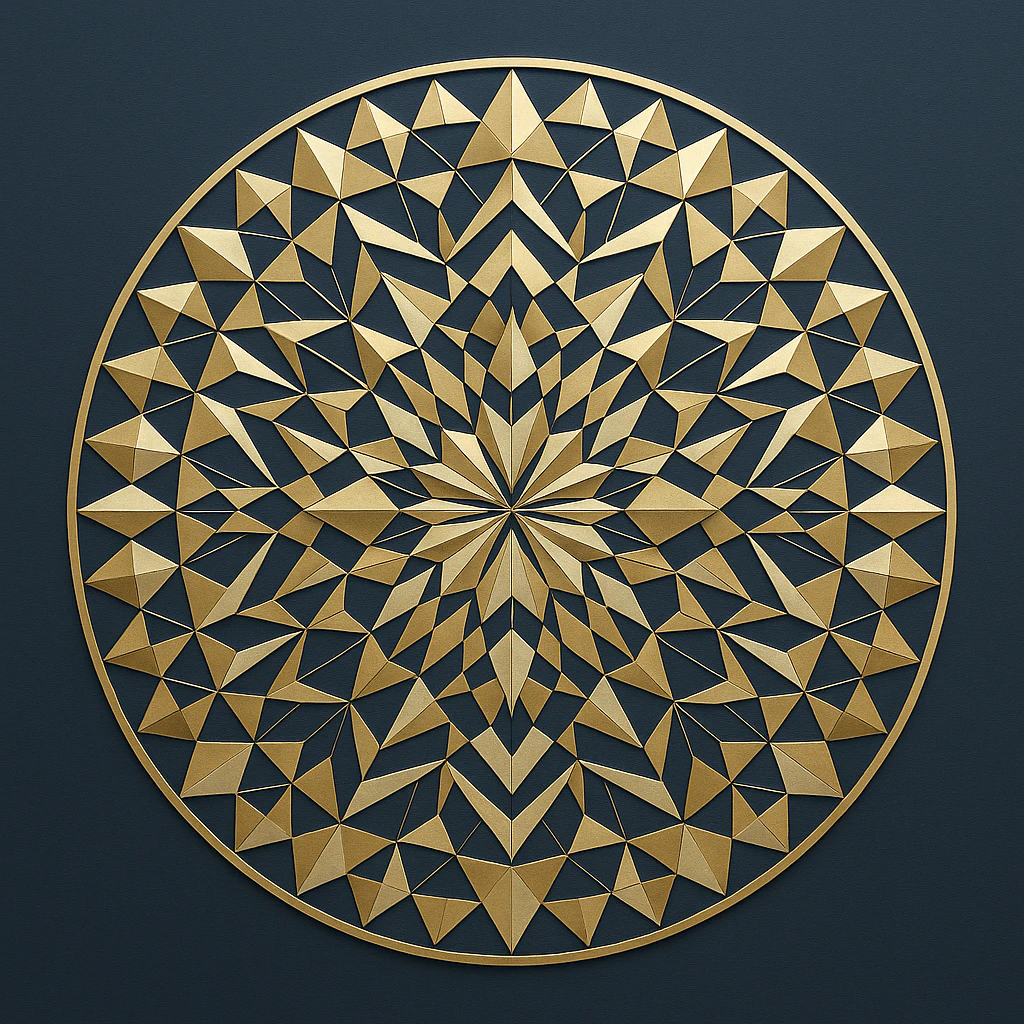
Triangles add rigid structure to your design. Draw your grid. In one ring, draw small triangles that point toward the center. In the next ring, draw triangles that point outward. In the following ring, draw triangles that sit side by side with their bases touching. The repetition of this single shape creates a strong geometric feel. The framework is a fun, creative start for any art project and helps a beginner make complex mandala art with a regular geometric base.
7. Mandalas With Organic Leaf And Vine Motifs
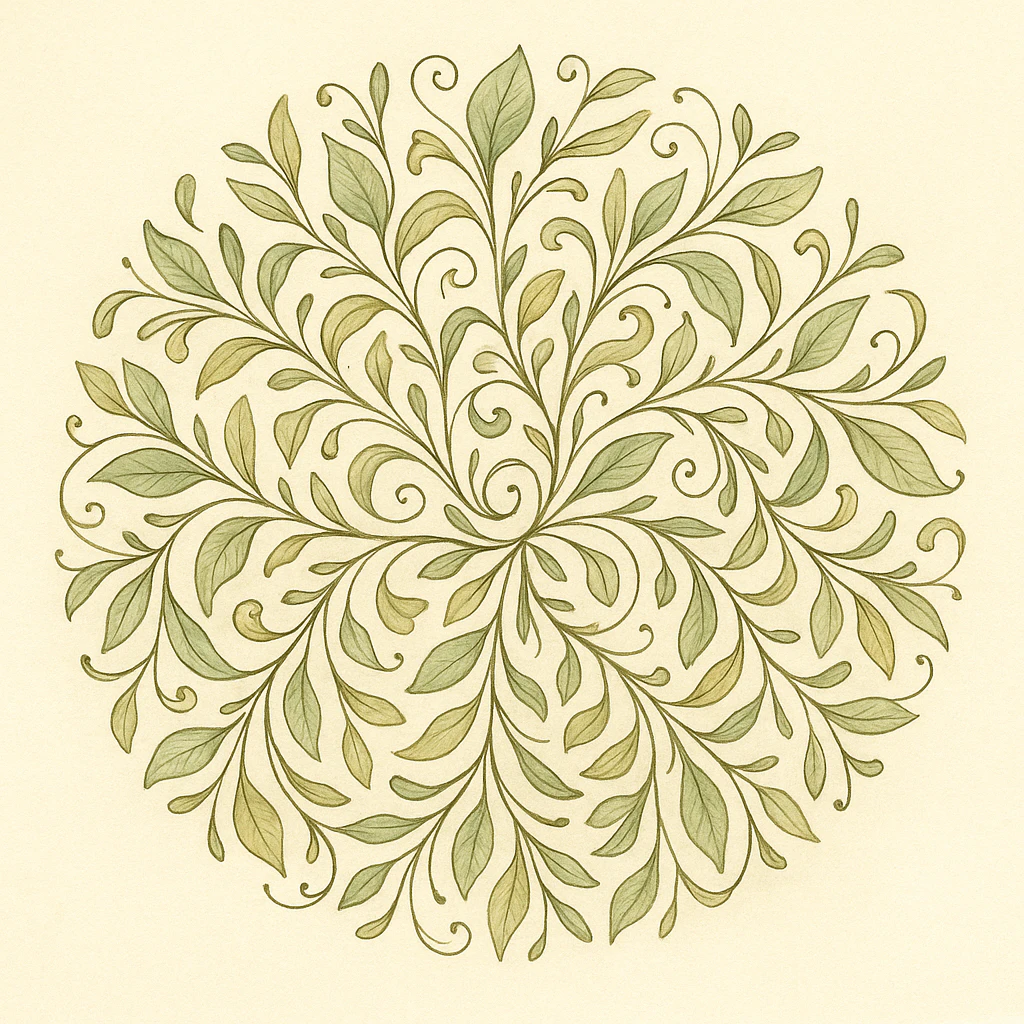
To soften your geometric structure, use an organic leaf and vine motif. Draw a simple curved line in one section of a ring to act as your vine. Add small oval shapes along the vine for leaves. Copy this exact curve and leaf placement step by step in every single section of the ring. Make sure the curves connect seamlessly at the section lines. This simple trick creates a continuous vine circling your entire mandala. Use different curve shapes in different rings. This adds an organic, growing feel that is incredibly fun to draw.
8. Incorporating Zodiac Symbols Into Basic Patterns

Choose one zodiac symbol that resonates with your spirit. For example, the symbol for Libra is a simple scale, while the symbol for Aries is a curved horn shape. Draw this symbol lightly in each section of one ring, keeping the shape small and simple. Fill the rest of the ring with dots or small circles around the symbol. These symbols add deep personal meaning to your design, allowing you to create art that directly connects to yourself or a loved one. Learn to create easy mandala art with color to make these symbols pop.
9. Celestial Star And Moon Theme Mandalas
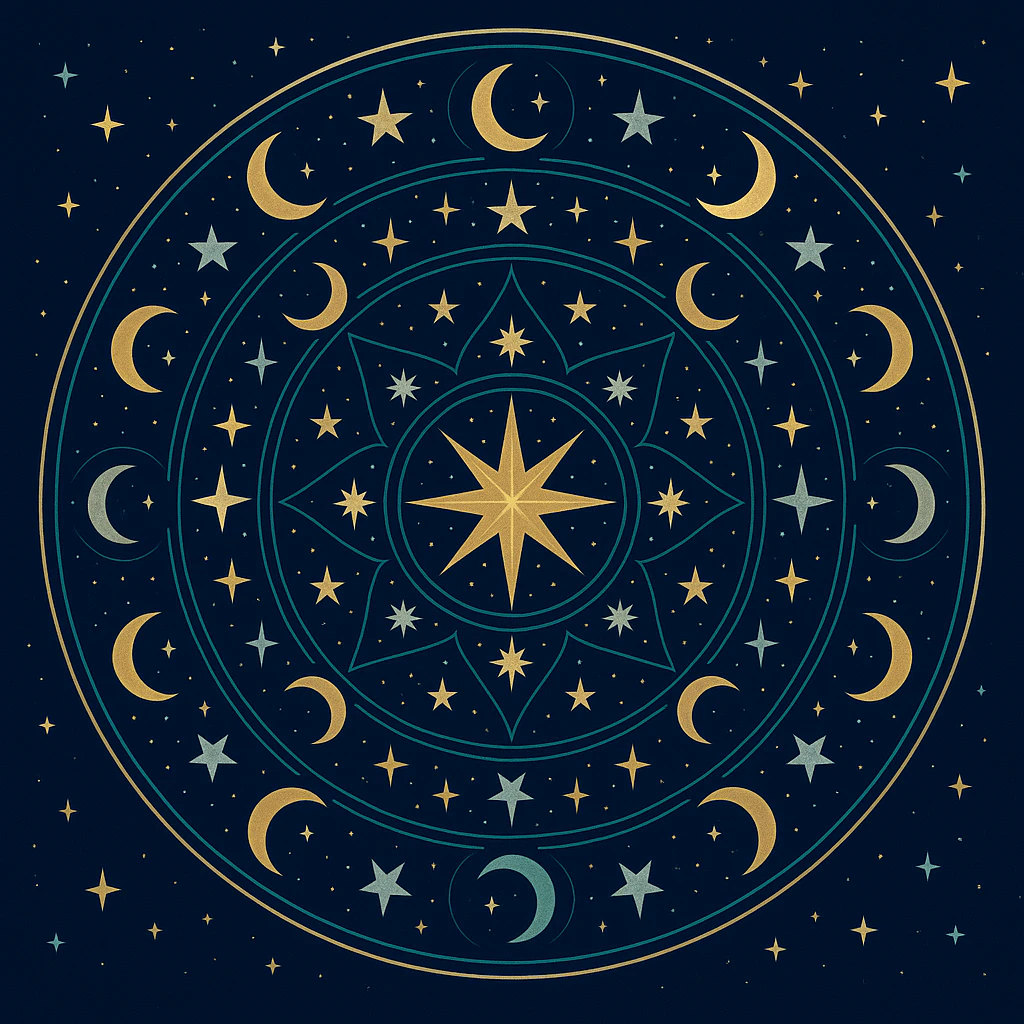
You make a celestial mandala art pattern with stars and moons to create a cosmic vibe. Draw a small circle in the center to represent the moon. Around it, draw small five-pointed stars in the first ring. Keep the stars simple and draw a few lines radiating from each to suggest a magical sparkle. In the next ring, draw crescent moon shapes and alternate their direction. This theme works exceptionally well with a dark blue or black background. You can add white or metallic ink for the final glowing lines.
10. Beginner-Friendly Animal-Inspired Designs

Choose a simple animal shape to center your craft. A turtle has a round shell, and a fish has an oval body. Draw the basic outline of your animal in each section of a ring, placing the animal so it faces the center. In the next ring, draw patterns naturally found on that animal. Turtle shells have hexagons, while fish have scales. Repeat these small shapes around the circle. The animal theme perfectly guides your pattern choices. Check out our simple animal drawing guide for beginners for more inspiration on painting animals.
11. Watercolor Techniques For Mandala Coloring
Draw your mandala with waterproof ink and let the ink dry completely. Paint clean water inside one section of a ring, then drop watercolor paint into the wet area. The beautiful color spreads on its own. Let it dry before painting the next section. This technique creates incredibly soft, blended colors while the hard ink lines successfully contain the painting. You get bright, flowing color inside your precise pattern.
Actionable Takeaway: When using watercolors, tape down all four edges of your paper to your desk. This prevents the paper from warping when it absorbs the water.
12. Dot-Work Mandalas With Gradated Shading
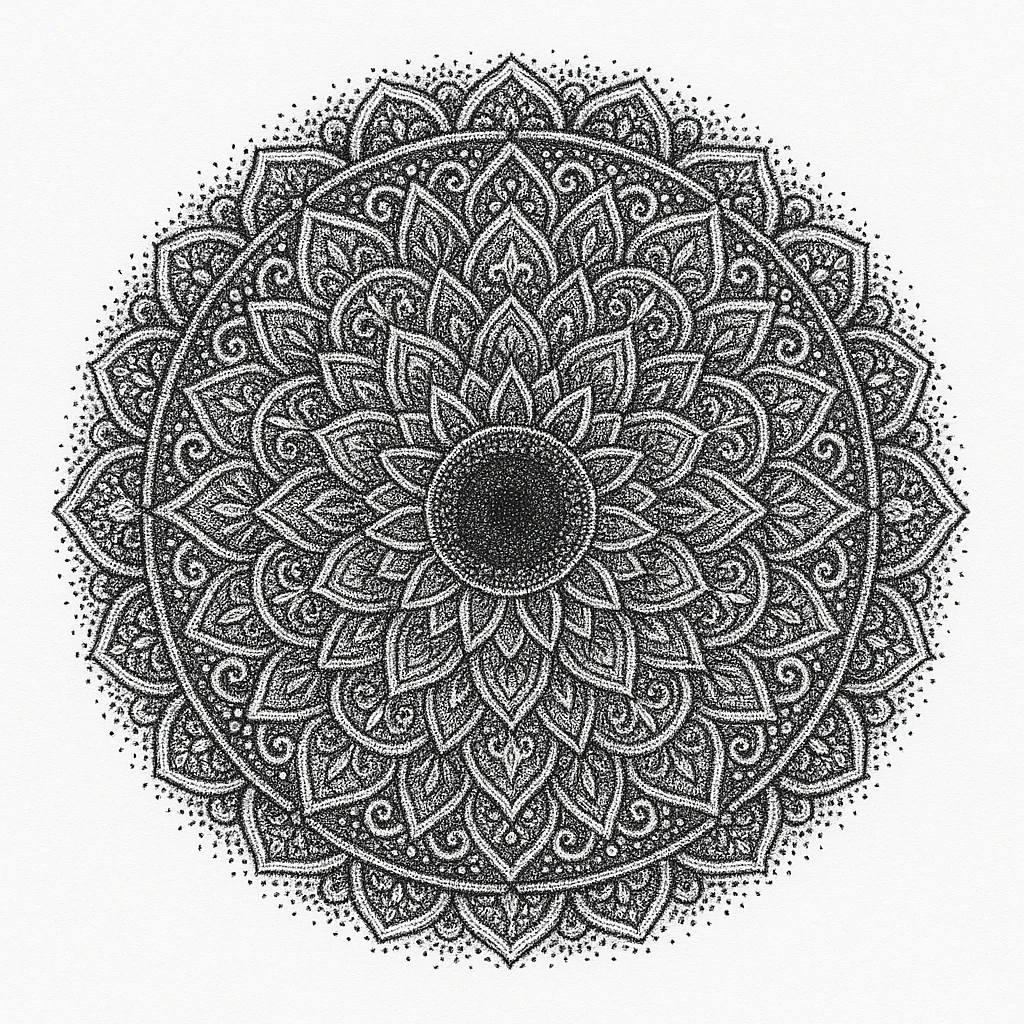
Use the tip of a fine marker or a specialized dotting tool. In one ring, fill the area completely with dots. Start with dense dots near the inner edge and gradually space the dots farther apart as you move outward. This creates a stunning gradient from dark to light. Do this in every section of the ring. The change in density naturally looks like shading, allowing you to create depth using only a simple dot. This technique requires patience but delivers highly professional results.
13. Festival-Specific Mandalas For Diwali
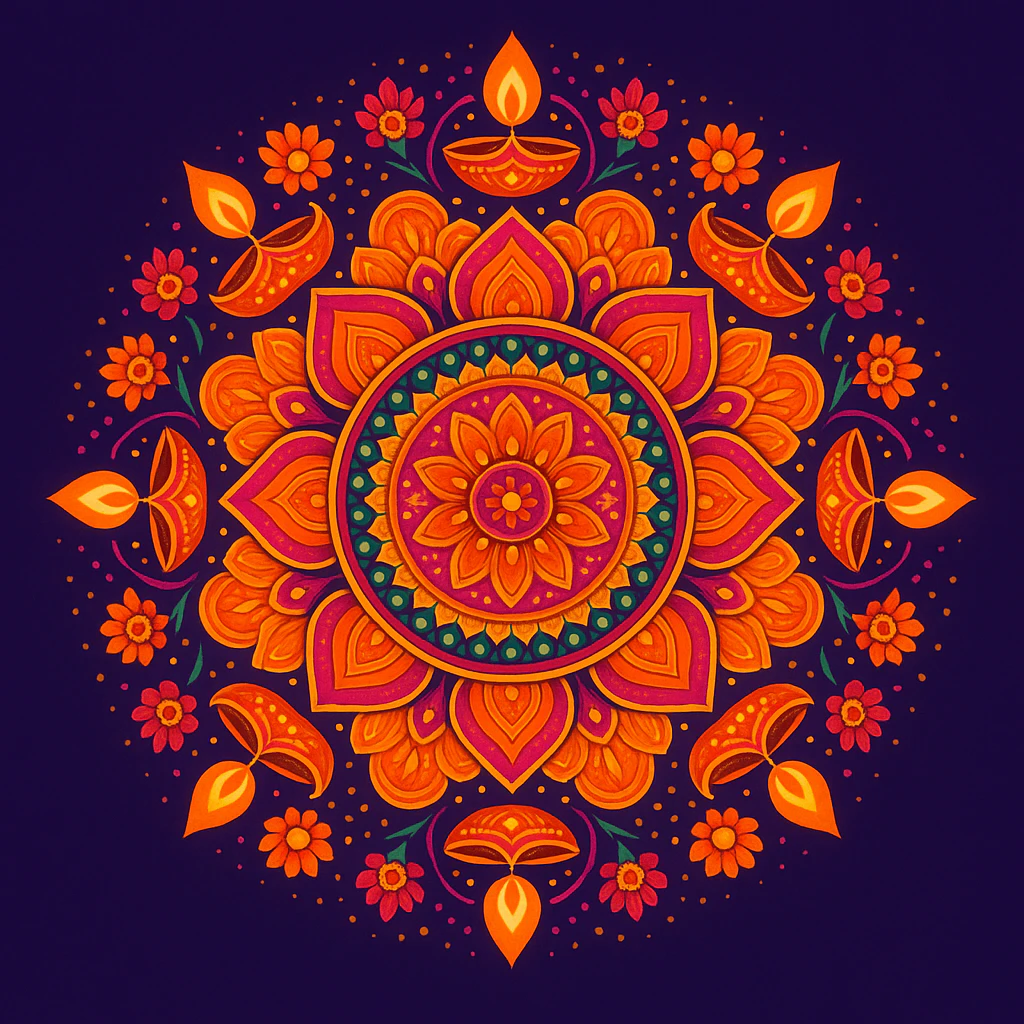
Diwali is the festival of lights, and your mandala can beautifully reflect this theme. Draw small diya or lamp shapes in the main ring. Keep the shape simple: a sturdy base and a flickering flame. Draw rows of dots around each diya to represent radiant lights. Use bright colors like red, yellow, and orange, and add gold metallic pen accents. This design perfectly celebrates the festival, welcoming positive energy, and makes a very thoughtful gift.
14. Mandala Border Patterns And Framing Methods
The outer edge of your mandala needs a polished finish. Draw a scalloped border by placing small half circles along the outer circle. Fill each half circle with a single dot or a smaller half circle. Another border option is a continuous row of triangles pointing outward. Alternatively, draw a thick and thin line border by placing two parallel lines close together around the entire circle. This simple frame beautifully contains your design and gives it a finished look.
15. 3D Illusion Effects In Basic Mandalas
You can create a striking 3D look with careful shading. Draw a ring of connected cubes or blocks, making sure each cube has three visible sides. After drawing the outlines, shade two sides darker while leaving one side light. This makes the geometric shapes look like they literally pop off the page. Repeat this in every section. The consistent light source creates the compelling illusion of depth. This trick works best with a pencil or cool gray markers.
16. Healing Symbol Integration For Therapeutic Art
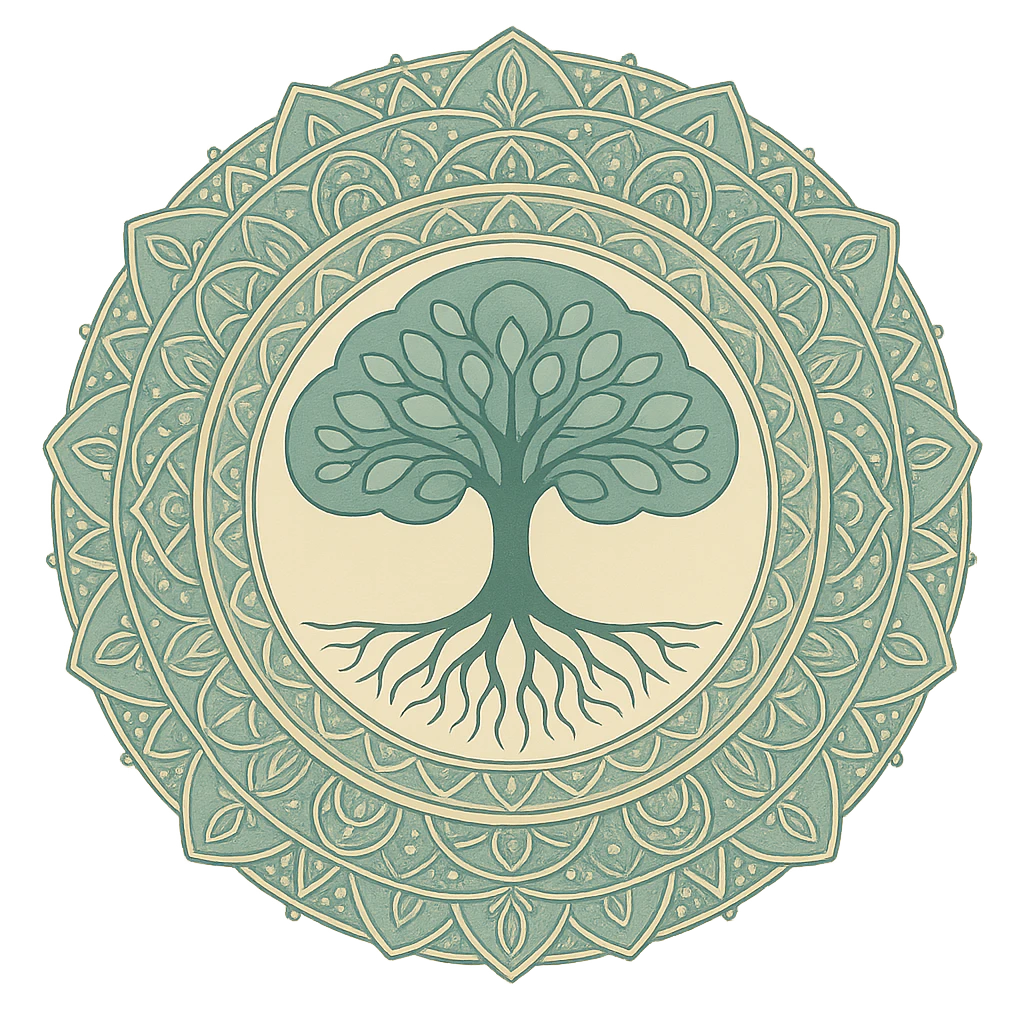
Research simple symbols commonly associated with healing to lift your spirit. The lotus represents purity, the tree of life represents growth, and the spiral represents continuous energy. Draw one of these symbols directly in the center of your mandala. Build your intricate patterns outward from them. As you draw, actively focus on the deep meaning of the symbol to calm your mind. The creative process quickly becomes a meditative practice, and your finished art will carry immense personal significance.
17. Seasonal Nature Mandalas For Spring
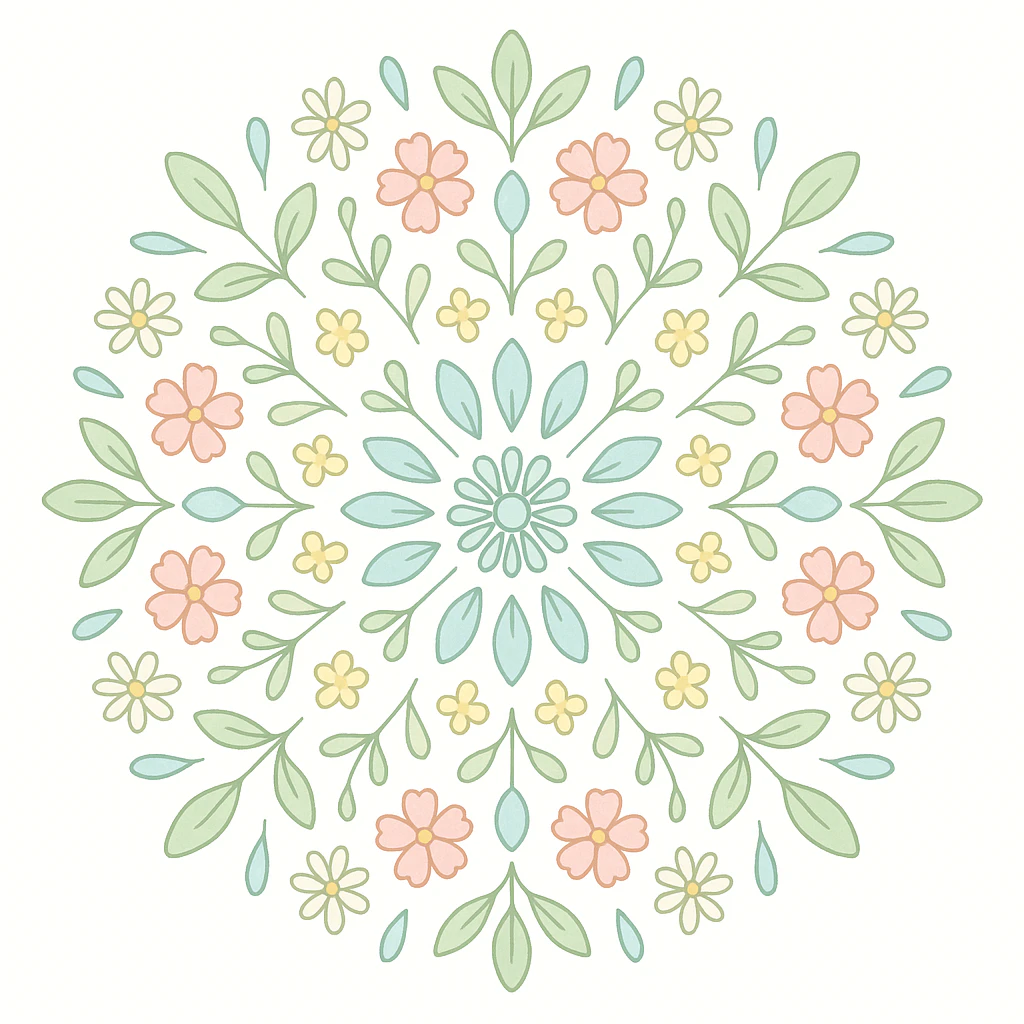
Spring themes use blossoming flowers, tiny buds, and new leaves. Draw small buds in the inner ring using simple oval shapes. In the next ring, draw partially opened flowers using elegant curved lines. In the outer ring, draw full, radiant blossoms using large petal shapes. Add small green leaves between each flower. Color your easy mandala with soft greens, pinks, and yellows to perfectly capture the refreshing feeling of the season.
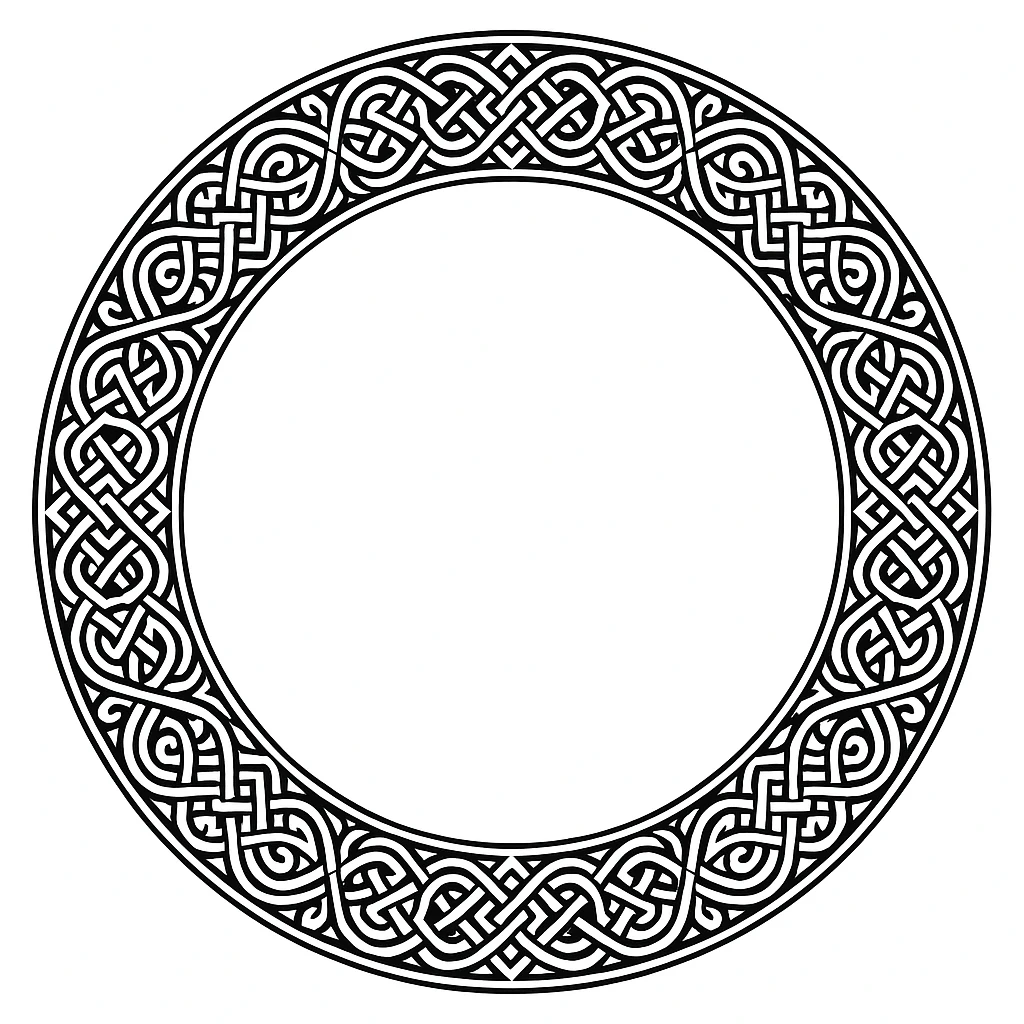
18. Cultural Pattern Adaptations From Celtic Art
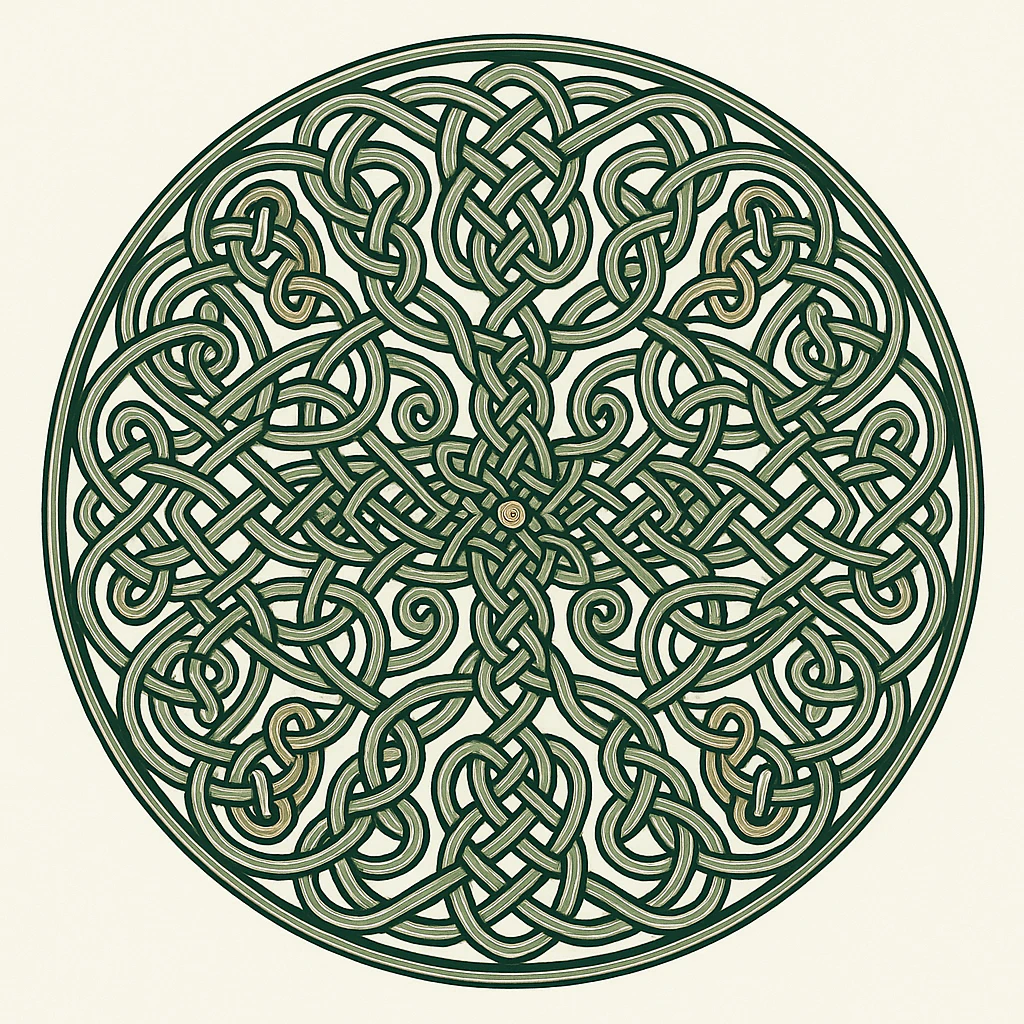
Celtic art famously uses interwoven lines and endless knots. Draw a basic Celtic knot in one section of a ring. Keep the knot simple by using three lines that weave over and under each other. Copy this knot in every single section. Connect the knots exactly at the section lines so they appear to weave seamlessly together around the circle. This creates a continuous band of Celtic design where the complexity comes purely from the weaving.
19. Modern Abstract Mandala Compositions
Break the traditional rules of strict symmetry. Draw your grid, but then fill the sections with entirely different patterns. Use bold stripes in one section, tiny dots in the next, and flowing wavy lines in the one after that. Repeat this sequence completely around the circle. The overall shape stays perfectly circular, but the internal patterns vary wildly. This modern approach feels fresh and experimental, allowing you to let your intuition guide your artistic choices.
20. Mandala Journaling For Daily Practice
Dedicate a small, portable notebook specifically to your mandala practice. Each day, draw one small, easy mandala art pattern. Use a simple coin to trace the center circle and spend only ten minutes on the exercise. Do not worry about absolute perfection; simply focus on the calming act of drawing. Date each entry. After one month, look back through your journal. You will see your progress clearly, and the daily practice will have built incredible skill.
Actionable Takeaway: Keep your mandala journal and a fine-tip pen on your nightstand. Drawing a 5-minute easy mandala art pattern before bed is a proven way to unwind your mind away from screens.
21. Digital Mandala Creation With Procreate
Open the Procreate app on your iPad. Use the built-in drawing guide feature and turn on the symmetry option. Choose radial symmetry and confidently set the number of segments to eight or twelve. Draw one line or shape, and it repeats instantly in every single segment. This incredible digital tool lets you create complex designs in mere minutes. You can experiment freely without wasting material and easily export your finished mandala as an image file to share online.
22. Mixed Media Mandala Techniques
Combine several different art supplies in one cohesive piece. Draw your mandala grid with pencil, then paint some sections with vibrant watercolor. Let it dry completely before adding crisp ink lines over the paint. Glue small pieces of colored paper in other empty sections, and add shimmering gold leaf to the center. The different materials add gorgeous texture and visual interest, giving each part of the mandala a unique look and feel.
23. Pattern Density Control For Visual Balance
A truly good mandala has areas of visual rest. Do not make the mistake of filling every single space with heavy marks. Intentionally leave some rings empty or nearly empty to provide balance. In one ring, use highly dense patterns like tight lines or hundreds of dots. In the next ring, use only a few simple, bold shapes. This stark contrast gives the eye a place to rest and makes the busy areas stand out even more.
24. Error Correction Strategies For Beginners
Mistakes always happen. If you make an ink line in the wrong place, let it dry first. Draw a small shape completely over the error, turning the stray line into a petal or a unique leaf. Add a dot next to it to incorporate the mistake into the design. If you use a pencil, erase gently. Use a kneaded eraser to lift the mark without damaging the paper’s tooth. Remember that small wobbles in your lines simply give your craft a beautiful handmade quality.
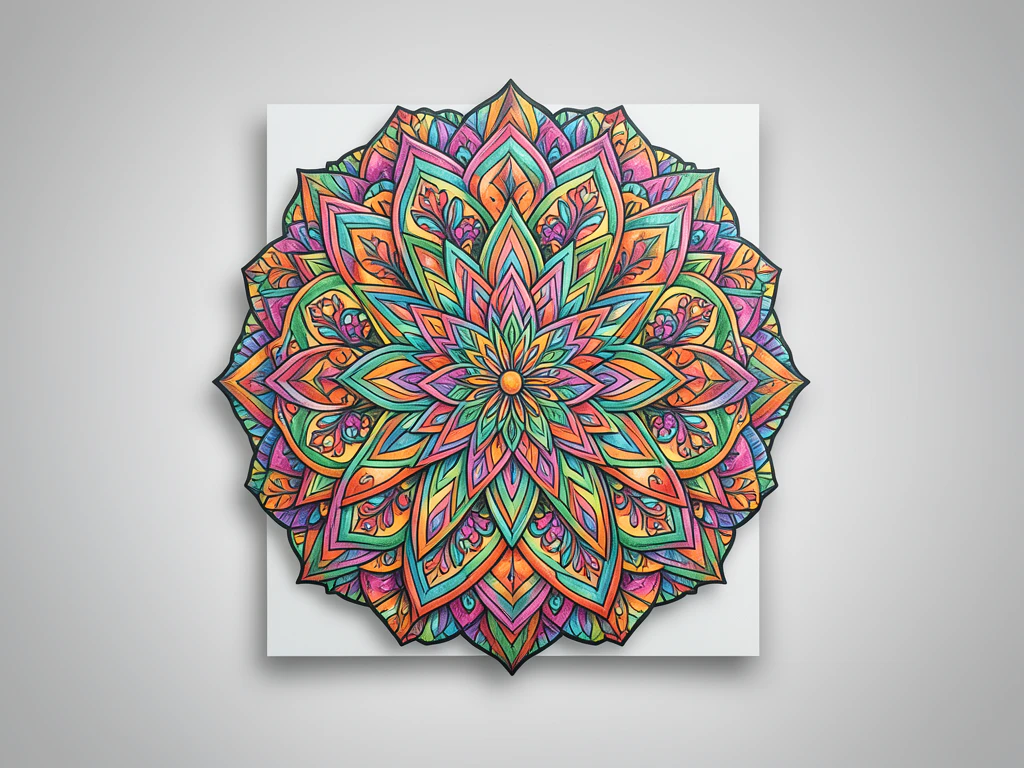
25. Color Theory Applications In Mandala Art
Choose a specific color scheme before you start. Use complementary colors like blue and orange, placing them directly opposite each other in the circle for high contrast. Use analogous colors like blue, blue-green, and green, placing them next to each other for harmony. For a calm mandala, stick to cool colors like blue and purple. For a highly energetic mandala, use warm colors like red and yellow. The color choice instantly sets the mood of your creation.
26. Gradient Shading With Alcohol Markers
Draw your mandala with waterproof ink. Choose a high-quality alcohol marker in one color. Color the inner edge of a petal heavily, then move outward quickly so the color naturally fades. The alcohol marker blends seamlessly on the paper. This creates a beautifully smooth gradient from dark to light. Repeat this technique in every single petal. The final effect makes your pattern look highly dimensional and polished.
27. Mandala Tiling Patterns For Surface Design
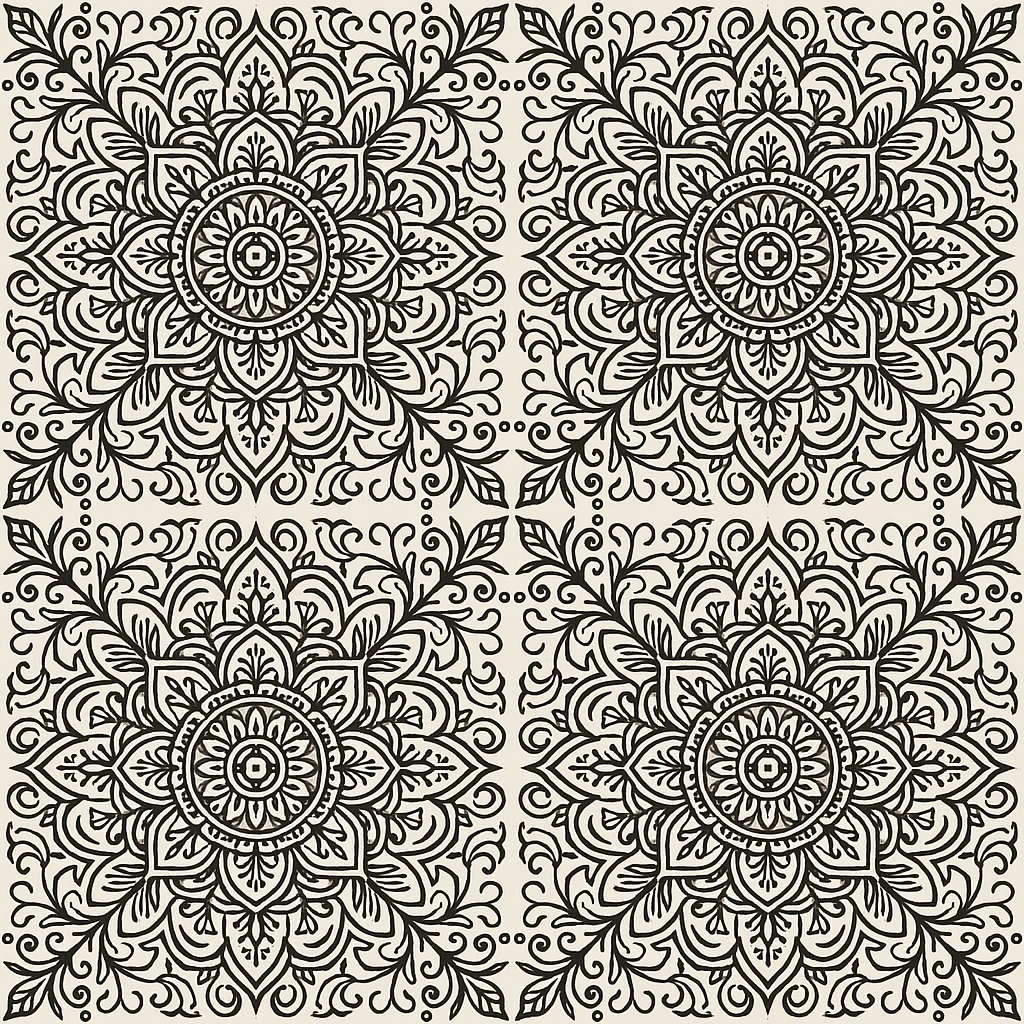
Draw one small mandala tile. This is simply a square containing a quarter or half of a full mandala design. Repeat this exact tile in a rigid grid pattern, placing them perfectly side by side. They immediately form a repeating overall pattern. Use this specific technique to design custom wrapping paper, intricate fabric prints, or stunning digital backgrounds. The single easy mandala becomes a powerful building block for broader design.
28. Miniature Mandalas On Unconventional Surfaces
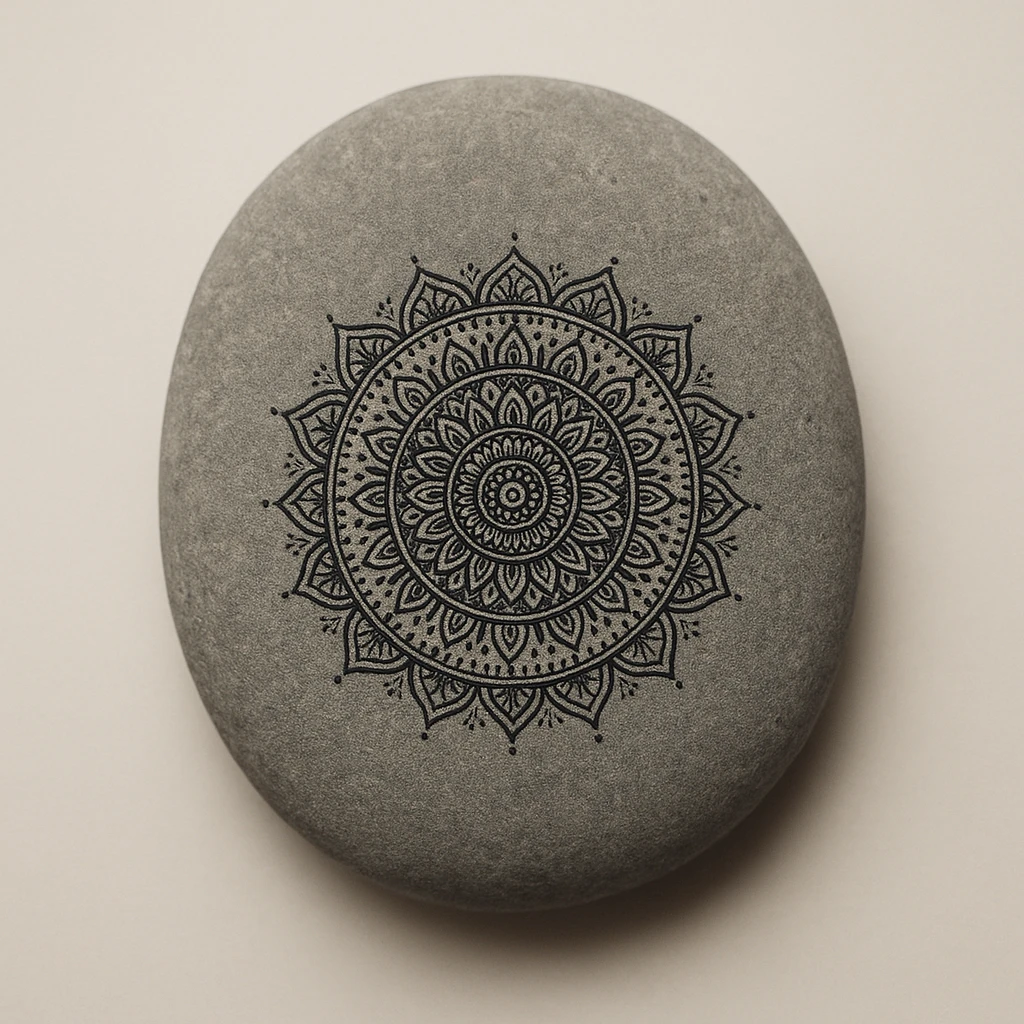
Draw on small, perfectly flat stones. Clean the stone first, use a pencil to sketch your design, and then paint with acrylic paint and a very fine brush. You can also draw on round wooden coasters where the natural wood grain shows beautifully through the paint. These miniature pieces become wonderful personalized gifts or decorations, and their small size makes them incredibly quick to complete.
29. Mandala Stencil Creation And Usage
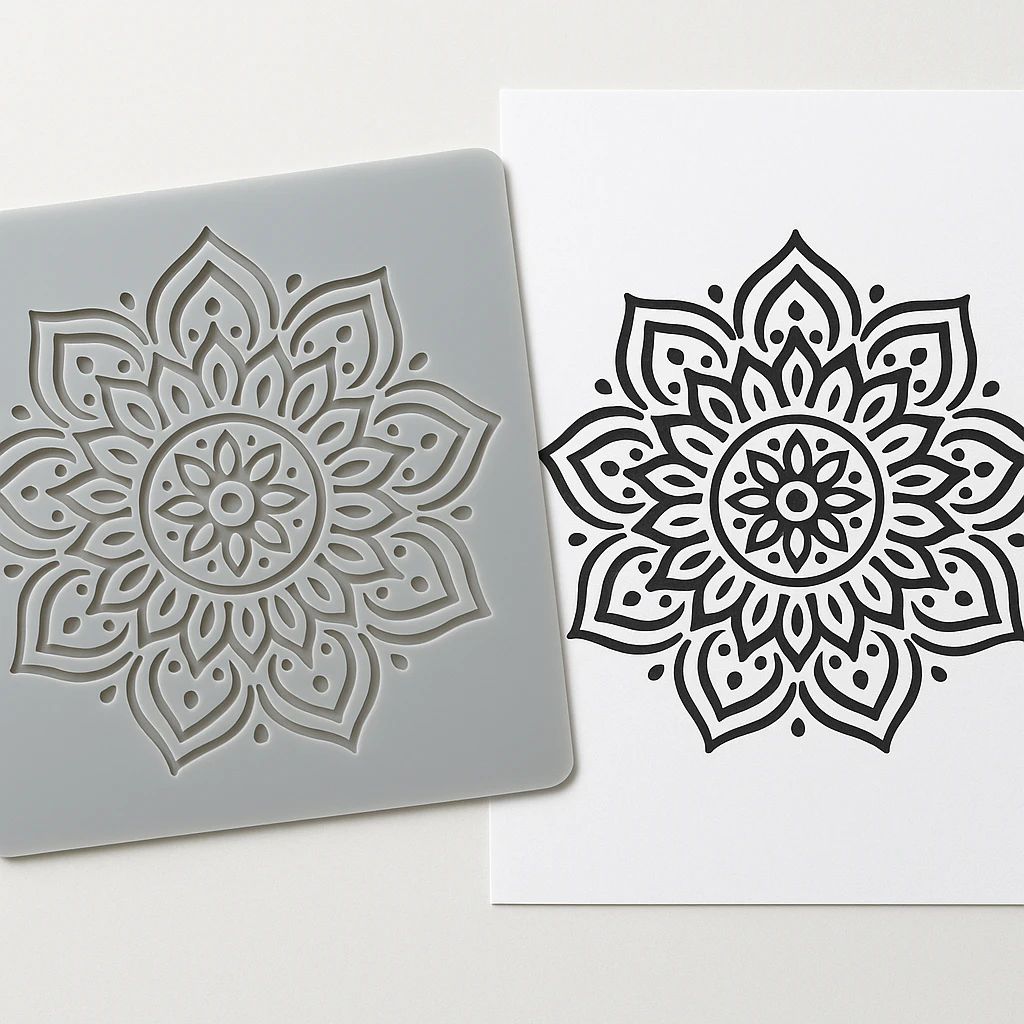
Draw a simple, bold mandala pattern on thick cardstock. Cut out the shapes carefully with a sharp craft knife. You now have a reusable stencil. Place the stencil on a new piece of paper and gently sponge paint through the holes. Lift the stencil, and you have a perfectly printed mandala. Use the stencil repeatedly to easily make greeting cards, gift tags, or multiple matching art pieces.
30. Collaborative Group Mandala Projects
Get a very large piece of paper and draw a massive circle. Divide it into numerous sections. Give each person one section to fill completely with their own unique patterns. Each person gets to use their own style. When complete, the massive mandala shows many different hands working beautifully together. This works incredibly well in classrooms, family gatherings, or art therapy groups, creating a shared spirit of fun.
31. Mandala Pattern Scaling Techniques
Draw a small mandala on one piece of paper, then draw a faint grid of squares over it. Draw a proportionally larger grid on another piece of paper or canvas. Copy the design methodically, square by square, into the larger grid. This perfectly enlarges your design without losing its geometric shape. Use this to transfer a tiny sketch onto a large, impressive canvas or a stunning wall mural.
32. Architectural Mandala Inspirations
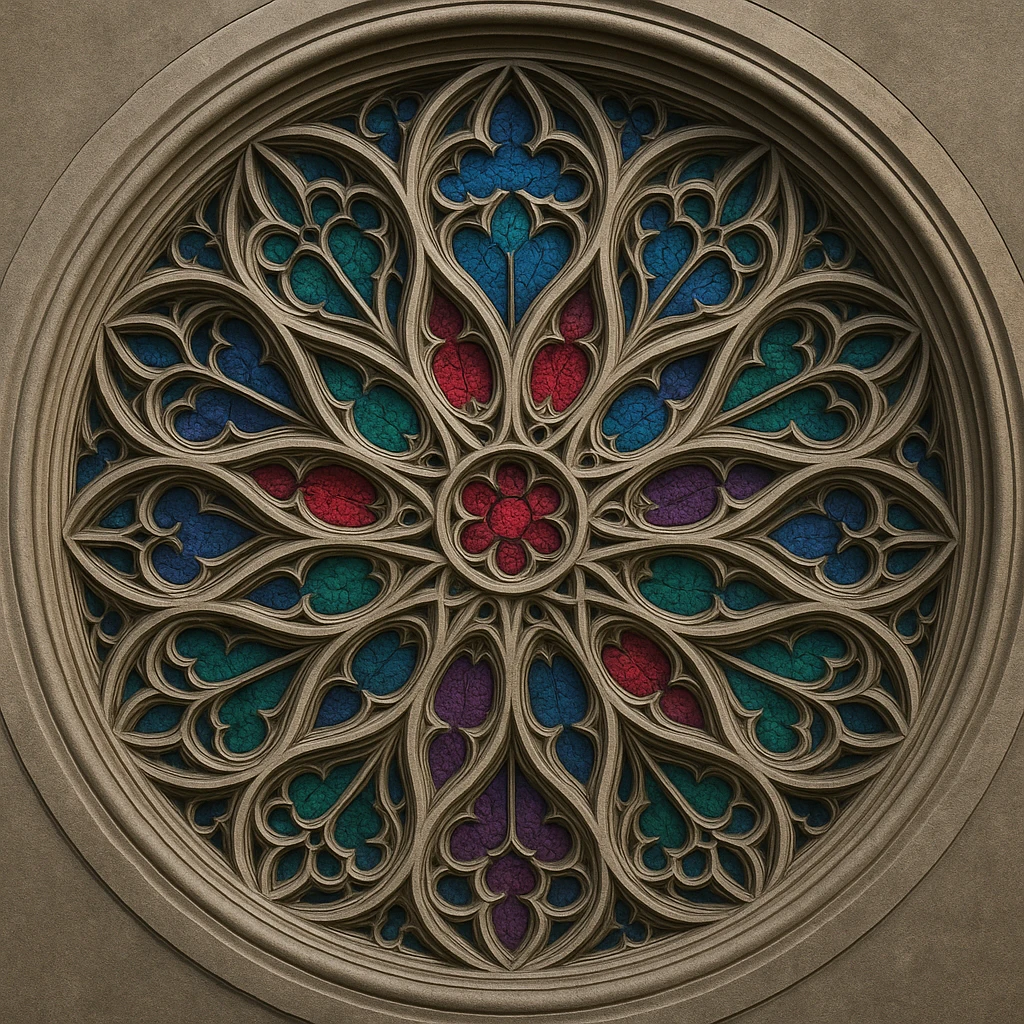
Look at detailed photos of rose windows in gothic cathedrals. Notice exactly how they use heavy stone ribs to divide the circle. Look at intricate floor patterns in historic mosques and study the geometric tile work. Sketch these historical elements and simplify them into basic lines and shapes. Use these exact ideas in your own easy mandala art pattern. Architecture provides an incredibly rich source of pattern ideas.
33. Kinetic Mandalas With Moving Elements
Create a truly unique mandala with a spinning center. Draw your intricate design on a sturdy paper plate. Cut out the center circle carefully. Attach a smaller, decorated circle behind it with a metal paper fastener. Draw an entirely different pattern on the smaller circle. When you spin the small circle, the patterns align in exciting new ways, adding a playful, interactive element to your art.
34. Eco-Friendly Natural Pigment Mandalas
Gather raw materials directly from nature. Crush bright flower petals to make natural red and purple dyes. Use common turmeric powder mixed with a little water for a vibrant yellow. Use crushed charcoal from a fire for deep black, and grind clay for a rich brown. Paint your easy mandala with these natural pigments. This deeply connects your craft directly to the natural world.
35. Augmented Reality Mandala Visualization
Draw a highly contrasting black and white easy mandala. Download a free augmented reality app on your smartphone or tablet. Open the app and point your camera directly at your drawing. The app instantly overlays vibrant color and mesmerizing animation right on top of your design, making the mandala appear to move on the page. This brilliantly blends traditional drawing with cutting-edge modern technology.
Mandala Preservation Methods: Fixatives And Display Options
You must protect your finished, complex work. For pencil and charcoal mandalas, use a high-quality workable fixative spray. Always spray in a well-ventilated area, hold the can twelve inches away, and apply two very light coats. For ink and marker pieces, a final UV-resistant fixative permanently seals the delicate surface. Frame your absolute best pieces behind UV-protective glass to keep dust and fading sun off the surface. Display your smaller, daily mandalas in a clear portfolio book.
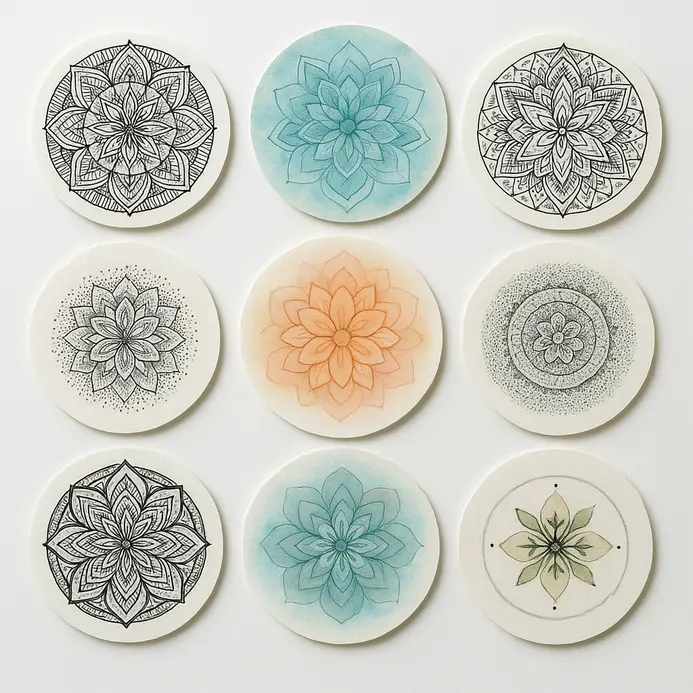
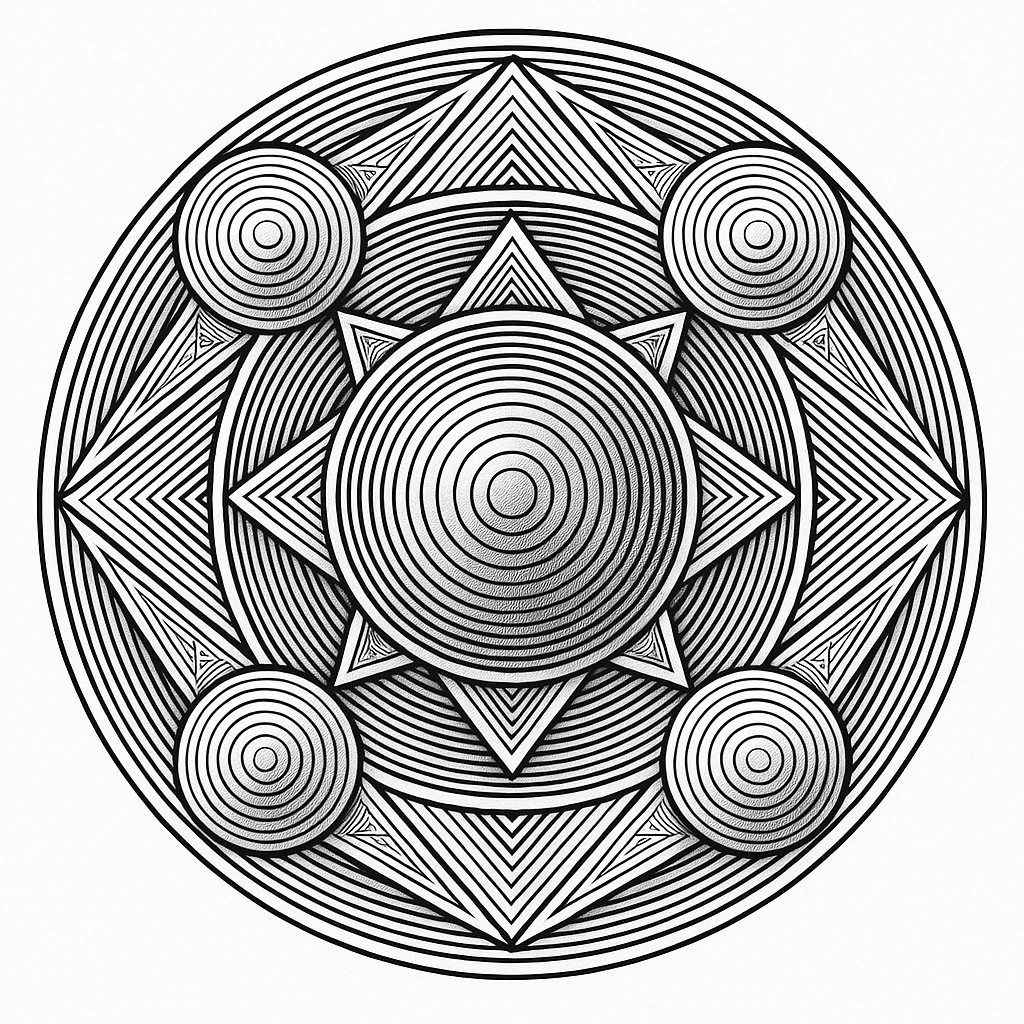
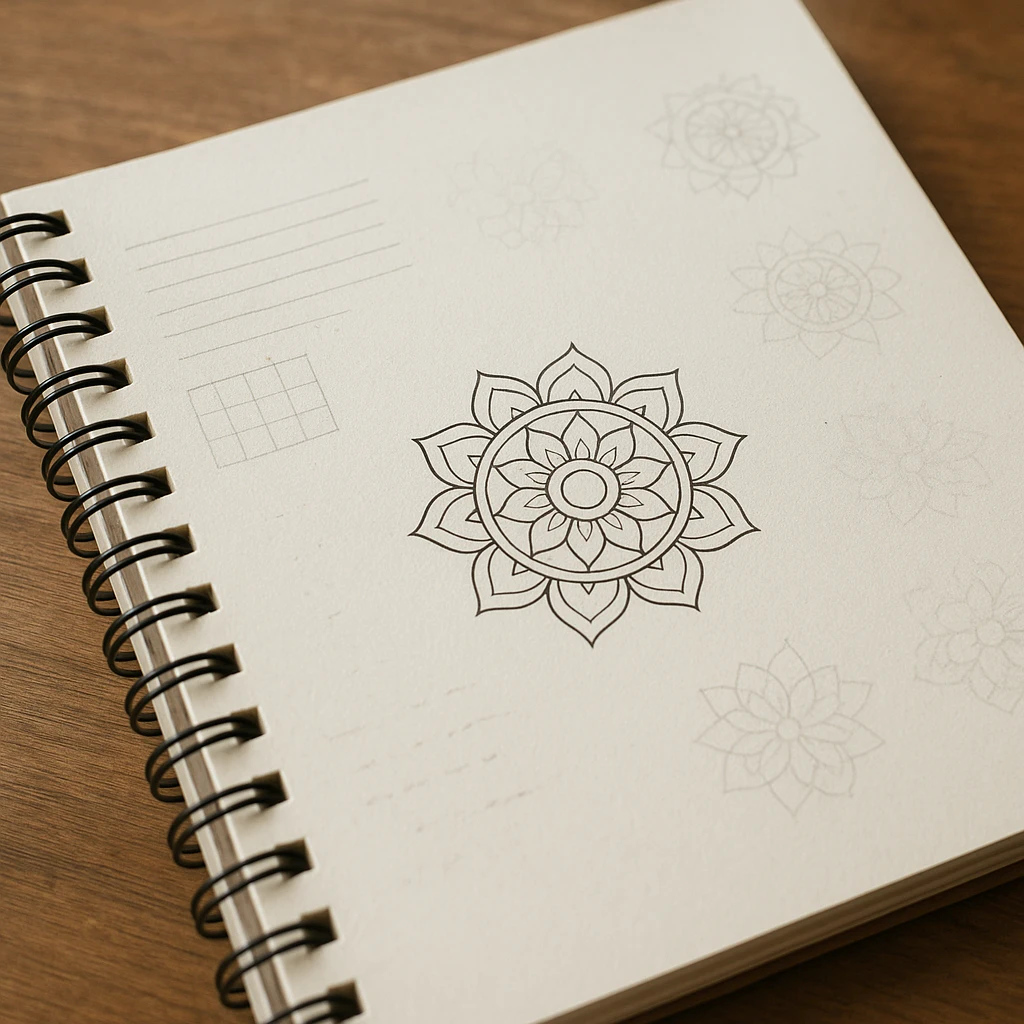
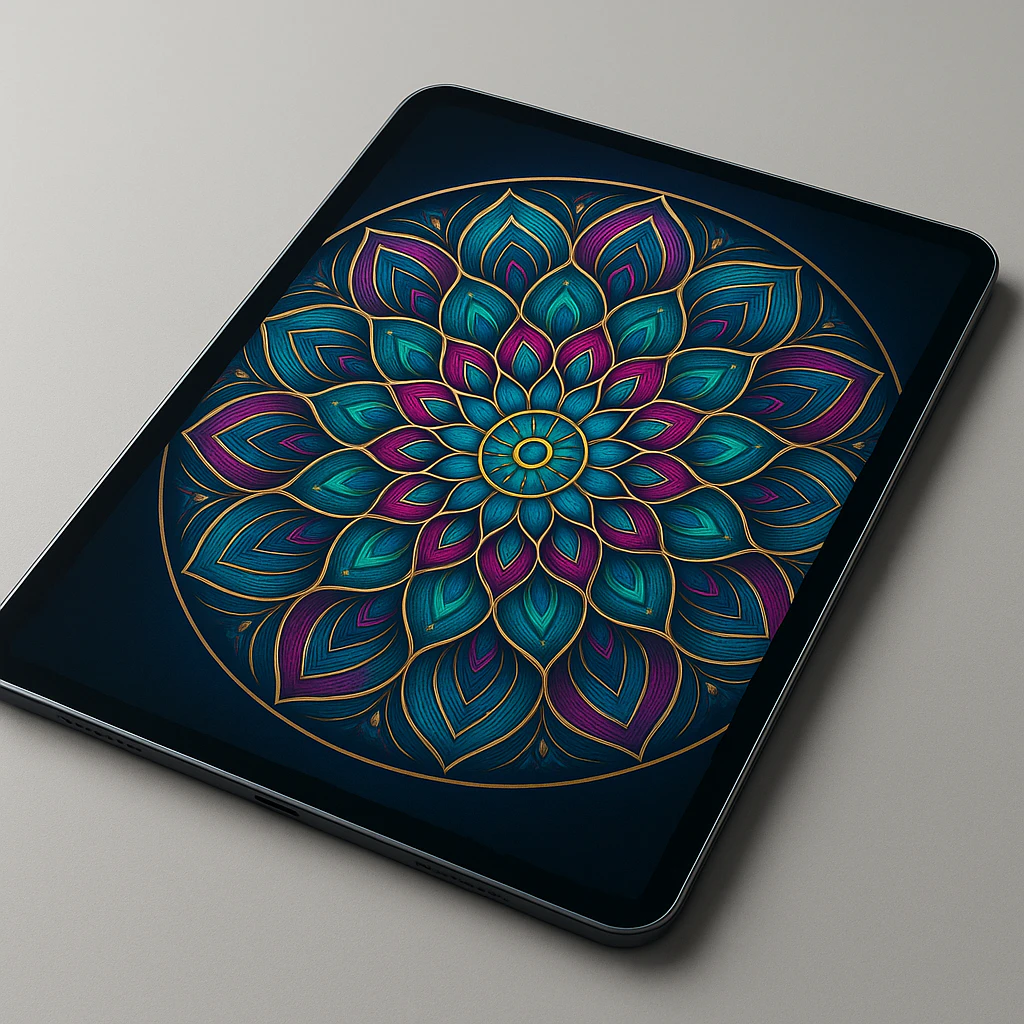
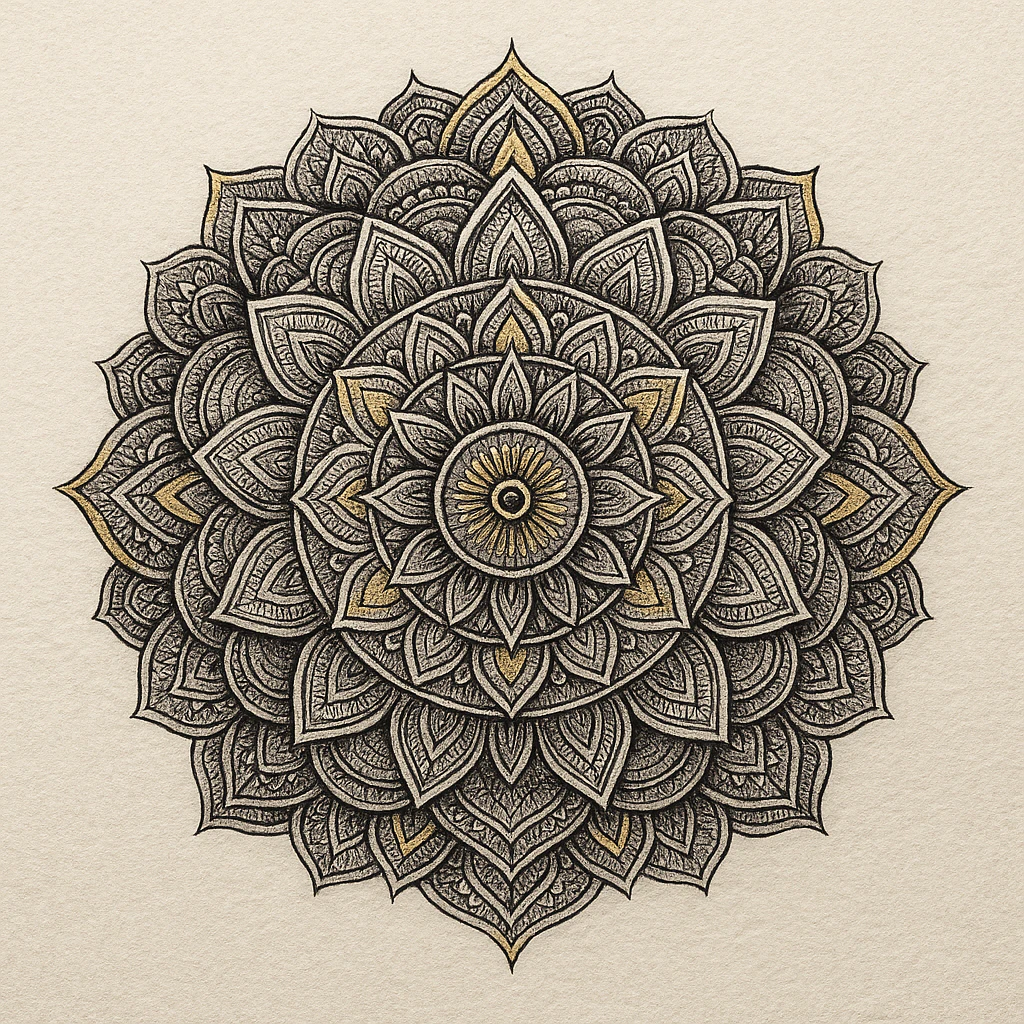
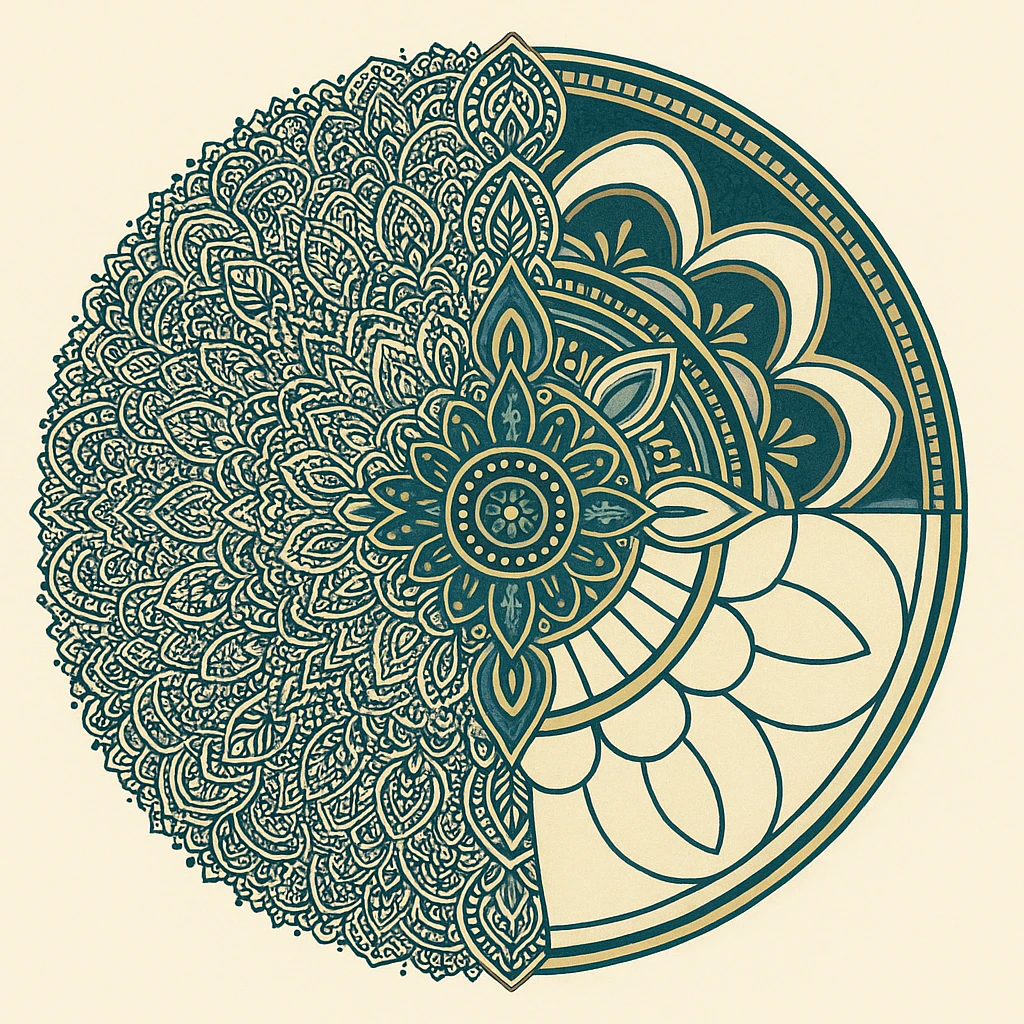
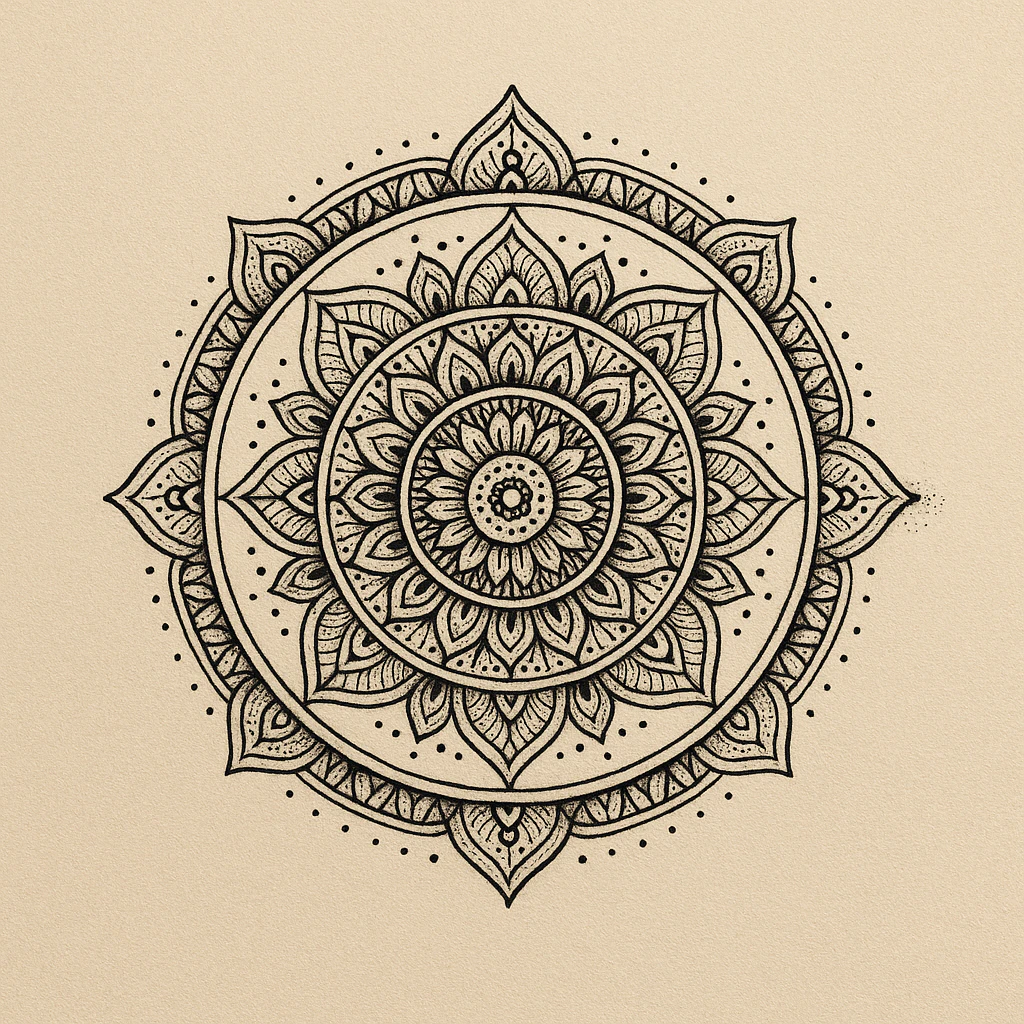
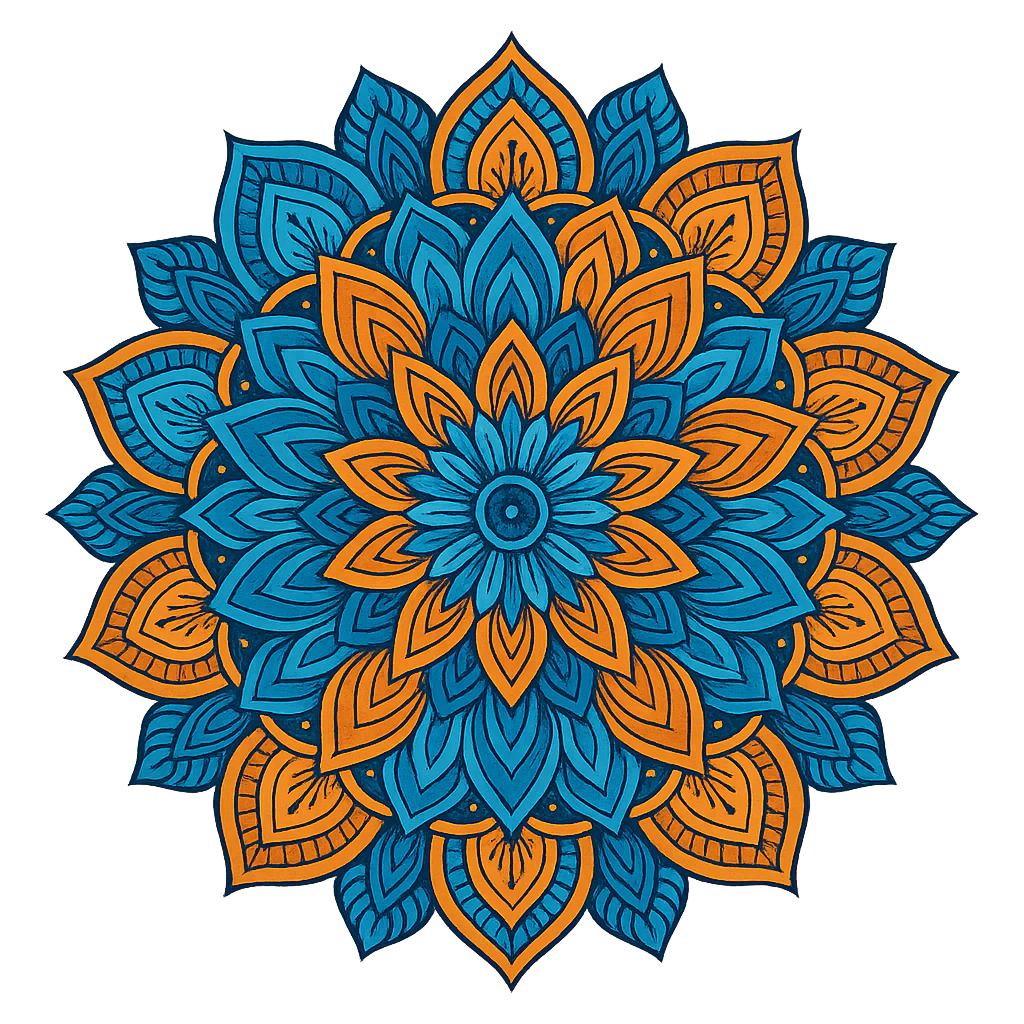
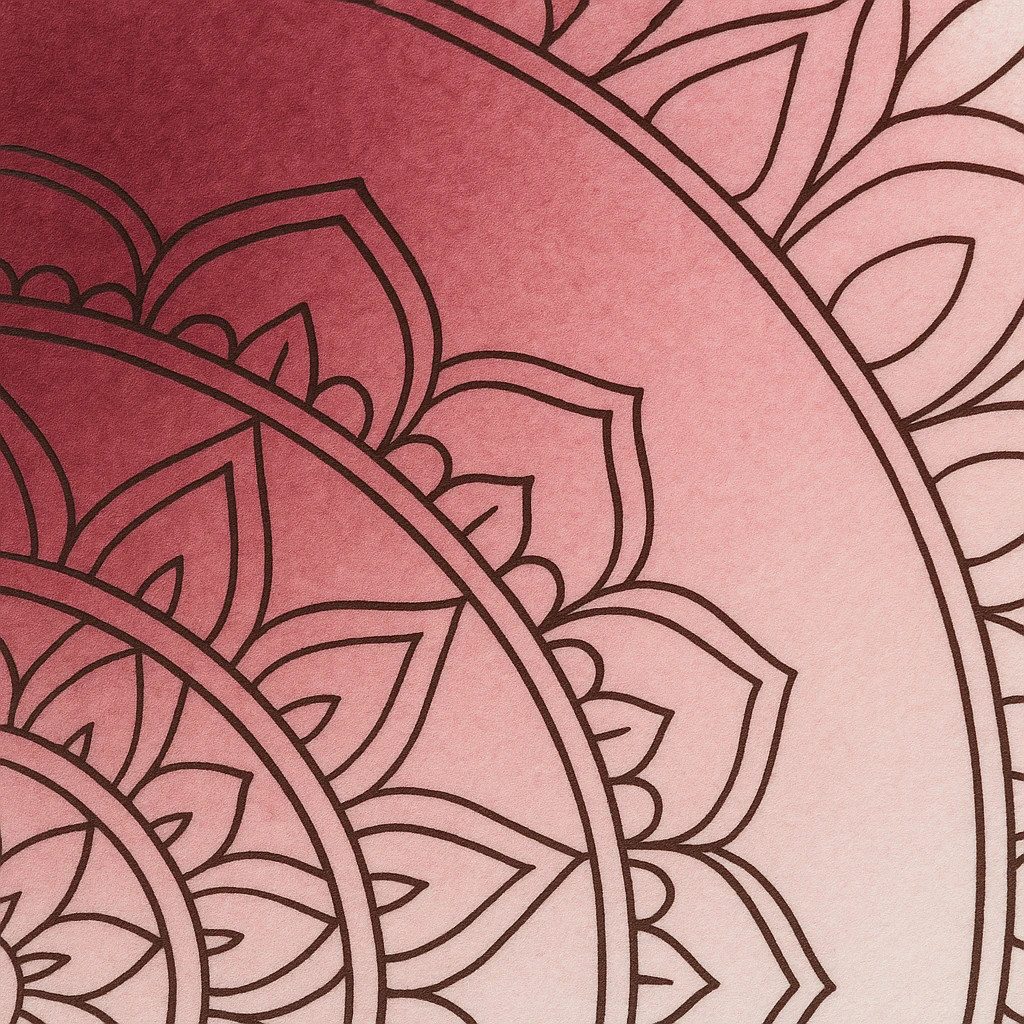
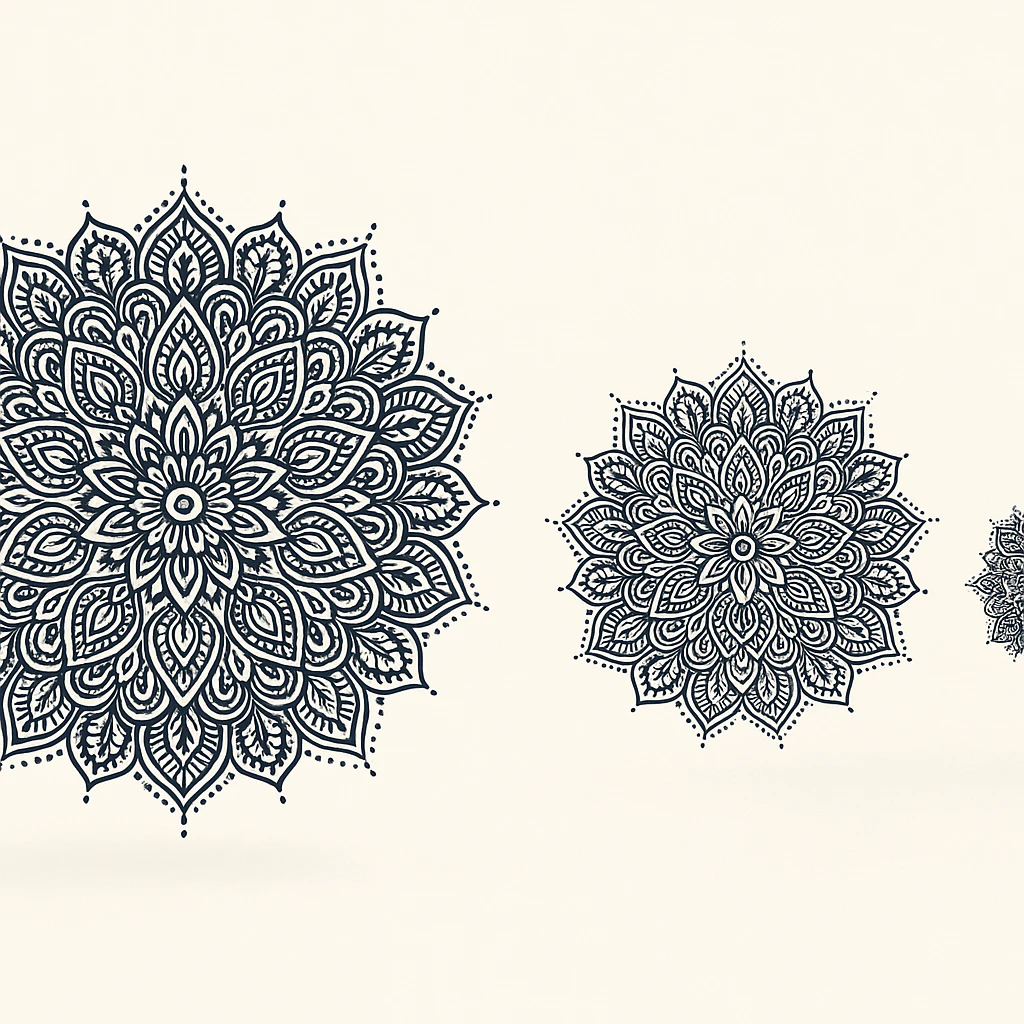
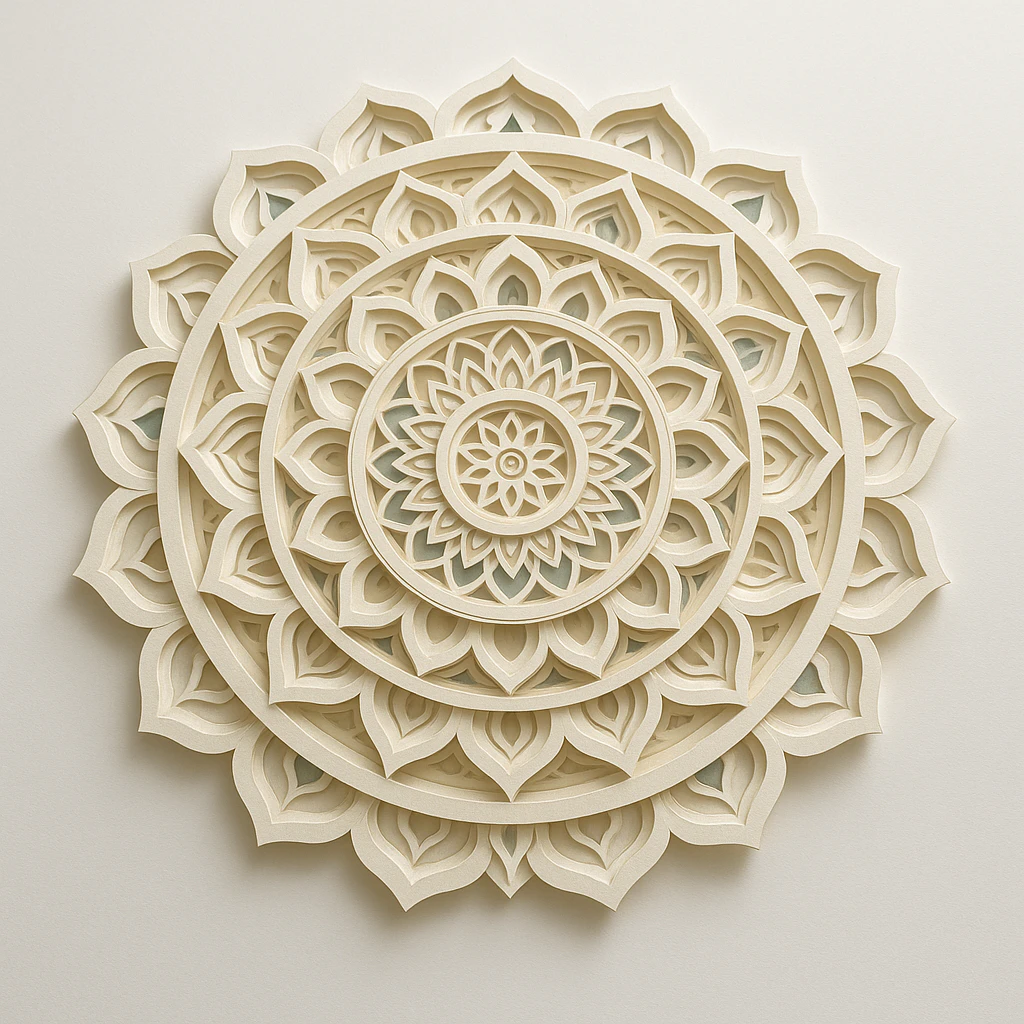
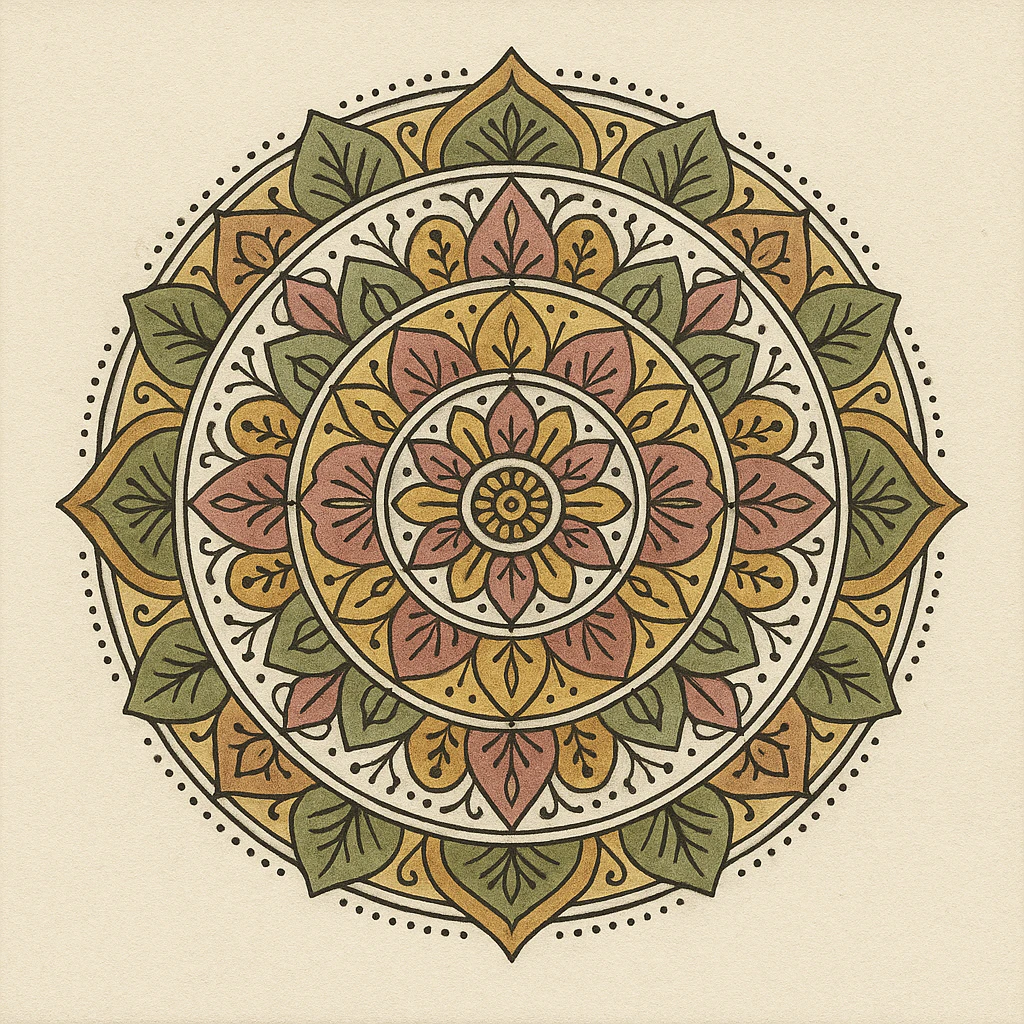
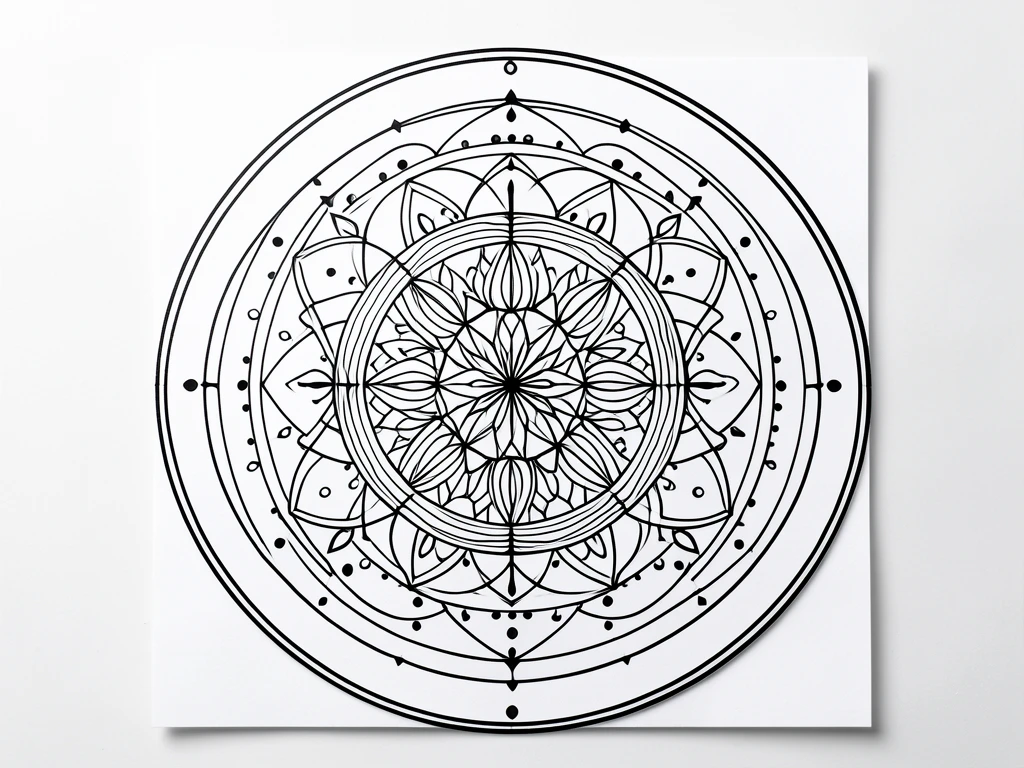
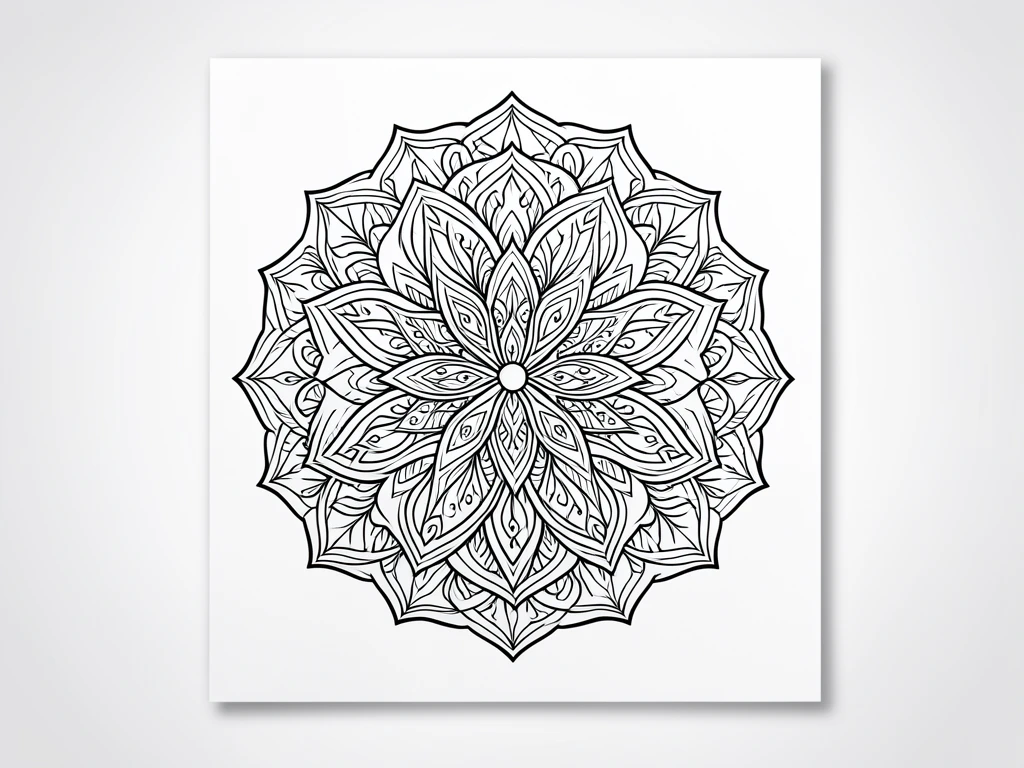
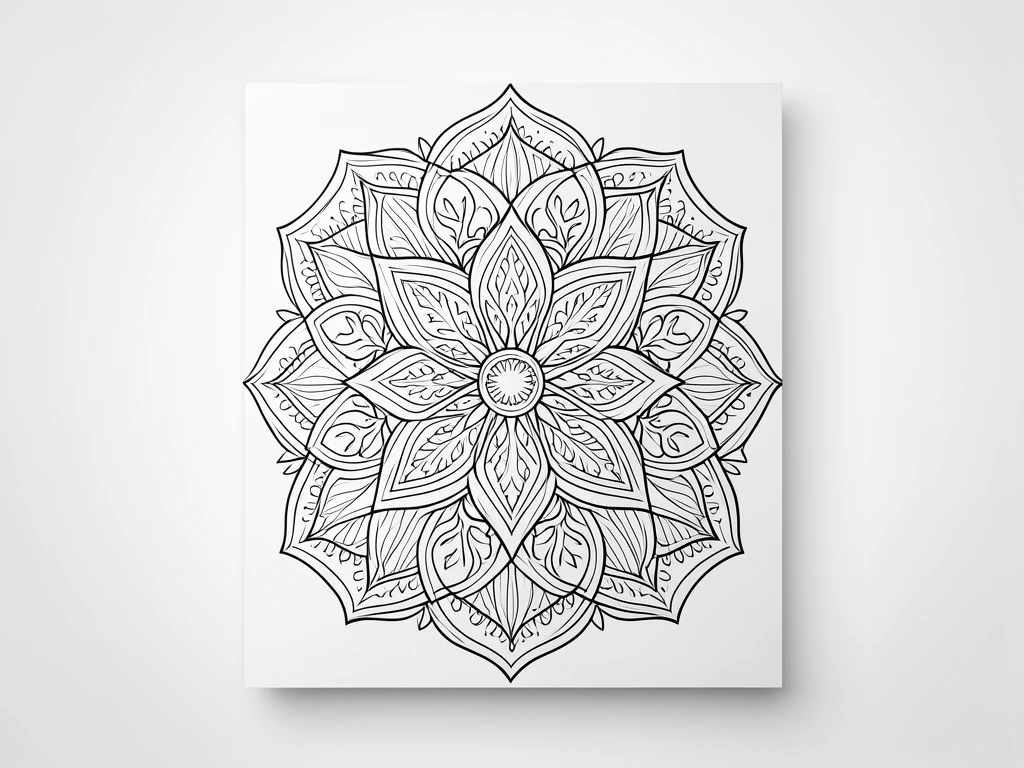
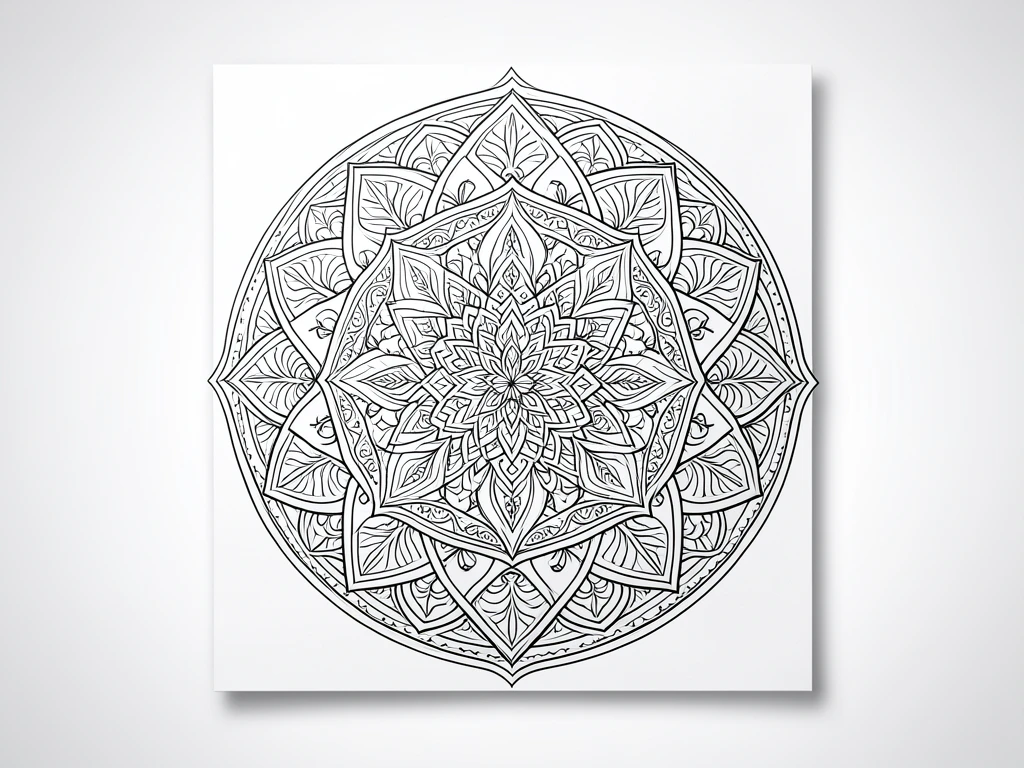
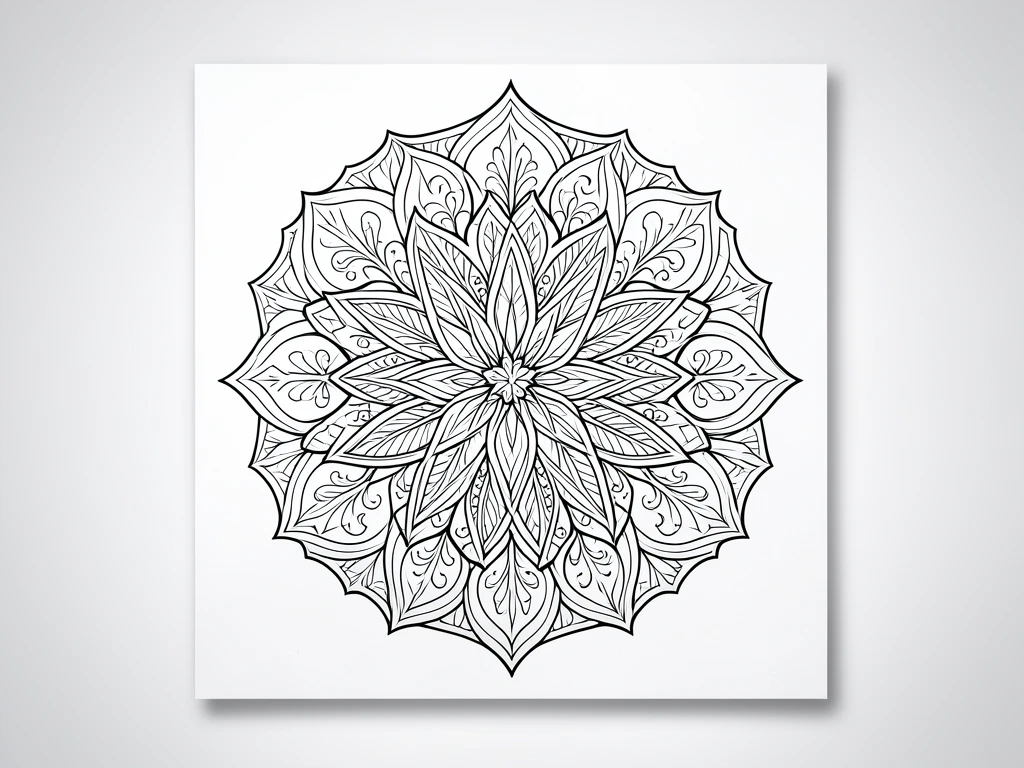
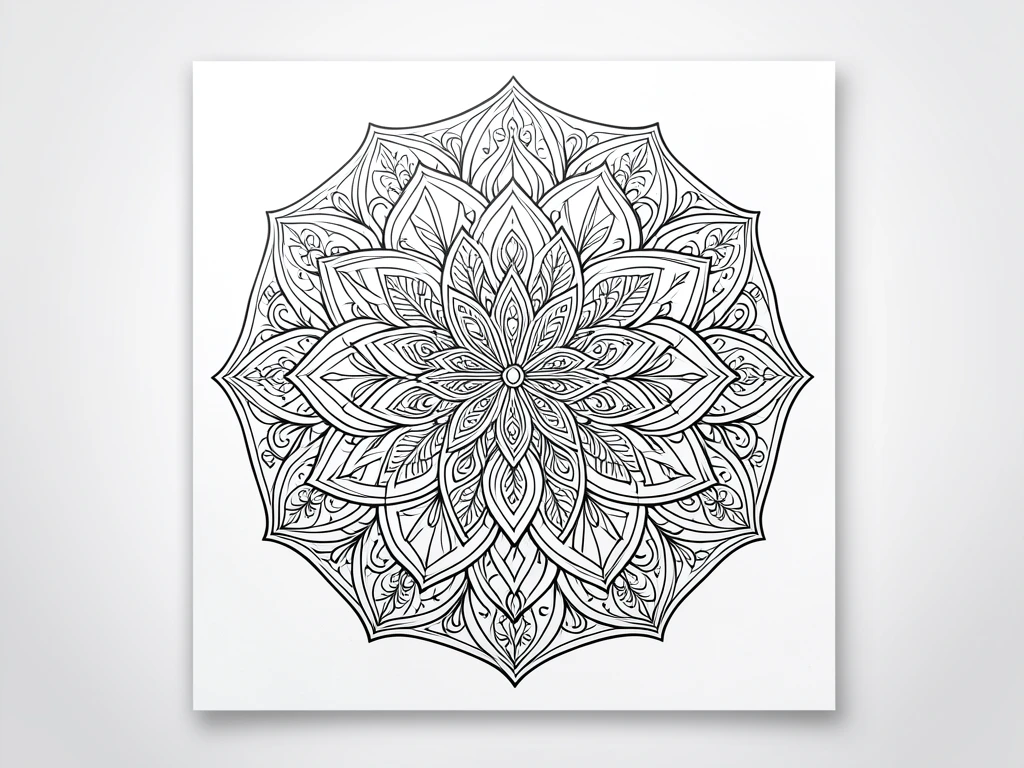
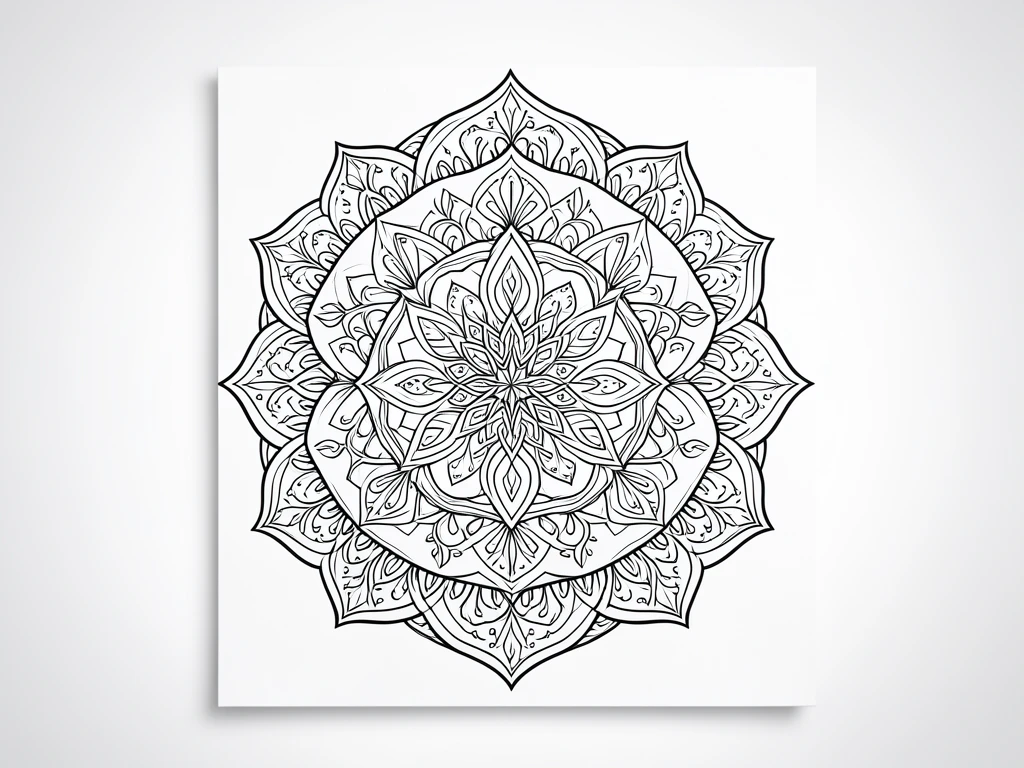
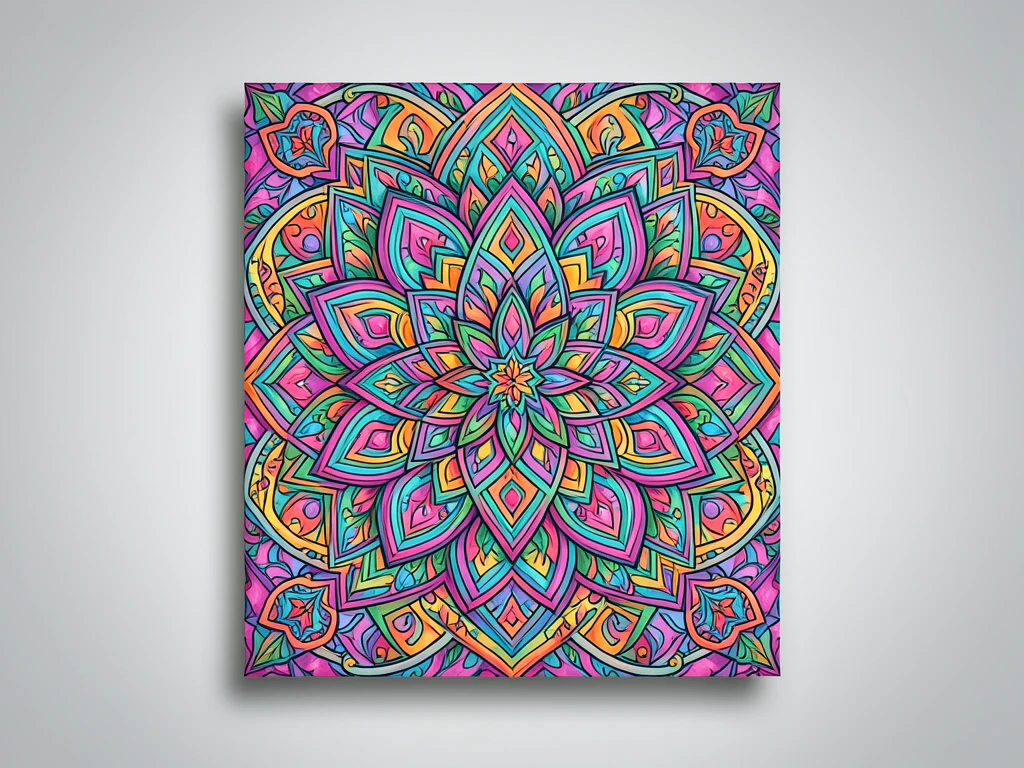
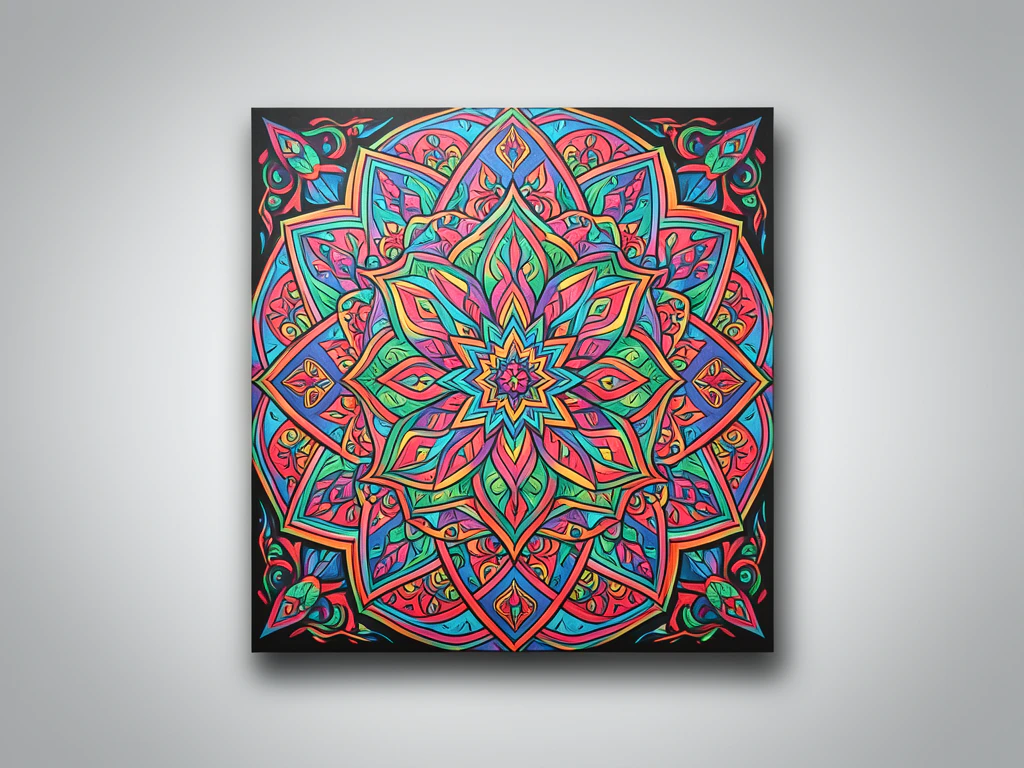
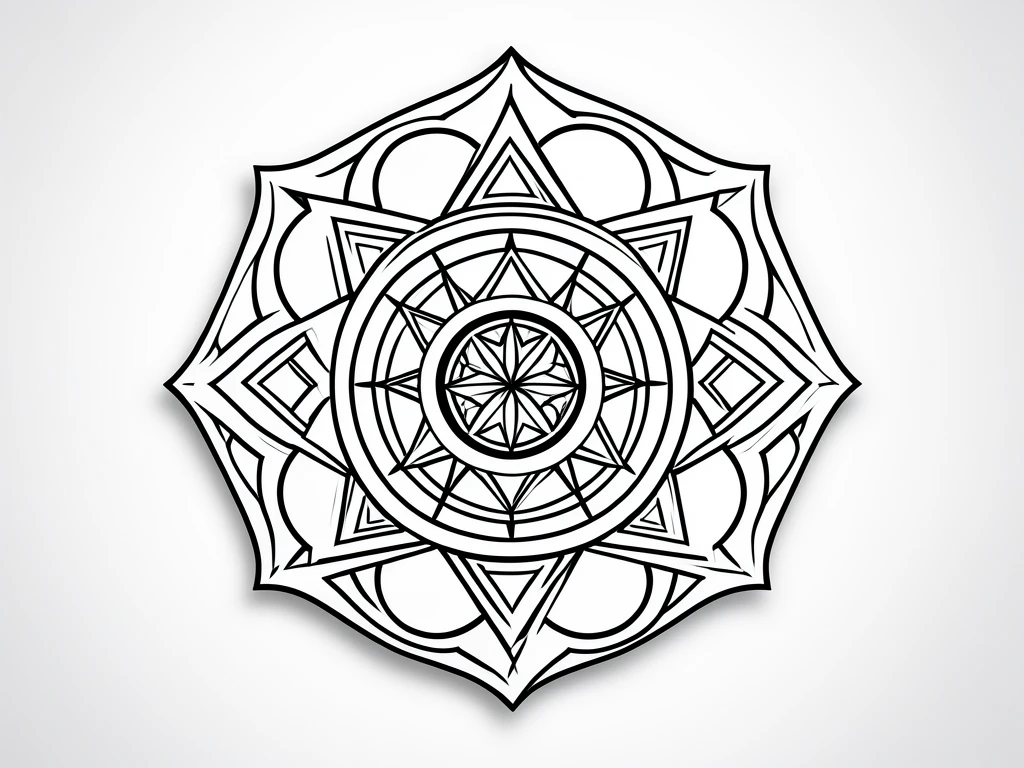
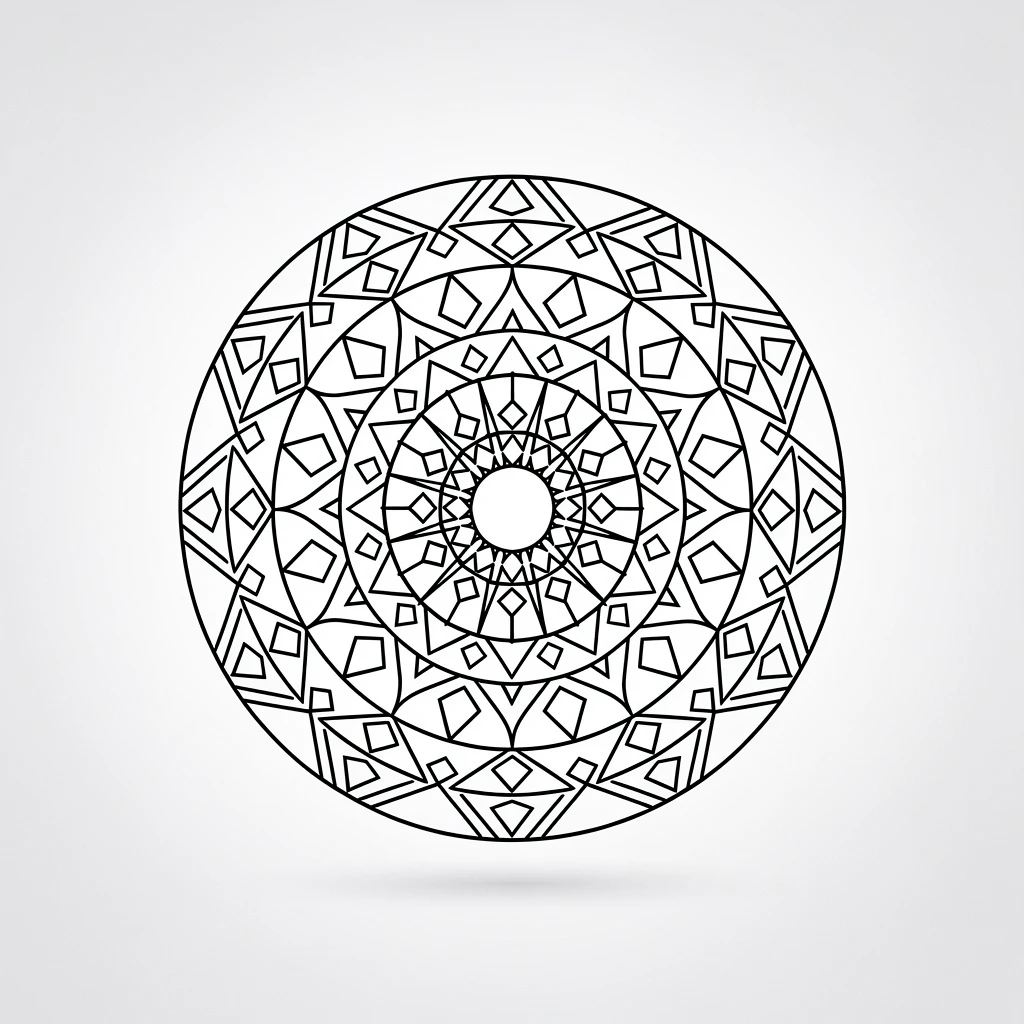
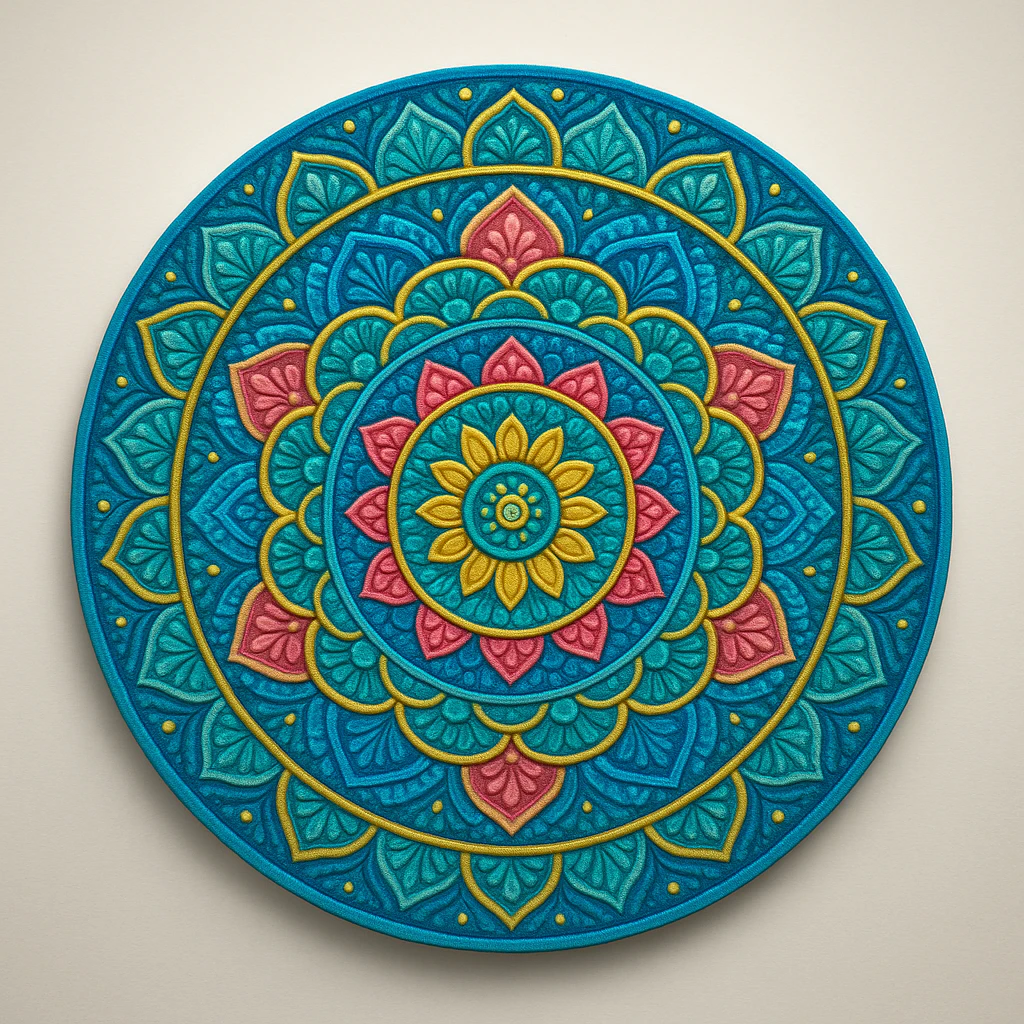
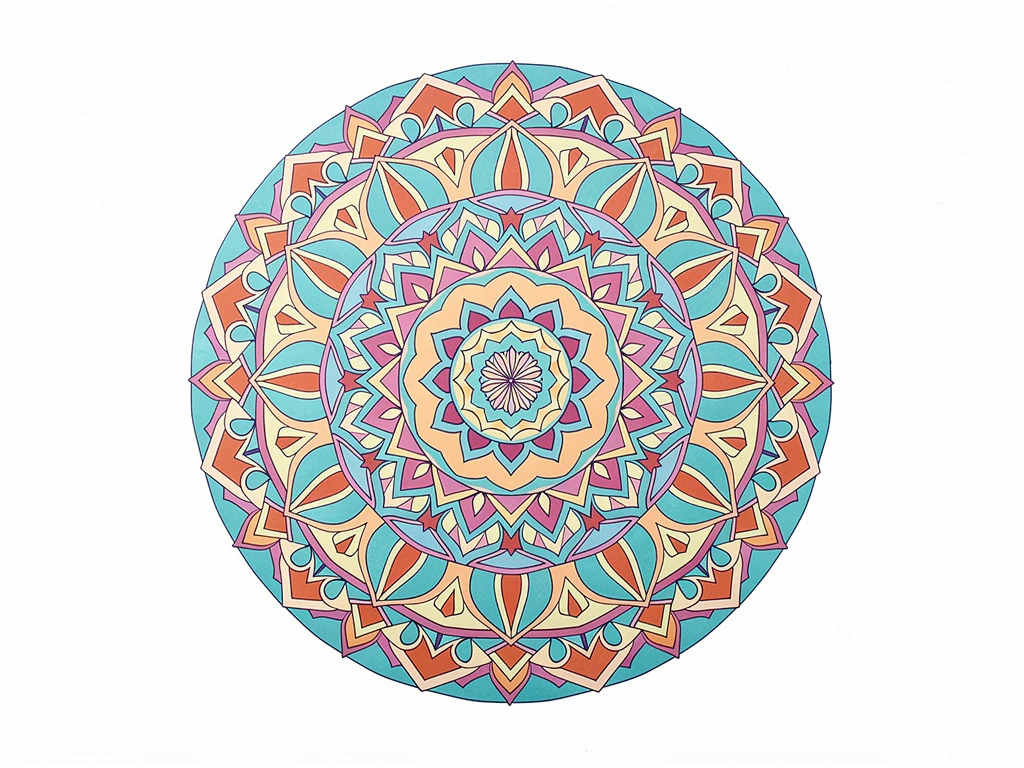
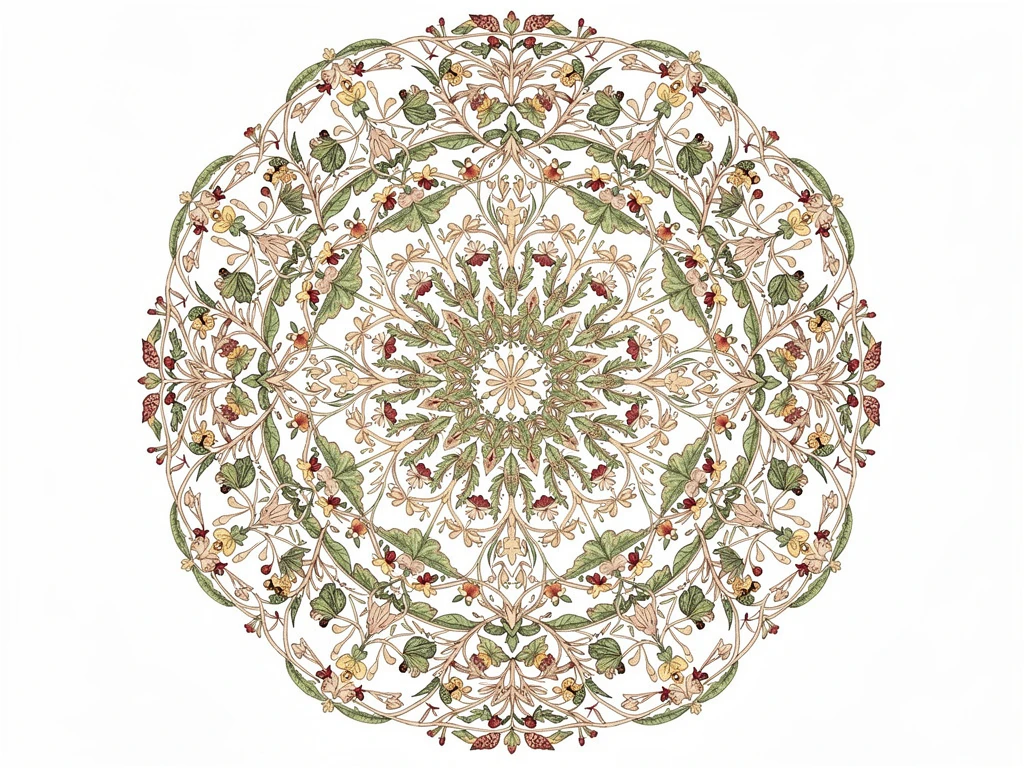
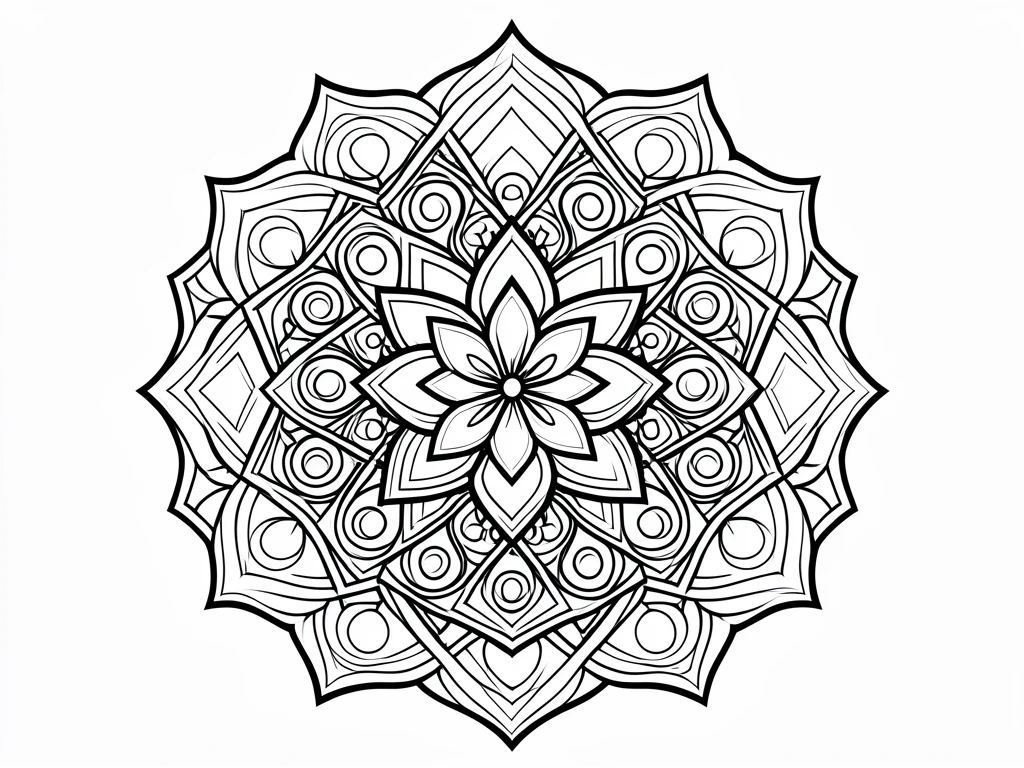
More Easy Mandala Art Pattern Gallery For Inspiration


Conclusion
You now have 61 easy mandala art pattern ideas at your fingertips. You have learned about the essential tools, proper grids, and fundamental basic shapes. You have explored beautiful themes from nature, rich culture, and personal symbols. Each idea in this patterns tutorial builds on incredibly simple steps. You always start with a single dot and a basic circle, adding simple lines and shapes one at a time. The soothing repetition is what ultimately creates the beauty. Pick just one easy mandala art pattern idea from this list, gather your paper and pencil, and draw your first mandala today. Every single one you create will teach you something entirely new.
FAQs
Q: What is an easy mandala art pattern and who can create one?
A: An easy mandala art pattern is a simple, repetitive circular design made from basic shapes like dots, petals, and lines that radiate from a center point; beginners, kids, and experienced artists can create one using minimal tools and simple steps.
Q: What basic materials do I need to start an easy mandala art pattern?
A: You need paper, a pencil, a compass or round object for a center circle, a ruler for guidelines, and pens or markers for outlining and coloring—many people also use a printable template or video tutorial as a guide, often available via a link in tutorials.
Q: How do I draw the center and guides for an easy mandala art pattern?
A: Begin by marking the center point, draw concentric circles with a compass or traced objects, and divide the circle into equal segments with light pencil guidelines to maintain symmetry before adding motifs and details.
Q: What simple motifs work well in an easy mandala art pattern?
A: Start with repeating motifs like teardrops, petals, dots, chevrons, and loops; these shapes scale easily across rings and create a balanced pattern without complex drawing skills.
Q: How can I add color to my easy mandala art pattern without making it look busy?
A: Use a limited palette (2–4 colors), apply color symmetrically across repeated sections, and use gradients or alternating colors between rings to keep the design harmonious and not overly crowded.


