

Understanding Renaissance Workshop Material Preparation Protocols
Your painting will crack within a few years if you ignore the fat-over-lean rule, which means each new layer must contain more oil than the one below it. We tend to skip this step, but those old masters built their luminous glazes on rigid, perfectly prepared surfaces. They started with a gesso ground on seasoned wood panels, not flexible canvas, to prevent movement. Then they applied a tinted imprimatura wash to unify the composition and establish mid-tones. By examining historical painting techniques closely, you see how this preparation mattered. This foundation was absolutely non-negotiable for achieving the deep atmospheric perspective we see in their work. Trust me on this, a stable ground is the first secret to archival stability.
Chemical Properties of Historical Organic Binders
Sun-thickened linseed oil dries faster and yellows less than modern refined oil, giving you a clearer, more stable painting film. The good news is you can make a small batch yourself by exposing raw oil to sunlight in a shallow dish for weeks. This process polymerizes the oil, creating a thicker medium perfect for building rich impasto. Walnut oil was another favorite for its pale color and fluid handling. Here is the thing, these historic binders lack the aggressive solvents of modern mediums, so they encourage patient layering. When you study historical painting techniques, you notice how these old mediums favor slow buildup. An egg-oil tempera emulsion dries to a hard, durable film ideal for underpainting.
1. Buon Fresco Wall Painting — A Permanent Mural Method
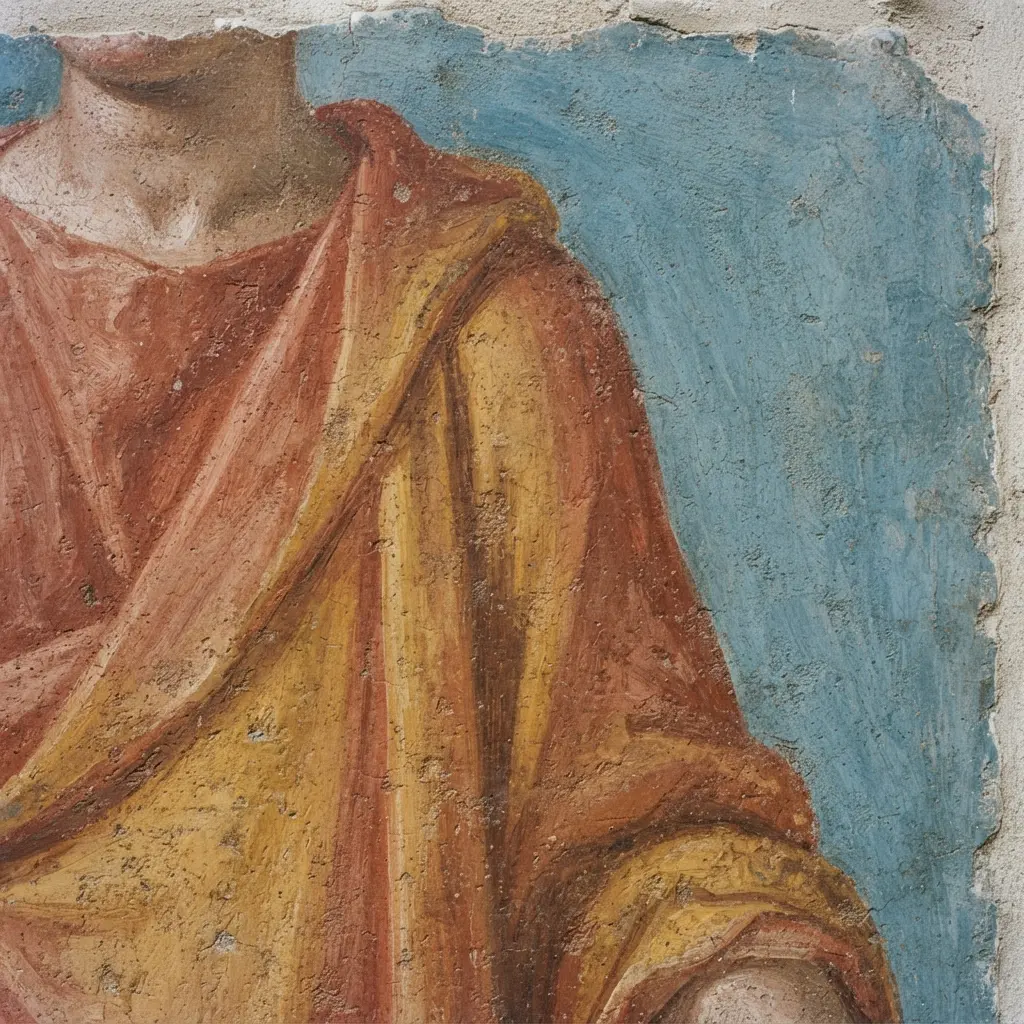
Ever wondered how Renaissance masters created murals that have lasted for centuries? Buon fresco achieves that incredible permanence by chemically bonding pigment with a wall. You apply water-based mineral pigments to a fresh, wet layer of lime plaster. As the plaster cures over the next day, the pigment particles get locked into the forming limestone crystals. Observing historical painting techniques shows why this chemical bond survives time itself. This is why the finish has that gorgeous, glowing matte look you see in ancient ruins and chapels. I love that the art becomes part of the wall itself, not just a layer on top. Your key to success is working within a single giornata, or day’s plaster section, because once it dries, you cannot make changes. Anyone researching historical painting techniques will agree that timing dictates the entire workflow. Before tackling a full mural, getting comfortable with a traditional impasto application can help you understand working with thick, textural materials. Trust me, the satisfaction of seeing your colors become one with the architecture is unmatched.
2. Encaustic Hot Wax Medium — Ancient Luminous Textures
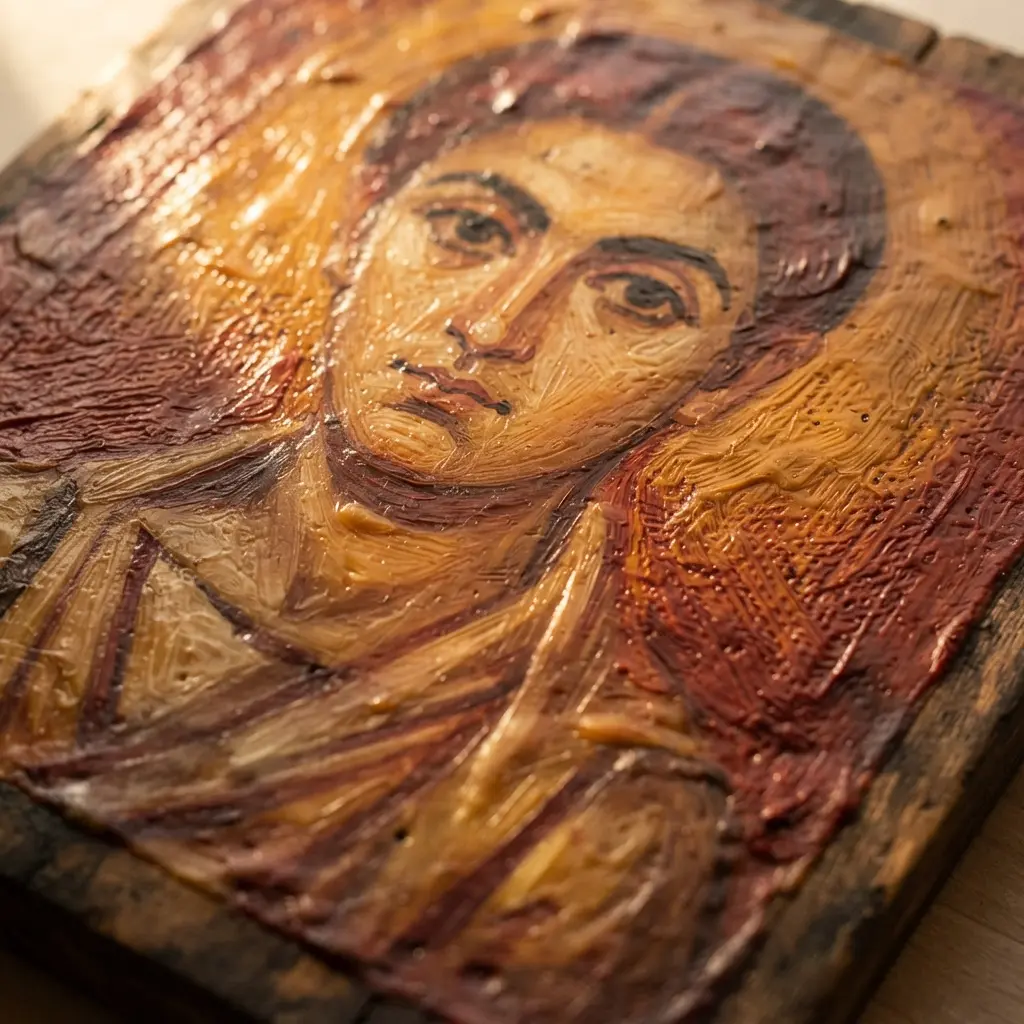
This ancient technique looks intimidating, but trust me, its core process is surprisingly straightforward and tactile. You start by melting blocks of pigmented beeswax on a heated palette, then brush it onto a rigid wood panel. The real magic happens when you immediately fuse each fresh layer with a heat gun or torch. Learning these historical painting techniques reveals why artists favored such tactile methods. That step literally “burns in” the wax, creating a permanent bond that gives the painting its legendary durability and depth. Why does this work so well? The wax’s natural translucency lets light travel into the paint film instead of just bouncing off the top. This creates an internal glow you just can’t get with oils or acrylics. For a smooth, professional finish, you’ll want to master palette knife application, as it’s perfect for spreading and texturing the molten medium. Many artists studying historical painting techniques note that this wax fusion prevents future cracking. The final buffing with a soft cloth reveals a warm, satin sheen that feels incredibly satisfying to the touch.
3. Egg Tempera Panel Binding — Sharp Detail and Matte Finish
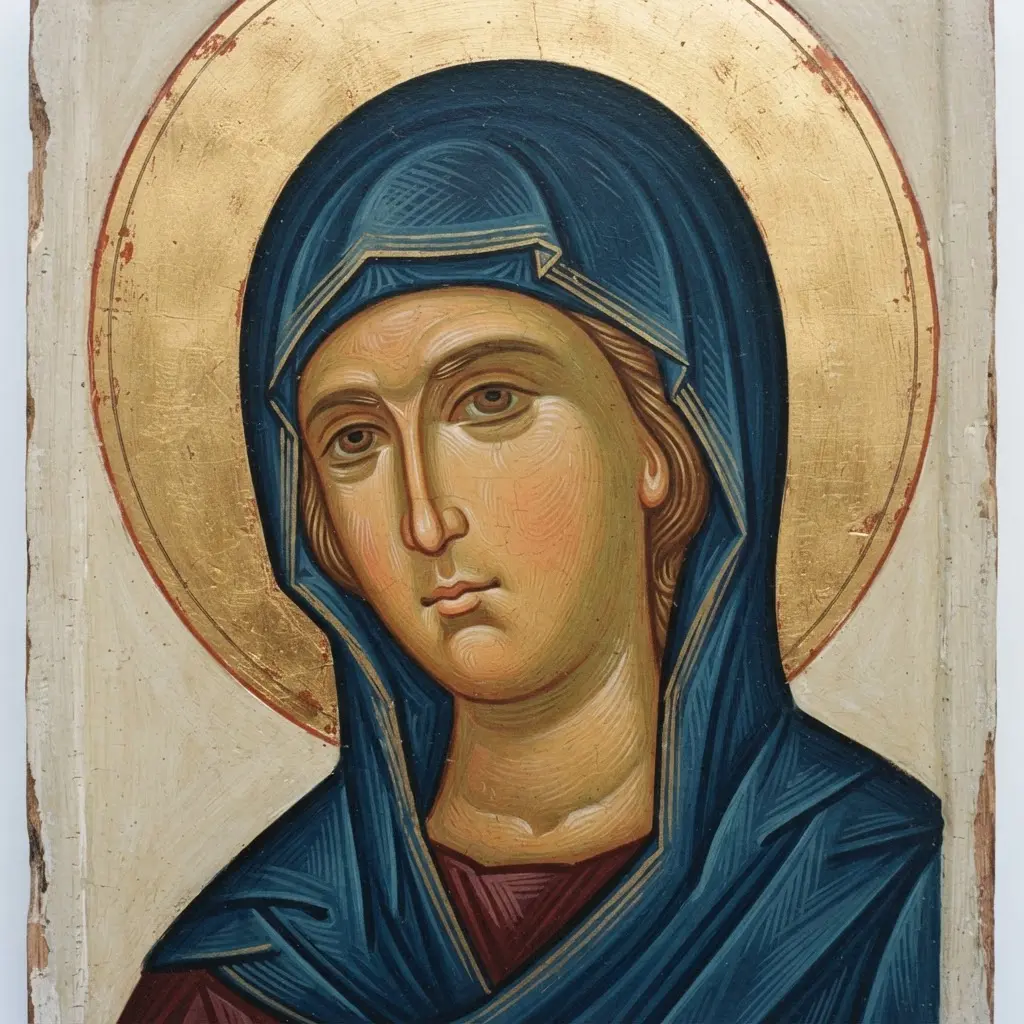
I love this one for its incredible precision. You apply thin layers of paint with a fine sable brush, building up your image with delicate cross-hatching strokes. The paint dries so fast you can add another layer almost immediately, which is perfect for creating those crisp, sharp lines. Comparing historical painting techniques highlights how speed dictates brushwork choices. That rapid drying is the secret to its unmatched detail. Why does it look so wonderfully matte? The magic is in the chalk gesso ground. This absorbent surface soaks up the egg binder, leaving pure pigment sitting on top without any shine. It is a completely different feel from working with oils. When reviewing historical painting techniques, you notice how surface absorbency changes the final look completely. Trust me, the satisfaction of seeing those clean, flat layers come together is hard to beat.
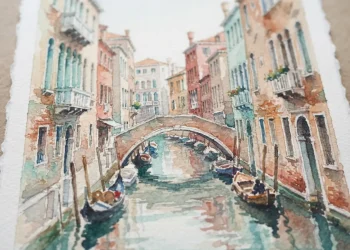
Getting the surface right is crucial, so your prep work really pays off. A properly sealed and sanded panel prevents the paint from lifting later. Anyone practicing historical painting techniques will tell you that surface sealing saves hours of repair later. For a similar layered, translucent effect with a different medium, you can learn a lot from the methods used in Watercolor painting and glazes. Give egg tempera a try and feel the joy of that perfect, velvety finish.
4. Gold Leaf Gilding Layers — Adding Divine Light
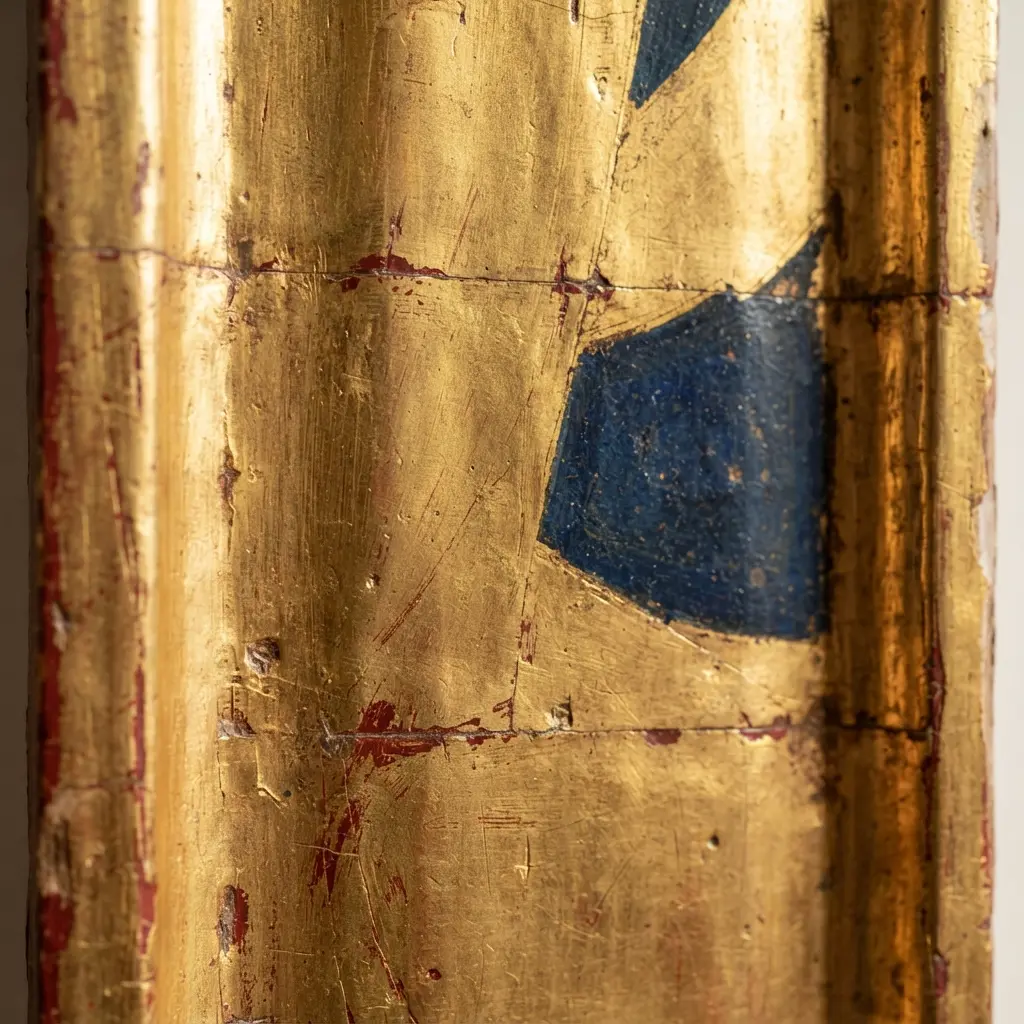
Picture the final effect first. A classical icon doesn’t just have a gold background. It seems to hold light within itself, glowing with a warmth no yellow pigment can match. Studying historical painting techniques shows exactly why artists chose this radiant finish over standard paint. That’s the magic of water gilding. The process is a patient layering of meaning. You start with a pure white gesso foundation, then add a cushioning layer of warm, red Armenian bole. This bole is key. When you breathe moist air onto it and lay down the impossibly thin gold leaf, the leaf gets pulled perfectly flat. Documenting historical painting techniques requires noting every careful burnish pass for a flawless result. After it dries, you burnish it with a hard agate stone until it shines like a mirror.
This works because light passes through the microscopic gold to interact with that red layer beneath, creating incredible depth. For a luminous result that lasts, your foundation work is everything. A solid understanding of Classic oil painting layers builds the same kind of disciplined, structural thinking you need here. Mastering historical painting techniques teaches you to respect this exact light path every single time. Trust me, the moment you see that brilliant, reflective surface you’ve created, you’ll feel a direct connection to centuries of master painters.
5. Oil Glazing Transparent Layers — Creating Depth and Glow
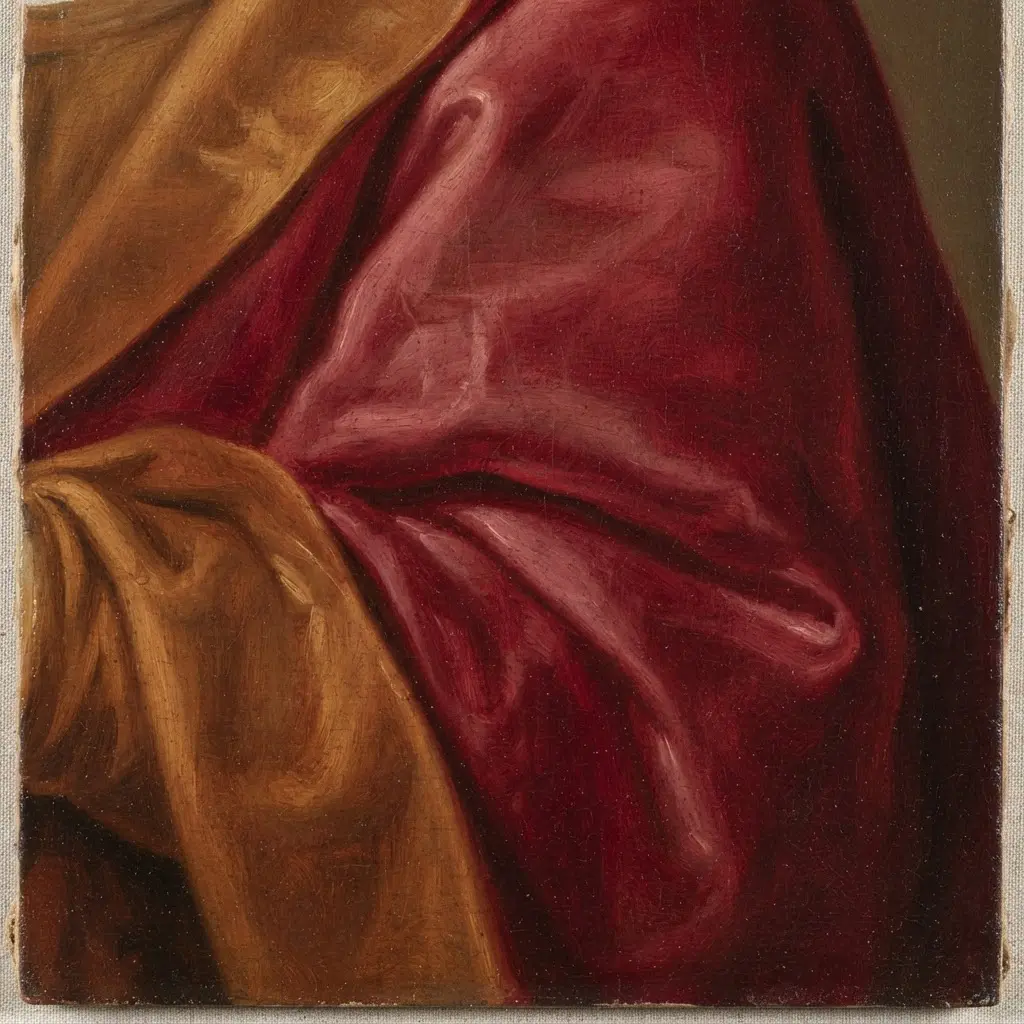
One of the biggest mistakes I see is trying to glaze with an opaque pigment like cadmium red. It blocks the light completely, leaving you with a dull, chalky film instead of that luminous glow. The magic happens when you apply ultra-thin, transparent layers over a completely dry underpainting. You mix a tiny amount of color into a generous glazing medium and brush it on like tinted water. Analyzing historical painting techniques confirms that transparency always wins over opacity for light manipulation. Light travels through each transparent film, bounces off the layer below, and comes back to your eye with incredible richness. This optical mixing is why a yellow glaze over a blue base creates a glowing green you can’t get from a palette. Anyone exploring historical painting techniques understands this optical magic relies on complete drying. Isn’t that satisfying? To see this technique’s full storytelling power, look at how masters used symbolism in master paintings. My go-to tip is to always test your glaze mixture on scrap paper first. When it dries, you should still see the paper’s texture shining through clearly.
6. Sfumato Soft Color Blending — The Art of the Hazy Transition
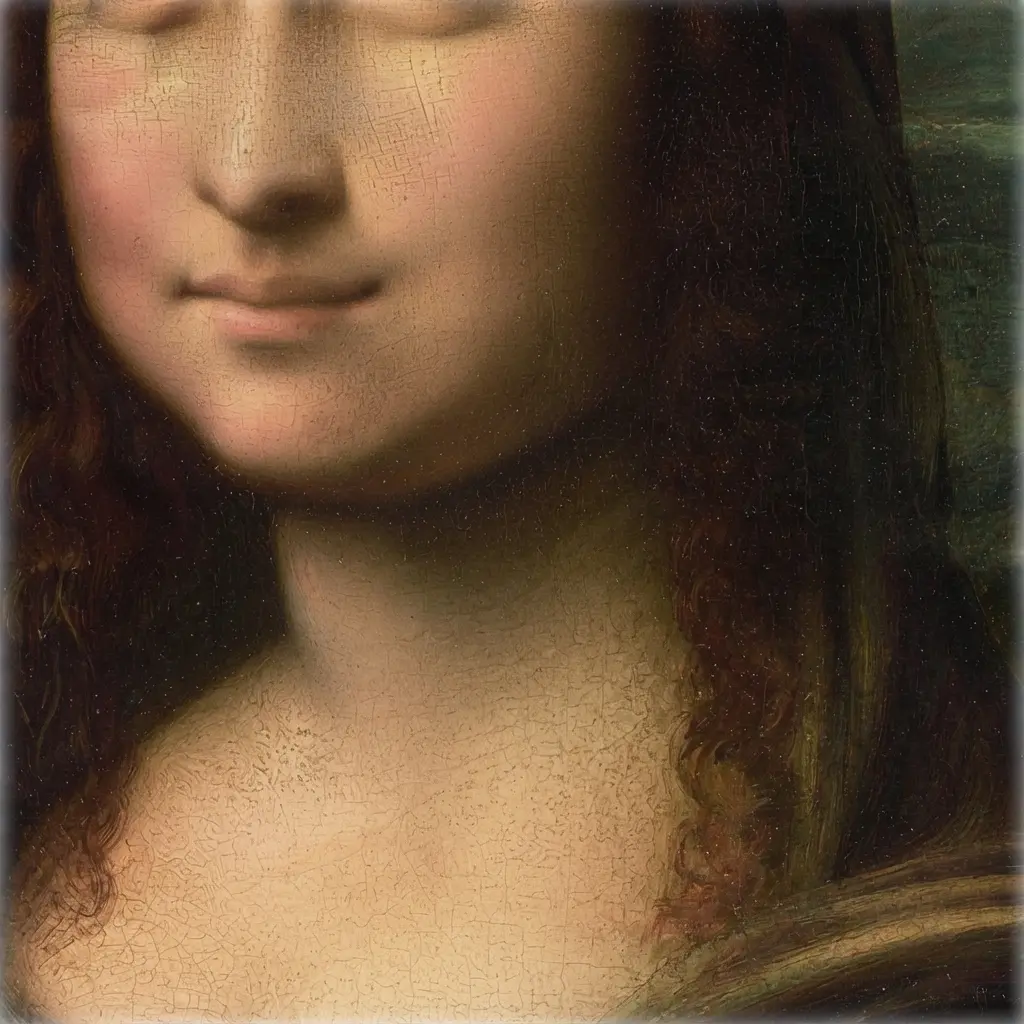
Grab your softest brush and prepare for a marathon of patience. You will build the effect with dozens of translucent oil glazes, each one impossibly thin and allowed to dry completely. This is not blending wet paint on the palette, but letting light do the work as it passes through all those stacked, transparent layers. When practicing historical painting techniques, you quickly learn that patience replaces aggressive brushwork here. The payoff is a depth and realism that feels almost magical. Ever wondered how Leonardo made the Mona Lisa’s smile so mysterious? That is sfumato in action. He mapped the tones perfectly in an underpainting, then applied those glazes over weeks. The technique replicates how our eyes naturally see soft edges and atmospheric depth. Researching historical painting techniques explains why this slow approach mimics human vision so accurately. You have to avoid the temptation to overwork the paint while it is wet, or you will lose that luminous glow. Getting this smoky transition right requires a solid grasp of historical ink wash techniques for tonal control. Artists studying historical painting techniques always return to value gradation for this exact reason. Trust me, mastering that foundational skill of value gradation makes the leap to sfumato feel much more intuitive. Try it and feel the satisfaction when those hazy transitions finally come to life on your canvas.
7. Chiaroscuro High Contrast Shading — Drama Through Light and Shadow
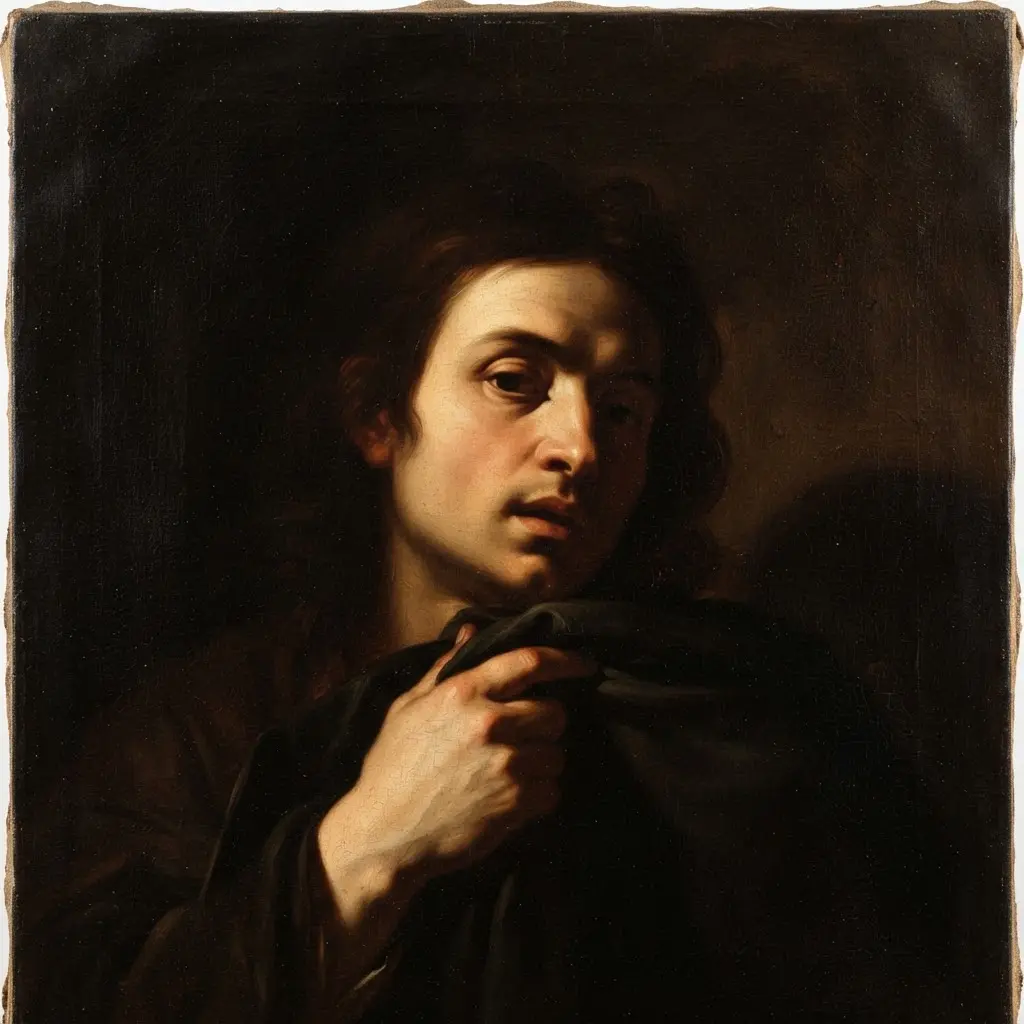
Ever notice how some paintings feel like a spotlight is hitting the subject? That is the power of chiaroscuro, a technique that uses extreme light and dark to build form and drama. You will work from a toned ground or dark underpainting, pulling your brightest highlights forward with thick paint while letting shadows stay thin and transparent. This makes your figures look sculpted and three-dimensional, not flat. Observing historical painting techniques in museum galleries proves that contrast always directs attention. I love this because it solves the flat-plane problem instantly. Your canvas becomes a stage, and you are the director of light, guiding the viewer’s eye exactly where you want it. A common mistake is using flat black for shadows, which kills the depth. Keep your darks luminous and remember that even in high contrast, light bounces. Try it and feel the satisfaction when your subject leaps off the canvas.
8. Impasto Thick Paint Texture — Physical Presence on the Canvas
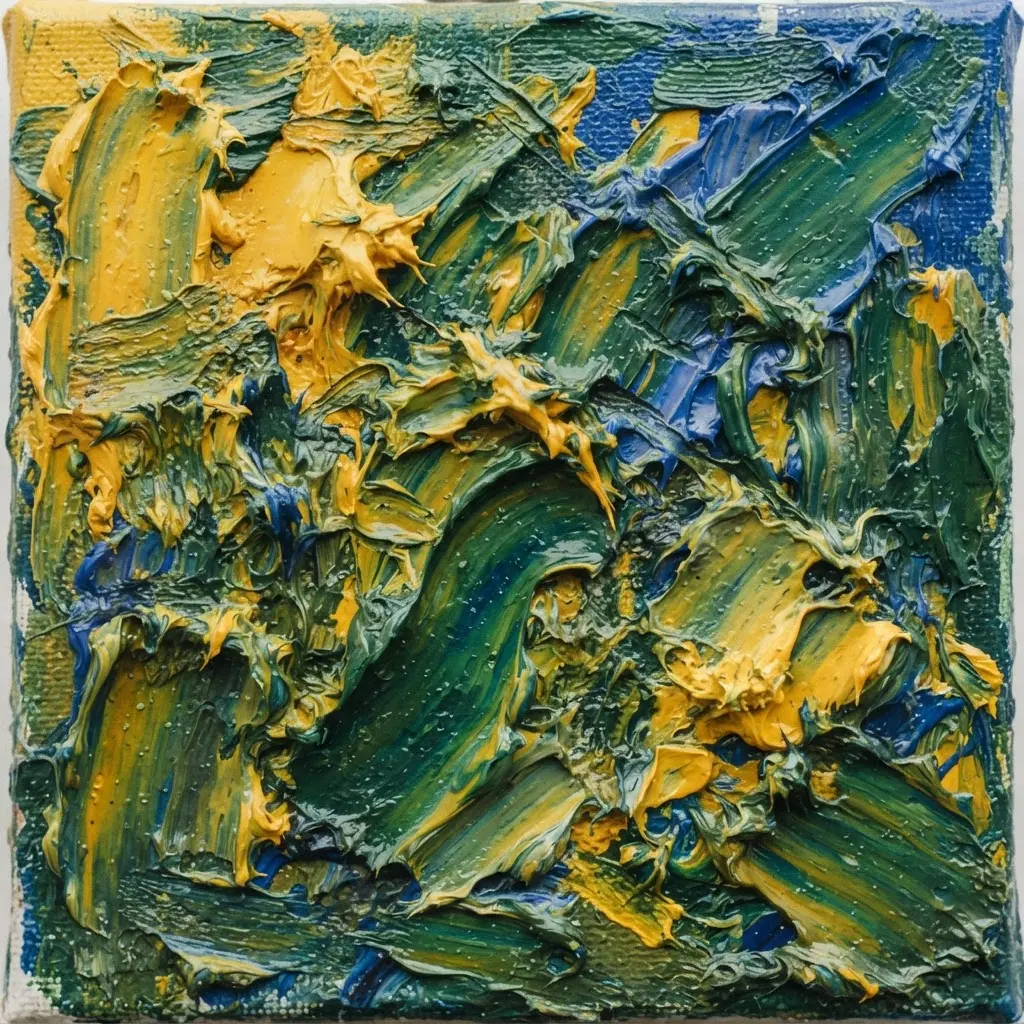
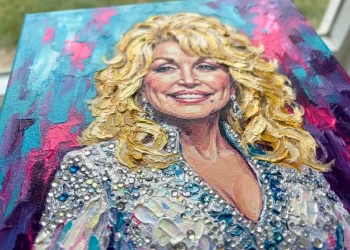
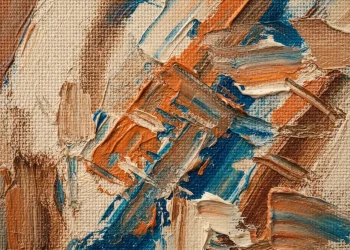
This technique feels wonderfully sculptural as you push paint around. You apply thick, unblended paint with a hog bristle brush or palette knife, leaving behind ridges and peaks that catch the real light in your room. Exploring historical painting techniques shows how physical texture adds immediate visual weight. It is about letting the paint be a physical object, not just a picture. That three-dimensional quality is why impasto is so satisfying. You get to see your energetic brushstrokes frozen in time.
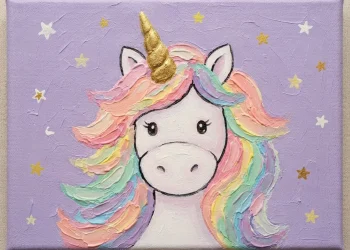
For a strong foundation, try applying your thick layers over a traditional folk composition to learn how bold forms work together. Trust me, the key is one confident stroke. Do not fuss with it, and you will love the dramatic, tangible result.
9. Plein Air Outdoor Painting — Capturing Natural Light
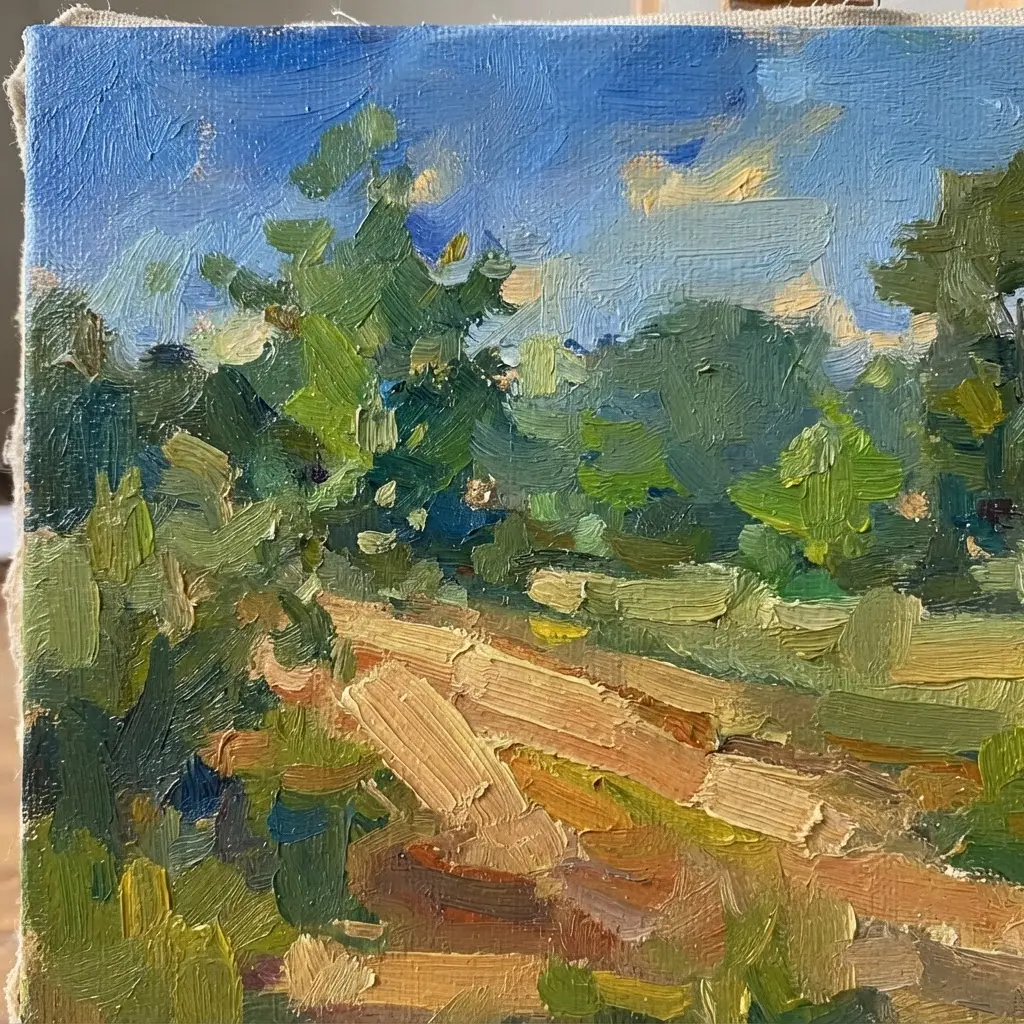
This one is my favorite because it forces you to see the world with fresh eyes. You will pick a time of day with dramatic shadows and lock in your composition with a quick value sketch. Then, you paint from the sky down to the foreground, letting the split-primary palette handle the warm light and cool shadows. Practicing historical painting techniques outdoors teaches you to adapt quickly to shifting conditions. It works because you are not painting objects, you are painting the light itself. Your painting gains an authentic sense of atmosphere that studio work often misses. When analyzing historical painting techniques, you realize that outdoor light changes everything. For a similar dedication to capturing a specific moment, look to the discipline found in ancient detailed textile painting. Pro tip, always mix your sky color first. Feel the satisfaction when your canvas starts to glow with real sunlight.
10. Alla Prima Wet Application — Spontaneity in a Single Session
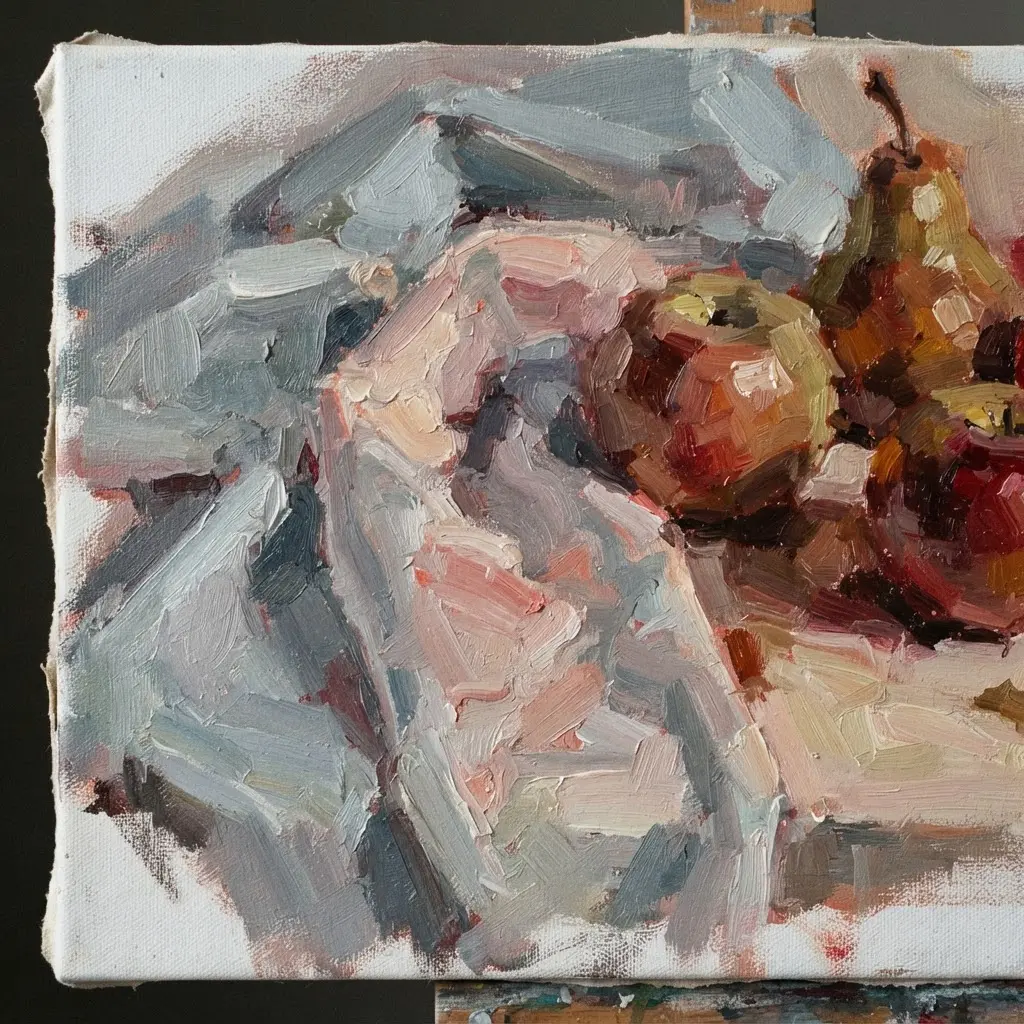
Picture a portrait that feels alive, where every brushstroke still seems to shimmer with the energy of the moment it was placed. That is the magic of alla prima, or wet-on-wet painting. You work quickly, applying fresh color directly onto wet layers to finish the piece in one go. I love how this forces you to be decisive and trust your eye. Start by toning your canvas with a mid-tone wash to kill the stark white. Then, mix your colors accurately on the palette before you begin. Work from dark to light, placing each stroke with conviction and leaving it alone. Sound tricky? It is all about confidence over correction. This method captures light and emotion in a way slower techniques cannot. For a fantastic way to explore another fluid, spontaneous approach, you absolutely need to master the basics in our related guide to watercolor techniques. Try it and feel the incredible freshness of a painting born in a single session.
Preserving and Restoring Traditional Artwork Surfaces
A finished piece sealed with a natural resin varnish like dammar can be safely removed with mild solvents without harming the underlying paint layers. This is crucial because modern synthetic varnishes often bond permanently and cloud over time. You want to avoid any coating that cannot be reversed by a professional conservator. For your own work, applying an isolation layer of retouch varnish between final glazes and the top coat adds a safety buffer. The goal is always to protect the delicate optical luminosity of those translucent glazes for centuries. Proper framing with UV-filtering glass is your final defense against fading.
Conclusion
So, did any of these historical painting techniques spark a new way of seeing your favorite artworks? Understanding that a fresco’s permanence comes from wet plaster, or that a portrait’s glow is built from thin oil glazes, adds a wonderful layer to your appreciation. The best next step is to visit a museum or look at high-quality reproductions with this fresh knowledge—try to spot the impasto texture or the subtle sfumato blending. These methods are not just old recipes; they are the tangible choices artists made to bring their visions to life. Your eye for these details is a real skill, and it makes every gallery visit a richer experience. Keep exploring historical painting techniques as you walk through your next museum trip. Pick one technique that fascinated you and look for it the next time you explore art.
FAQs
Q: What is the main difference between egg tempera and oil paint?
A: Egg tempera uses egg yolk as a binder, dries quickly to a matte finish, and is excellent for fine detail on rigid panels. Oil paint uses linseed oil, dries slowly, allows for blending and glazing, and creates a luminous, often glossy surface on canvas or wood.
Q: Can I try fresco painting at home?
A: Creating true buon fresco is difficult at home as it requires a permanent wall with fresh lime plaster. You can experiment with faux fresco techniques on dry, prepared panels using suitable paints to mimic the look without the complex chemistry.
Q: Why did old masters use so many layers of glaze?
A: Layers of transparent oil glaze build depth and luminosity that is impossible with opaque paint. Each thin layer modifies the color and light underneath, creating a rich, jewel-like quality and a sense of atmospheric realism.
Q: What kind of surface is best for the impasto technique?
A: A stiff, sturdy surface like a thickly primed canvas or a wooden panel is essential. It must support the weight and texture of heavy paint applications without sagging or cracking as the paint dries.
Q: Is alla prima painting good for beginners?
A: Alla prima is excellent for beginners as it encourages direct observation and decisive brushwork. It teaches color mixing and composition in the moment, without the complexity of managing multiple drying layers.