

Understanding Fiber Quality for Proper Absorption
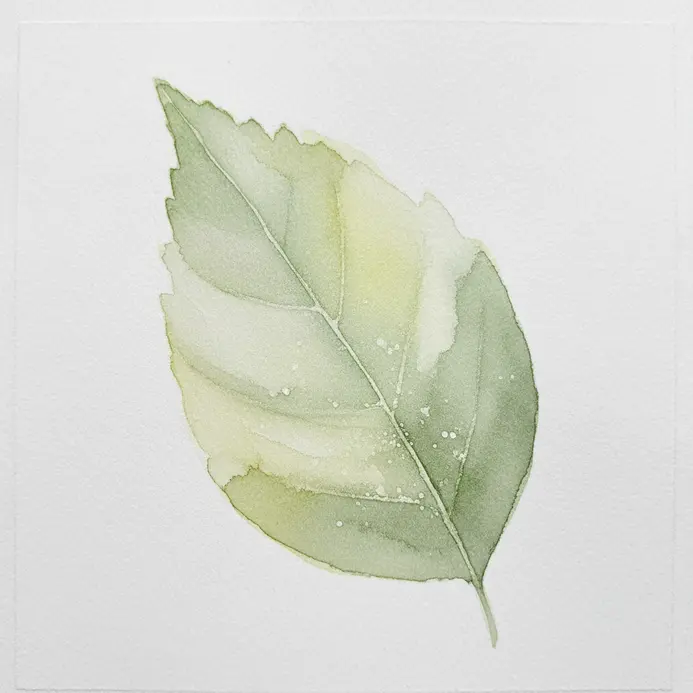
When consulting any beginners guide to painting with watercolor, you will quickly learn that investing in cotton paper handles repeated washes without pilling or buckling. You already know the frustration of a painting warping into hills and valleys. That buckling happens because cheap wood-pulp stock lacks the strong, interlocked fibers that cotton provides. Your pigment will also look richer and more luminous on cotton, since the surface accepts color cleanly without the dulling effect of a weaker base. Trust me on this, starting with a 140lb cold-pressed sheet gives you the forgiving texture and weight needed to practice wet techniques properly. This foundation prevents the paper from distorting when you apply your initial washes, letting you focus on color instead of fighting your materials.
Establishing a Controlled Workspace for Pigment Flow
Every reliable beginners guide to painting with watercolor will tell you that you need two water jars, not one, to keep your color mixtures pure and vibrant. The first jar rinses pigment from your brush, and the second stays clean for loading your brush with fresh water. This simple habit stops you from unintentionally graying your beautiful washes with dirty water. Keep a folded paper towel or a sponge right next to your palette, because you will use it to control the moisture level in your brush before you touch paint to paper. That precise control over hydration separates a crisp, intentional line from a fuzzy, uncontrolled bloom. Mastering this setup lets you manage the water-to-pigment ratio with confidence, which is the entire secret to clean layers and intense color.
1. Select Quality Watercolor Paper: The Essential Foundation
Ever notice your paints fighting the paper instead of flowing with it? That classic sign shows you need to upgrade your surface. Your paper acts as the active partner that holds the water, letting you achieve those smooth blends and luminous washes you love. As you follow this beginners guide to painting with watercolor, you will notice that starting with the correct setup makes the entire process more forgiving and fun. You should focus on three key specs, beginning with the fiber content. For the best performance, cotton paper serves as the gold standard, since it absorbs water beautifully and withstands scrubbing. Next, consider the weight measured in pounds or grams per square meter (gsm). A 140 lb (300 gsm) weight serves as the perfect versatile starting point for beginners. It handles most techniques without excessive buckling. Finally, pick a rough or cold-pressed surface texture to give your paintings lovely, granular character. Once you secure good materials, you are ready to try some easy watercolor painting ideas and see the difference for yourself. Using quality paper prevents the common frustrations of dull colors and warping. It gives you a stable, archival foundation so your first beautiful paintings last. Feel the confidence that comes from a proper start when getting started with watercolor.
2. Prepare Your Workspace and Organize All Materials
Do you ever spend more time hunting for a brush than actually painting? Reading through a beginners guide to painting with watercolor often highlights how a little workspace organization makes all the difference, so find a spot with good natural light and lay down some newspaper or a plastic mat. You will want everything within easy reach. Gather your core supplies like paints, brushes, water jars, and paper. I love grouping them by use, so my main brushes and a clean water cup sit right by my dominant hand. This simple organization lets you focus on the fun part, creating. You will feel relaxed and ready to paint when your tools sit exactly where you expect them. Clear tables mean fewer interruptions and more flow time at the easel. Enjoy that smooth transition from setup to first stroke.
3. Activate Your Dry Watercolor Paints Properly
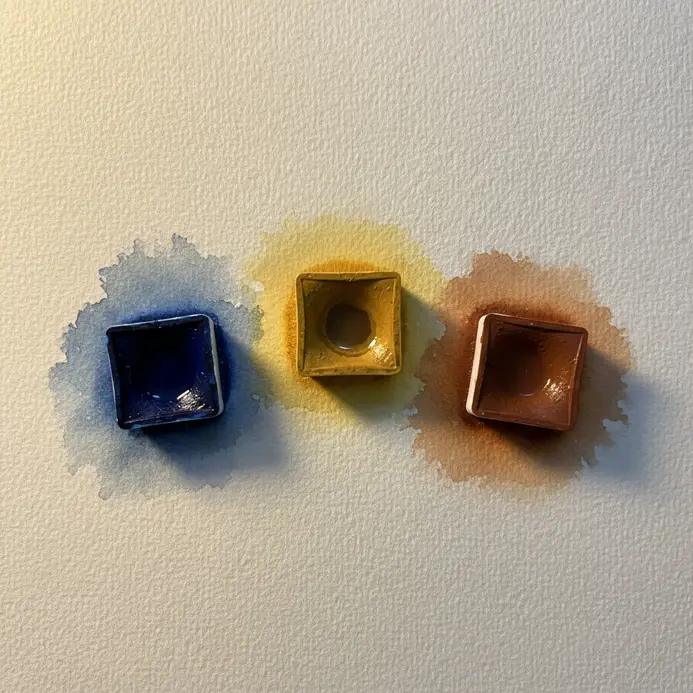
Ever notice your colors looking too pale and weak? If you are following a beginners guide to painting with watercolor and spot that pale issue, the pigment simply needs proper activation before you dip in. It takes more than a quick rinse. My favorite approach uses a puddle method. You drop a small bead of water onto the dry pan and let it sit for about thirty seconds. This patience allows the water to soak in and soften the pigment, giving you rich, vibrant color ready to flow. Start with a clean brush, wet it, and gently tap off the extra water. Then, touch it to the pan or create that little puddle. You will see the color bloom. Waiting prevents you from scrubbing the pan and gives you control over your paint consistency, from a creamy wash to something more intense. This habit makes a huge difference in your work. Your colors become more saturated and apply smoothly. For a softer, dreamier look, you can explore easy pastel watercolor paintings. Give it a try and feel how much more vibrant your palette becomes.
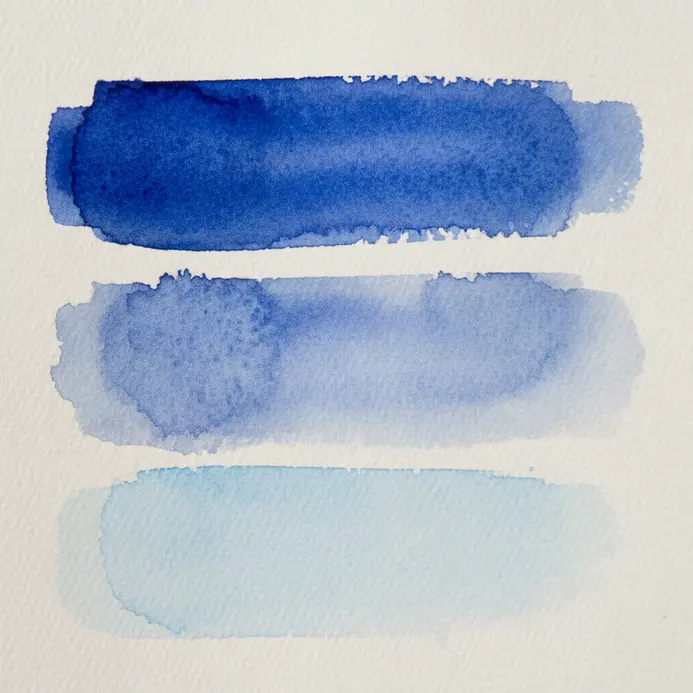
4. Practice Creating Smooth Flat Wash Strokes
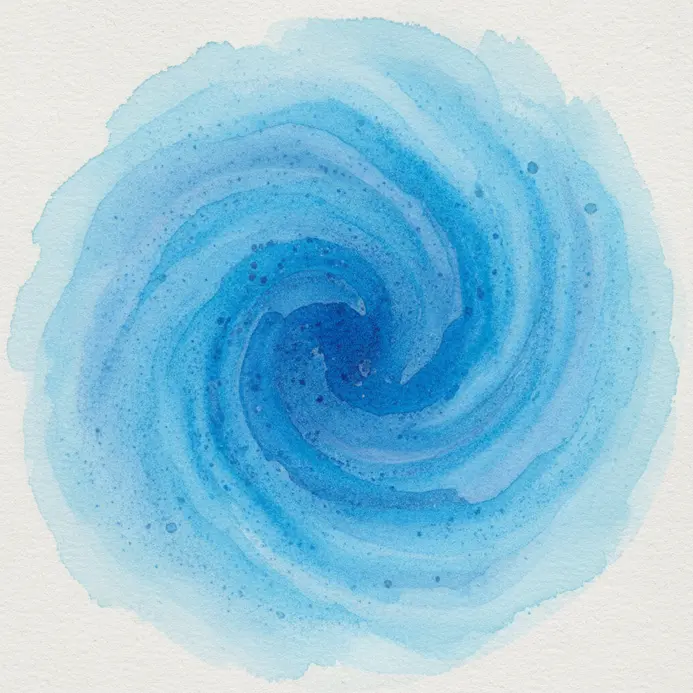
Ever wondered how artists paint those perfectly even skies? A core lesson in any beginners guide to painting with watercolor covers those perfectly even skies, showing you that a smooth flat wash means laying down a single, consistent layer of color with no streaks or blotches. The trick lives in your setup. First, tape your paper to a board and tilt it at a slight angle. Mix a generous puddle of paint with a creamy, ink-like consistency on your palette. Load your brush fully and apply confident, overlapping strokes, letting gravity pull a bead of wet paint down the page. I love this exercise because it builds the foundational control you need for everything else. Start with a large round brush and a single color like Ultramarine Blue. The key is keeping the paper wet and moving quickly without hesitation. If your paint runs out mid-stroke, you will see visible streaks. For a deeper dive into foundational methods, you can learn watercolor painting techniques here. Try it and feel the satisfaction of that flawless, even color.
5. Execute the Wet on Wet Technique for Soft Blooms
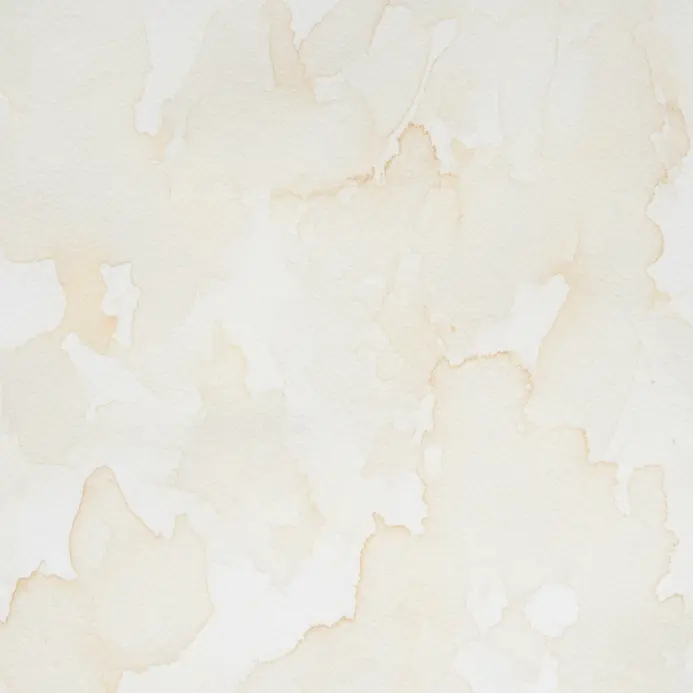
Ever wonder how artists achieve those soft, dreamy flower petals? As this beginners guide to painting with watercolor explains, getting that ethereal floral look relies on letting water do the heavy lifting. You start by moistening your paper until it shows a gentle, wet sheen. Then, gently drop in your diluted pigment and watch the magic happen as the color blooms and spreads all on its own in this basic watercolor tutorial. The water handles the blending for you, creating those soft transitions that make florals so special. Isn’t that satisfying? Your key to success here is letting go completely. I love this technique because it encourages you to embrace the paint’s natural flow instead of fighting it. If you overwork the area with your brush, you risk lifting pigment and creating muddy colors. Trust the process and let the water do its work. You will be amazed at the organic quality you achieve with student grade materials. For the best results, use a sheet of 140lb cold press paper Make sure to give yourself plenty of working time when using watercolor. Remember that dry paper creates hard edges, while puddles cause colors to spread too far. Aim for that subtle sheen, load your brush nicely, and let it bloom.
6. Apply Controlled Layers with Wet on Dry Painting
Ever wondered how artists paint those crisp, sharp lines? Another essential chapter in this beginners guide to painting with watercolor reveals how artists achieve those precise edges by applying wet watercolor onto a fully dried surface or previous layer. You will love the control this method provides, especially for beginner watercolor artists. Start with a light wash and wait until it dries completely before adding more layers in your watercolor work. Patience remains the true key here in any watercolor tutorial. Load your brush and paint right over that dry area to build up shadows, details, or new colors. I rely on this approach for adding definition without messy bleeding. Trust me, the satisfaction comes from watching those clean, intentional layers stack up perfectly. You will notice your compositions gaining depth instantly. For a beautiful application of this controlled approach, check out these realistic watercolor painting ideas. Feel how precise your painting becomes when you respect the drying times. Each new stroke builds upon a stable base. Keep practicing this layering method for cleaner botanicals and crisp architectural lines.
7. Control the Water to Pigment Ratio on Your Brush
Ever wonder why your colors sometimes look flat or bleed out of control? You cannot skip this lesson in a beginners guide to painting with watercolor, because understanding your color behavior all comes down to the water-to-pigment ratio. Think of mixing your paints like preparing tea. For a transparent wash, aim for a weak-tea consistency. For more vibrant color, mix it until it resembles milk. Always test your mixture on scrap paper first, especially when using student grade watercolor sets. Then, use a paper towel to blot your brush for extra control. You will notice immediate improvements once you dial in these measurements. That satisfying flow happens when the balance is exact. Adjust your ratio before hitting the paper and feel the difference in your work.
8. Lift Excess Paint Gently to Create Highlights
Ever wonder how artists achieve those sparkling highlights in their work? Following a beginners guide to painting with watercolor will quickly show you how creators achieve bright spots using a subtractive lifting method. You pull pigment away from the paper while it stays damp, using a clean, damp brush or a soft tissue. Timing remains everything here. Work while the pigment stays wet or slightly damp for the smoothest results. Gently blot the area instead of rubbing, which damages the paper surface. Mastering this method gives you incredible control for softening edges and creating luminous effects. Watching a highlight appear feels incredibly rewarding. You can practice this technique on any project, like when trying out Here are some easy Easter watercolor ideas for beginner watercolor artists.. Just remember to use non-staining pigments for the best lift, and enjoy adding that final glowing touch to your pieces.
9. Paint Basic Geometric Shapes to Build Confidence
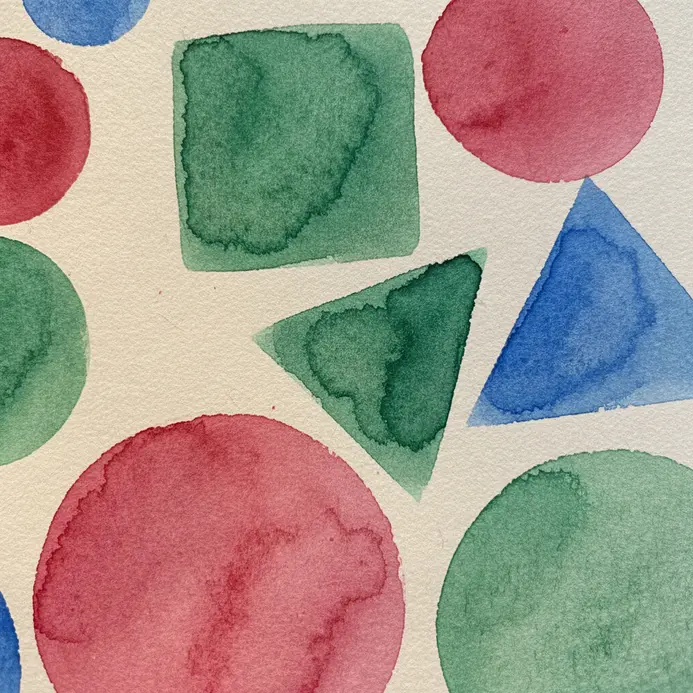
Do you feel pressure to master complex scenes immediately? No matter which beginners guide to painting with watercolor you read, they all suggest you master something wonderfully simple first. Try painting basic squares, circles, and triangles on your sketch. heavyweight paper, then focus on filling them with a smooth wash of color. The secret lives entirely in your paint consistency. Add a drop or two of water to get a nice, flowing wash that stays inside your lines. Using a flat brush for straight edges and a round one for curves gives you excellent control. This exercise builds essential muscle memory without any pressure to produce a gallery piece. Once you feel comfortable laying down these even shapes, you will possess the foundational skills for complex subjects. Keep practicing until your lines feel steady. Try this simple exercise and then get inspired by some easy whimsical watercolor ideas for your next playful project.
10. Clean and Store Your Brushes for Longevity
Notice how a favorite brush feels like an extension of your hand? Even a casual beginners guide to painting with watercolor will stress that maintaining your tools keeps that feeling worth protecting. After each session, give your brush a quick rinse in clean water until it runs clear, then gently reshape the point. This habit stops paint from hardening in the bristles. Once a week, treat your tools to a deep clean. Use a drop of mild brush soap or baby shampoo in your palm, working up a gentle lather. Rinse thoroughly under lukewarm water, always keeping the metal ferrule dry. Lay your brushes flat on a clean towel to dry completely. Proper storage keeps everything ready for action. Once dry, store them in a brush roll or position them upright in a jar. Trust me, this care routine makes every stroke smoother and saves you money in the long run.
Framing and Protecting Finished Work Behind Glass
To properly finish a piece mentioned in a beginners guide to painting with watercolor, you must use a mat board spacer to keep the glass from touching your painting surface, preventing trapped moisture from ruining the paper. A standard frame pressing art directly against the glass causes common preservation mistakes. The spacer creates a tiny air gap that allows the paper to breathe. Always look for UV-protective glass or acrylic, since it dramatically slows fading from light exposure. For the final step, secure the back with acid-free framer tape and seal it with kraft paper to keep out dust. This professional presentation locks in the luminosity of your work and lets those transparent layers shine for years. Protecting your art ensures every hour spent painting survives the test of time. Proper framing transforms your practice pieces into lasting keepsakes. Enjoy sharing those preserved pieces with friends and family.
Conclusion
Remember that feeling of holding a new brush, full of possibility but a touch of hesitation too. You have taken the most important steps by learning these core skills. The real joy in this beginners guide to painting with watercolor comes from seeing your own progress, from that first flat wash to the moment you blend two colors perfectly. Pick one technique, like wet on wet, and play with it on a small piece of paper without any pressure to create a finished picture. Your confidence grows with each mark you make, and your unique style will start showing through sooner than you think. Keep exploring and enjoy every brushstroke.
FAQs
Q: What are the essential watercolor basics a beginner should learn?
A: Learn the basics of watercolor by understanding how paint interacts with water and paper: add water to pigments to control transparency, practice wet-on-wet and wet-on-dry methods, observe how paint dries, and study color theory. Start with a few quality pans or tubes from brands like Winsor & Newton, a piece of watercolor paper (300gsm recommended), a couple of sable or synthetic watercolor brushes, and masking fluid for reserving highlights. This beginner’s guide approach helps you build fundamental skills and a steady painting journey.
Q: How much water should I use — can I use a lot of water or a wet brush?
A: There’s no single rule: much water creates soft washes and blooms for wet-on-wet effects, while less water gives more control and vibrant pigment. Practice loading a wet brush and testing on scrap paper to see absorbency and edge behavior. When the paint is still wet you can lift or dab to adjust; when it dries, changes are harder. Learn the basics through exercises that vary water ratios so you can judge how much water suits each technique.


Q: What type of paper should I buy — is Strathmore good for beginners?
A: Strathmore offers reliable student and artist-grade papers; their cold-press watercolor paper is a great starting point. Look at the paper’s weight (140 lb/300gsm or heavier) and surface (hot-press vs cold-press) to match your style. Heavier, artist grade papers resist buckling and handle many techniques, including lifting and scrubbing. The surface of the paper affects granulation and brush marks, so test different sheets to learn how paper influences your results.
Q: Which brushes are best — should I use sable brushes or synthetic ones?
A: Sable brushes hold a lot of water and form a fine point, making them ideal for detailed work and smooth washes, but they’re pricier. Synthetic brushes are durable and more affordable for beginners and can mimic sable performance. A basic set should include a round #6–8, a larger round for washes, and a flat or mop for backgrounds. Learn brush techniques and how to clean your brush after sessions to prolong bristle life.
Q: How do I mix colors effectively without making mud — any color theory tips?
A: Start with primary colors and a limited palette to learn how colors mix. Use small amounts of paint and gradually add water to control intensity. Clean your brush between mixes to avoid contamination. Pay attention to pigment transparency and staining qualities—Winsor & Newton and other brands label these traits. Practicing simple color charts helps you understand mixing results and prevents dull mixtures.


