

Square Paper Sizing For Small Hands
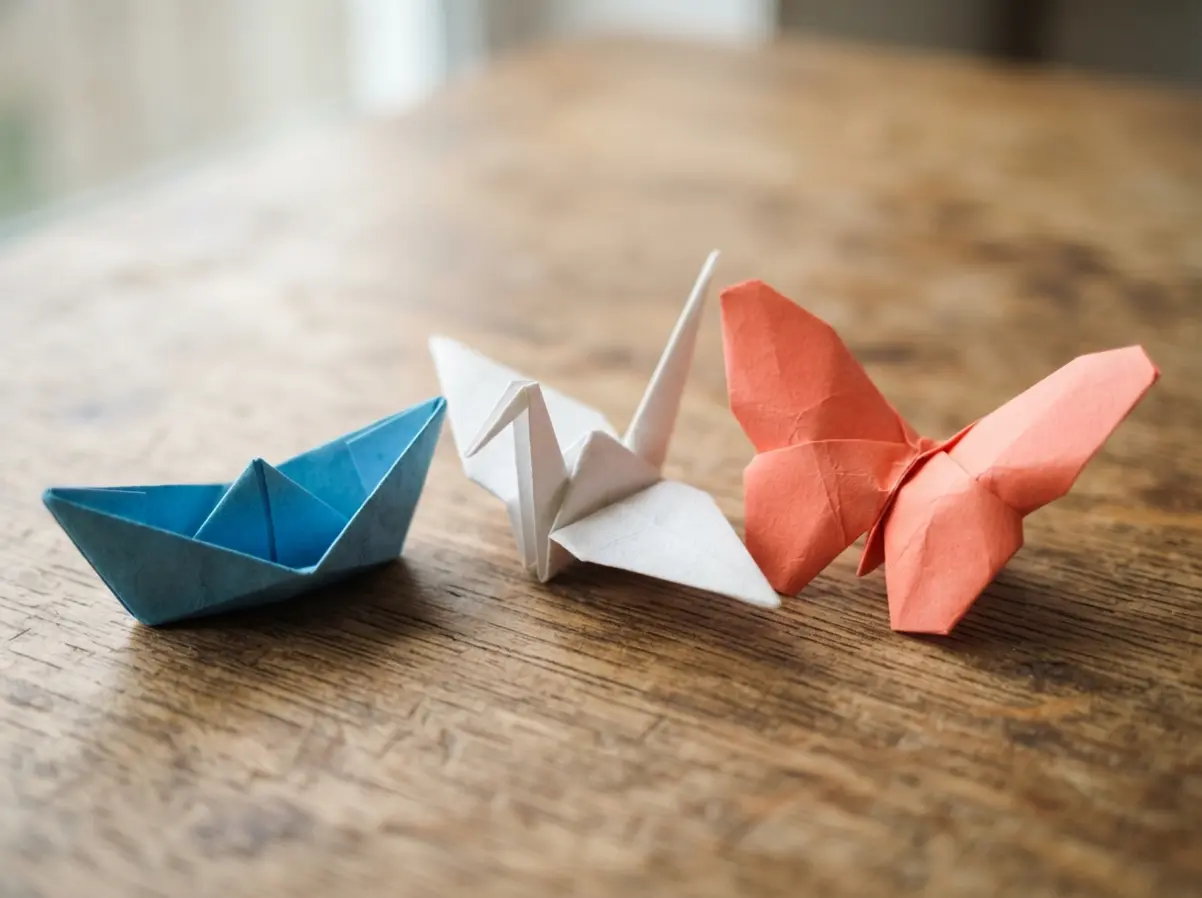
Use 15 x 15 cm squares for most young beginners, since this size gives small hands enough area to align corners without making finished models unwieldy. Kami paper suits early practice because its light weight folds cleanly and its colored side helps children track orientation. Six-inch squares offer the same useful scale for classroom tables and home activities, which keeps Easy Origami Craft Ideas highly practical. Printer paper works for larger demonstrations, though its longer fibers and greater thickness create bulky layers in compact designs. Check every sheet for four equal sides before folding, since a slightly rectangular page shifts corners and weakens the final silhouette. Keep spare squares nearby for testing fold direction, especially when paper has color on one side and white on the other. Larger 20 cm sheets suit group demonstrations, while tiny squares frustrate beginners.
Mountain And Valley Fold Recognition
Pressing a mountain fold upward and a valley fold downward gives beginners the visual language behind nearly every easy model, so Easy Origami Craft Ideas become much smoother to follow. A sharp bone folder helps older children and adults crease thick printer paper, while fingertips suit thin kami sheets. Mountain folds show a raised ridge when the paper opens, whereas valley folds leave a recessed trough. Matching corners before pressing prevents crooked ears, wings, petals, and box flaps. Use the back of a spoon when no folder sits nearby, keeping pressure steady rather than scraping across the page. Teachers often demonstrate each symbol on a large square first, so children connect printed diagrams with physical paper. Color on one side adds another clue, since a white reverse exposes accidental turns quickly. Practice these two fold types on scrap paper before choosing a detailed diagram.
1. Classic Paper Boat Desk Accessory: A Tidy Table Detail
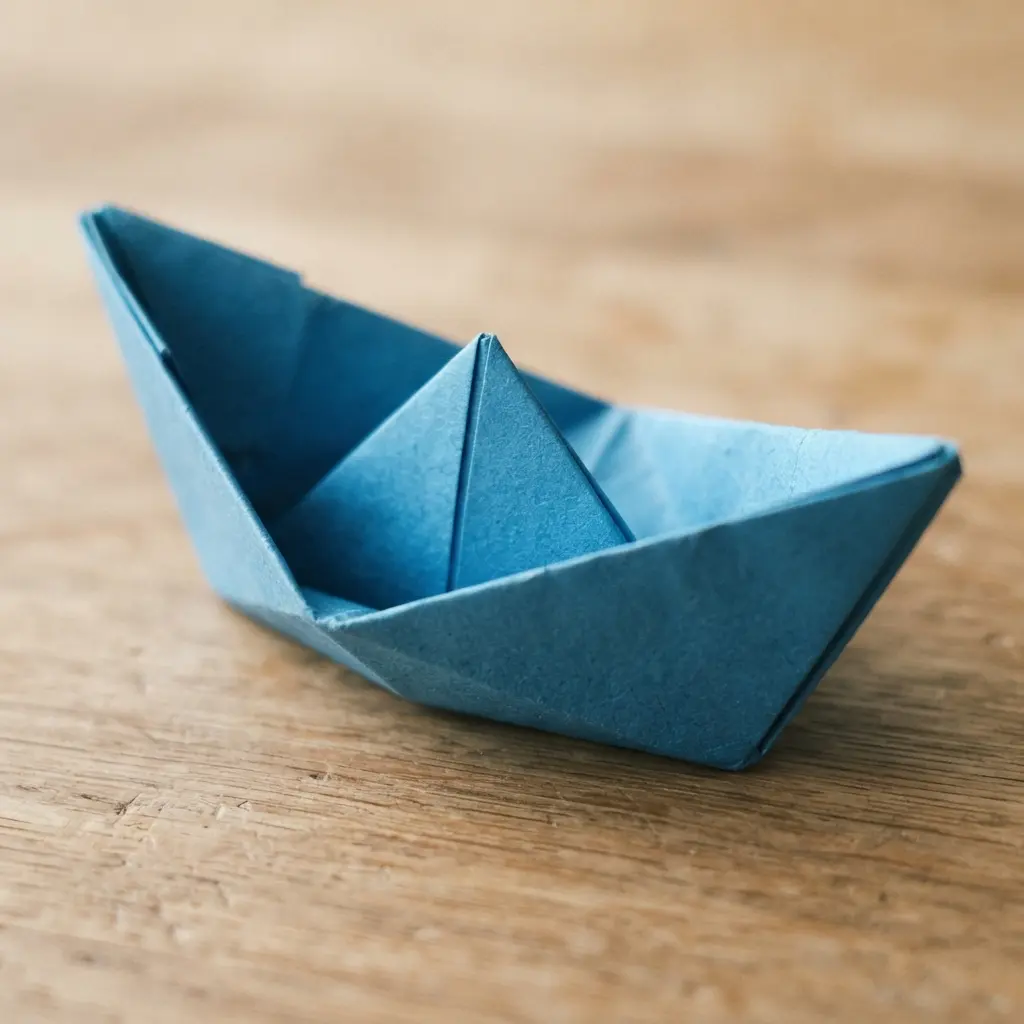
Ever wondered how a childhood paper boat could bring order to your desk, especially since Easy Origami Craft Ideas rely on such straightforward shapes? Start with a square sheet of paper and fold it into a small boat, pressing each crease with your fingertip for neat edges. Pick a color matching your workspace, or use patterned paper for a cheerful detail beside your keyboard. The finished shape has a pointed front, raised sides, and a small open center.
Place the boat near your notebook as a holder for paper clips, erasers, or folded reminders, keeping Easy Origami Craft Ideas tidy and functional. A firm sheet gives the accessory better support, while a softer sheet creates a relaxed, lightweight look. I love this one because the folds are easy to see, so each step feels clear even during a first attempt. Keep the open boat shape facing upward, and enjoy the tidy little accent it brings to your table.
2. Whimsical Corner Fox Bookmark Design
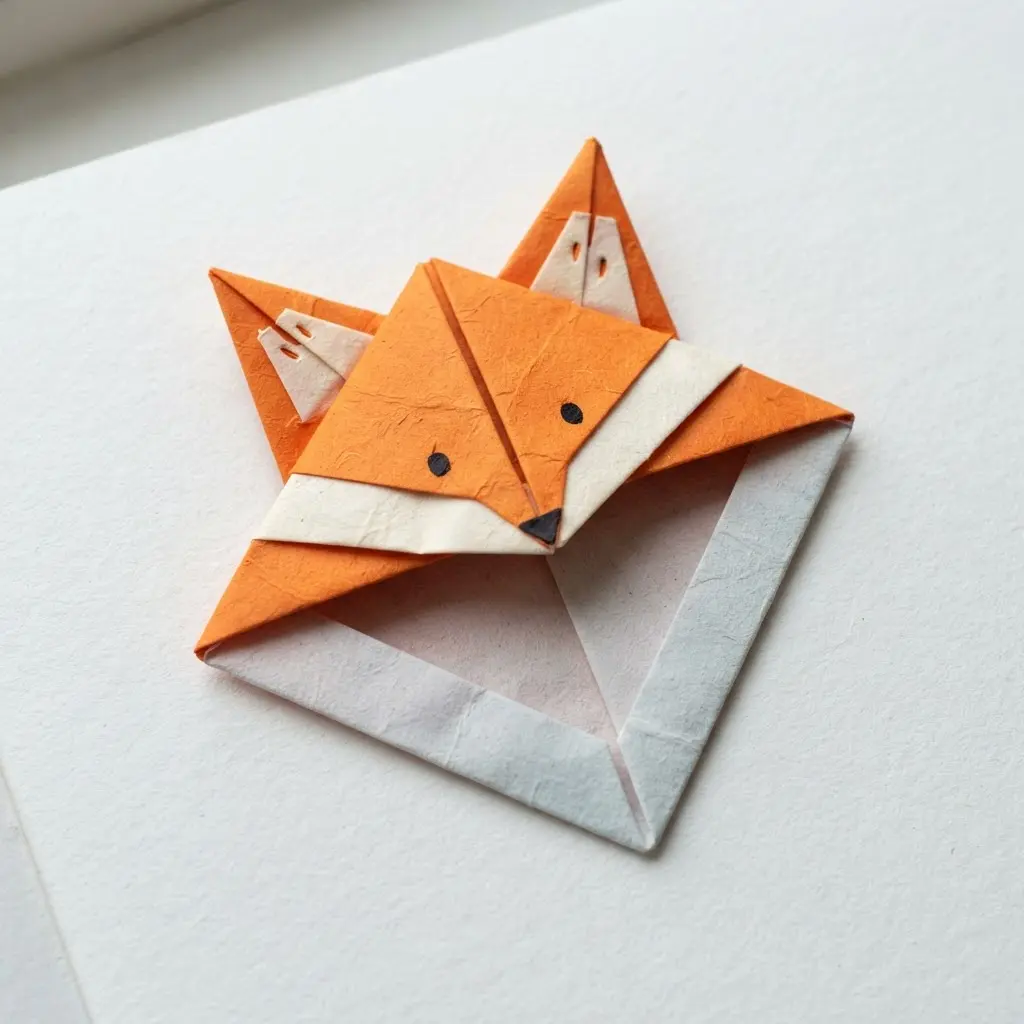
This fox bookmark looks playful from the first fold, yet the shape stays friendly for beginners who follow Easy Origami Craft Ideas. Start with burnt-orange square paper and fold it into a neat triangular corner sleeve. The finished piece slips over a page corner, so your place stays marked without a loose strip sliding away. I love how the pointed top corners give the fox instant personality.
Build the face on the triangle with a cream muzzle, two bright eyes, a tiny black nose, rosy cheeks, and a curved smile. Add pale peach ear centers, a few whiskers, and freckles once the main features sit evenly, which aligns perfectly with standard Easy Origami Craft Ideas. Sound detailed? It is easier when you place the eyes and muzzle first, then add small accents. Keep leaves, acorns, mushrooms, or golden stars sparse so the warm storybook palette stays clear.
The charm comes from combining a useful page holder with a friendly little character. For a soft watercolor feel, layer gentle blush pink, sage green, mustard yellow, and soft brown with light strokes instead of filling every area heavily. Finish with the optional message “A little fox saved your place.” Trust me on this one, a simple face often gives the sweetest result. Your next reading session will feel extra cheerful.
3. Traditional Symbolic Paper Crane Ornament
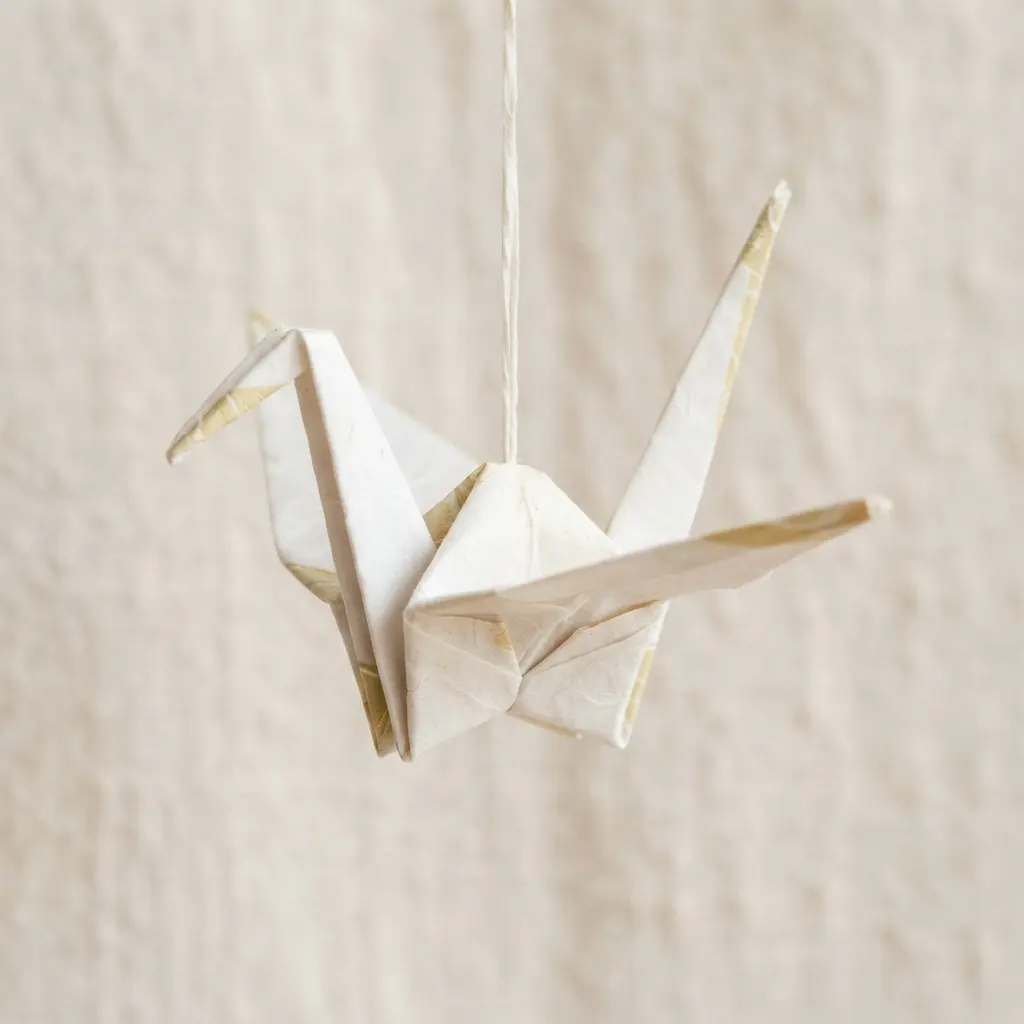
I love this one because it brings a calm, meaningful touch to a room without taking much space, and Easy Origami Craft Ideas thrive in quiet spaces. Isn’t it satisfying when a flat sheet becomes a graceful crane? Start with patterned origami paper in white, red, gold, or soft pastel shades, then fold it into the familiar bird shape.
Keep each crease neat as you form the wings, body, neck, and tail, which proves how reliable Easy Origami Craft Ideas can be for delicate shapes. A Japanese-inspired floral or geometric print gives the ornament a lovely finished look, while tiny gold or red accents add a festive detail. The crane should stay easy to recognize, so avoid covering its shape with too many extras. This small piece reflects the orizuru tradition and its links with peace, hope, healing, and good fortune.
Finish with a fine hanging thread or ribbon, then add a bead, tassel, miniature branch, or small tag marked “peace” or “hope.” I like using these ornaments as holiday décor, wedding favors, memorial keepsakes, or handmade gifts. Let the crane remain the focus, and feel proud when it sways gently in its new spot.
4. Miniature Origami Heart Gift Tag
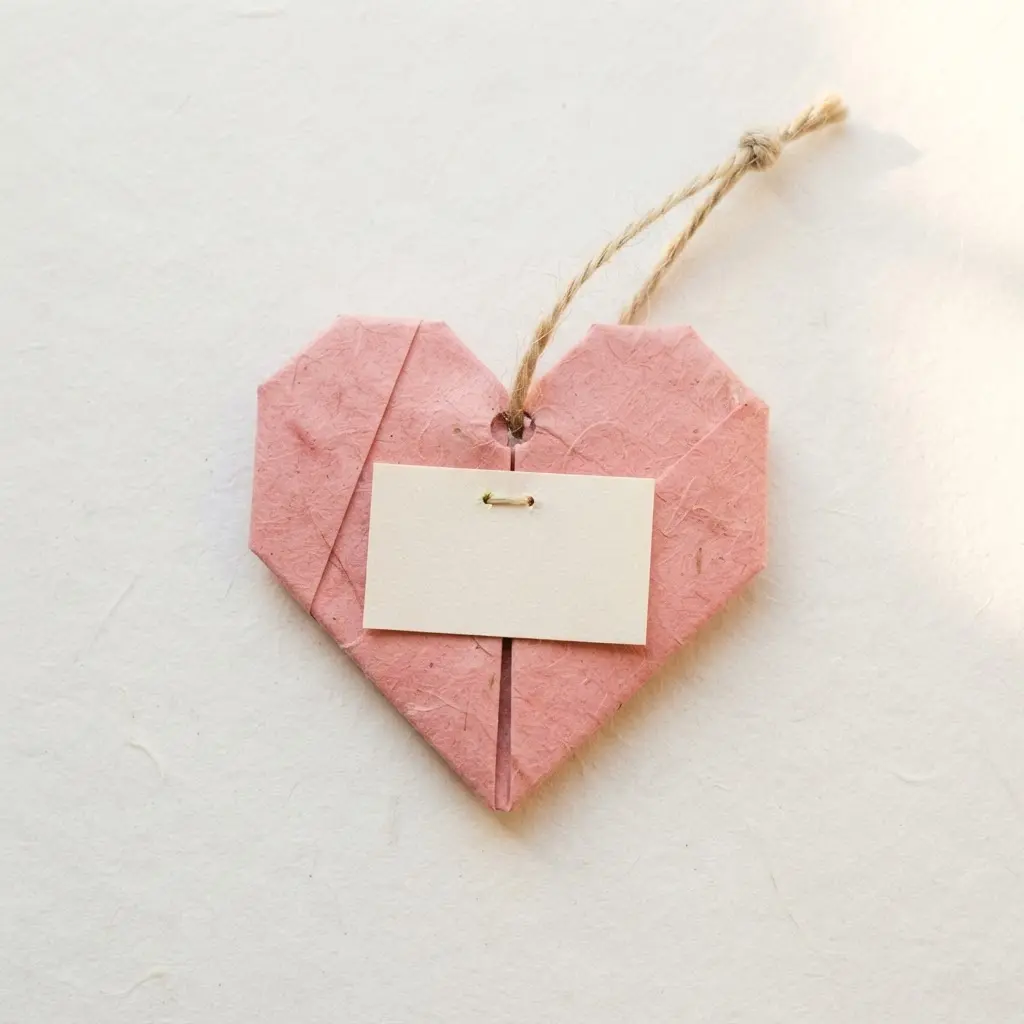
A tiny paper heart feels smooth beneath your fingers, with rounded upper corners, a crisp point, and a bright loop of twine ready for a present. I love how a little 2 × 2-inch paper square becomes a sweet detail for gifts, cards, or party favors, making Easy Origami Craft Ideas wonderfully versatile. Start by folding diagonal, horizontal, and vertical guide creases, then press the paper inward into a compact triangle. Fold the side corners upward, turn the shape over, and bring the top point down while leaving a small gap above the bottom point.
Does that sound tricky? It gets easier after one practice round with a larger square. Fold the tiny upper points backward to soften the outline, then use a hole punch near the top center for ribbon, string, or twine. Write a name or short message on the back, keeping the note away from the front folds. Thin decorative paper folds more neatly than cardstock, and careful edge alignment helps prevent a lopsided heart. This little tag adds a personal touch with almost no workspace, so you’ll feel proud when it finishes a package.
5. Colorful Paper Butterfly Wall Decoration
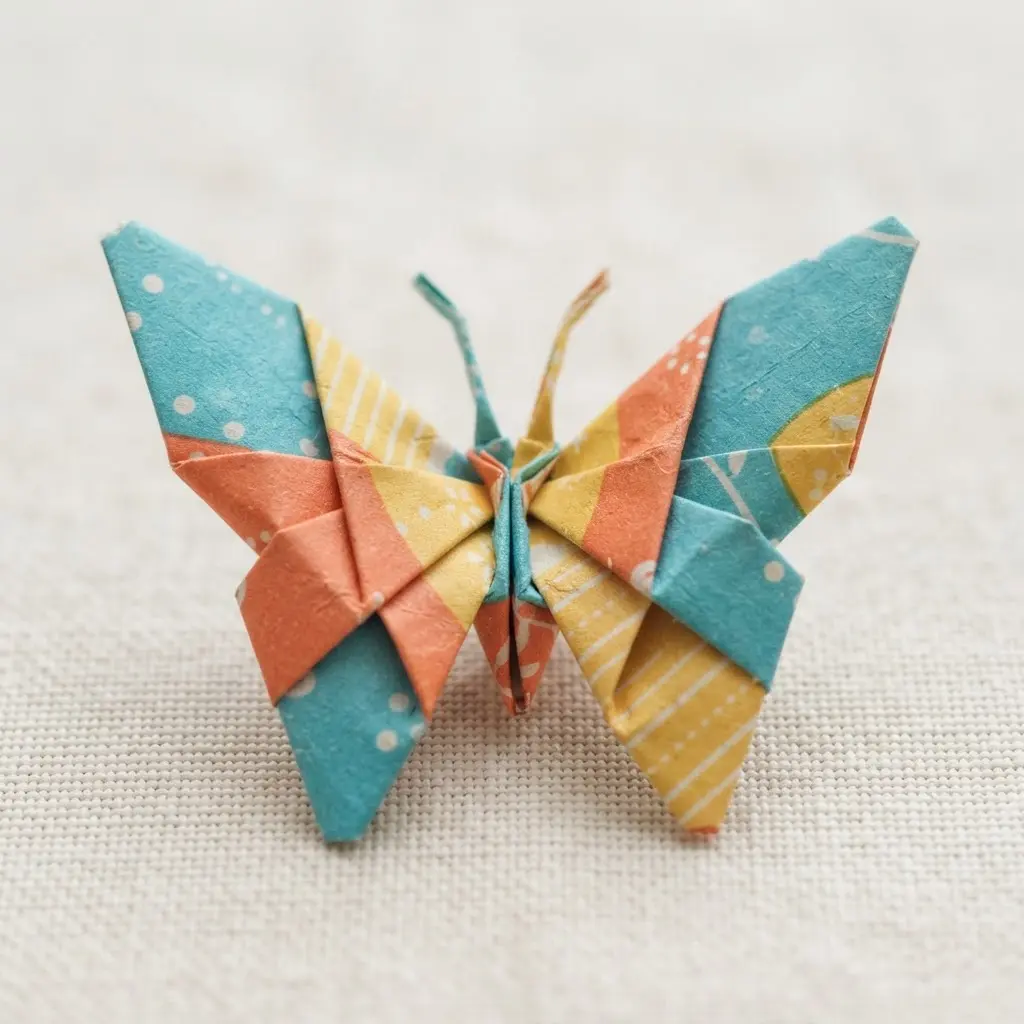
A wall of paper butterflies does not need complex folds or fancy tools, which shows why Easy Origami Craft Ideas remain so popular. Sound tricky? It is not. Start with colored cardstock, sketch butterflies in several sizes, and cut them out with care. Use construction paper for lighter pieces, while cardstock gives larger butterflies more support.
Lightly fold each butterfly along its center so the wings lift from the wall, then add dots, stripes, stickers, or a little glitter. Draw the body and antennae with a black marker before placing glue dots on the back. Arrange the pieces in a swirl, an upward flight path, or a heart shape, leaving enough space for each wing to stand out. I love how the mixed colors and raised wings give a plain wall a cheerful lift without making the project hard. Finish the decorations before attaching them, and keep beads or heavy embellishments away from thin paper. Feel proud when your paper butterflies seem ready to flutter across the room.
6. Interactive Paper Fortune Teller Game
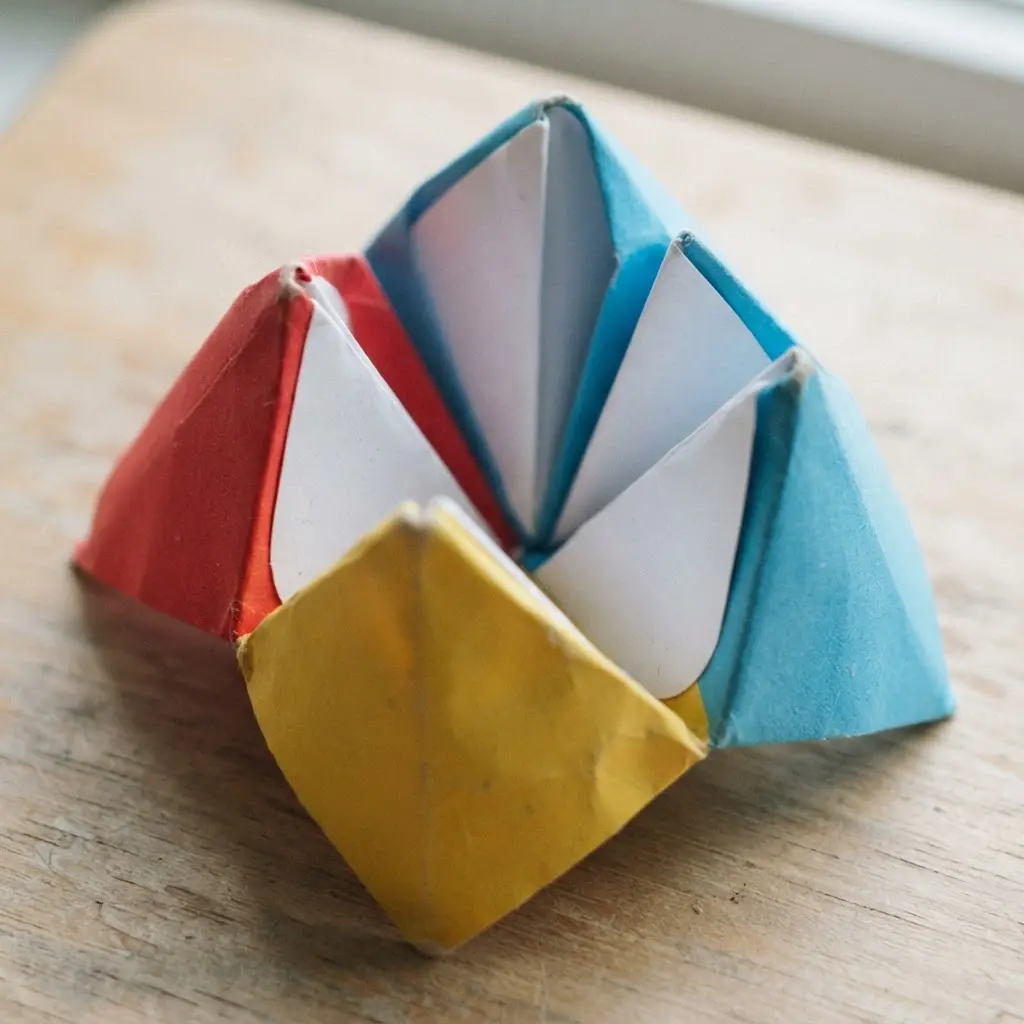
Save your file as fortune-teller.html, then open it in a browser and click the four colored flaps. Inside the 300 × 300 pixel square, pink-red, orange, green, and blue triangles meet at a white center marked with a question mark, a setup that perfectly mirrors interactive Easy Origami Craft Ideas. Sound complicated? It is not. Each click applies the open state, sending the flaps outward with a three-dimensional folding effect while the whole shape rotates and grows to 1.04 times its size.
I love how clear the feedback feels, especially with hover brightness changes and a half-second flap transition. Keep every flap inside the square and preserve the transform origin, since it guides each fold direction. Apply the open class to the main fortune teller so the rotations and scaling work correctly. A responsive panel set to min(92%, 520px) keeps the activity comfortable on smaller screens, while user-select: none stops stray text selection during play. This playful setup gives you a cheerful screen activity with a satisfying result.
7. Simple Origami Tulip Paper Bouquet
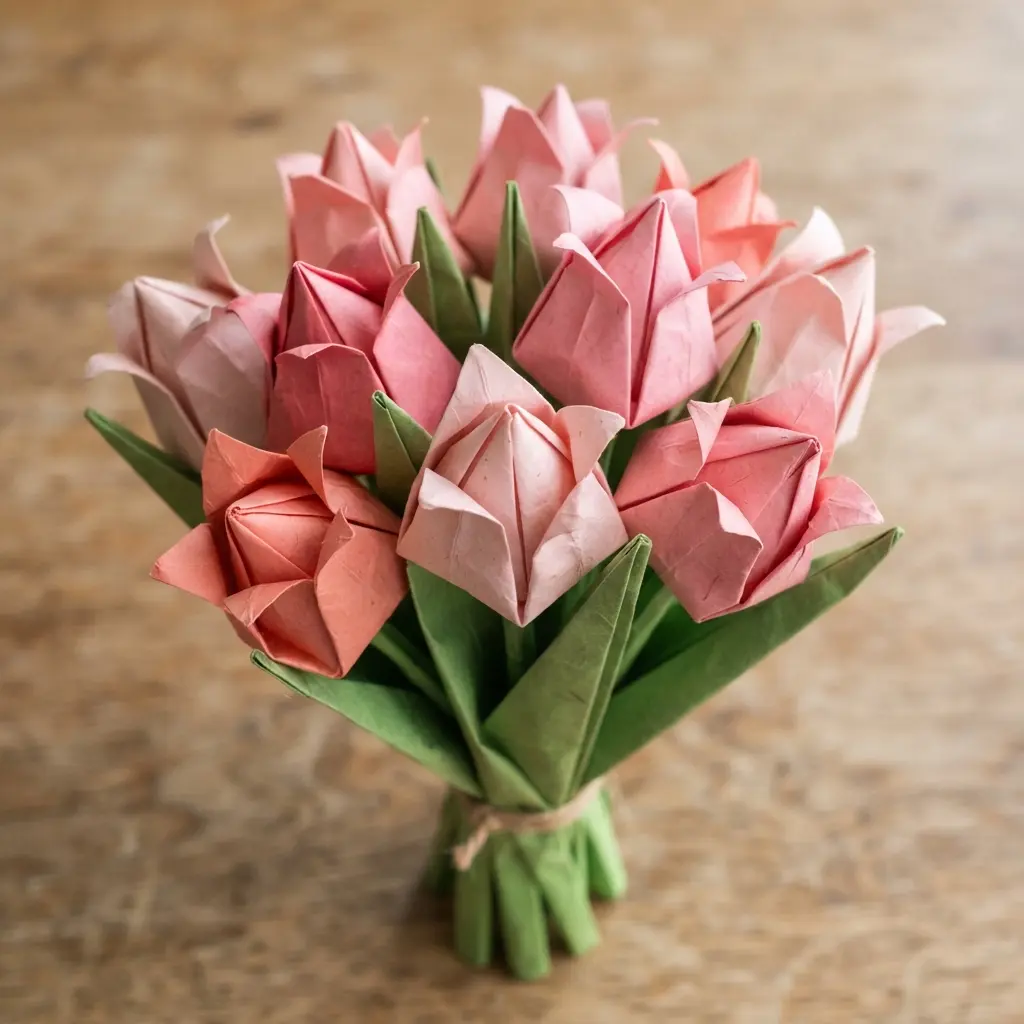
Ever wondered how a few folded squares turn into a cheerful bouquet, proving that Easy Origami Craft Ideas can mimic nature beautifully? Start with colored origami paper, fold it diagonally, then open the crease. Bring the left and right corners toward the top point, letting them overlap slightly, and secure the meeting edges with glue. I love how the pointed shape begins to look like a tulip almost at once.
Gently curl each petal tip outward with your fingers or a pencil for a softer, open flower. Roll green paper tightly around a wooden skewer or drinking straw, glue the edge, then add a long pointed leaf. Push the stem into the flower base and reinforce it with tape or glue so the flower stays attached.
Repeat the folds with several colors, then gather the stems into a small paper bouquet. The mix of bright flower heads, green leaves, and varied heights gives this paper flowers project a lively finish without difficult steps. For a tidy display, trim the stems to different lengths before tying them with decorative ribbon. Place the bouquet in a vase or wrap it as a handmade gift, and feel proud of your work.
8. Springing Paper Frog Toy Model
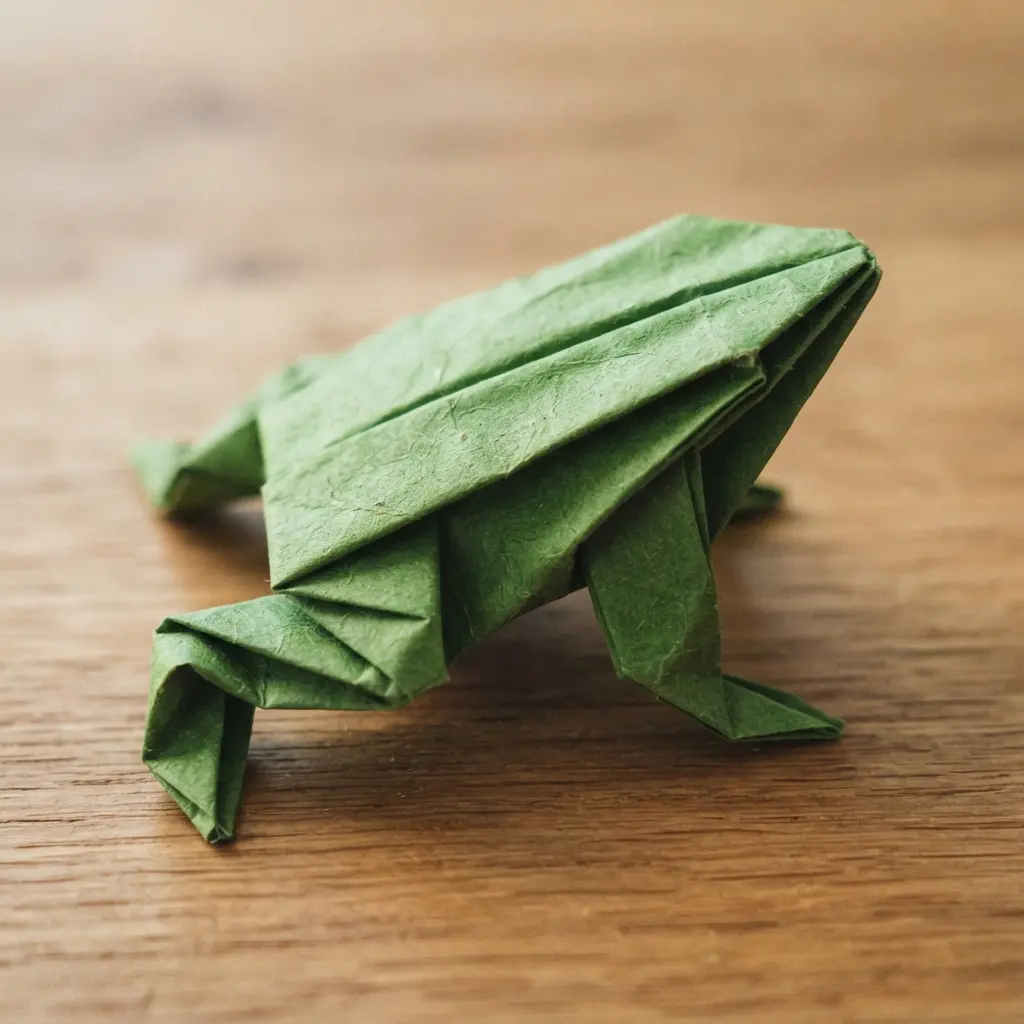
This little frog has a playful surprise built into its folded body, and Easy Origami Craft Ideas love incorporating such fun mechanics. Start with a square sheet of paper, then make clean folds so the layers sit evenly and the shape begins to resemble a frog with a wide front and tucked legs. Press each crease firmly with your finger, since neat folds help the toy hold its form. Sound tricky? It isn’t.
The fun comes from pressing the back and watching the frog spring forward across a table. Shape the front corners into feet, then fold the lower section beneath the body to create a flexible rear fold. Test the movement on a smooth surface and adjust the creases until the frog jumps instead of tipping over. I love this one because the finished model feels like both a small animal and a hands-on toy. Keep the paper light but firm, and avoid crushing the center folds. Your frog will look cheerful before it even takes its first leap.
9. Simple Cat Face Paper Craft
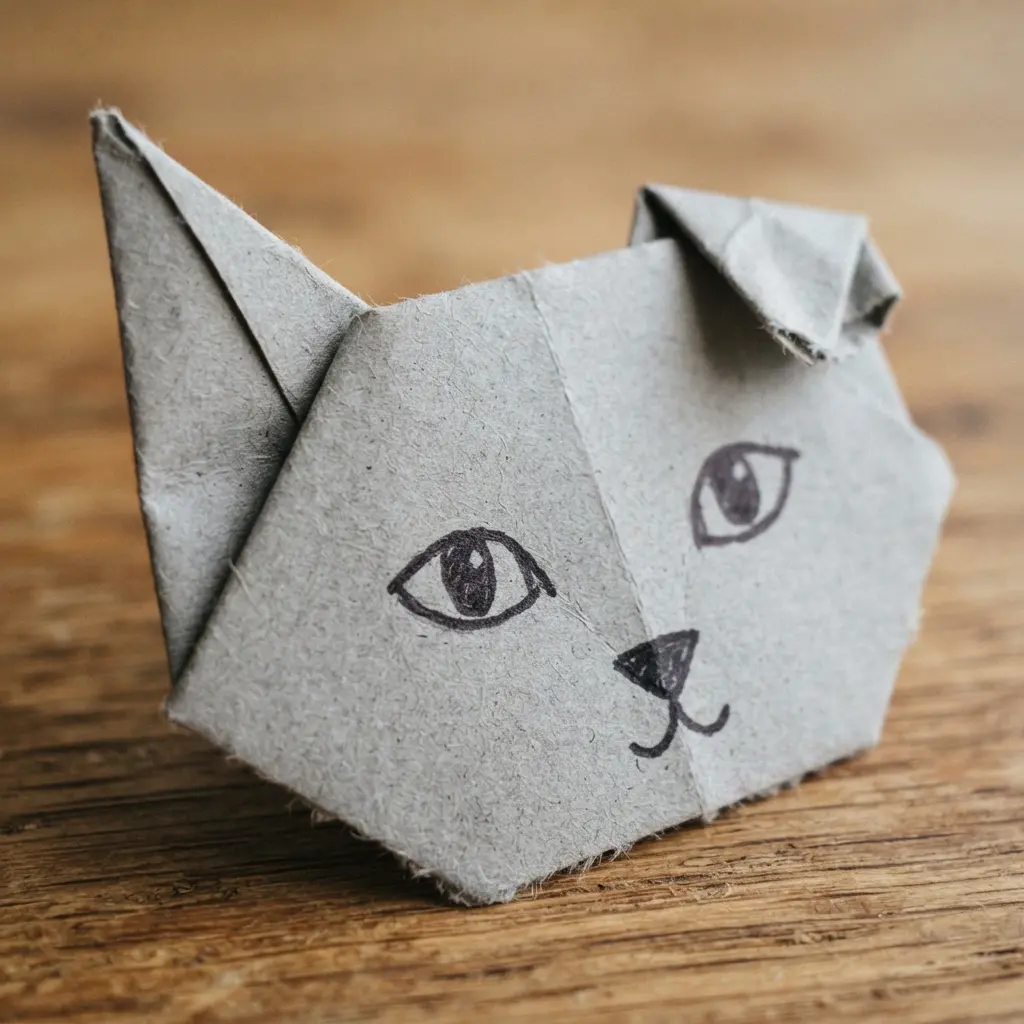
This one is my favorite because a few clean shapes turn into a friendly cat in minutes, and Easy Origami Craft Ideas thrive on such simple outlines. Sound complicated? It isn’t. Start with colored paper or cardstock, draw a large paper circle, and cut it out for the head. Cut two matching triangles for ears, then glue them behind the top edge.
Lightly pencil eye positions before adding paper circles, googly eyes, or marker dots. Next, draw a tiny triangle nose, a curved mouth, and three whisker lines on each side. Add yarn whiskers or thin paper strips, leaving space between each line so the face stays neat. I love how stripes, spots, stickers, or a small paper bow give every cat a different personality.
Begin with the basic face before adding extras, and use enough glue to hold each piece without leaving a thick layer. Work on a protected table, and choose age-appropriate scissors for a tidy, safe session. This project works so well because the circle and triangles make the expression easy to read. Feel proud when your paper friend is ready to display.
10. Decorative Origami Note Paper Envelope
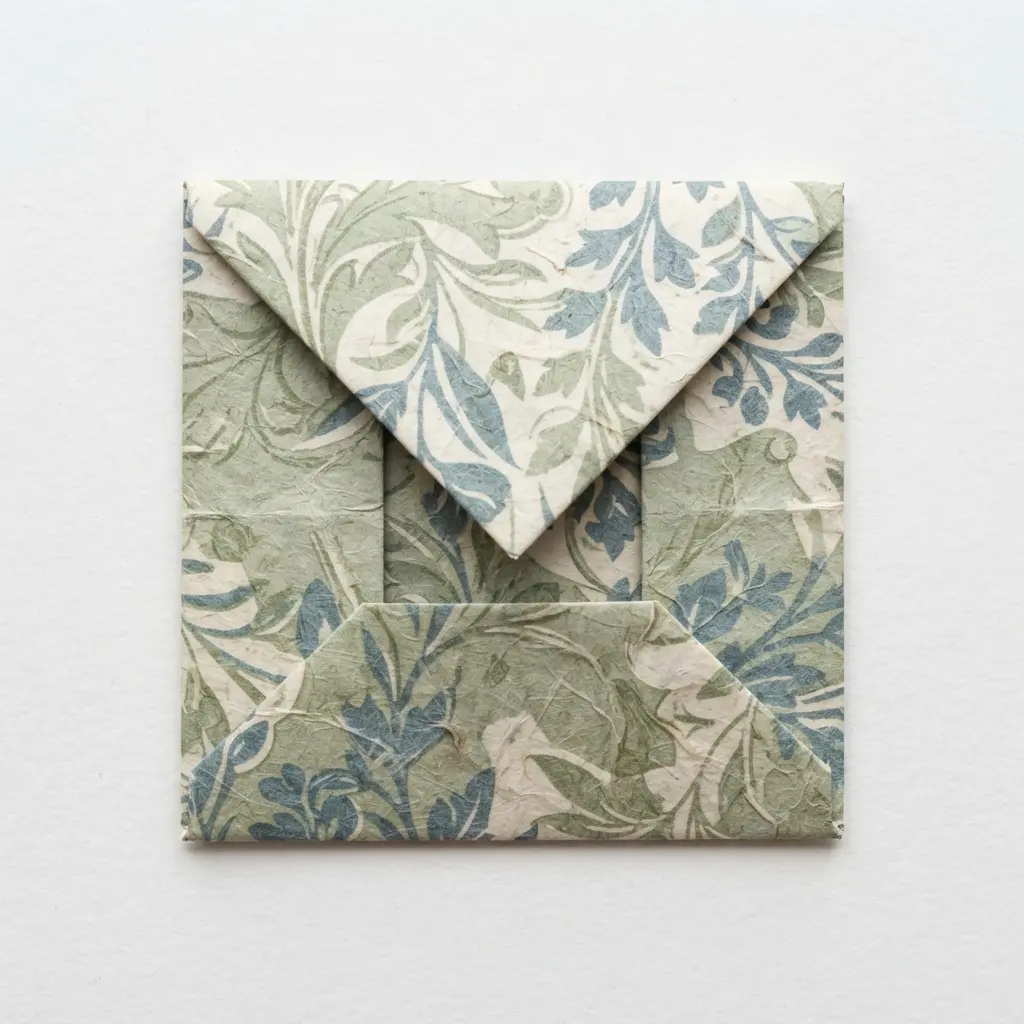
The finished envelope feels smooth and neat, with patterned paper peeking around its folded flaps and a tidy top corner ready to close. Ever wondered how one square sheet turns into such a useful little holder, a staple of practical Easy Origami Craft Ideas? Start with decorative note paper, plus glue or double-sided tape for the overlapping edges. Stickers, markers, a paper seal, or ribbon add a personal touch without making the envelope bulky.
Place the paper pattern-side down, fold it diagonally, crease it firmly, and unfold it to create a clear centre guide. Bring the left and right corners toward the crease, keeping their points even. Fold the bottom corner upward over the side flaps, then secure only the overlapping edges. Leave the top flap loose so you have room to slide in a short note or flat keepsake.
Fold the top corner down after inserting your message, then decorate the front with a small sticker or drawn detail. I love how patterned paper gives the envelope instant personality, even before the finishing touches. Strong creases help every flap sit flat, while careful corner alignment keeps the shape balanced. Trust me on this tip: use a light amount of adhesive and let it hold before adding ribbon or a seal, then enjoy the satisfying finished piece.
11. Handheld Accordion Paper Fan Design
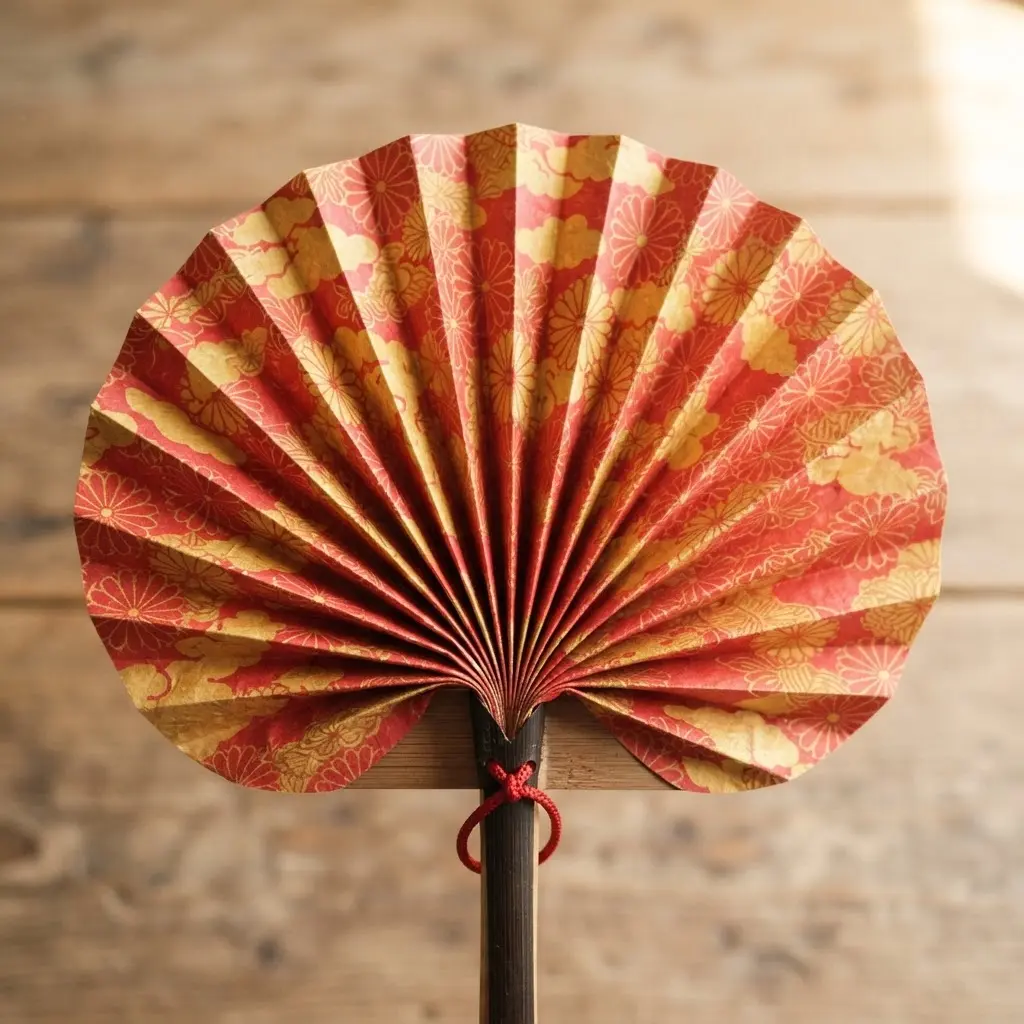
A common mistake is folding before decorating, which leaves the pleats awkward to mark. Start with an 8.5 × 11-inch sheet placed horizontally, then add flowers, waves, leaves, or sunny geometric shapes. I love this project because your pattern turns into a cheerful display once the paper opens.
Use a ruler and pencil to mark parallel fold lines every ½–¾ inch, then fold back and forth along each guide to form neat accordion pleats. Secure the folded base with glue or double-sided tape, and attach a wooden stick or thick cardstock strip to each side. Sound complicated? It is not, and the steady folds make this a lovely hands-on activity that mirrors Easy Origami Craft Ideas perfectly.
Add ribbon, string, or a paper fastener at the bottom, then use a gentle opening to spread the strip into a semicircle. Two handles keep the fan comfortable to hold, while a small bead or washi tape gives the base a finished touch. Trust me on this one: consistent spacing matters more than perfect artwork, and the compact folded shape makes an easy paper gift for a sunny day.
12. Geometric Star Holiday Room Decor

Grab paper geometric stars in gold, silver, white, or matte black, then gather them in several sizes, knowing that Easy Origami Craft Ideas shine in seasonal setups. Pick a display spot, such as a mantel, console table, tabletop tree, or open ceiling area. Ever tried varying the height of each ornament? This small change gives the arrangement a layered look instead of a flat row.
Hang the stars at different lengths with clear thread, or place them among neutral textiles, greenery, pinecones, and simple gift boxes. Add warm-white string lights behind or around the display for a soft glow. I love how the angular shapes bring a clean seasonal touch to Scandinavian and minimalist rooms without filling every surface.
Keep the palette limited so the stars stay in focus, especially in a room with cream, gray, or beige accents. Avoid using stars of one size or placing every piece at the same height. A few varied shapes, open space, and careful spacing create a polished holiday focal point. Trust me, stepping back to check the balance makes the final arrangement feel wonderfully finished.
13. Folded Newspaper Pretend Play Hat

Ever tried turning one newspaper sheet into a wearable hat, a classic example of how Easy Origami Craft Ideas spark imaginative play? Start with a fresh newspaper sheet, fold it in half with the folded edge at the top, then bring both upper corners toward the center. You will see a neat triangular peak form above the open lower section.
Fold the lower flap upward on both sides to create a brim, then secure loose edges with small pieces of tape. Open the hat slowly and press inside with light fingers until it sits comfortably. I love decorating it as a pirate hat with a skull, or as a firefighter’s helmet with bright stripes. Stickers and markers stay tidy, while paint needs full drying before wearing.
This project works because simple folds create a prop with instant play value, while the plain surface invites personal choices. For a stronger shape, use a fresh, unfolded sheet and add tape where layers separate. Keep the peak balanced by matching the upper corner folds, then reshape the opening gently. Feel proud when your child steps into pretend play wearing a hat made from yesterday’s paper.
14. Minimalist Black and White Penguin

This one looks polished, yet the shapes stay friendly and easy to manage. Start with a black folded body, keeping the penguin upright with rounded shoulders and a tidy point at the top. Add a smooth white belly panel, then fold small flippers from the sides so they sit close to the body. Sound complicated? It isn’t. Keep the penguin centered and leave plenty of blank paper around it.
The bold contrast makes the face and belly clear at a glance, while the simple geometry gives your piece a calm, modern look. I love how one tiny orange beak brings the whole figure to life without taking attention from the black-and-white palette. Use gray paper only for gentle shading, and keep the feet small if you add them. A clean background lets the rounded forms stand out, so resist adding extra patterns or scenery. Trust me on this tip: crisp folds and generous negative space make this little penguin feel neat, balanced, and ready to display.
15. Multi-Shape Paper Garland Decoration

This is one of my favorite paper decorations because a few simple cutouts turn into a cheerful display. Ever tried mixing stars, hearts, circles, flowers, and triangles on one strand, a fun twist on Easy Origami Craft Ideas? The changing shapes give each section a fresh look, while repeated colors keep the design tidy. I love how personal it feels before it even reaches the wall. Start with colored construction paper for a light hanging strand.
Use a pencil, ruler, scissors, string, and glue or double-sided tape. Draw shapes in different sizes, then cut them with steady strokes. Add small patterns, lettering, stickers, glitter, or sequins before assembly. Punch two holes near the top of each piece, or attach each piece directly to the string with tape. A repeating shape sequence such as star, circle, heart, and flower makes spacing easier to plan and gives the garland a balanced rhythm.
Thread the pieces onto yarn or twine, leaving similar gaps between them. Small knots hold each piece in place, while cardstock helps the decoration stay firm for a party table, doorway, window, or classroom display. Check the full strand before hanging it, since moving one piece is easier before the glue sets. Pro tip: punch holes close to the top edge, but leave enough paper around them for strength. Step back, see the colors line up, and feel proud of your finished garland.
Creating Paper Scenes From Finished Folds
Paper-safe glue holds finished origami figures to a scene background without soaking thin folds or leaving dark spots, which keeps Easy Origami Craft Ideas looking crisp on any surface. Choose a glue stick for lightweight kami paper, while small dots of PVA glue suit heavier figures and secure them after the glue dries. Acid-free cardstock gives a firm backdrop for classroom displays, greeting cards, and shelf scenes. Leave moving parts such as frog legs, boat flaps, or bird wings unglued so the model keeps its play value. Arrange figures with clear spacing, using contrasting background colors to separate white edges and pale creases. A folded strip beneath a model adds height without hiding its silhouette. Let adhesive dry flat under a clean book for several minutes, then store the scene away from humidity, which softens creases and bends paper.
Conclusion
So how was your creative session? A single square of paper gives you plenty of room to play, whether you folded a fox bookmark, a tiny heart, or a full garland. Look at what you have made. The neat creases, bright colors, and small personal touches show real skill right there. Easy Origami Craft Ideas also give children and adults a shared activity with no large supply list or long setup, making this hobby incredibly accessible. For your next session, start with fresh square paper and press each crease gently with a fingertip or the flat edge of a ruler. If a fold looks uneven, unfold it and try again without rushing. We all improve through small repeats, and I love keeping the first version as part of the memory. Pick your favorite project, set out your paper, and get started right away with someone you enjoy creating beside.
FAQs
Q: What paper size works best for beginner origami?
A: Six-inch square paper works well for most beginner projects. Larger sheets help children see each fold, while smaller sheets suit tags and ornaments.
Q: How do I keep origami folds neat?
A: Match corners before pressing the crease. Run a fingertip along the fold once, then avoid pulling the paper out of alignment.
Q: Is origami suitable for young children?
A: Simple models suit children with adult guidance. Use larger paper, soft creases, and short projects with easy-to-see steps.
Q: What paper works for origami decorations?
A: Lightweight origami paper folds smoothly and holds shape. Magazine pages, newspaper, and recycled wrapping paper suit casual decorations when the sheet is square.
Q: How do I add details to folded paper animals?
A: Use a fine-tipped marker for eyes, whiskers, spots, or small facial features. Add details after folding so the paper stays easy to handle.