


Achieving Correct Paint Flow Consistency
Your paint must flow off the stir stick like thick honey, not water or heavy cream, to get those beautiful cells and clean color separation. Trust me on this, the most common reason for muddy colors is paint that is either too thin, which causes all the pigments to bleed together, or too thick, which prevents any flow at all.
You want to mix your heavy body acrylics with a pouring medium like PVA glue or a commercial brand until you achieve that perfect honey-like viscosity. This ratio prevents the colors from over-mixing into a brown mess on the canvas. When mastering acrylic pouring techniques for beginners, getting this viscosity right prevents muddy results before they happen.
Test your mixture by lifting the stir stick and watching the ribbon of paint fall back into the cup. It should fold in on itself smoothly without breaking into separate drips.
Essential Surface Preparation and Levelling
A canvas that is not perfectly level will send your entire pour sliding off one edge, ruining the composition in minutes. This step is non-negotiable. Skipping proper leveling while you explore acrylic pouring techniques for beginners ruins hours of careful mixing.
Before you mix a single color, place your stretched canvas, wood panel, or tile on your work surface and use a small spirit level to check it. We tend to skip this step, thinking our table is flat, but it rarely is. Place painters pyramids or small plastic cups under each corner to lift the piece and allow excess paint to drip off cleanly. This also prevents the bottom from sticking to your surface as it dries. Preparing your surface with a quick coat of gesso creates a smooth, non-porous base that helps your colors glide and maintain their vibrancy.
1. Create a Primary Dirty Pour for a Dynamic Canvas Base
This is one of the most reliable methods because it looks complex but remains incredibly beginner friendly. You start by mixing your primary colors with a pouring medium until they flow like heavy cream. Then, you carefully layer red, yellow, and blue into a single cup before flipping it onto your canvas.
As the paints slide and mingle, they create stunning organic patterns and cells right before your eyes. I love how this technique provides a rich, abstract foundation in minutes. The unpredictability is part of the fun, giving you a dynamic base perfect for more layers or left as a bold statement piece. Trust me, the moment you lift that cup is pure magic.
For your next project, gather more easy acrylic painting ideas to build your skills. Does that not look stunning?
2. Build a Colorful Puddle with the Flip Cup Method
This technique looks like magic, doesn’t it? Many creators start their acrylic pouring techniques for beginners journey with this exact method. You will layer your prepared paints into a single cup, place your canvas on top, and give it a confident flip. Then, you carefully tilt the canvas to let the paint flow and reveal those beautiful, lacy cell formations.
The secret is in your paint’s consistency, which should be like warm honey. I love using a contrasting color like black or white in my layers to make the other colors pop. The moment you lift the cup and see the puddle of color is pure, happy surprise. Try it and feel the thrill of controlled chaos.
3. Apply the Clean Swipe Technique for a Nebula Effect
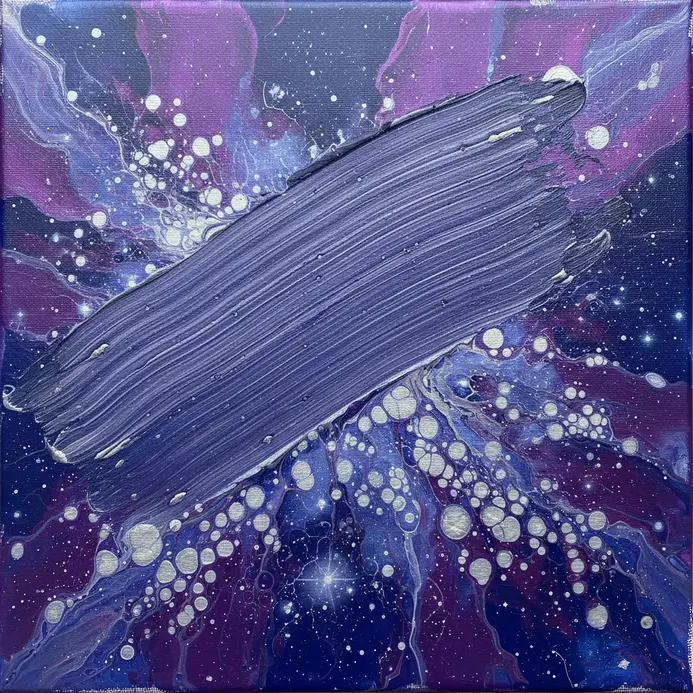
Ever wanted to paint a galaxy? Exploring atmospheric styles through acrylic pouring techniques for beginners opens up stunning possibilities. You start with a dark base color, like a deep blue or purple, to represent space. Then, on a new layer, you pick a few vibrant colors and apply them with a large, soft brush using low opacity. Make broad, sweeping motions and let the colors overlap slightly to blend.
The magic happens in those fluid, overlapping strokes. You are not drawing a specific shape, you are guiding the paint to flow organically. I love how this method builds depth so naturally. The key is to avoid harsh lines and aim for those soft, ethereal gradients that look like swirling stardust. It is a fantastic way to practice color blending and create a stunning background.
abstract painting ideas for beginners. Does that not look stunning?
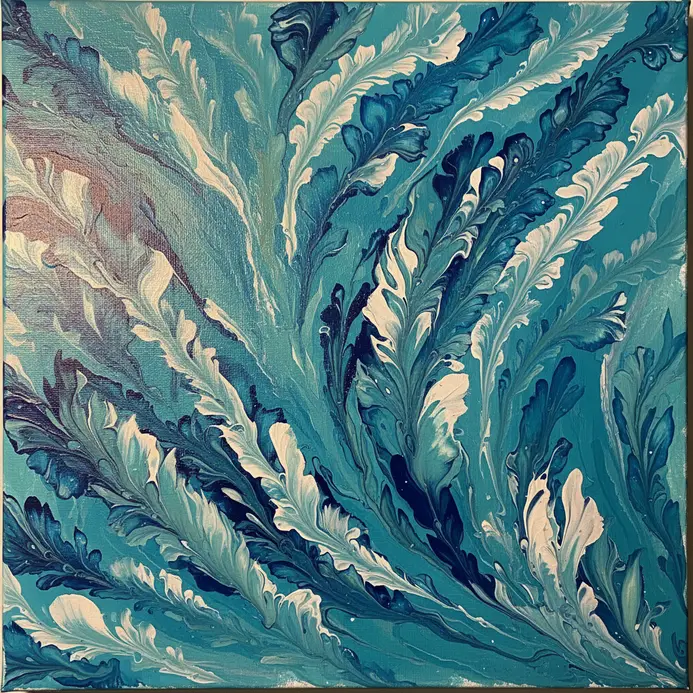
4. Pull a Floral Pattern with the String Pull Technique
This technique looks like pure magic, but it ranks among the most straightforward methods. You simply lay a piece of string onto your wet paint, then lift and pull it across the surface. The paint clings to the cotton twine and gets dragged into beautiful, unpredictable lines and petal-like shapes. You will quickly see why string work ranks among the best acrylic pouring techniques for beginners when working with floral motifs. It is incredibly forgiving and perfect for creating organic patterns without needing any drawing skills.
Getting the right paint consistency is the secret. Mix your fluid acrylics with a pouring medium until it flows like thin honey. If it is too thick, the string will not pull smoothly. If it is too thin, your colors will blend into a muddy mess. Experiment with pulling speed and angle. A steady, medium pull often gives the crispest definition for your floral designs.
I love how this method turns a simple action into such a complex-looking piece of art. It is a fantastic way to explore fluid dynamics and create stunning abstract flowers. easy oil painting ideas.
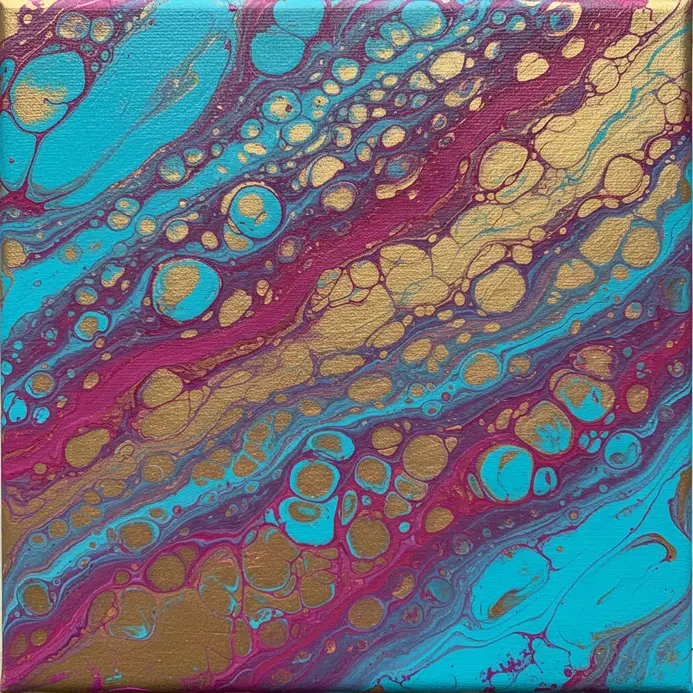
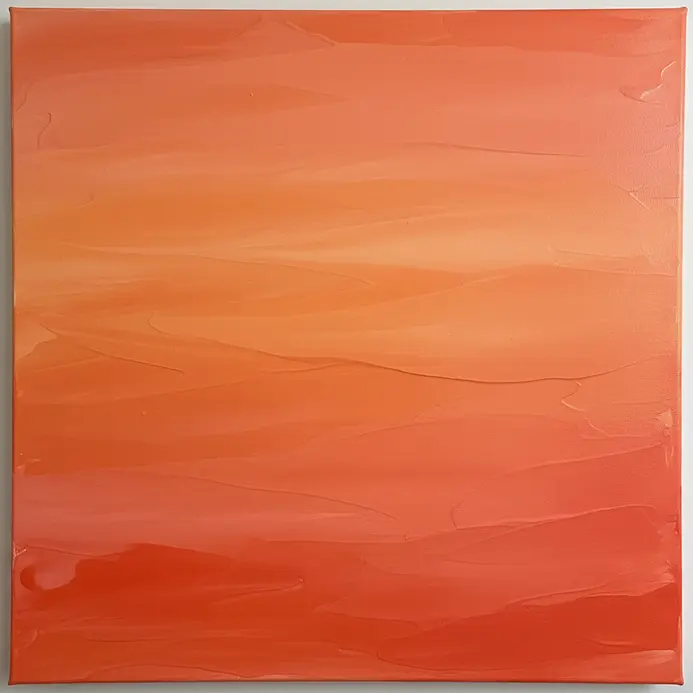
5. Achieve a Gold Cell Background with the Wipe Technique
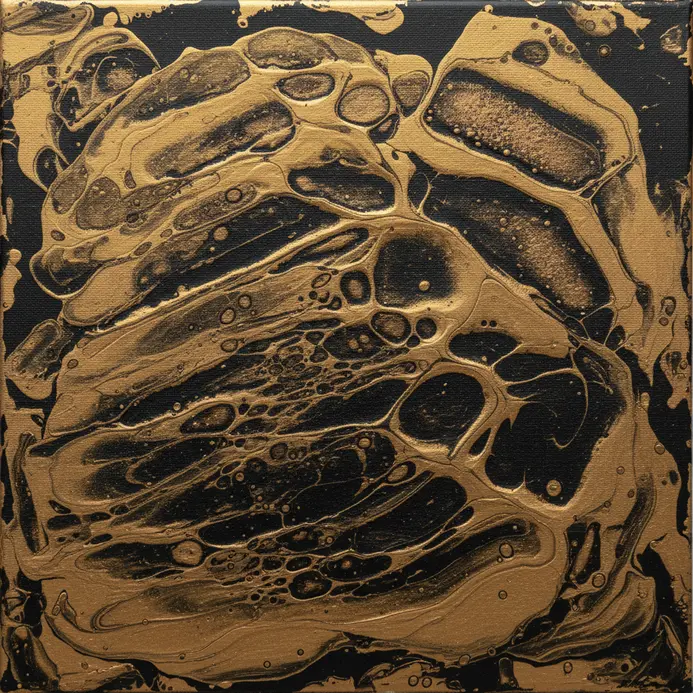
This one is a real crowd-pleaser. It looks like a high-end digital effect, but the core idea is beautifully simple. You start by selecting a few shades of gold, like a dark and a bright one, to create a linear gradient fill. Adding metallic accents to your acrylic pouring techniques for beginners practice elevates every piece instantly. Angle that gradient diagonally across your shape, and boom – you have a dynamic, metallic-looking wipe. I love how this instantly adds a touch of luxury and depth.
The magic is in the subtle texture. Overlaying a faint gold noise or a brushed metal pattern with a soft light blend mode gives it that authentic shimmer. Isn’t it satisfying to watch a flat shape transform into something so rich? Feel proud of that professional polish.
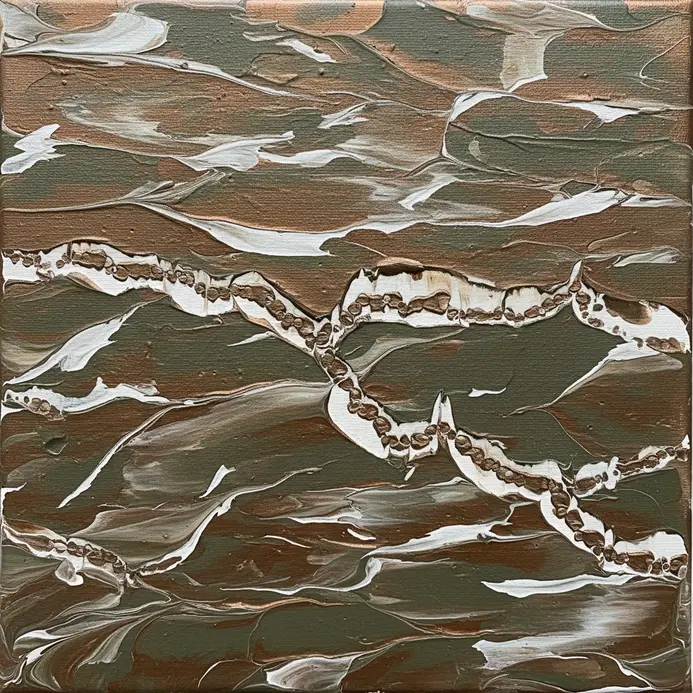
6. Form a Poured Landscape Texture Using a Colander
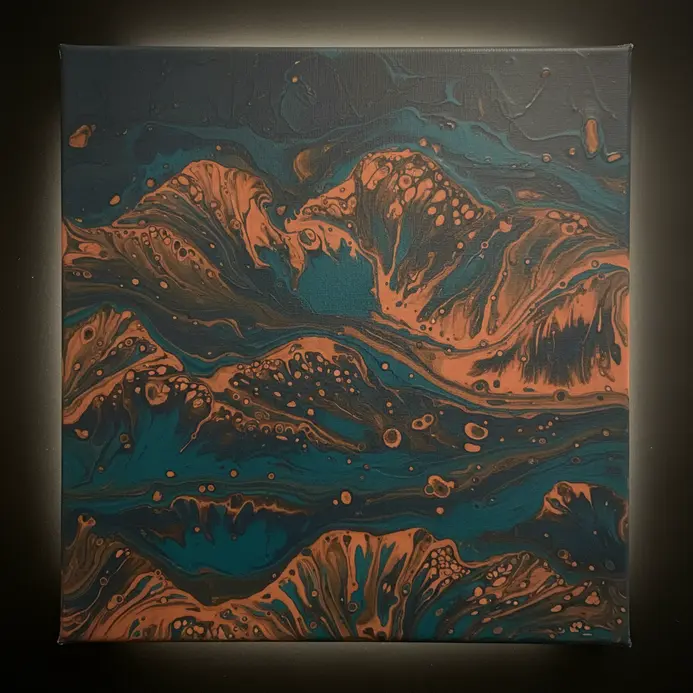
Does a colander belong in the art studio? Trust me, for this technique, it is your secret weapon for amazing textures. You will mix your fluid acrylics and simply pour them through the small holes of a kitchen colander held over your canvas. The paint breaks into dozens of tiny streams, creating organic, layered patterns that look like flowing water or cracked earth. Repurposing everyday items in acrylic pouring techniques for beginners proves creativity needs no expensive gear.
Why does this work so well? The colander introduces a beautiful, unpredictable chaos you cannot get with a regular pour. To get started, ensure your paint has a consistency like thin cream so it flows freely. I love how this method lets you mimic natural landscapes with such a simple tool. watercolor painting techniques.
Your biggest tip is to work on a level surface and let the paint do its thing. Feel the thrill of watching a miniature landscape form right before your eyes.
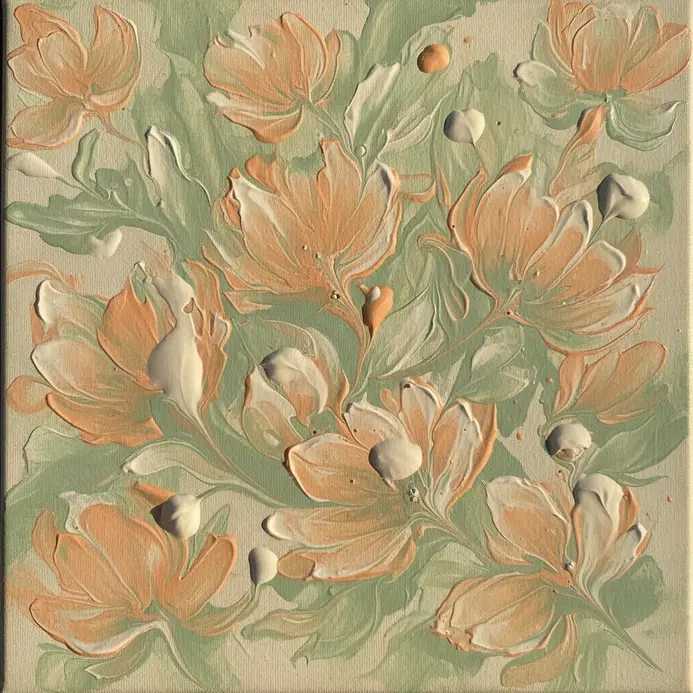
7. Capture an Impressionist Flower with a Balloon Smash
Who would have thought you could paint a flower with a balloon? This one surprised me with how fun and forgiving it is. You will start by squeezing dollops of your chosen petal colors onto a palette. Then, dip an inflated balloon into one color and press it firmly onto your paper, repeating with different colors to build the flower’s shape. Using tactile tools for acrylic pouring techniques for beginners makes the process incredibly playful.
The magic happens because the paint spreads and blends in an uncontrolled, beautiful way under the balloon. This creates those signature broken colors and visible strokes that feel so impressionistic. I love how it turns a simple smash into a textured, vibrant bloom. For a fantastic next step after mastering this, check out these easy art projects for beginners.
My top tip is to use heavyweight paper to handle all that paint movement. Isn’t it satisfying to create something so lively without any traditional brush skills? Feel the joy of your colorful, chaotic flower coming to life.
8. Mix a Split Cup for a Seamless Gradient Pour
Ever wondered how artists get those gorgeous, flowing color blends? This one is a favorite of mine because it looks so complex but is wonderfully simple to set up. The magic happens inside a split pouring cup. You prepare your individual colors to the same flowing consistency, then fill each section of the cup. Understanding gradient mechanics while learning acrylic pouring techniques for beginners guarantees smoother pours every single time. When you tilt it over your canvas, the colors meet and blend right as they pour out, creating a soft, seamless transition.
It works because you control the color order and consistency from the start, so the blend happens naturally on the surface. The key is picking colors that naturally flow into each other, like different shades of blue or a sunset palette. Trust me, seeing that perfect gradient appear feels incredibly satisfying.
9. Use a Blow Dryer to Master the Dutch Pour Flow
Ever wondered how those stunning, wispy lace patterns in fluid art are made? This one surprised me. You layer your accent colors over a solid base, then pick up your blow dryer with a concentrator nozzle. Air guidance sits at the core of many acrylic pouring techniques for beginners seeking directional control. Starting with a gentle blow from a distance, you guide the paint across the canvas, creating those organic, flowing rivers of color. It is deeply satisfying because you are literally sculpting with air, watching the design unfold in real-time. Trust me, getting the paint consistency right is the key. Try it on a smaller surface first, like an easy mini canvas painting, to practice your control without the pressure.
10. Drag a Comb for Bold Linear Abstract Patterns
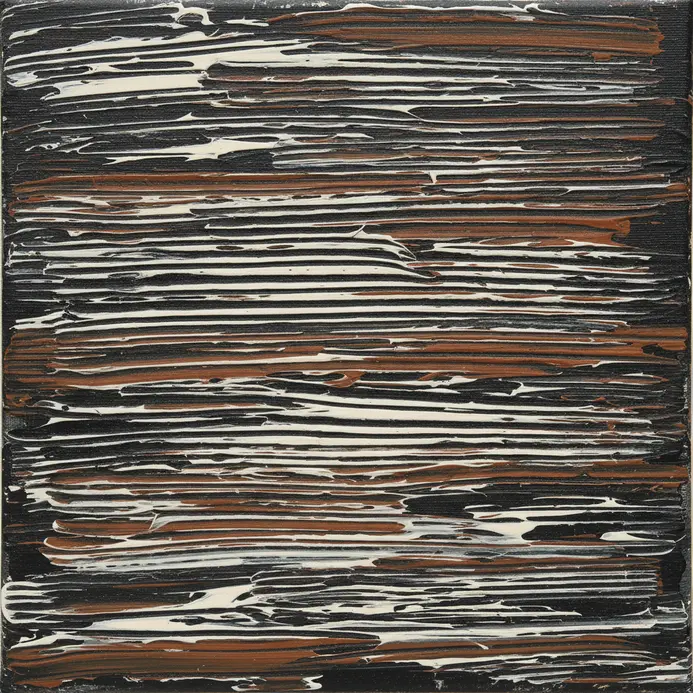
Who would have thought you could create such dynamic abstract art with a simple comb? This technique is all about dragging a wide-toothed comb through a fresh layer of paint. You apply your acrylics evenly to a canvas, then pull the comb through to create those bold, parallel lines. It feels like magic watching the patterns emerge from a smooth surface.
The trick is getting your paint to the right consistency. You want it thick enough to hold the ridges your comb makes, but fluid enough to drag smoothly. Dragging simple edges across wet paint remains a staple of acrylic pouring techniques for beginners who crave texture experiments. Isn’t it satisfying to see those clean, linear textures appear? I love how this method turns everyday tools into art supplies. small painting ideas for beginners.
11. Layer a Marble Swirl Puddle for Classic Style
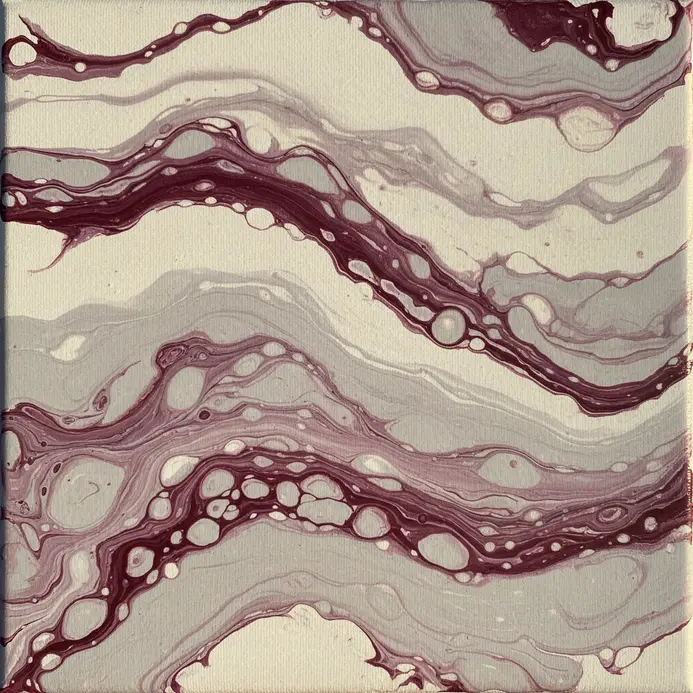
Ever wondered how those elegant, marble-like patterns are made? This technique creates them by building up layers of fluid color. You start by pouring a base puddle layer onto your surface, then drizzle contrasting colors on top. Gently swirl them with a stick to create those beautiful, organic veins without overmixing. Building slow layers is essential when practicing advanced acrylic pouring techniques for beginners. This layering adds incredible depth and complexity, making your piece look so much more sophisticated. I love how this method lets you create classic, timeless art with a modern twist.
Your biggest challenge will be patience. Wait for that tacky stage before adding the next round of colors. Trust me on this one, letting each layer partially set is what keeps your swirls crisp and distinct. Try it and feel that proud moment when your final piece looks like genuine stone.
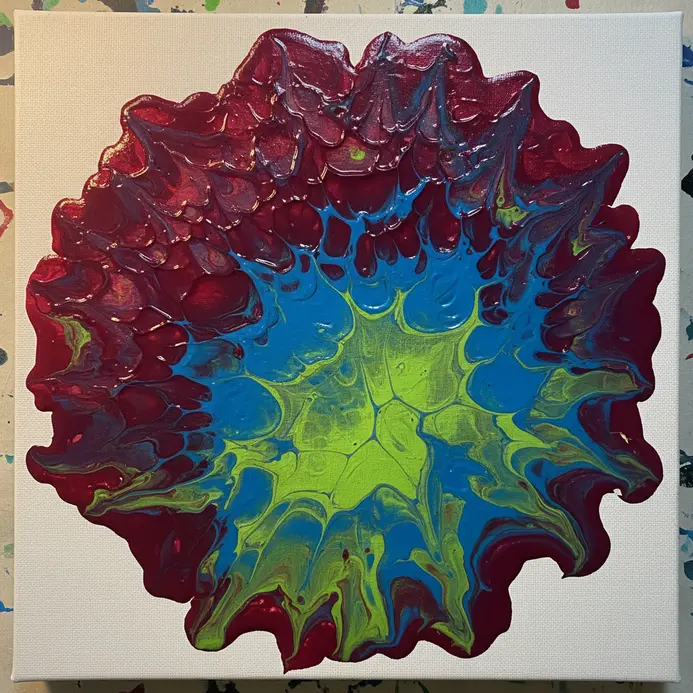
12. Form an Open Cup Center Bloom Design
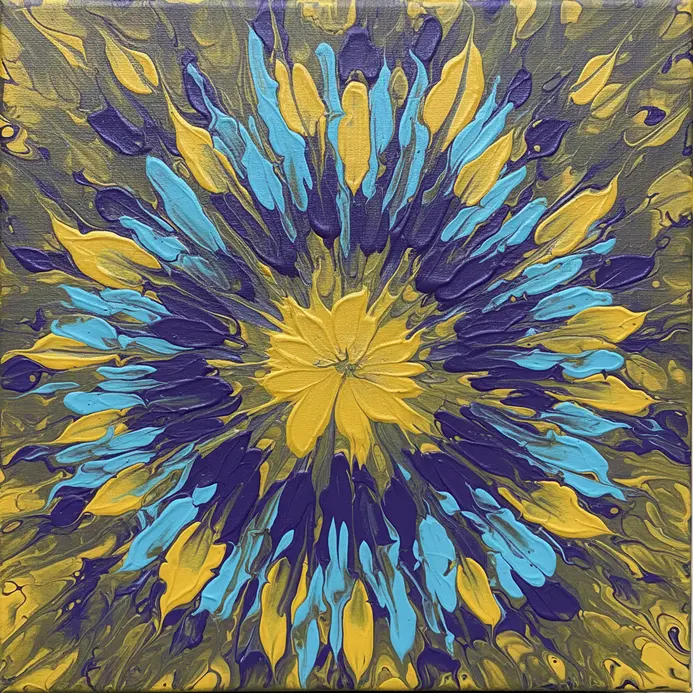
Ever wondered how to make one flower the undeniable star of your pour? Center-focused designs often appear in studio guides because they highlight how acrylic pouring techniques for beginners control gravity beautifully. Start by creating a thick puddle of your main color right in the center of your surface. Then, using a large, open cup, you will pour your secondary colors in a ring around that central puddle, letting gravity pull them inward to create a blooming effect. The magic happens when you tilt your canvas. The outer ring of paint flows inwards, meeting the central puddle and pushing its edges outward to form those beautiful, organic petal shapes. I love how this mimics a real flower opening up.
For a softer, more blended look, try this with complementary colors. You can find more easy acrylic painting ideas to pair with this floral technique. Does that not look stunning?
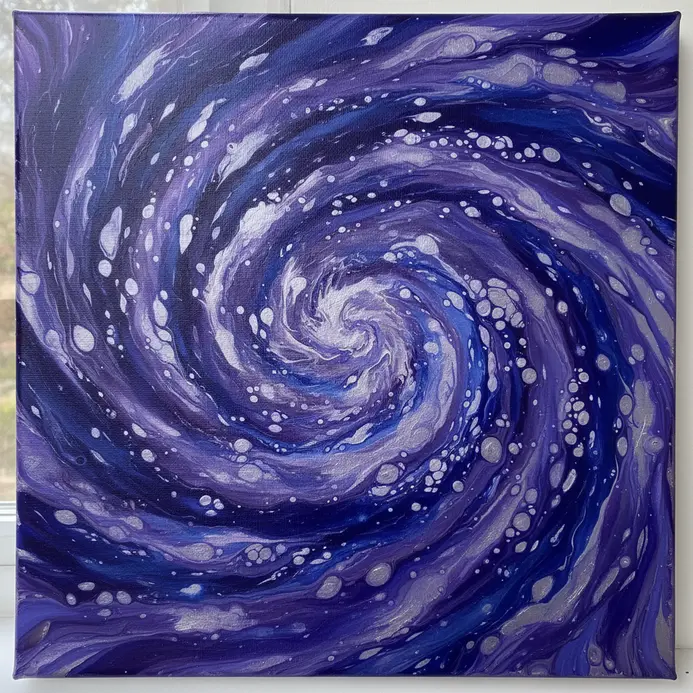
13. Spin a Canvas for a Dynamic Vortex Centrifuge Pour
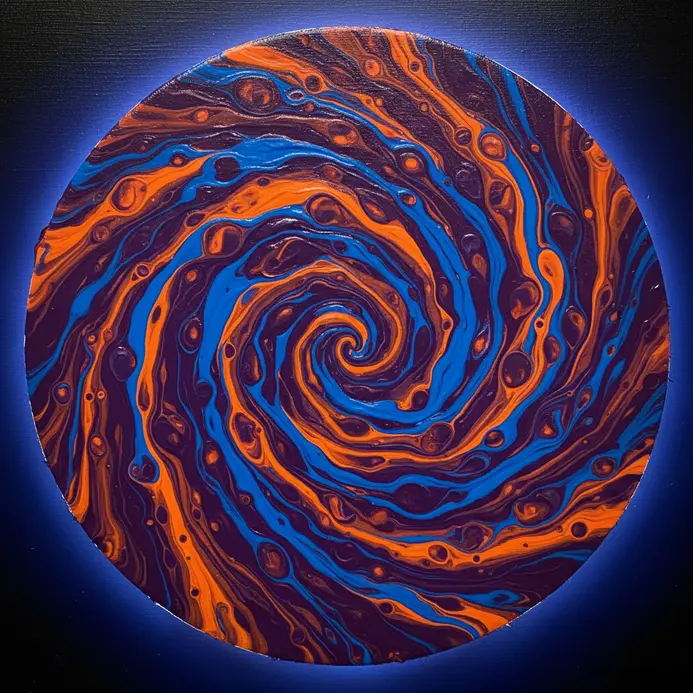
Ever wanted to create a swirling galaxy on a canvas? This technique is all about motion. You place your canvas on a spinning mechanism, like a potter’s wheel or a sturdy turntable, and pour your pre-mixed acrylic paints directly onto the surface while it’s turning. The centrifugal force does the magic, pulling and stretching the colors into beautiful, unpredictable vortex patterns that radiate from the center. I love how it turns a simple pour into a dynamic, energetic piece of art. Getting the paint consistency right is the key to success. Your paints need to be fluid enough to flow but not so thin they turn muddy. Trust me, a good pouring medium is non-negotiable here. For a fantastic source of inspiration and more ways to create stunning, non-representational art, check out these abstract painting ideas for beginners. The visual movement you get from a successful spin pour is incredibly satisfying. Give it a try and feel the thrill of the spin.
14. Pull a Chain for Fractured Ribbon Details
Ever wonder how to get those amazing, broken-apart ribbon effects in your pours? This one is a favorite of mine because it looks so intricate but is surprisingly simple to set up. You start by pouring a thick line of your main color, then you literally drag a tool like a toothpick or skewer through it in a connected, zigzagging line. It feels like pulling a chain through the paint, and the result is a beautiful, fractured pattern.
The magic happens because the dragging motion creates tension and pulls the underlying paint layer up, creating those ribbon-like breaks. You get to control the size and drama of the fractures by how fast or slow you pull. Isn’t that satisfying? For the best results, make sure your paint consistency is nice and fluid, but not too runny. Trust me, you will love the detailed, organic texture this creates on your canvas.
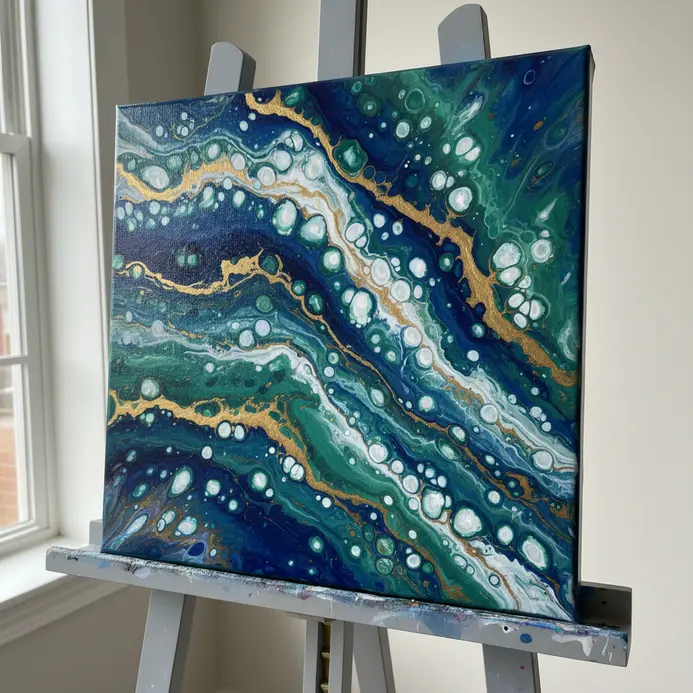
15. Build a Layered Geode Pour with a Resin Finish
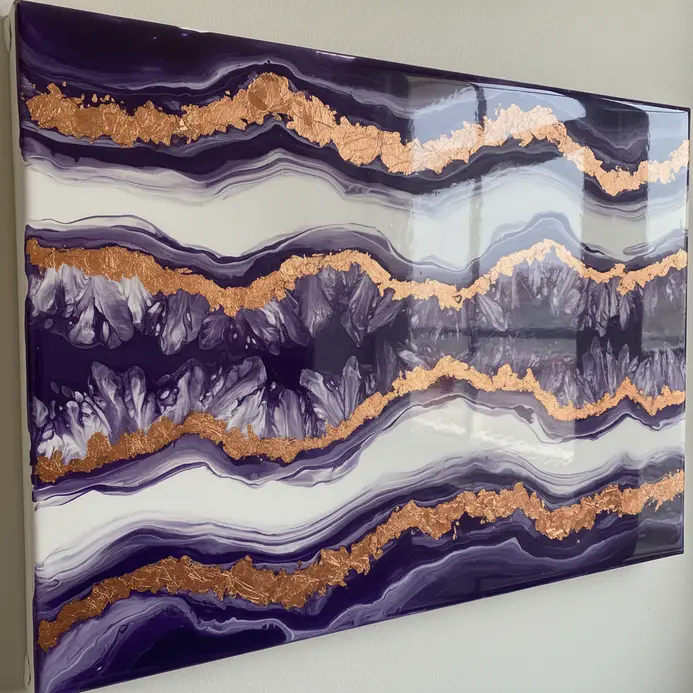
This one looks like a professional gallery piece, but the method is wonderfully methodical. You will start by pouring and partially drying concentric rings of color, building outwards from a central point like a real geode. Between layers, you can sprinkle in glitter or crushed glass for that authentic crystal sparkle. The magic happens when you seal it all under a glossy coat of epoxy resin, which deepens the colors and gives it that stunning, glass-like finish.
Why does this technique work so well? The separate layers create incredible depth and prevent your colors from turning into mud. My go-to tip is to be patient between pours and always work on a perfectly level surface to keep the resin even. The final payoff is a mesmerizing, one-of-a-kind artwork you will be so proud to display. If you enjoy structured projects with a big visual impact, you will love this process. watercolor painting techniques.
Advanced Final Varnish Application Techniques
Wait a full month for your thick acrylic pour to cure completely before you even think about varnishing, as sealing it too soon traps moisture and causes cloudiness. The good news is that a proper varnish not only protects your work from dust and UV light but also brings back the rich, deep colors you saw when the paint was wet. For a glass-smooth finish without brush marks, use an acrylic polymer varnish applied with a wide, soft foam brush in thin, even coats. Let each coat dry for at least 24 hours. Apply the varnish in a dust-free room to avoid particles getting stuck in the finish. This final step defines the archival quality of your piece, locking in all that beautiful flow and cell formation you worked so hard to create.
Conclusion
Your journey into acrylic pouring starts with the simple joy of watching colors blend and flow in ways you cannot fully predict. That element of surprise is what makes this art form so rewarding. Remember, the most important step is to begin. Mix your paints, prepare your surface, and let yourself play. Each technique you try teaches you more about how paint moves and interacts. As you explore these acrylic pouring techniques for beginners, keep a notebook of your paint ratios and favorite color combinations. Your next project could be your best one yet, a unique piece that captures a moment of pure creative flow.
FAQs
Q: What is the best pouring medium to paint ratio for beginners?
A: Start with a one-to-one ratio of pouring medium to acrylic paint. This consistency is similar to warm honey. Test your mix by lifting your stirring stick; the paint should flow off in a steady stream.
Q: How do I prevent my colors from turning into a muddy brown?
A: Mix each color separately in its own cup before layering them together. Avoid over-stirring the combined colors in your pouring cup. Use a torch lightly to help separate layers and promote cell formation.
Q: Do I need to use silicone oil to create cells?
A: Silicone oil is a common additive that helps cells form, but it is not essential. You can create cells by using different density paints or by adding a few drops of rubbing alcohol. Always mix silicone oil into individual colors, not the whole cup.
Q: How long does an acrylic pour take to dry completely?
A: Drying time depends on thickness and humidity. The surface may be dry to the touch in 24 to 48 hours. A full cure, where the painting is completely hard, can take up to three weeks.
Q: What type of canvas works best for acrylic pouring?
A: Use a flat, level canvas that is primed and sealed. Stretched canvases are popular, but ensure they are level. You can also use wood panels or primed MDF boards for a very smooth, non-porous surface.


