


What You’ll Need to Draw an Eiffel Tower
Before we start, cobble together a few basic supplies for one of the most enjoyable Easy Eiffel Tower Drawings you can create. You don’t need anything fancy—a standard piece of printer paper works perfectly, and if you want to make it printable later, that’s a bonus. The main tool is to use a pencil with a decent eraser—you’ll want to remove any stray lines as we build our sketch. If you have a ruler, it can help, but don’t worry if you don’t; we can improvise. Optional items for later include a black pen or marker for outlining and your favorite coloring tools to bring your Eiffel Tower to life.
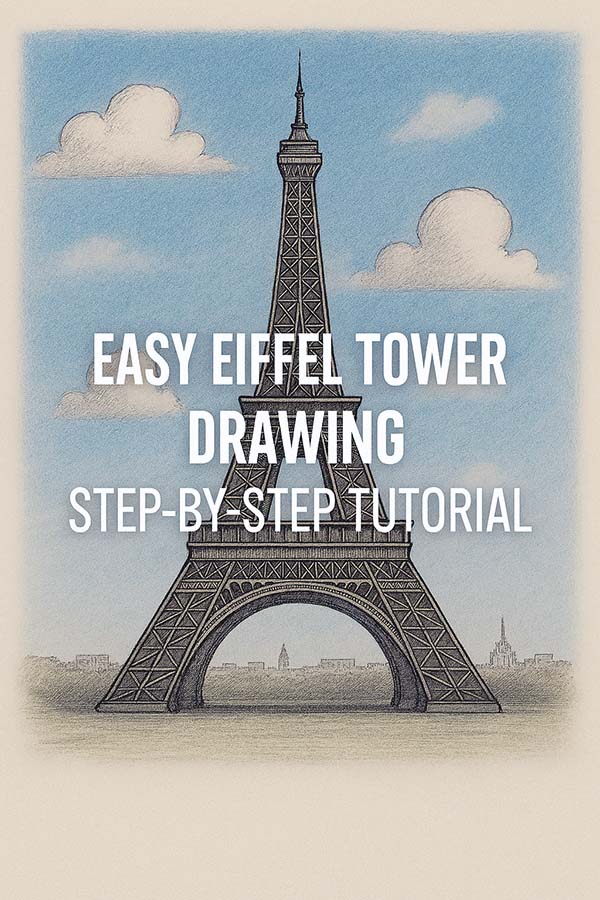
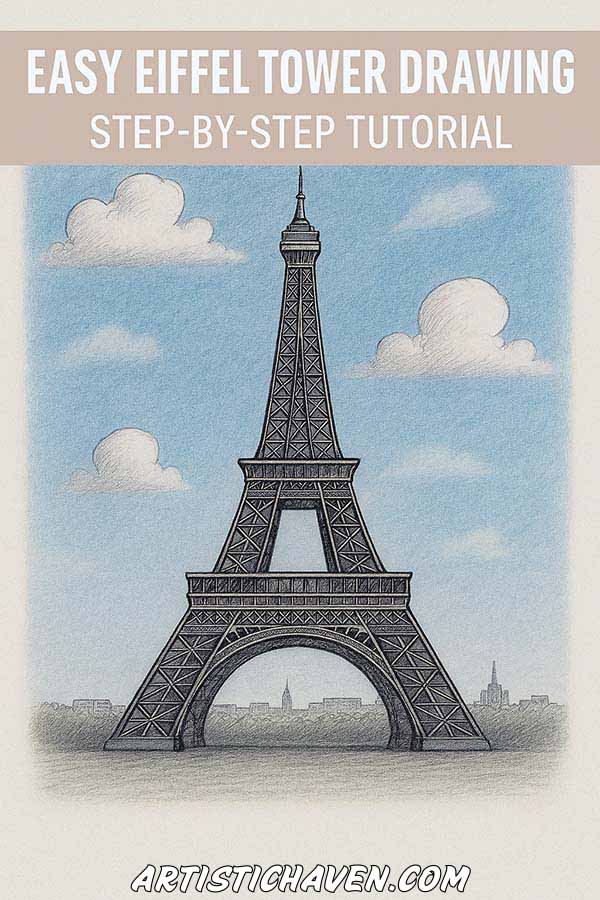
How to Draw the Eiffel Tower: Easy Step-by-Step Tutorial
Before we start, cobble together a few basic supplies for one of the most enjoyable Easy Eiffel Tower Drawings you can create. You don’t need anything fancy—a standard piece of printer paper is perfect, and if you want to make it printable later, that’s a bonus. The main tool is to use a pencil with a decent eraser—you’ll want to jettison any stray lines as we build our sketch. If you have a ruler, it can help, especially when you draw a square or other guide shapes to keep proportions accurate. To easily sketch the details, it’s a good idea to look at pictures of the real Eiffel Tower so you can capture its unique curves and structure. Optional items for later include a black pen or marker for outlining and your favorite coloring tools to bring your drawing to life.
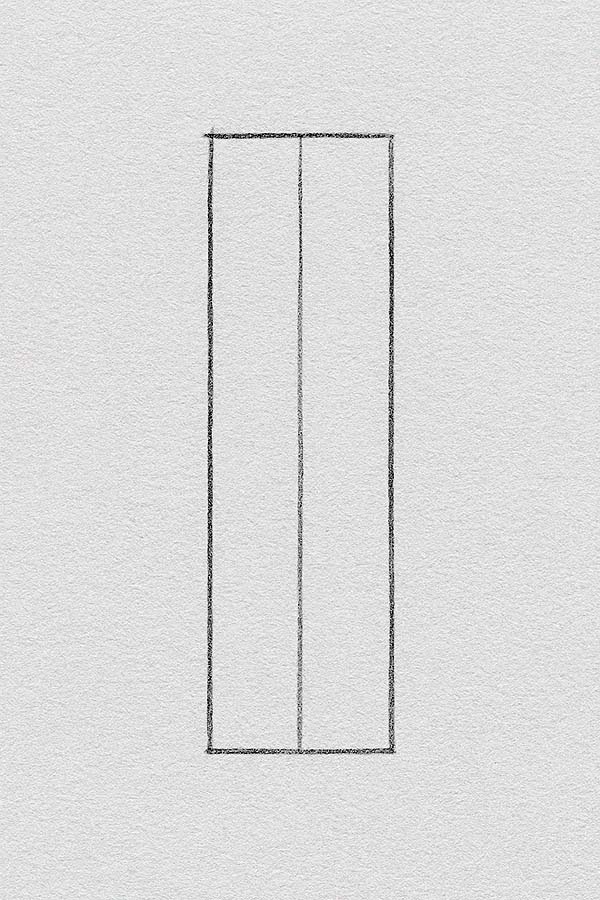
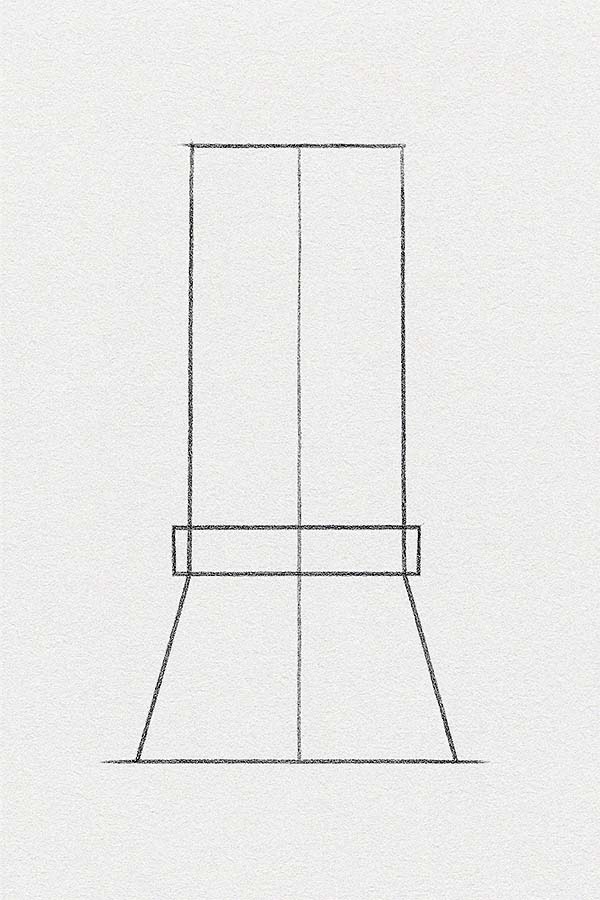
Step 1: Lay the Foundation With a Guiding Shape
We begin by establishing the core structure of our tower by drawing our main guide. Lightly sketch a large, narrow triangle in the middle of your paper. Position this guide shape carefully to ensure you have enough room to draw the tip. This won’t be part of the final drawing; it’s our guide to keeping everything proportional. Make it as tall as you want your final Eiffel Tower drawing to be. This initial shape helps us wrestle the monument’s grand scale onto our modest paper, ensuring the legs and peak are perfectly aligned later on.
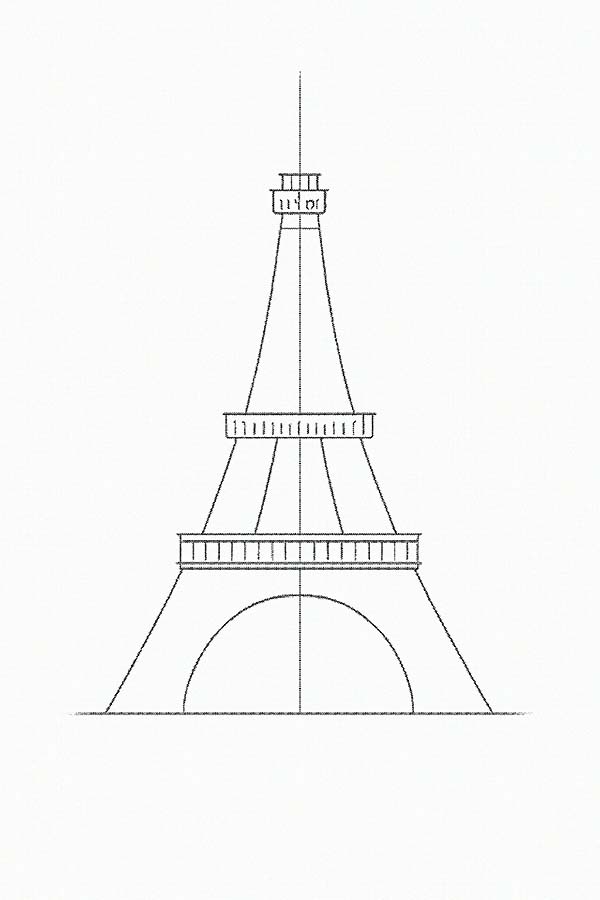
Step 2: Define the Base and the First Platform
Now, let’s give our tower a solid base by drawing curved shapes to enhance its structure. At the bottom of your guide triangle, draw a straight horizontal line to form the ground. Just above this, within the triangle, draw a horizontal rectangle. This is the first observation deck, and it’s important to get this rectangle centered. This platform is crucial as it supports the entire structure above it, so take a moment to ensure its width looks right relative to the width of the square base of the real tower.
Step 3: Shape the Tower’s Iconic Legs With a Gently Curved Line
This is where the magic starts! The legs of the tower are curved and massive. To create the tower’s legs, start the curved line from the bottom corners of your first platform. Draw two curved lines angling out and down to meet the ground line at the edges of your guide triangle. The Eiffel Tower is symmetrical, so try to mirror the lines on each side. Remember, the real tower curves gracefully, so avoid using perfectly straight diagonal lines for this step when you draw a curved line.
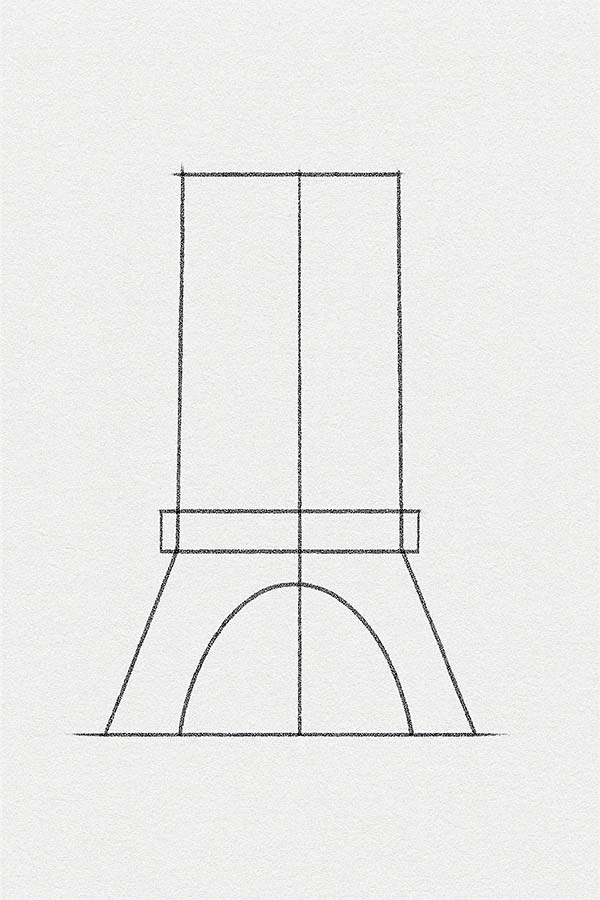
Step 4: Connect the Legs and Make It Arch
Beneath the first platform, connect the two legs you just drew with a large, sweeping curved line. This forms the famous arch between the pillars, which is essential to learn how to draw accurately. This curve is one of the most recognizable features, so take your time to make it symmetrical. To complete this, end the curved line where the opposite leg begins. If you’re struggling, you can lightly sketch a semi-circle first and then trace over the best part of the leg and make it arch beautifully.
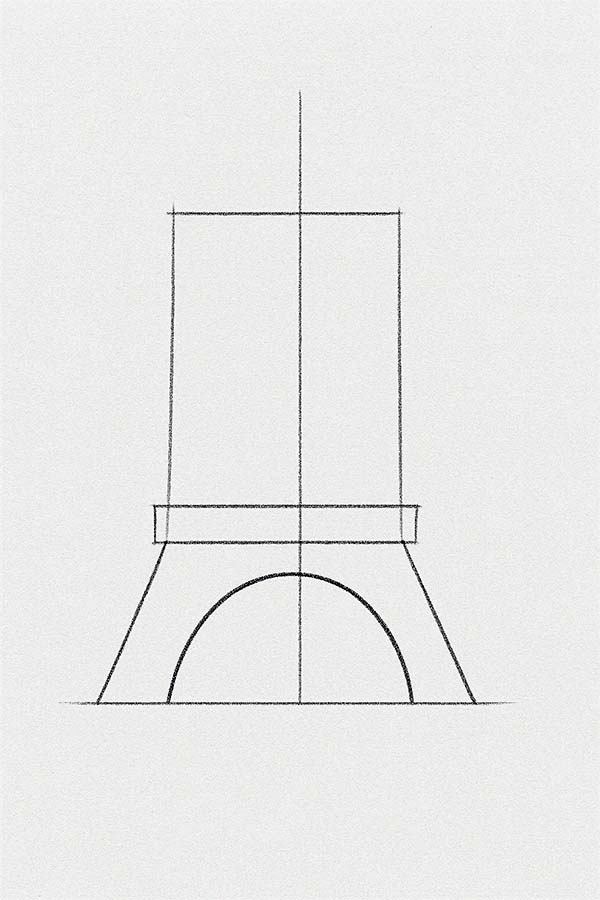
Step 5: Build the Middle Section and Second Platform
Time to build upwards! From the first platform, draw a vertical line up on each side into the center of your guide triangle. They should get closer together as they rise. About halfway up, draw a second, smaller horizontal rectangle to create the second platform. You should make the second rectangle visibly narrower than the first one but follow the same centered placement to maintain the tower’s tapered look.

Step 6: Construct the Upper Tower and Final Platform
Let’s keep climbing! From the second platform, draw two more vertical lines continuing up towards the tip of your guide triangle. These lines should converge more dramatically, especially when you learn how to draw the tip and legs. Near the top, draw a third, very small horizontal rectangle. This is the top platform. The top of the tower is almost in sight, and this step sets you up perfectly for the final details.
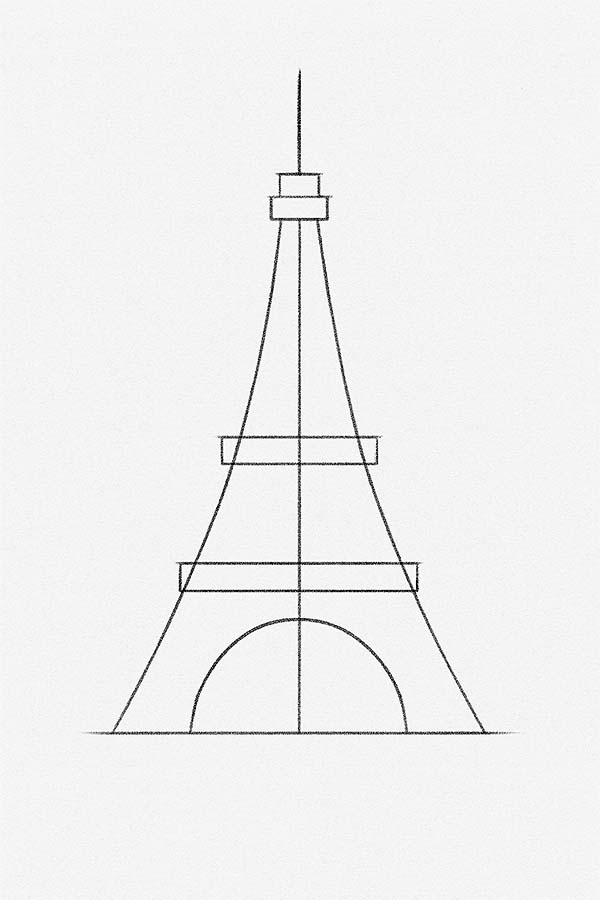
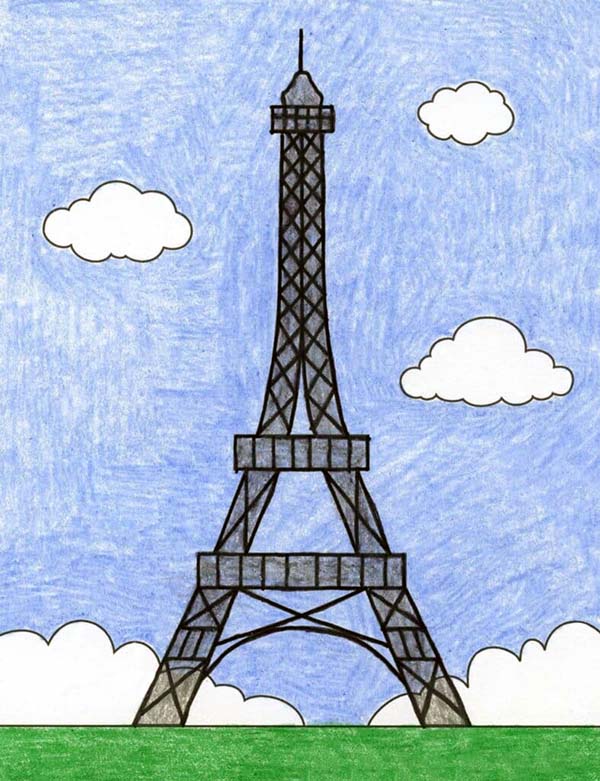
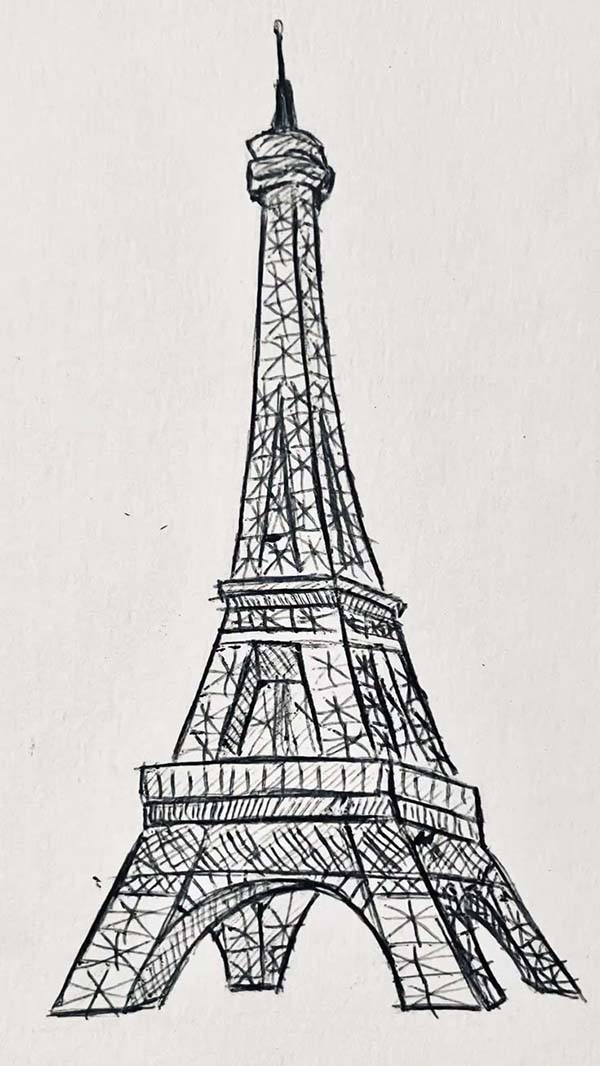
Step 7: Detail the Three Main Platforms in Your Easy Eiffel Tower Drawing
Look, a great drawing is all about those little details that add realism, including how to draw curved lines. Let’s focus on the three platforms we’ve built. We are going to draw three distinct looks for them. On the largest, bottom platform, draw two small horizontal lines inside it to suggest a railing or floor level. For the middle and top platforms, you can add a series of tiny vertical dashes along their top edge to represent the safety fences in an easy step-by-step manner. This simple act of detailing each platform differently helps to break up the structure and makes the tower feel more like a real, functional landmark.
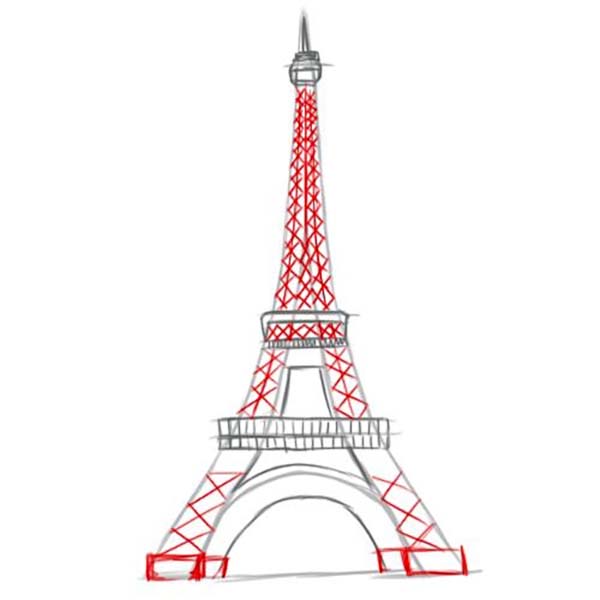
Step 8: Add the Intricate Ironwork Lattice
This step transforms your sketch into the Eiffel Tower. Between the first and second platforms on each leg, draw a set of connecting “X” shapes to mimic the iron beams using sized rectangles. You don’t need to draw every single one—just a few on each face to suggest the latticework. This adds that iconic detail without requiring you to slog through thousands of lines, which is key for a tutorial that makes it easy.
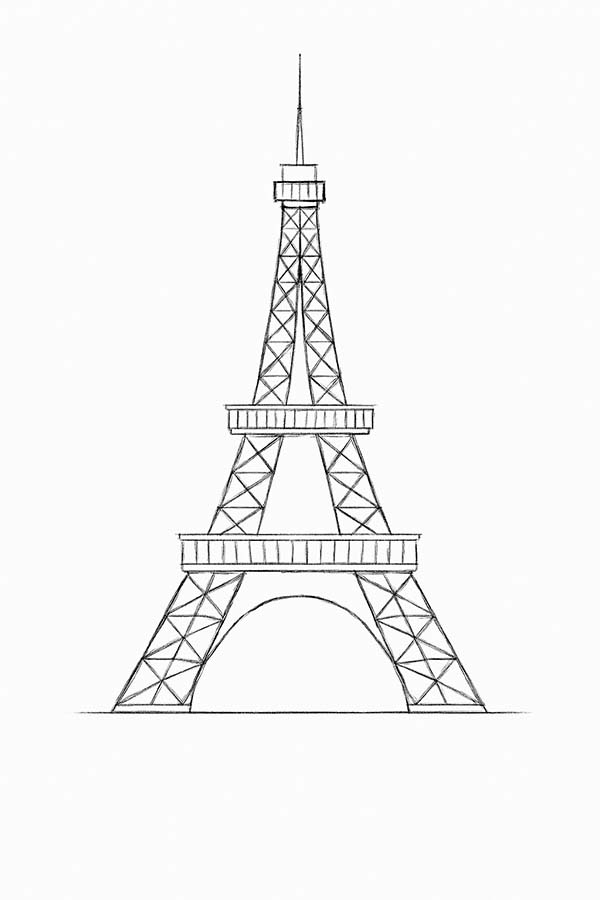
Step 9: Detail the Top and the Spire
Now for the crowning glory. Above the top small platform, draw a narrow rectangle for the base of the spire. Then, extend a straight vertical line up from its center to a point, creating the sharp spire itself. A triangle with a steep point on top completes the iconic silhouette. Add a few small horizontal lines inside the top section of the tower for extra detail. This final touch cements the tower’s famous shape.
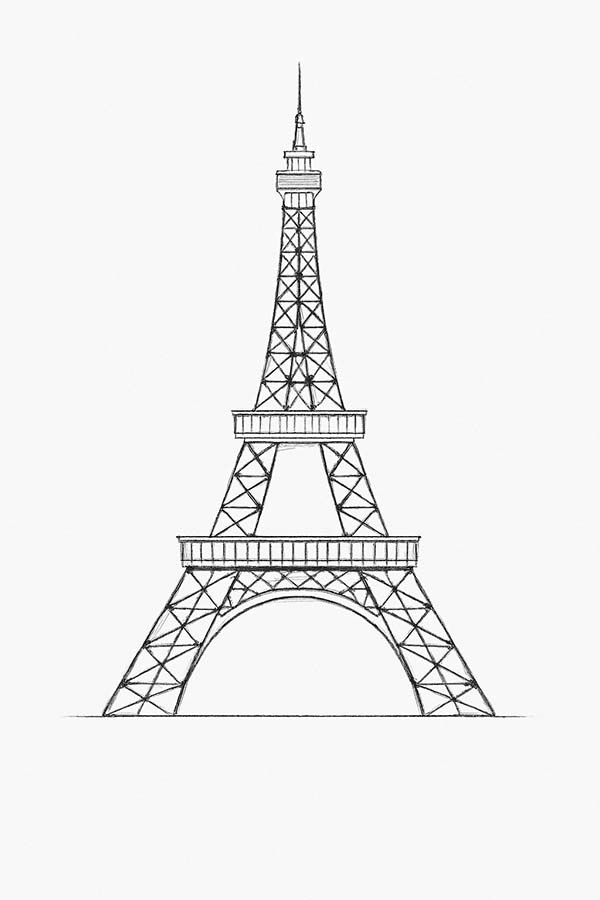
Step 10: Finalize Your Lines and Erase the Guides
This is the most satisfying part. Grab a darker pencil or a pen and carefully trace over all the final lines of your easy Eiffel Tower drawing. Define the arches, the platforms, and the latticework. Once the ink is dry, gently erase all your original guide lines, including the big triangle and any stray pencil marks. Your clean, crisp final drawing will now pop off the page.
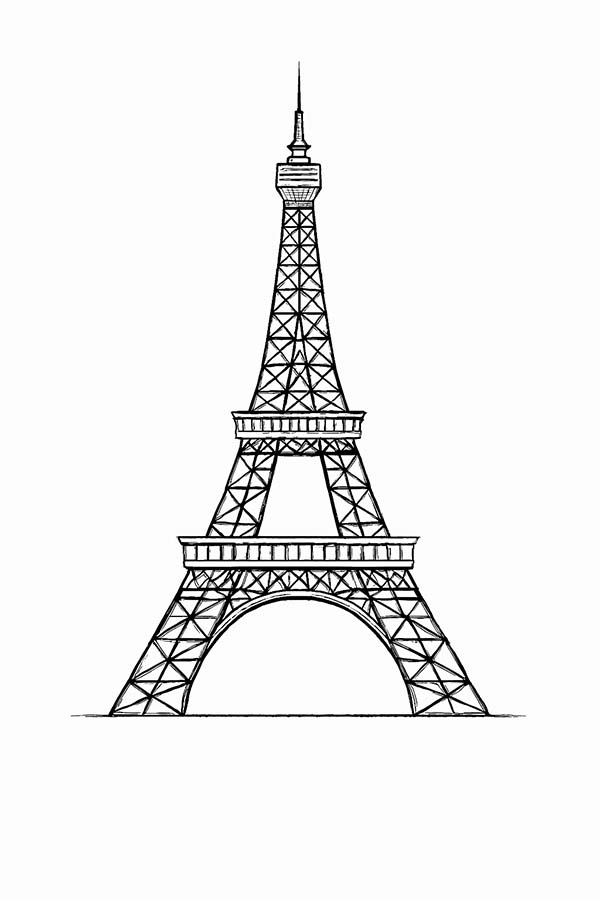
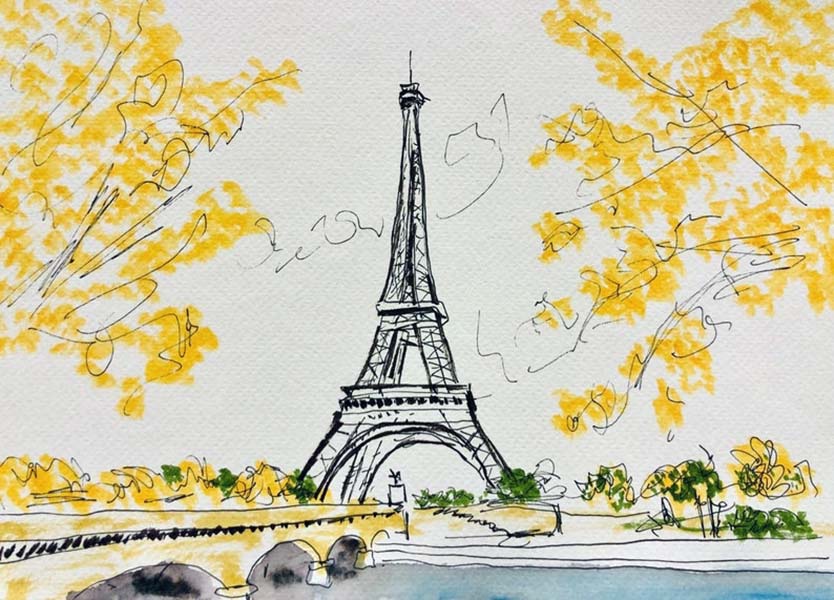
Step 11: Optional: Add Shading, Color, or a Background
Your drawing is complete! But you can elevate it further. Add shading to one side to suggest sunlight. Or, delve into drawing and coloring by adding a blue sky, clouds, or a simple cityscape around the tower. Use your creativity to make this landmark your own—one of our favorite Easy Eiffel Tower Drawings —and show why it’s among the most famous landmarks in the world.
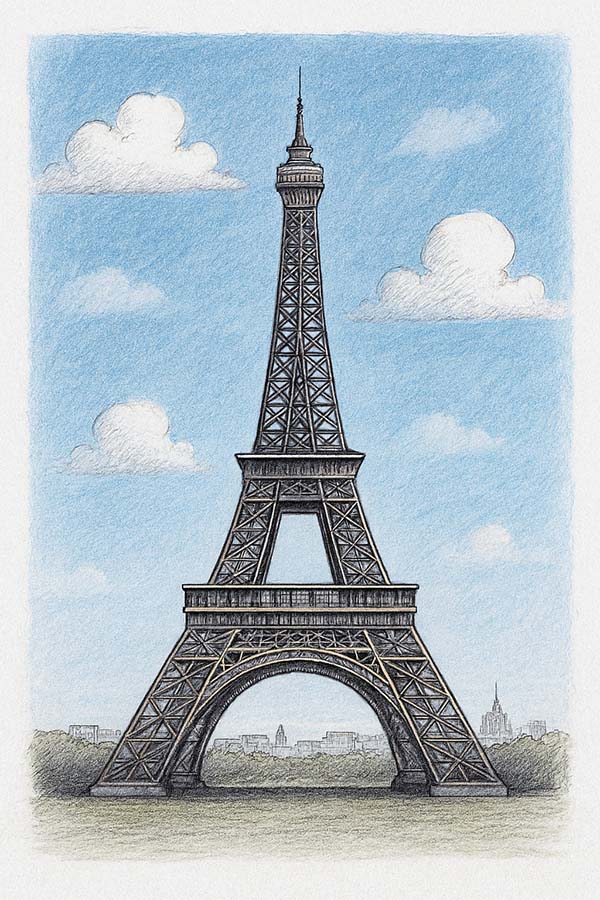
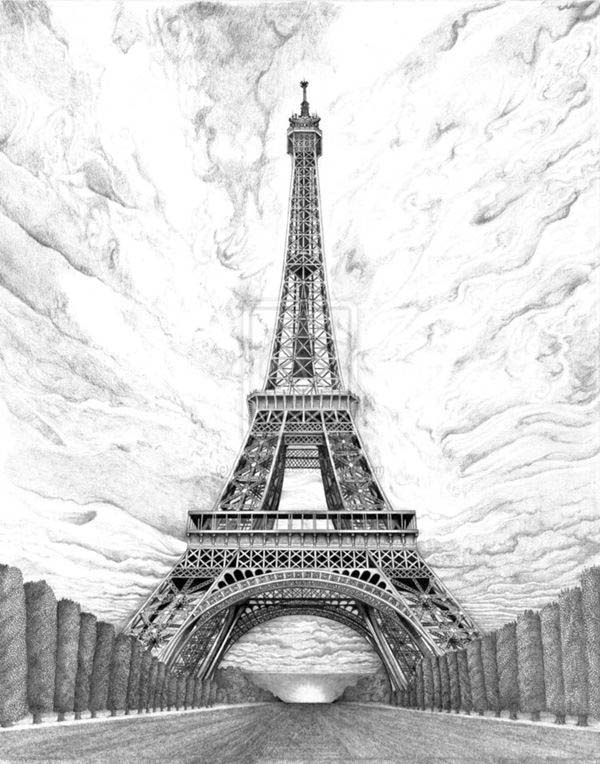
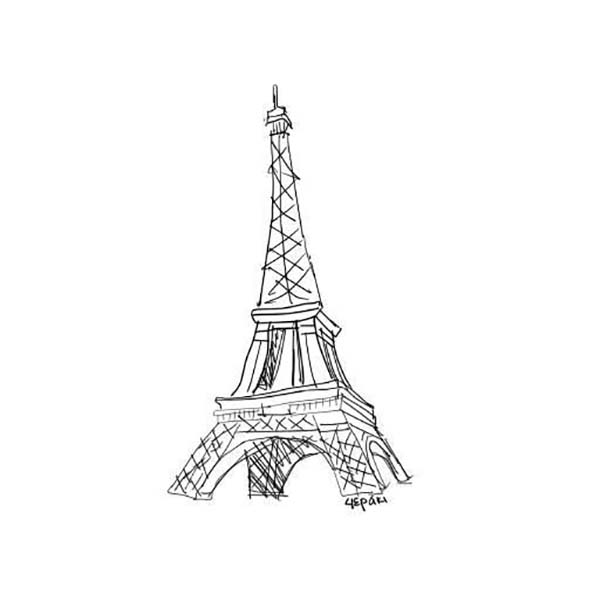
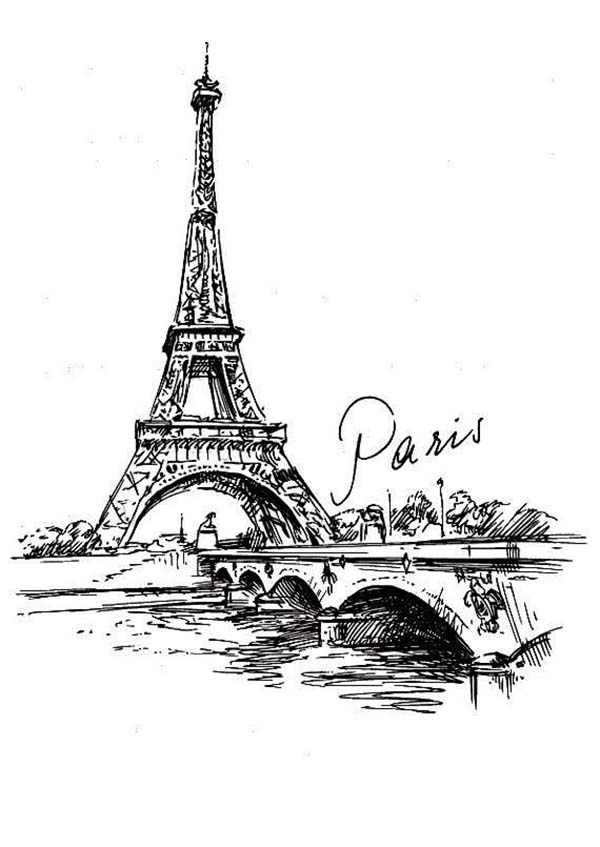
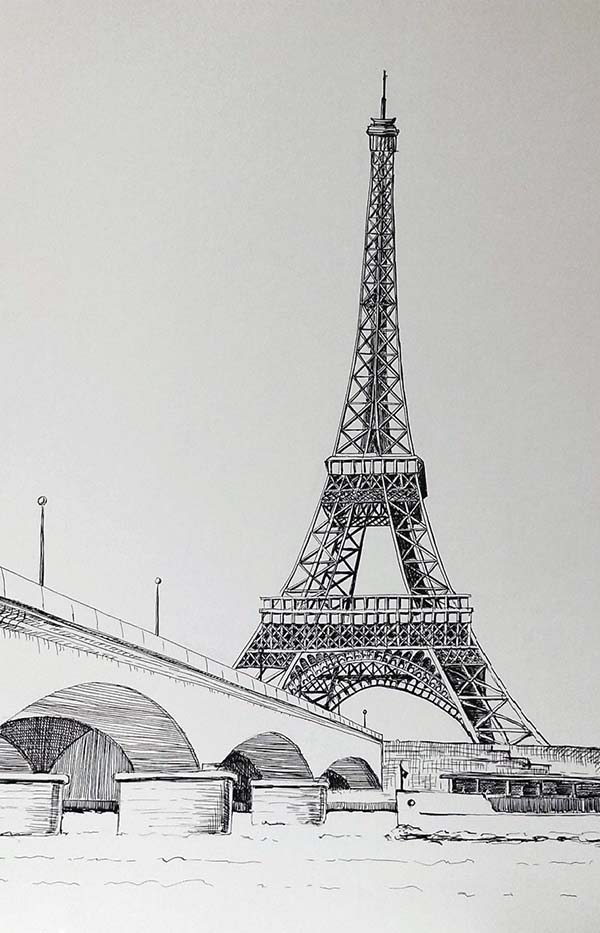
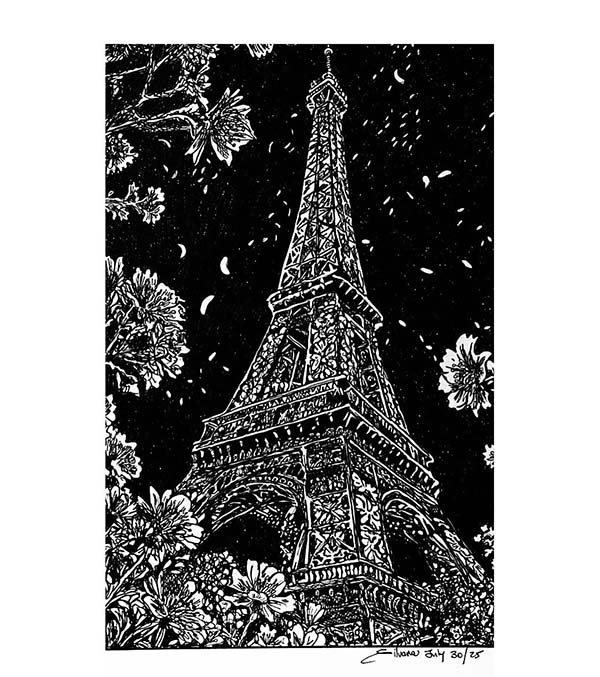
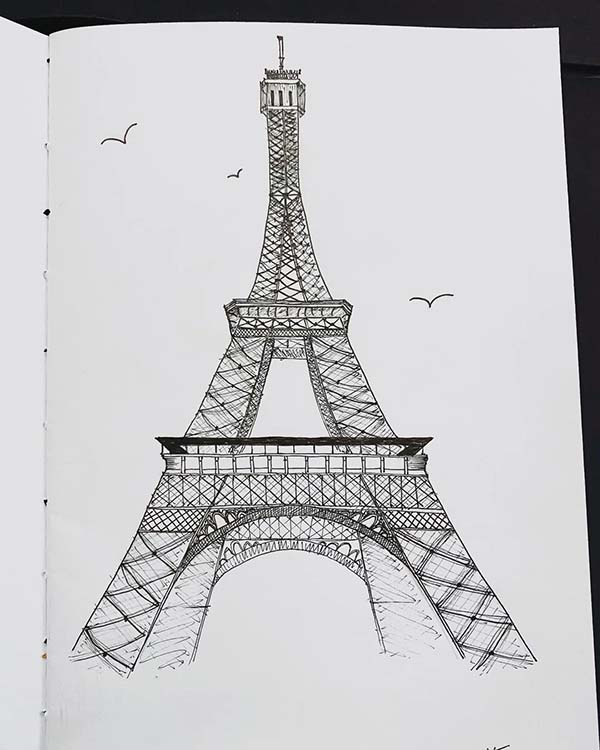
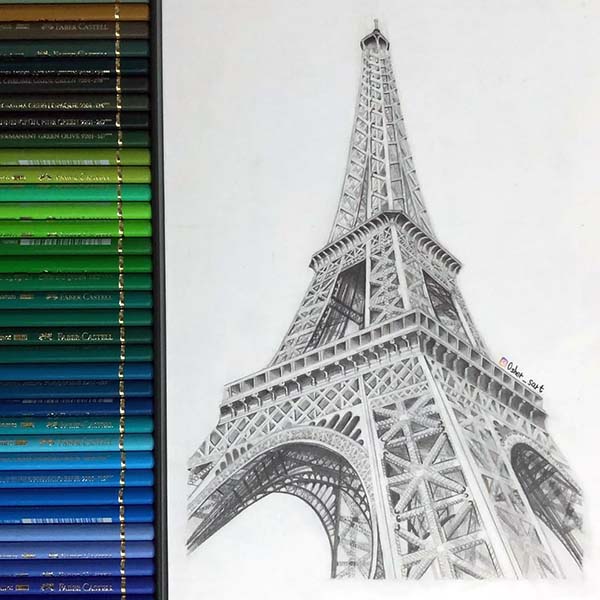
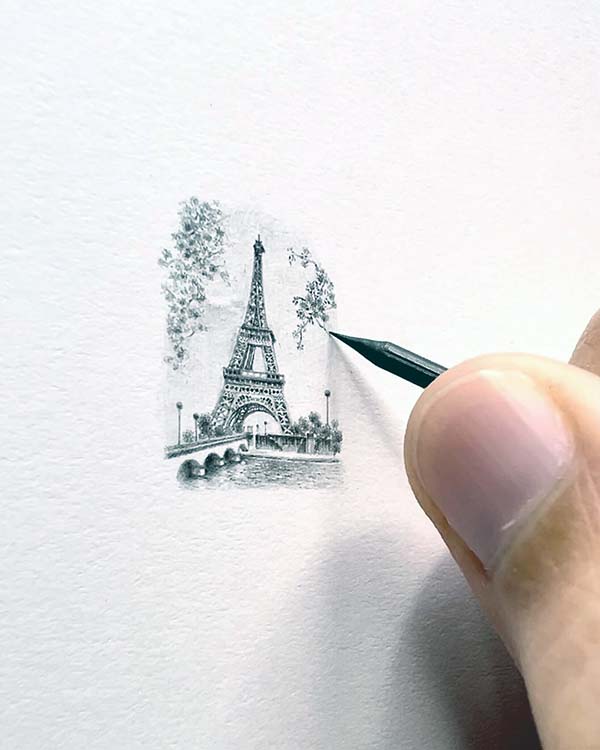
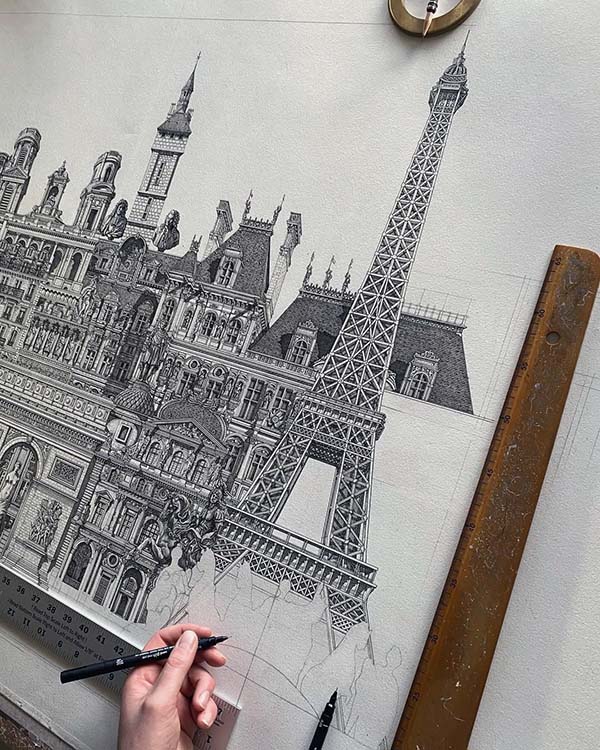
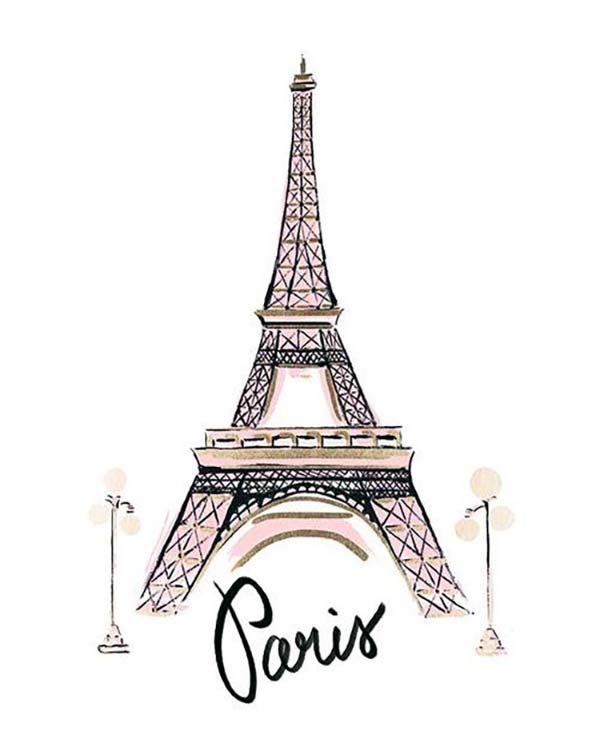
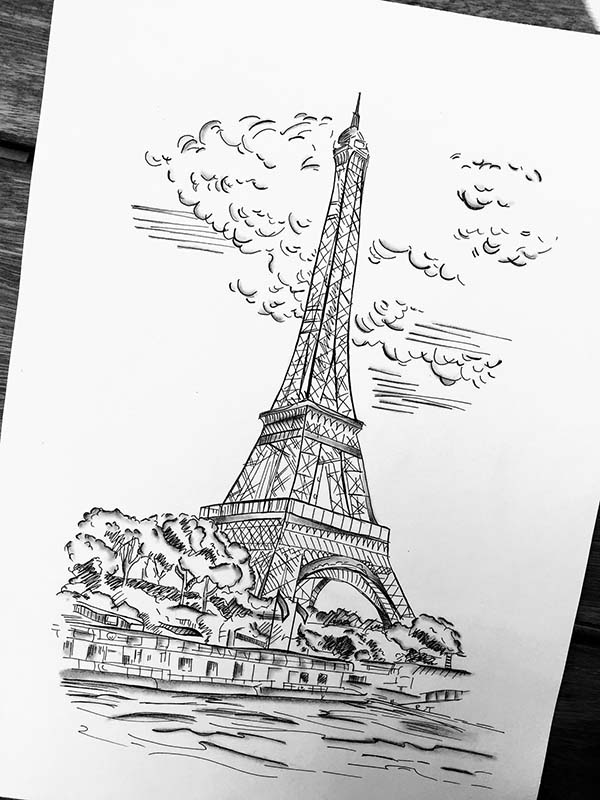
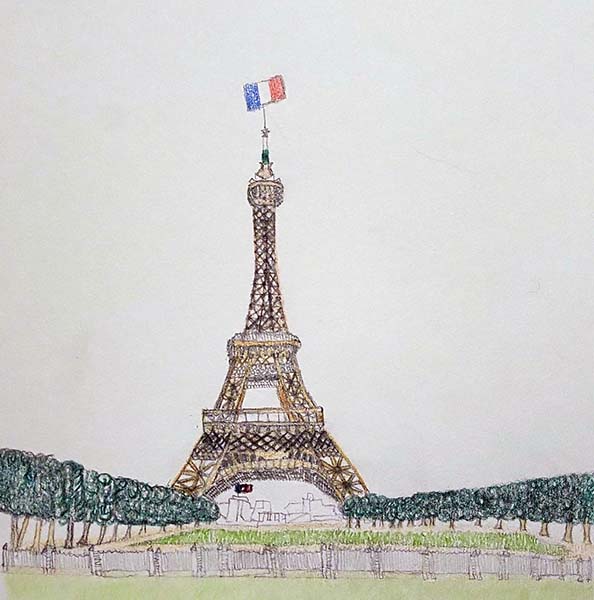
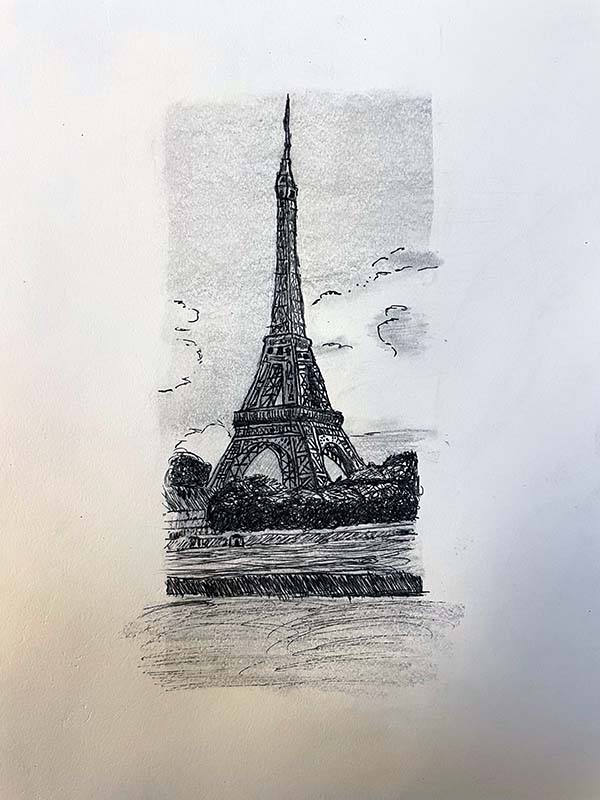
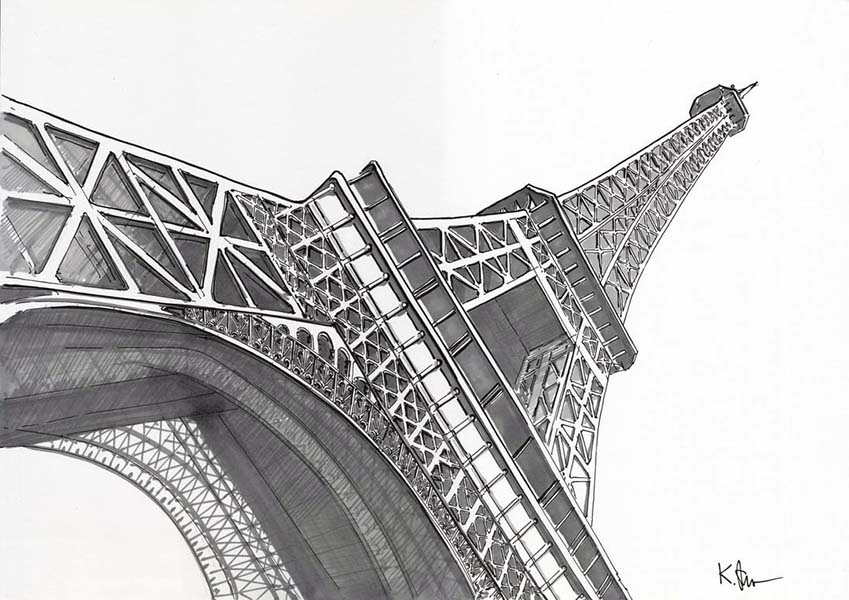
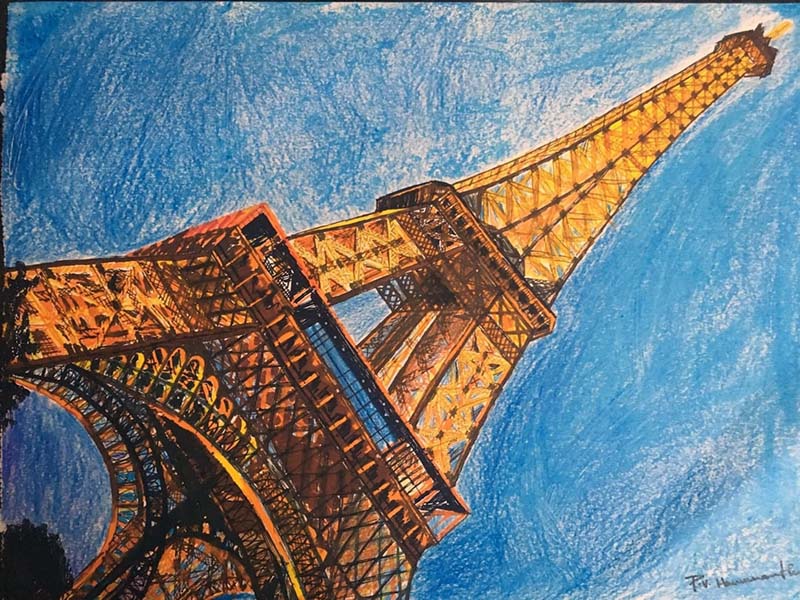
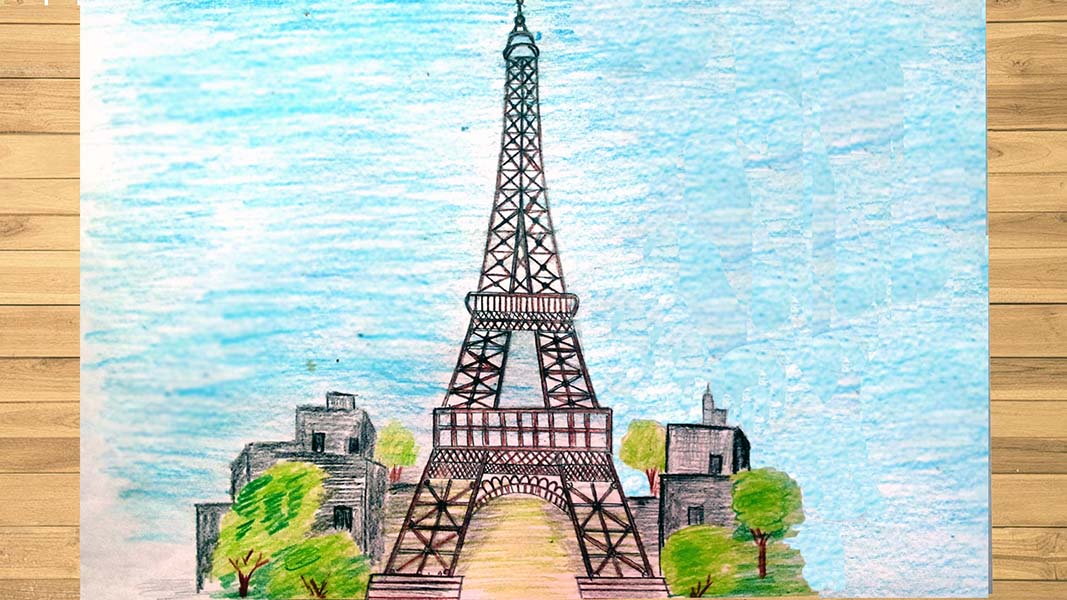
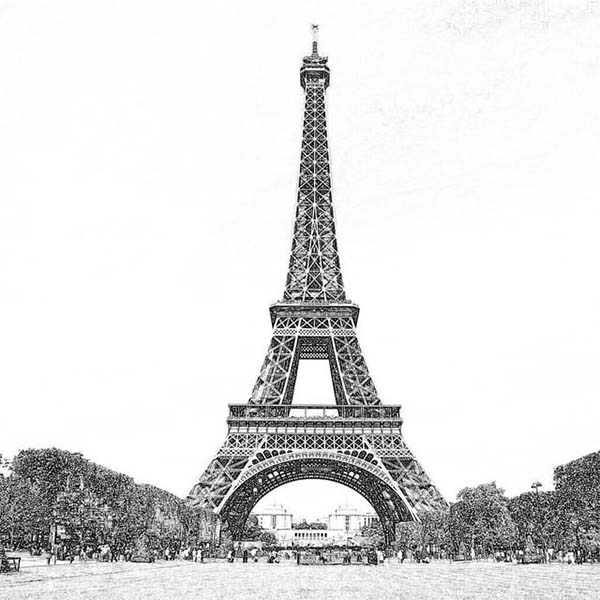
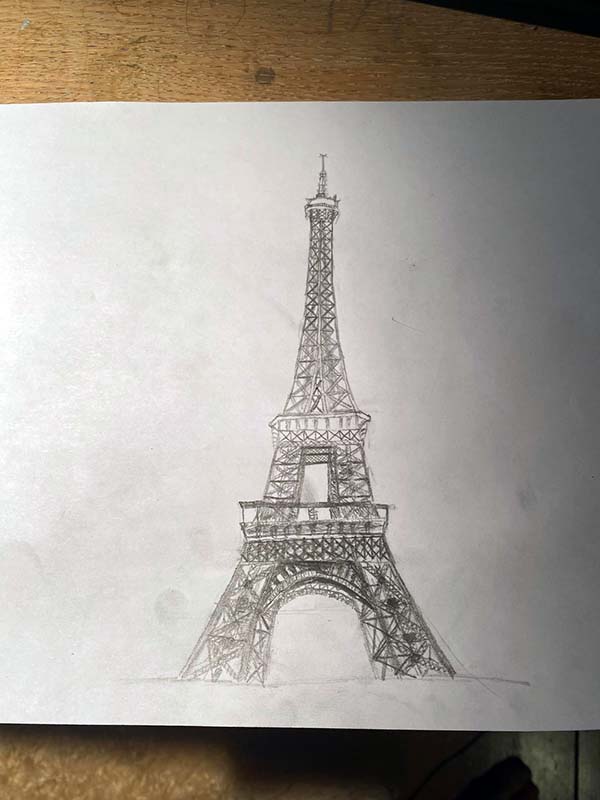
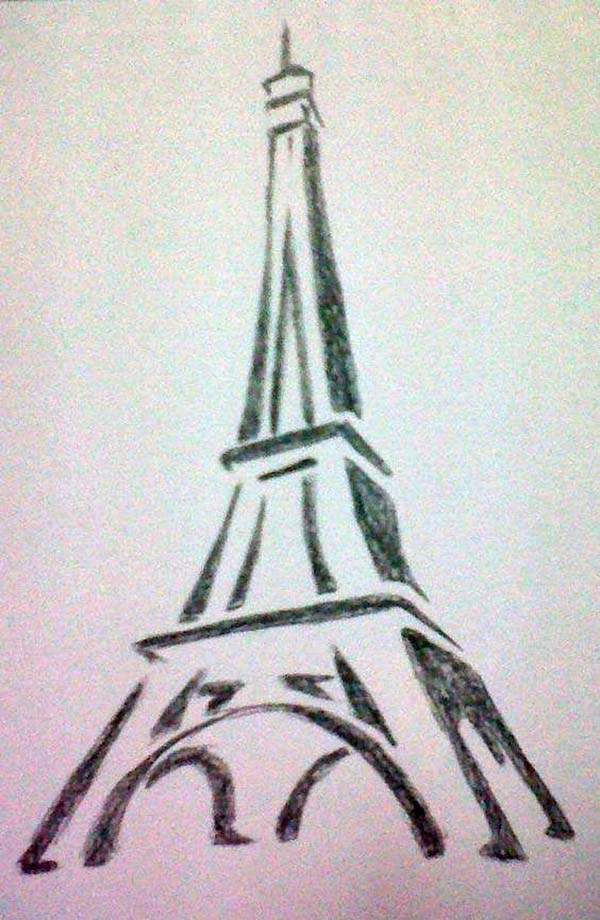
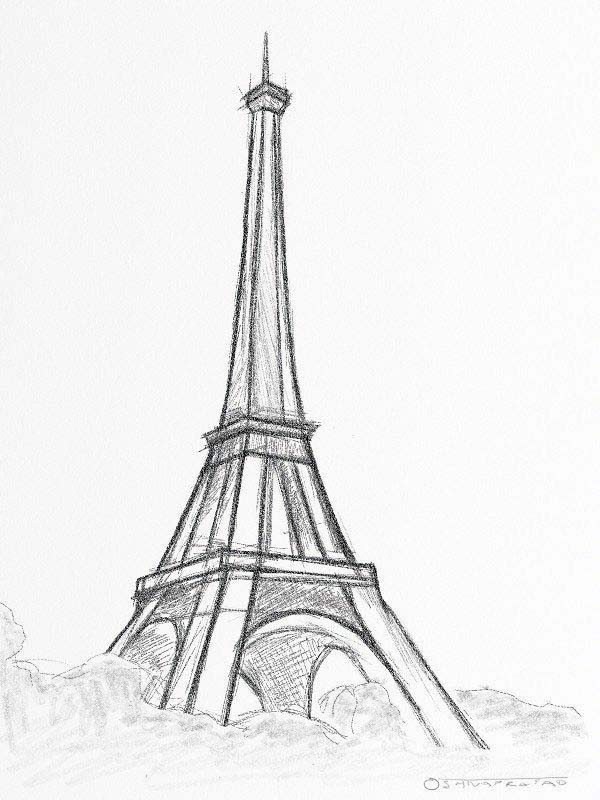
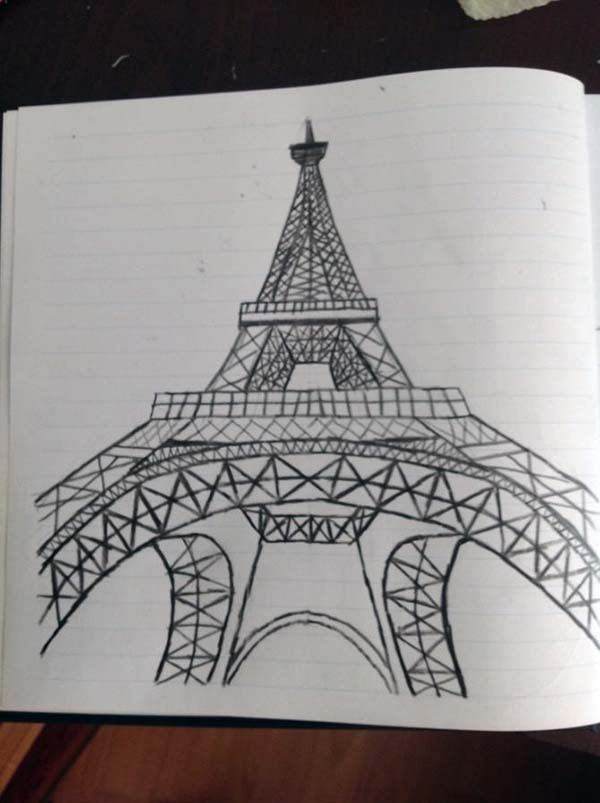
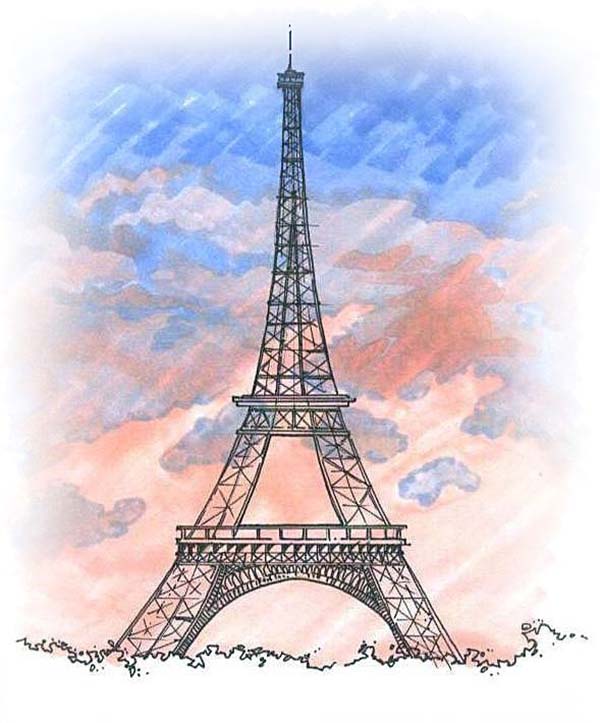
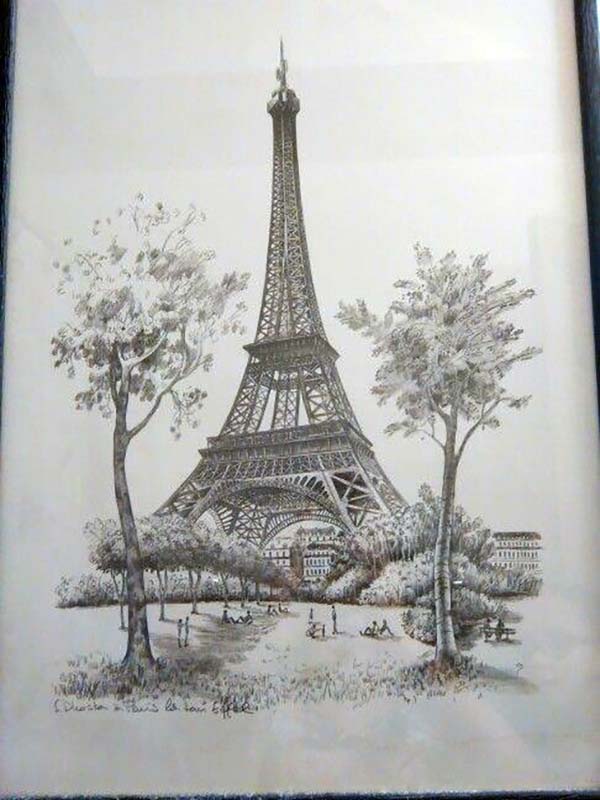
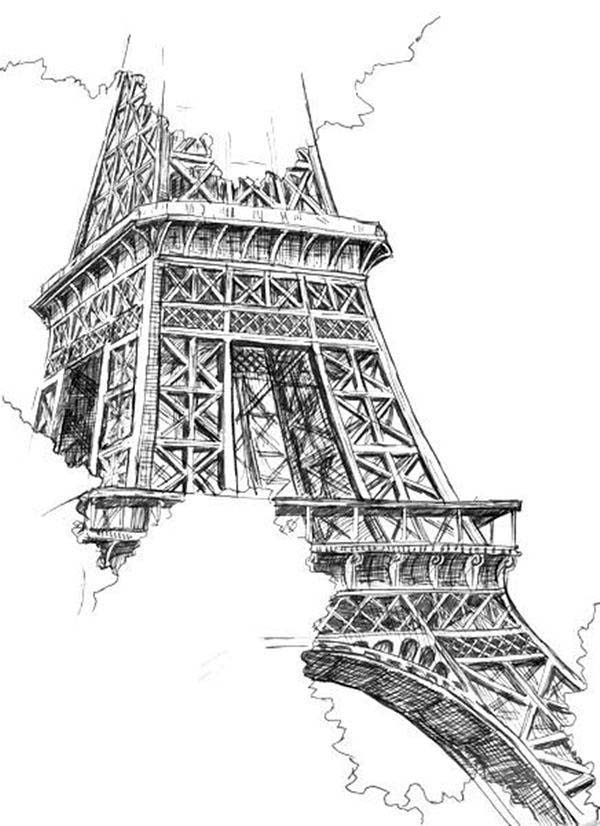
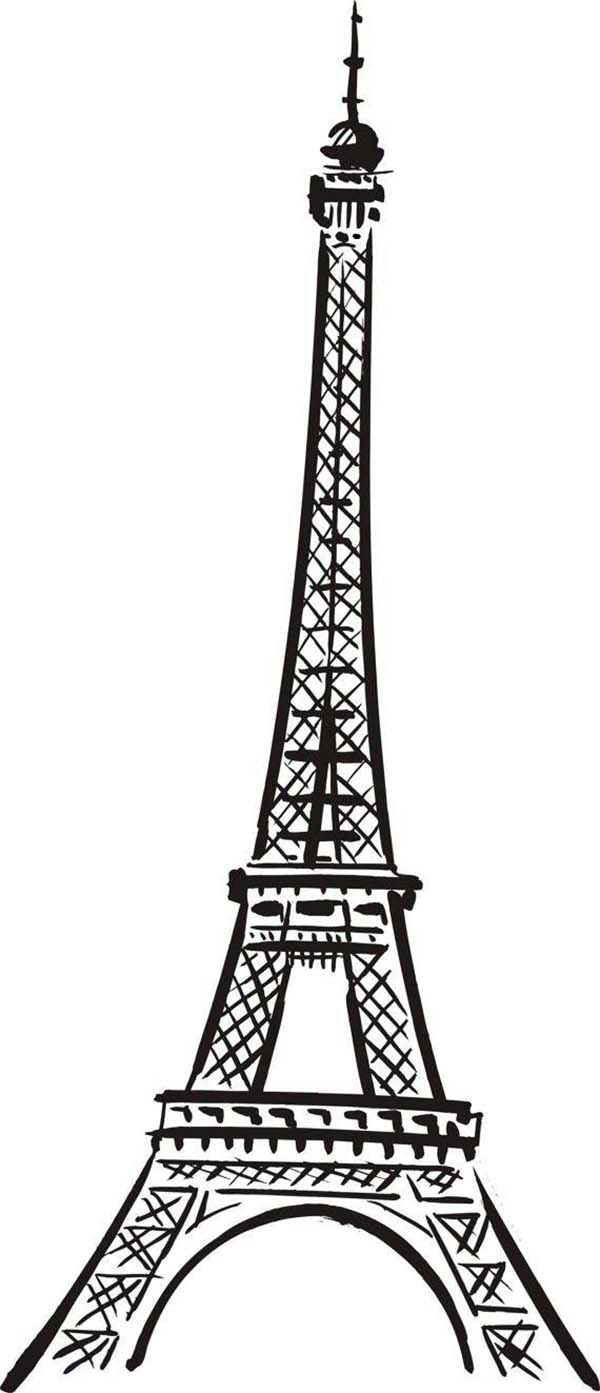
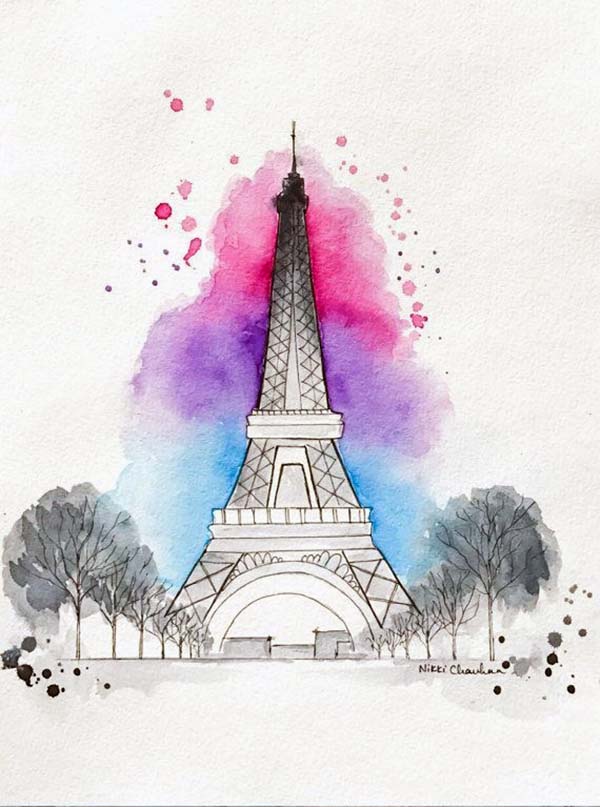
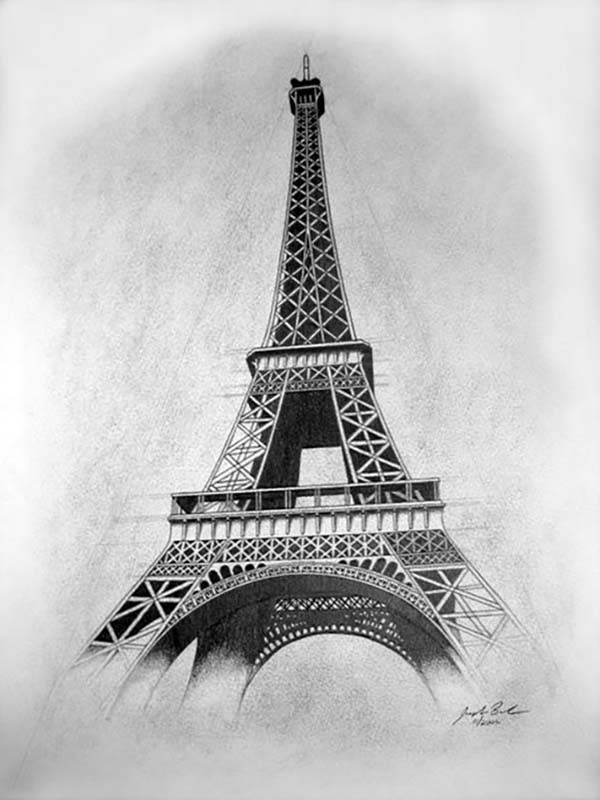
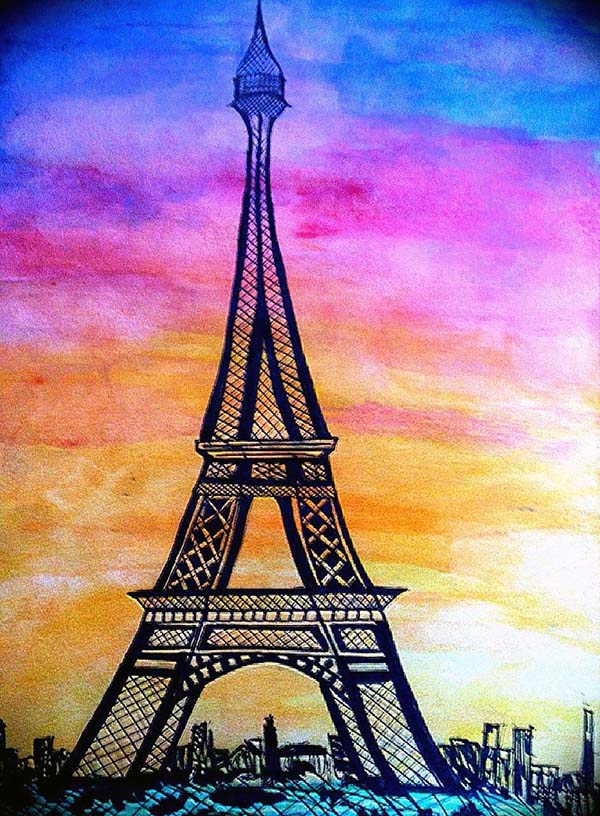
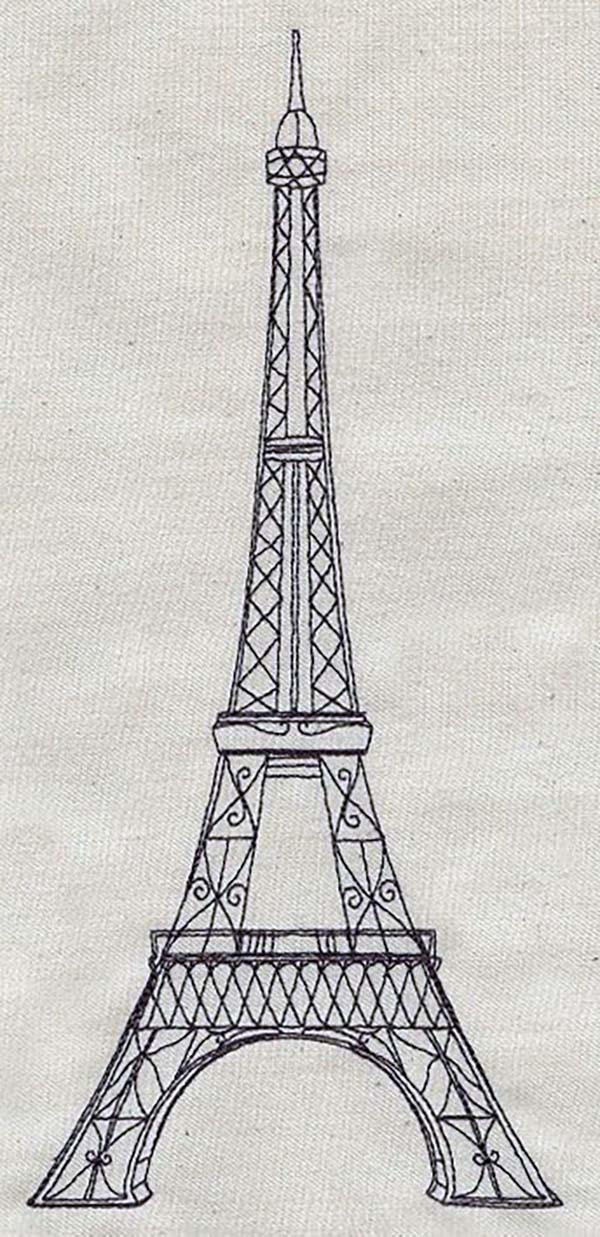
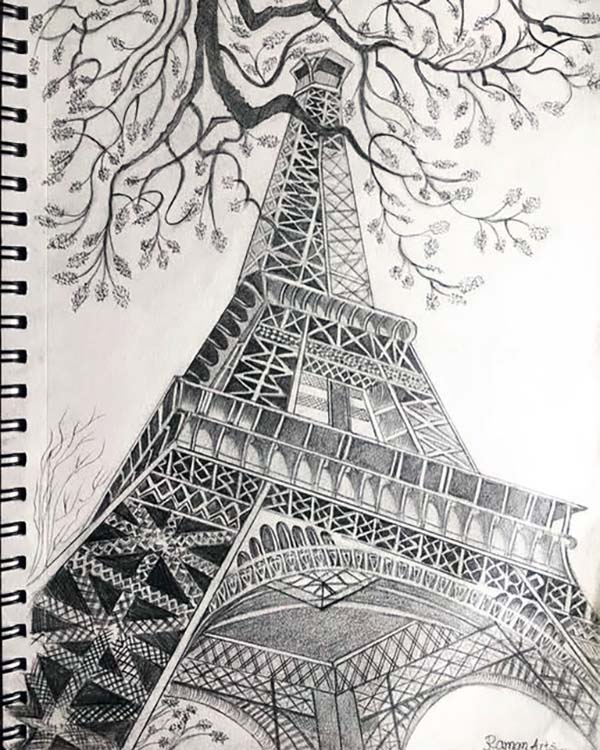
More Easy Eiffel Tower Drawings and Coloring Inspiration Gallery


Conclusion
And there you have it! By breaking the process into manageable steps, you’ve mastered one of our favorite easy Eiffel Tower drawings. It proves that even the most complex subjects — and the Eiffel Tower is one — are really just simple lines and shapes layered together. The key is to start with a light guide, use clean strokes, and build up the details slowly. With this method, you now have the skills to draw an Eiffel Tower whenever you want to add a touch of Parisian charm. Share your masterpiece with friends and inspire them to try their own easy Eiffel Tower drawing!
FAQs
Q: What Are the Best Printable Drawing Tutorials for Other Famous Landmarks?
A: The best drawing tutorials for other landmarks in the world use the same principles as this one: starting with basic shapes. You can find excellent step‑by‑step instructions for things like the Statue of Liberty or the Colosseum by searching for guides that focus on breaking down complex structures into simple geometric forms for all skill levels, many of which also include printable templates for added convenience.
Q: How Do You Fit the Entire Tower on the Page Proportionally?
A: To fit the entire tower proportionally, start with a large, light guideline shape, like the triangle we used. This ensures the top and bottom are balanced from the beginning. Placing your initial shape on the bottom of the page and drawing a line down the middle helps you control the scale and prevent the spire from running off the paper.
Q: Is It True the Eiffel Tower’s Color Has Changed Over the Years?
A: Yes, it has been painted many different colors since it was built. While it is now a specially mixed “Eiffel Tower Brown,” over 50 years ago the tower was painted a reddish-brown. Knowing little details like this can inspire creative choices in your drawing and coloring, making it easy to draw.
Q: Why Is Symmetry So Important for This Drawing?
A: Symmetry is crucial since the Eiffel Tower is symmetrical in its design. To check your work, you can draw a line on one side and then try to replicate it exactly on the other, step by step. Ensuring the diagonal lines and curved lines on each side mirror each other will make your final drawing much more realistic and recognizable.
Q: Can This Tutorial to Help Me Draw Be Adapted for All Skill Levels?
A: Absolutely. This step-by-step tutorial makes it easy for beginners because it relies on simple shapes. More advanced artists can adapt it by adding complex shading, detailed backgrounds, and more intricate latticework, step by step. The foundation remains the same, making it a great exercise whether you are new to drawing or have years of experience.


Discussion about this post